The Hearty Heroes of Hauling is the North world, played by a fantasy party running a moving company. In the first part of the zone the party is split up, so each hero clears a run of rooms alone before they regroup. This page covers 22 puzzles, numbered as in 100% Guides’ solution video. Each section gives the key idea, the moves, and timestamp links to watch them.
How the rooms work
- Three abilities. The red hero pushes crystals. The green hero pulls them: walk away from a crystal you are next to and it follows you. The purple hero swaps places with a crystal or another hero in a straight line (you see a beam between them).
- Beige plates lower yellow blocks while something stands on them. Crystals are the usual plate-holders, so your heroes stay free to move.
- Exit pads (green, yellow or round pads) end the room. When several heroes are in a room, each one needs its own pad.
- Undo is free. Most dead ends come from a crystal pushed into a corner; step back and try again.
Puzzle 1
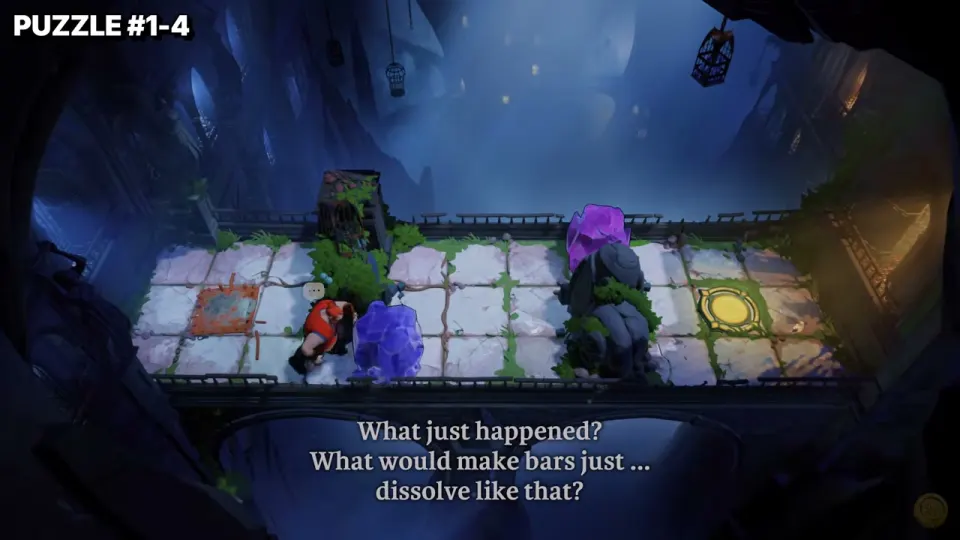
The red hero’s first bridge. The boulder blocks the lower lanes, so the way through is the top lane.
- Walk east along the bridge, past the blue crystal. (0:13)
- In the top lane, push the purple crystal east past the boulder, then step down onto the yellow exit pad. (0:16)
Puzzle 2
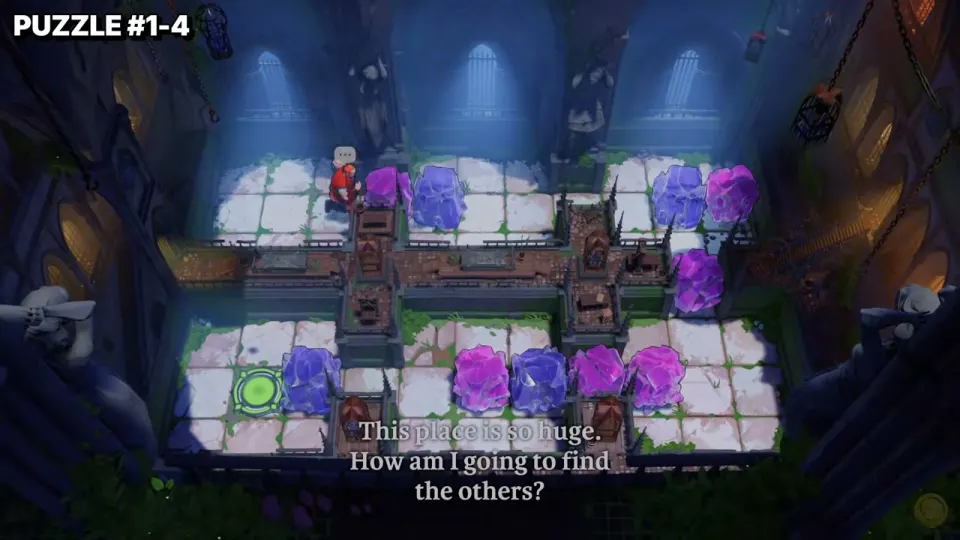
A two-level room: you start in the upper hall and the green exit pad is in the lower-left corner. Go down through the right-hand connector.
- In the upper hall, push the middle blue crystal out of your path and walk east. (0:26)
- Push the purple crystal in the right-hand connector down into the lower hall and follow it. (0:29)
- In the lower hall, push the crystals in the bottom row west and out of the way until you can reach the green pad in the lower-left corner. (0:33)
Puzzle 3
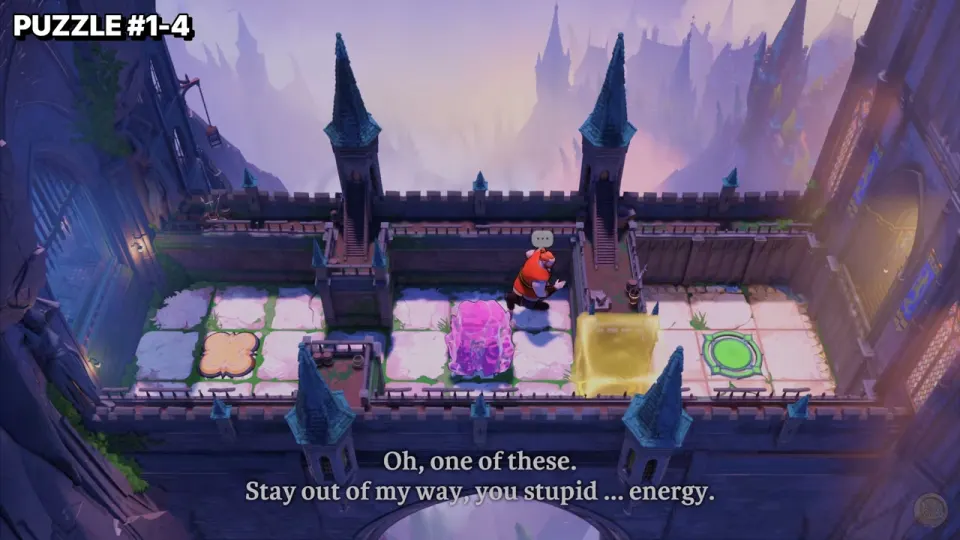
This is the first plate. A yellow block stands in front of the exit, and the beige plate is on the west side.
- Walk around behind the pink crystal and push it west onto the beige plate. The yellow block drops. (0:43)
- Walk east over the spot where the block was and onto the green pad. (0:46)
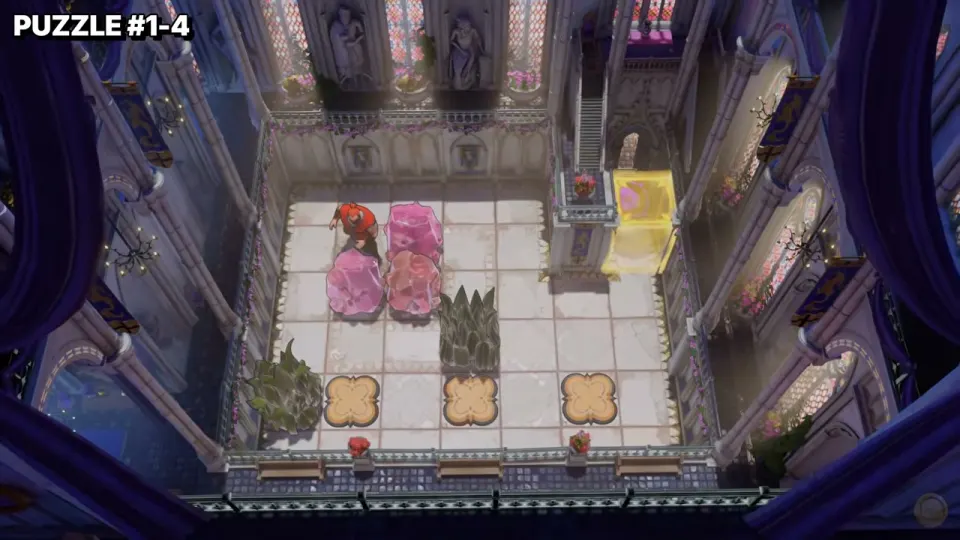
Puzzle 4
The red hero’s last solo room has three beige plates along the bottom wall and four pink crystals. The yellow block over the top-right exit drops only when all three plates are covered. The bushes stop crystals, so plan each push around them.
- Take one crystal from the top-left cluster east past the middle bush, then push it down onto the right plate. (0:56)
- Go back to the cluster and push one crystal down onto the middle plate. (1:00)
- Push one more down beside the left bush and onto the left plate. The fourth crystal is a spare. (1:04)
- With all three plates covered, walk to the top-right exit. (1:06)
Puzzle 5
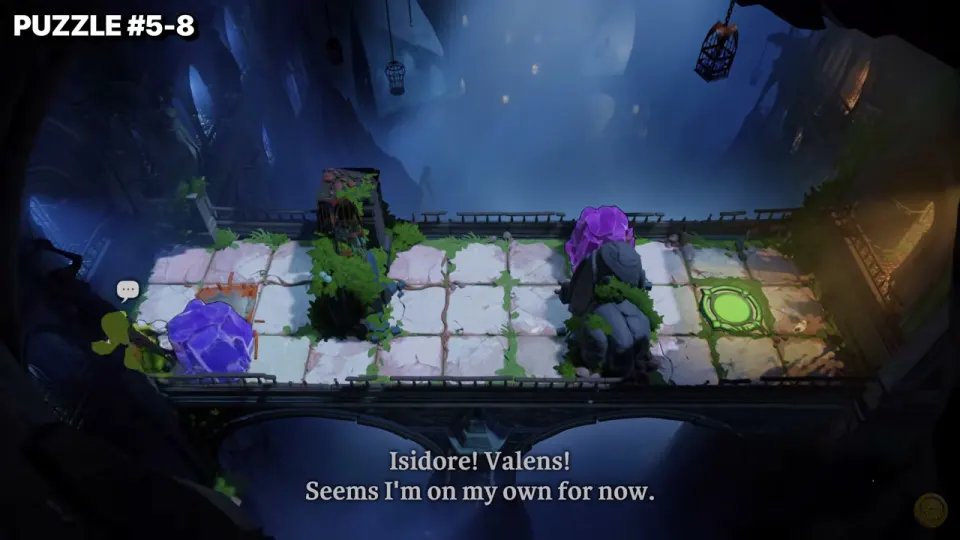
Same bridge as puzzle 1, but now you play the green hero, who can only pull.
- Walk to the purple crystal in the top lane and pull it west one tile. (1:30)
- Step around to its east side, then walk east along the top lane: the crystal follows you back past the boulder. Step down onto the green pad. (1:31)
Puzzle 6
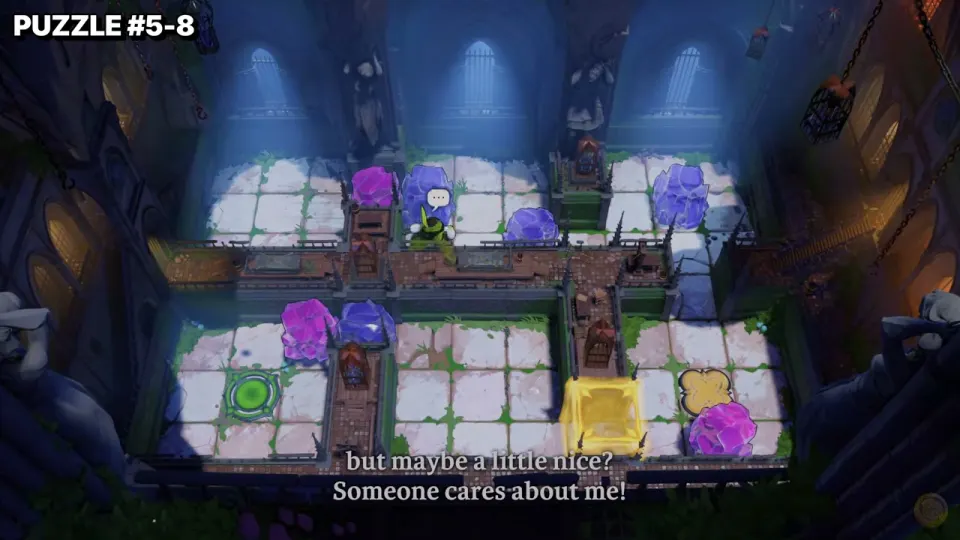
A remix of puzzle 2 with a plate. The beige plate in the lower-right section controls the yellow block that splits the lower hall.
- Come down the right-hand connector, pulling the blue crystal down with you. (1:42)
- Pull the purple crystal next to the beige plate onto it. The yellow block drops. (1:46)
- Head west through the lower hall, pull the blue crystal by the wall out of the way, and reach the green pad. (1:50)
Puzzle 7
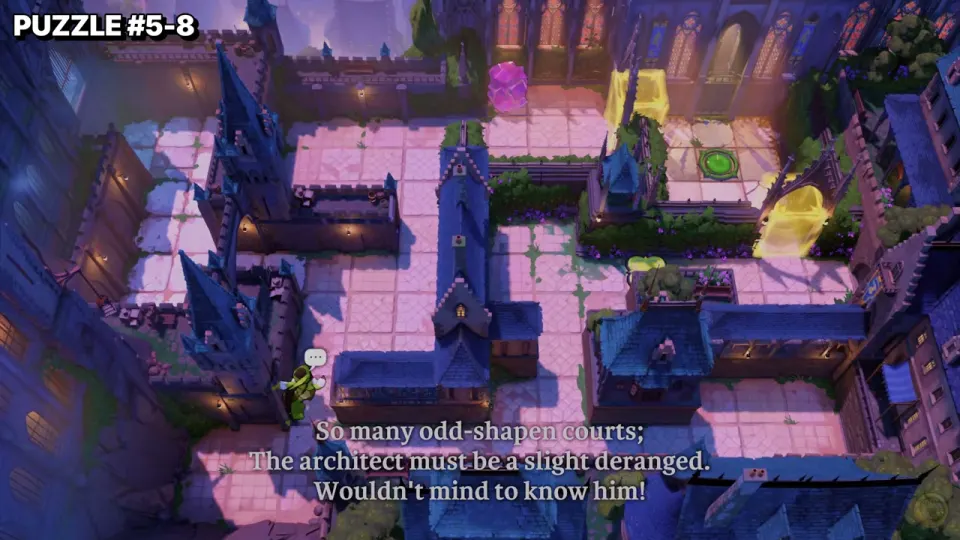
A maze courtyard with one purple crystal. Two yellow blocks guard the green pad. The plate that drops them is in the middle-right of the maze, but the crystal starts at the top and can only reach it the long way round.
- Pull the crystal west out of the top corridor. (2:02)
- Drag it down the west side of the maze and along the bottom corridor. (2:12)
- Bring it back up through the middle and east onto the plate. Both yellow blocks drop. (2:36)
- Walk to the green pad in the top-right. (2:42)
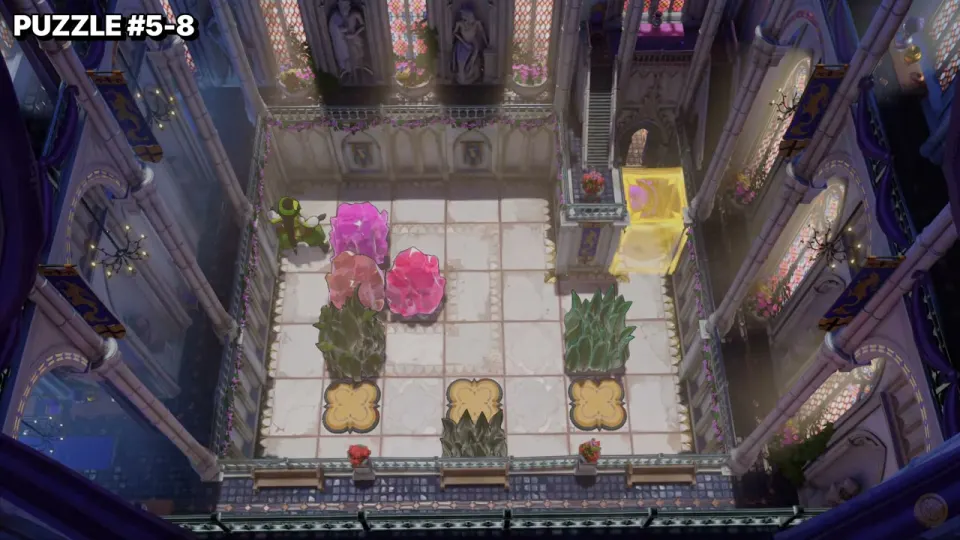
Puzzle 8
The three-plate hall again, with a different layout. Because the green hero pulls, you have to stand past each plate and walk away from the crystal to drag it on.
- Drag one crystal onto the right plate first. (2:52)
- Bring the top crystal down onto the left plate. (3:04)
- Work the last crystal onto the middle plate, then walk to the top-right exit. (3:12)
Puzzle 9
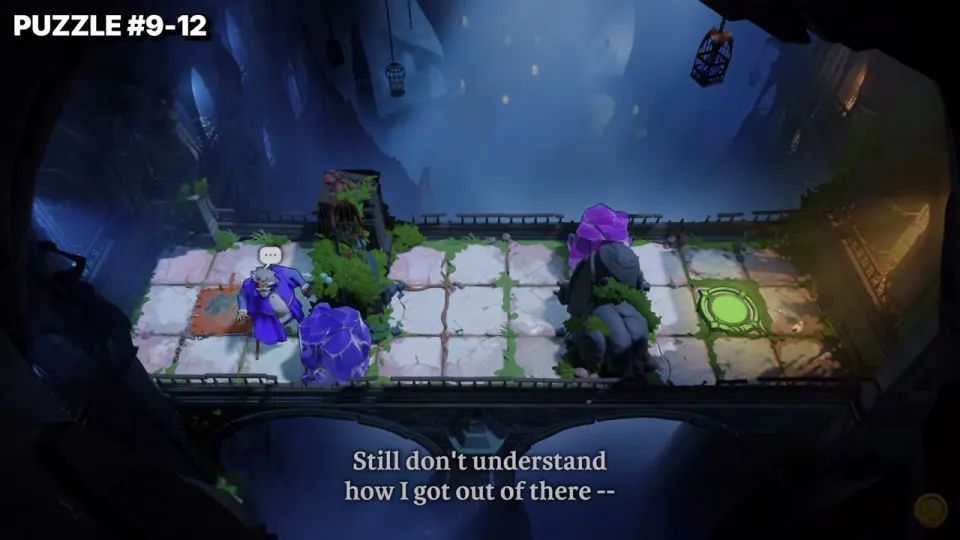
The bridge for the purple hero, who can’t push or pull but swaps places with whatever is in line.
- Line up with the purple crystal across the boulder and swap with it. You land beyond the boulder. (3:40)
- Walk to the green pad. (3:44)
Puzzle 10
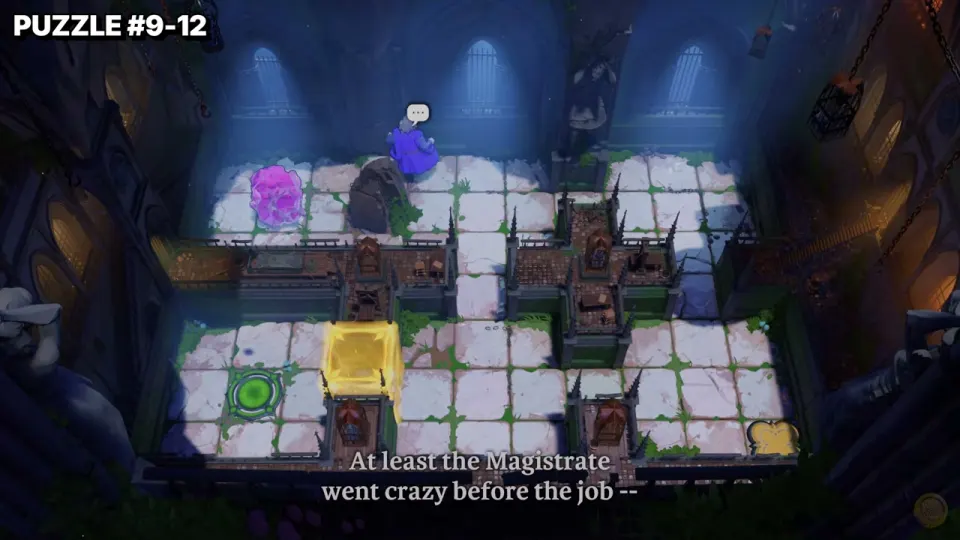
One crystal, one plate in the far lower-right corner, and a yellow block between you and the green pad. Move the crystal by alternating swaps and short walks.
- In the upper hall, swap with the crystal across the boulder, then swap again to bring it beside the central corridor. (3:52)
- Swap it down the central corridor into the lower hall. (3:59)
- Keep repositioning and swapping until the crystal sits on the plate in the lower-right corner. The yellow block drops. (4:06)
- Walk west to the green pad. (4:09)
Puzzle 11
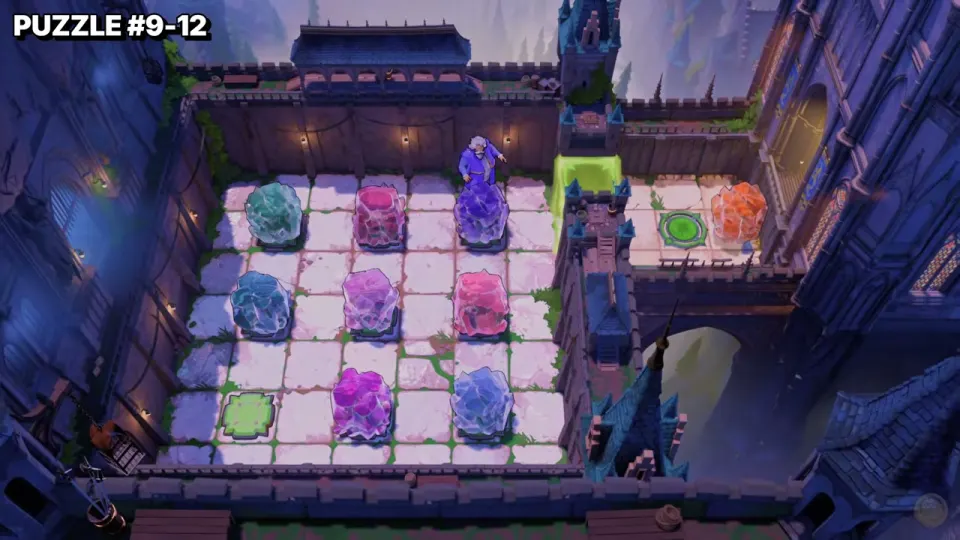
A three-by-three grid of crystals. The green block guarding the exit side is linked to the green plate in the lower-left. On the far side of the block sits an orange crystal: that is your ticket across.
- Swap through the grid until a crystal lands on the green plate in the lower-left. The green block drops. (4:19)
- From the top-right corner of the grid, swap with the orange crystal on the other side. You land next to the exit. (4:21)
Puzzle 12
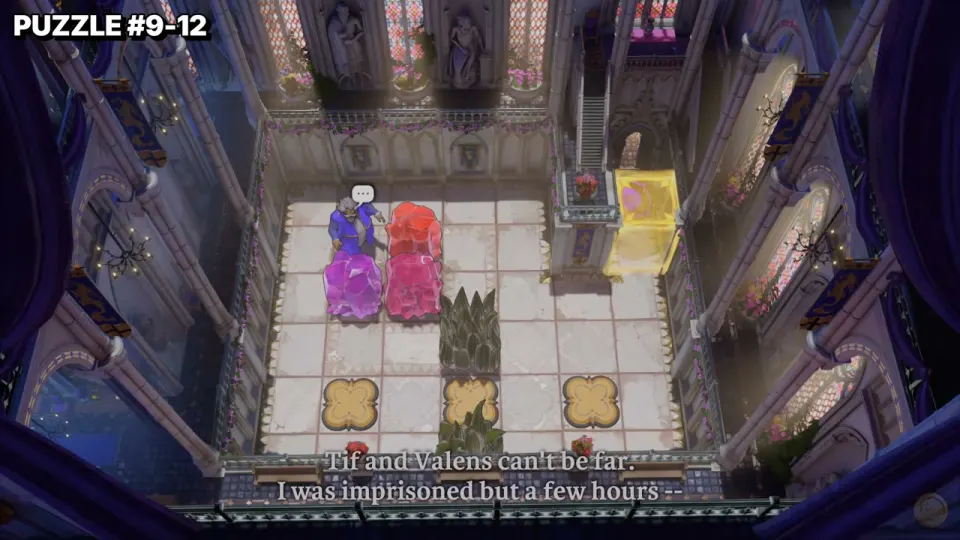
The three-plate hall for the purple hero. As in puzzles 4 and 8, all three plates must be covered to drop the yellow block at the top-right. This time each crystal gets there by swaps, so walk to a tile that lines you up with a crystal, swap, and repeat.
- The video works the crystals one at a time onto the left, middle and right plates. Watch from 4:29; there is a long cross-room swap around 5:04.
- With the plates covered, walk to the exit. (5:12)
Puzzle 13
The red and purple heroes meet up. Each needs one of the two red exit pads on the west side, and a yellow block splits the room.
- Put the red hero on the upper beige plate. The yellow block drops. (5:36)
- With the purple hero, swap with the red hero through the open gap. Purple now stands on the upper plate, and red is in the lower section. (5:39)
- Walk the purple hero to the upper-left exit pad, and the red hero to the lower-left one. (5:42)
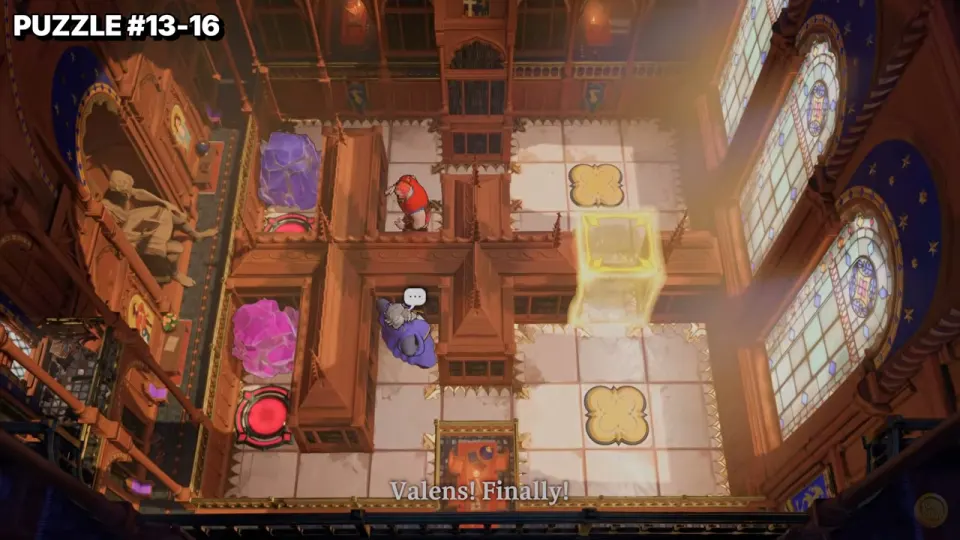
Puzzle 14
A larger wood-panelled room with two blue crystals, beige plates and yellow blocks, and several heroes at once. The yellow exit pad is in the bottom-right.
- Key idea: use the heroes and the crystals together to hold plates, so the others can get through the yellow blocks.
- The full sequence runs from 5:52 to 6:52. The frames don’t show it clearly enough to list step by step, so follow the video.
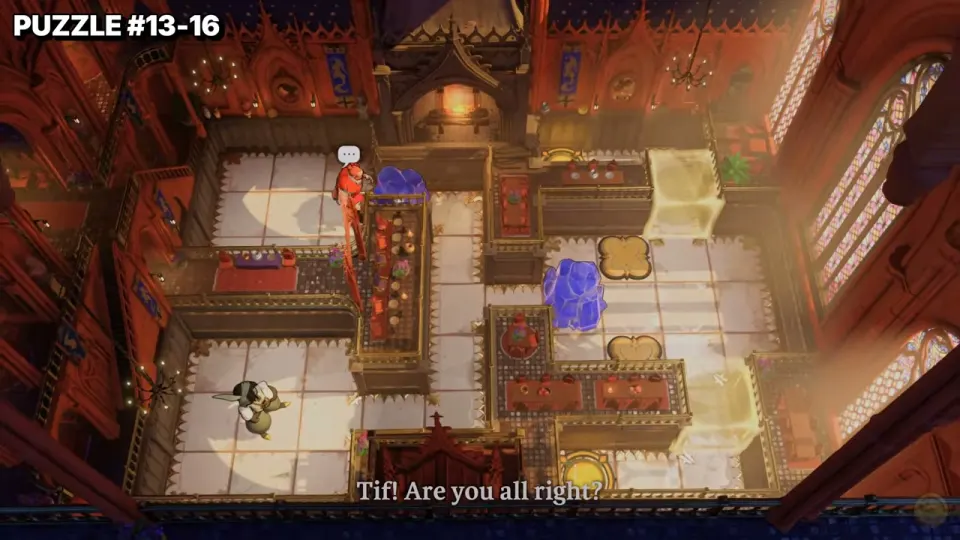
Puzzle 15
A cross-shaped cathedral hall. The round exits on the west side are behind a yellow block, and a beige plate is in the middle of the hall.
- Key idea: get a crystal onto the beige plate so the yellow block drops. The purple hero’s swaps bring a crystal to the plate (7:32), then the heroes walk to the exits.
- Full run: 6:56 to about 7:36.
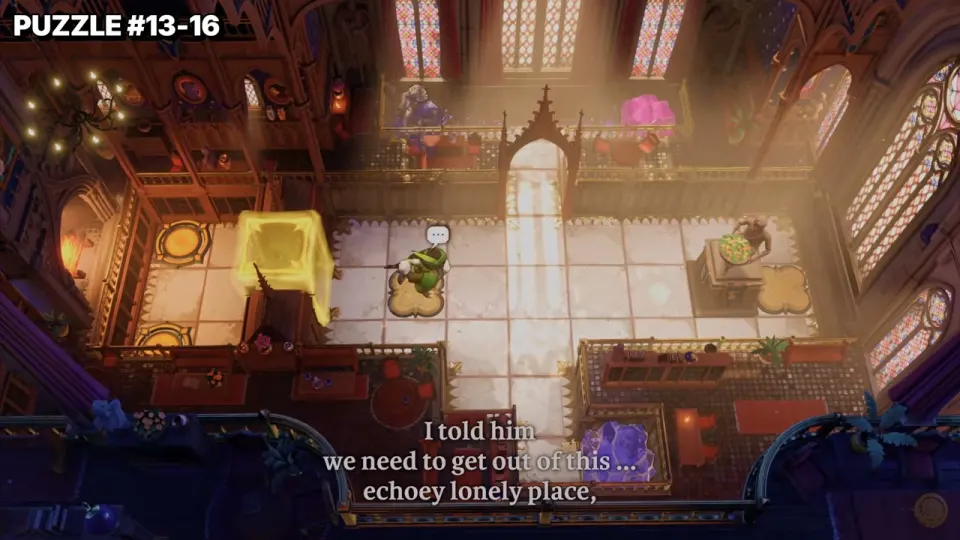
Puzzle 16
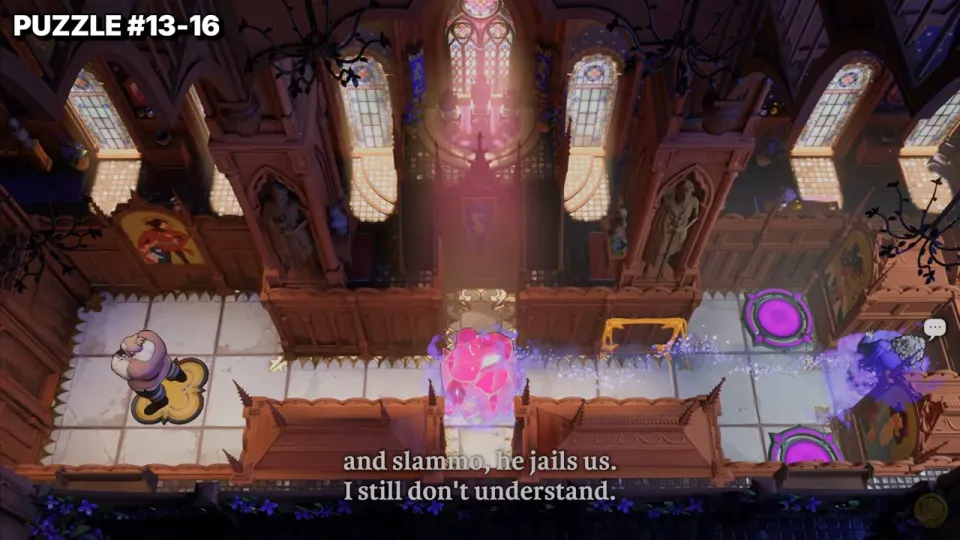
A narrow hall of pews. There is a beige plate on the west side, a yellow block in the middle, magenta exit pads on the east side and a pink crystal.
- Key idea: the pink crystal ends up on the west plate so both heroes can pass the yellow block and reach the magenta pads.
- Full run: 7:44 to about 8:00.
Puzzle 17
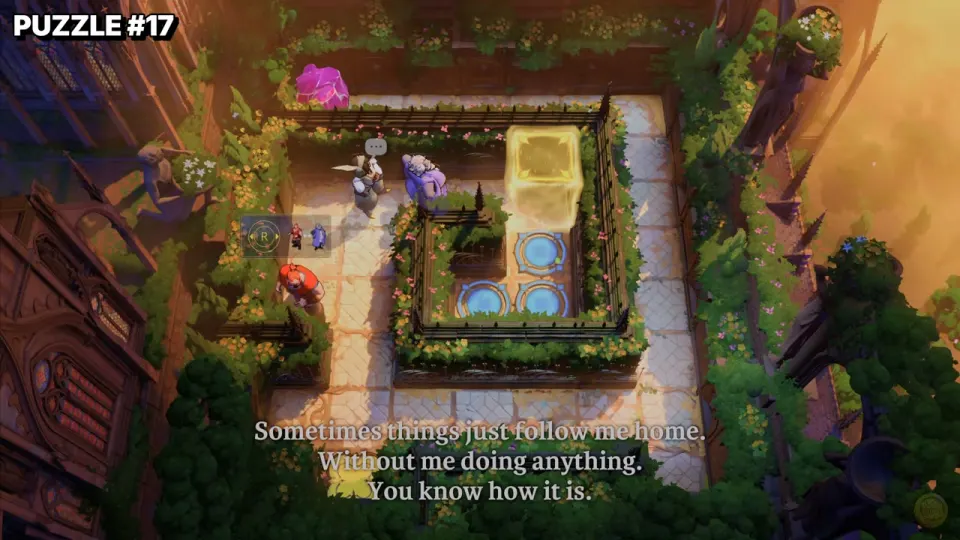
A garden reached from the overworld map. An inner hedge square holds blue exit pads, and a yellow block guards its only entrance at the top. The plate that drops the block is at the bottom-left, with a pink crystal nearby.
- Key idea: keep the pink crystal on the bottom-left plate so the entrance stays open, and walk the heroes into the inner square one by one. In the video the crystal comes off the plate and goes back on more than once while the heroes reposition.
- Full run: about 8:40 to 9:35.
Puzzle 18
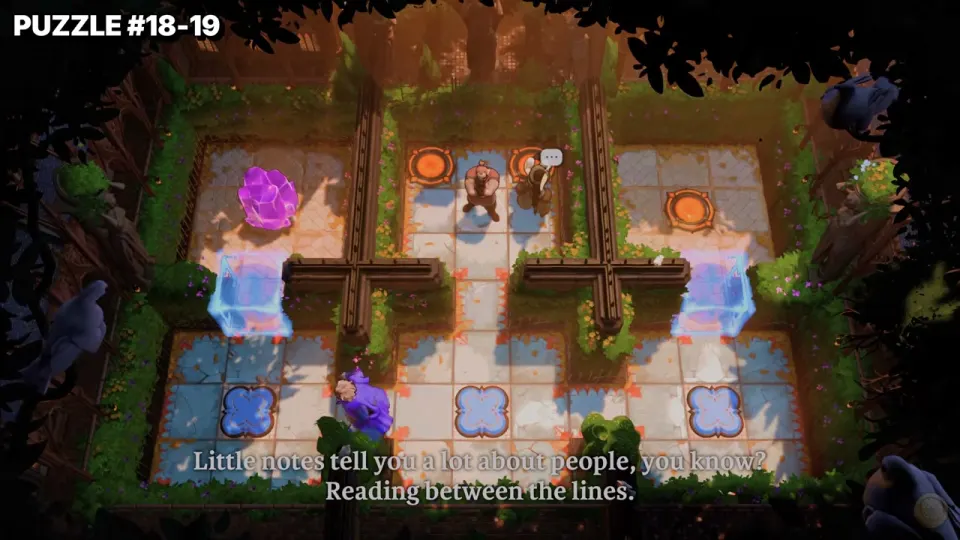
A forest room in three sections. Blue floor pads along the bottom lower the glass blocks between the lower and upper sections, and the orange pads at the top are the goal.
- Key idea: cover the three blue pads (heroes on the outer two, the purple crystal on the middle one) to drop the glass blocks (10:40), then move the heroes up to the orange pads. The video also moves the crystal up the middle column.
- Full run: 10:00 to about 10:55. The exact order is hard to read from still frames, so follow the video.
Puzzle 19
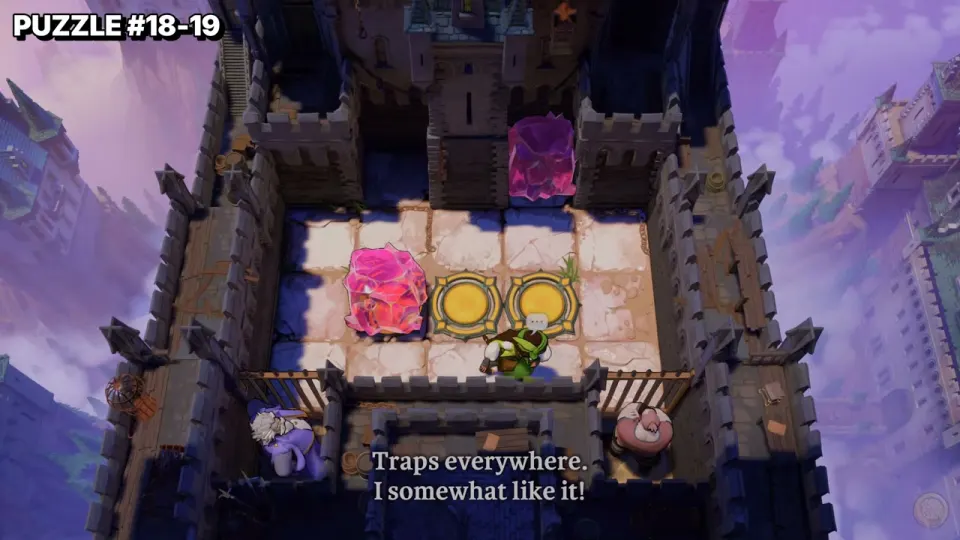
The top of a castle tower. Three gold plates sit in a row, and two heroes are stuck behind bars in the bottom corners.
- Key idea: the purple hero swaps places with the jailed heroes, and the crystals end up in the barred corners, so everyone is out on the main floor. (11:06 to 11:20)
- Finish with the heroes on the gold plates. (11:30)
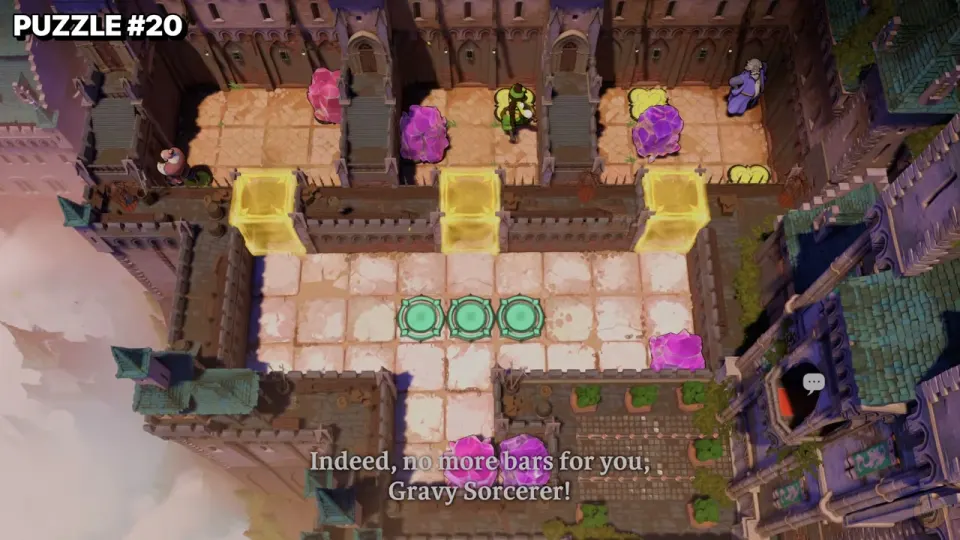
Puzzle 20
A castle room with three alcoves along the top, each sealed by a yellow block, and three green pads in the open area below.
- Key idea: use the crystals in and around the alcoves to drop the yellow blocks and free the heroes, then put three heroes on the three green pads.
- Full run: 11:59 to about 13:00.
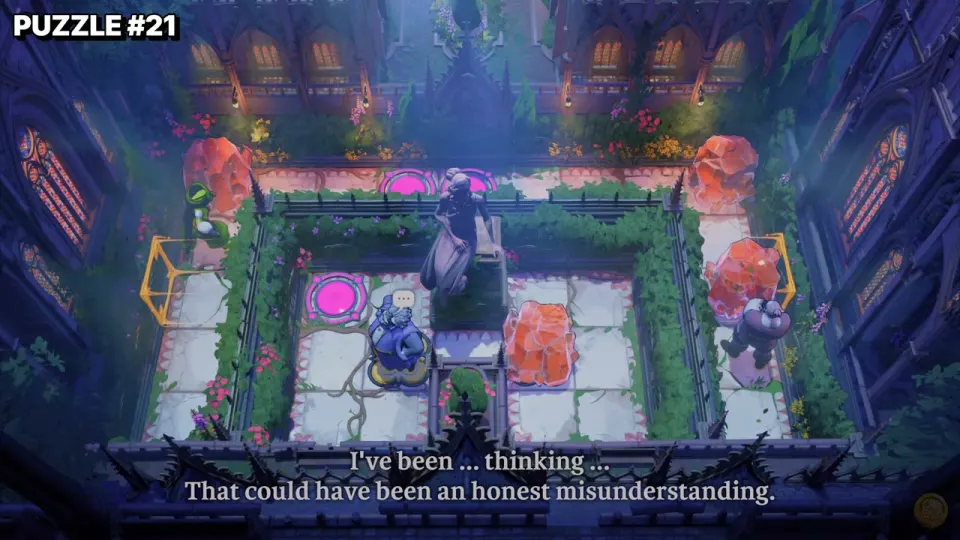
Puzzle 21
A walled garden at night. Magenta pads are inside the hedge, orange crystals sit around it, and yellow blocks stand on the west and east sides.
- Key idea: the purple hero swaps across the hedge with the orange crystals to move in and out of the enclosure, until the heroes can reach the magenta pads.
- Full run: 13:24 to about 14:08.
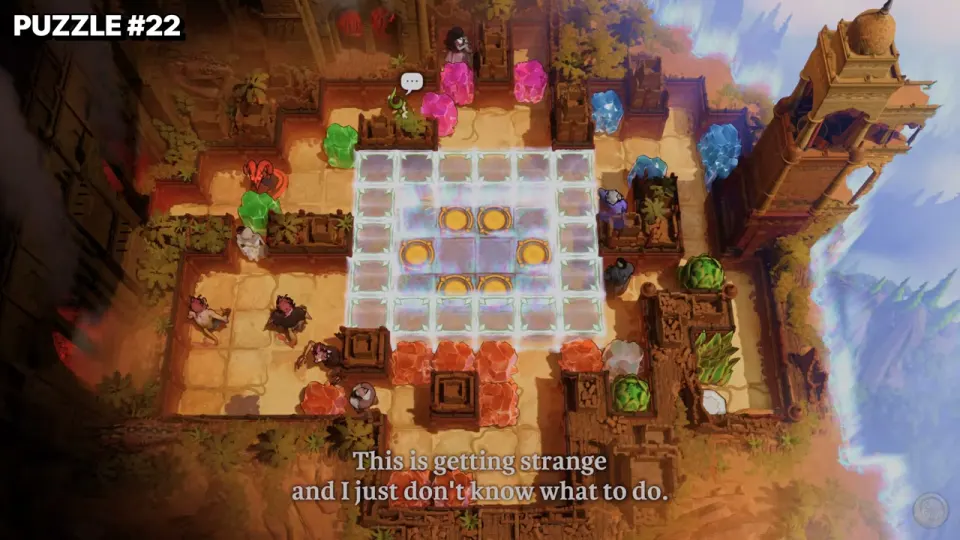
Puzzle 22
The finale, with the whole party in one desert room. A glass grid in the middle surrounds six gold pads, and colored crystals line the edges.
- Key idea: get every hero inside the central grid and onto the gold pads. The story cutscene plays while you solve it.
- Full run: 14:32 to about 16:10. The moves are hard to follow from still frames, so watch the video for the exact order.