Heroes 2: Monsters is the second part of The Hearty Heroes of Hauling (North). The party can’t attack, so every room is about getting monsters out of the way with crystals, swaps and fire, then reaching the exit plate. Numbers below follow the 100% Guides solution video, 30 puzzles in total. Each heading has the key idea, the main moves, and a link that jumps straight to that room.
Rules that matter in this area
- Monsters move when you move. Plan each step around where they will end up.
- Pink crystal gates usually stay up while a monster is still in the room. Defeat them all and the gate turns into a walkable outline.
- Crystals are your weapon. Push one into a monster to defeat it.
- Fire statues breathe along a straight line. Whatever stands in that line burns, monsters included, so you can use them as traps. A crystal or boulder in the line blocks the flames.
- Izzy (purple) swaps places with a target in a straight line. That target can be a crystal or a monster.
- Plates: coloured or flower-shaped plates open the matching block (blue, gold, orange) while something stands on them.
Puzzle 1
Key idea: a warm-up. Monsters only move when you do. (0:27)
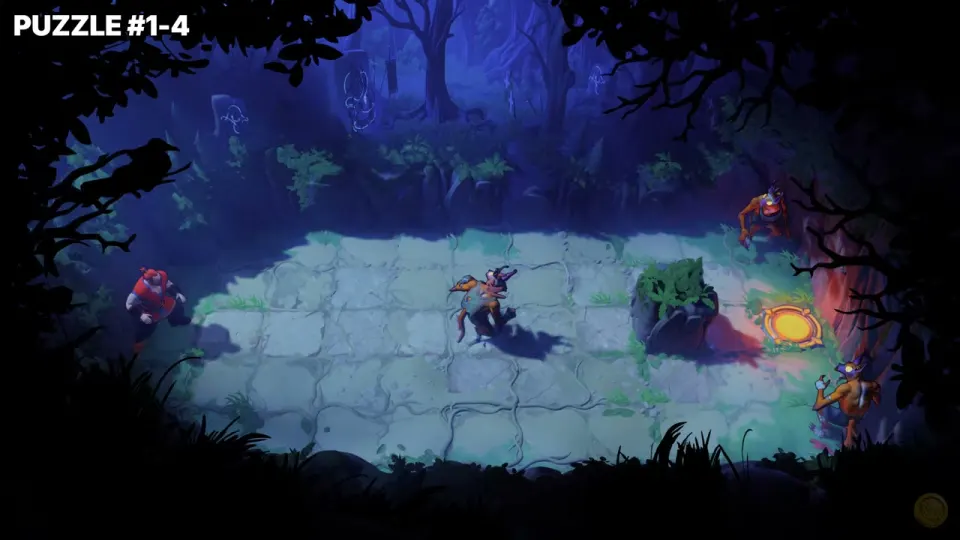
- Walk the Warrior along the bottom of the clearing, past the goblin and the bush, onto the glowing exit on the right.
Puzzle 2
Key idea: cross a room full of goblins without getting boxed in. (0:39)
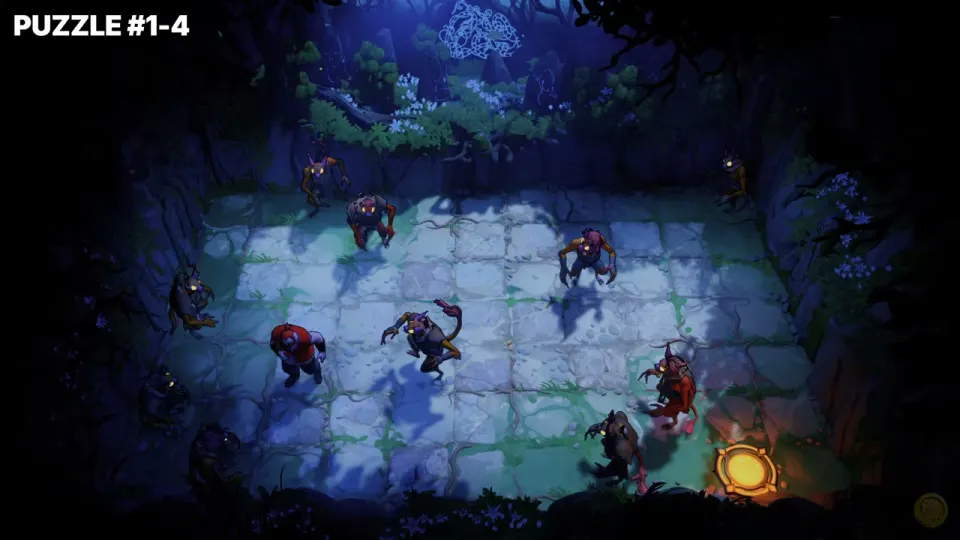
- Start top-left and work down through the middle. Watch how each goblin reacts to your steps.
- Slip past the last goblins near the bottom-right and step onto the exit.
Puzzle 3
Key idea: a plate opens the gate. Move the crystal onto the purple plate. (1:00)
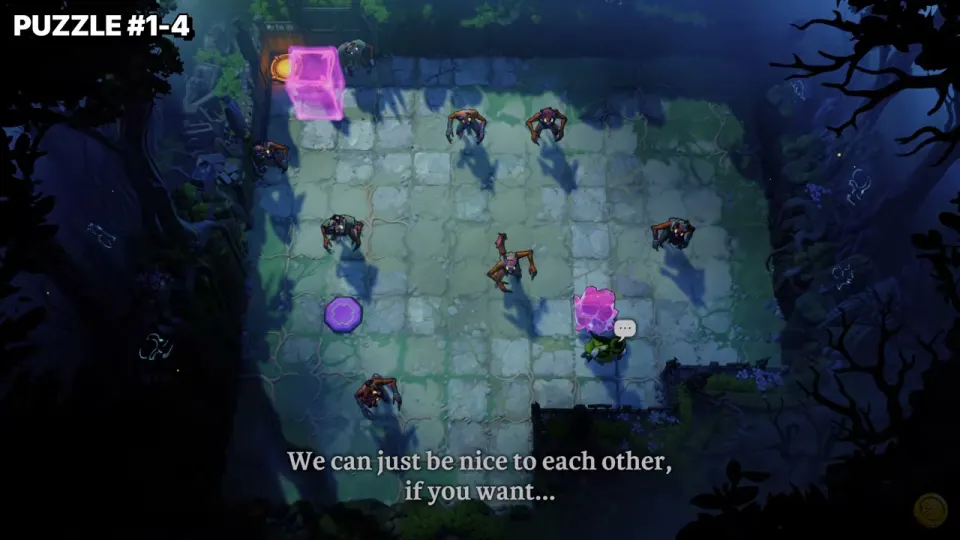
- With the green hero, work the crystal up and then left across the room, keeping clear of the goblins. (1:04)
- Bring it down onto the purple plate on the left. The gate in front of the top-left exit becomes an outline. (1:28)
- Walk up the left side to the exit.
Puzzle 4
Key idea: Izzy hops through the maze by swapping places with crystals. (1:41)
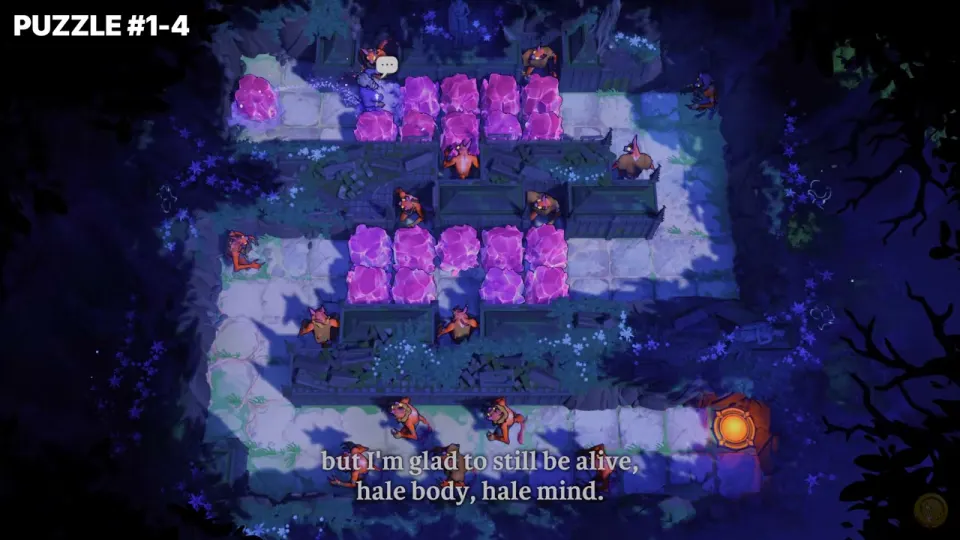
- From the top-left, swap with the crystal at the end of the first corridor to jump past the crystal rows.
- Keep swapping down the winding path, using the crystals to skip over the blocked lanes and the goblins.
- Finish on the bottom lane and walk to the exit at the bottom right.
Puzzle 5
Key idea: one push clears the way. (2:27)
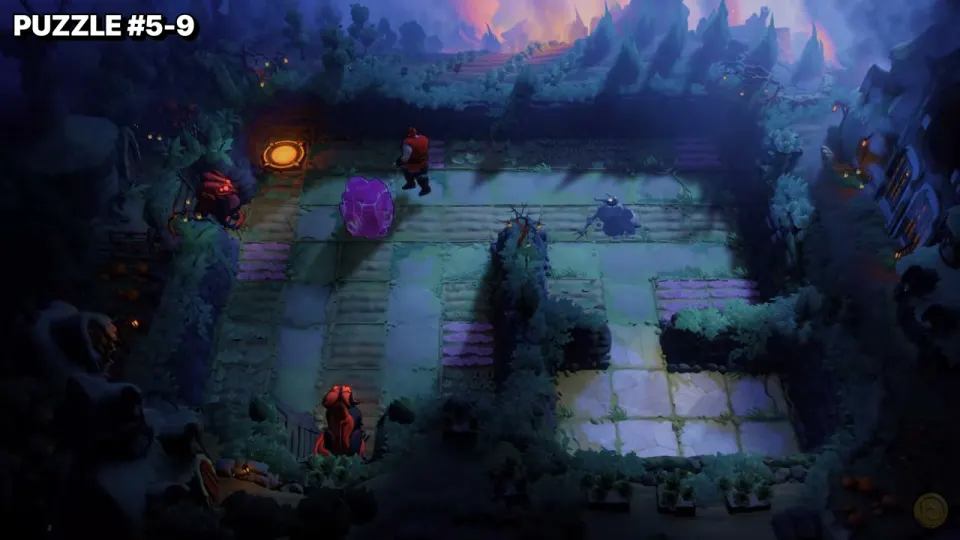
- Push the crystal up into the goblin’s path, then head for the exit at the top-left.
Puzzle 6
Key idea: the first fire statues. Stay out of their lines. (2:36)
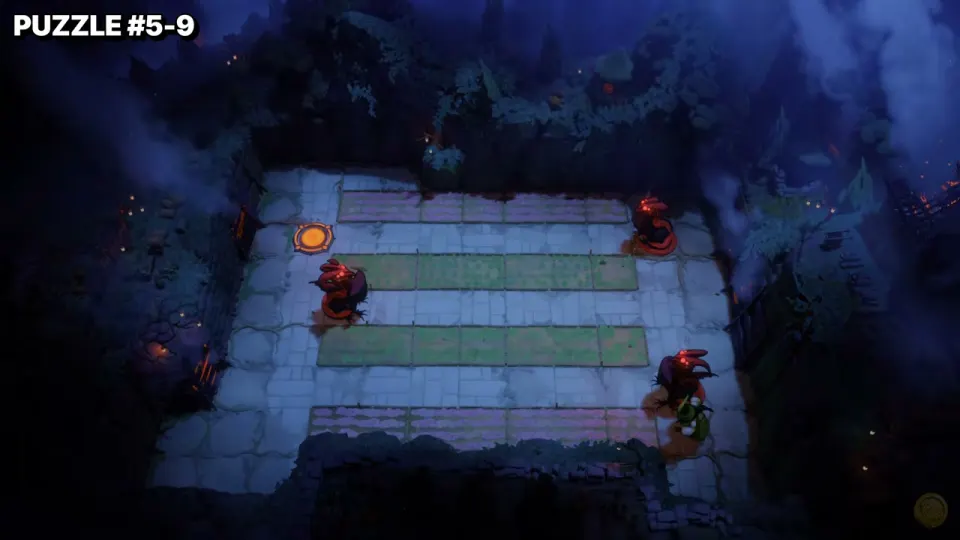
- Bring the green hero down the right side, then back west along the open rows. Avoid the tiles the statues are facing.
- Reach the exit on the left.
Puzzle 7
Key idea: use the crystal as a shield against the statue’s fire. (2:51)
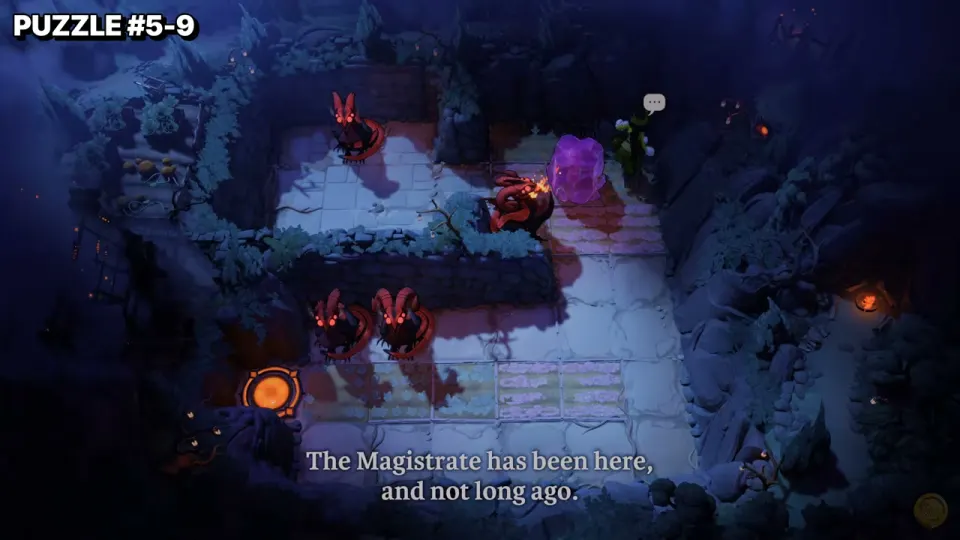
- Move the crystal along the upper ledge and down to the lower floor. (2:55)
- Park it in the bottom lane, between the statues and your route. (3:06)
- Walk the hero behind it to the exit at the bottom-left.
Puzzle 8
Key idea: the same shield trick, one floor up. (3:17)
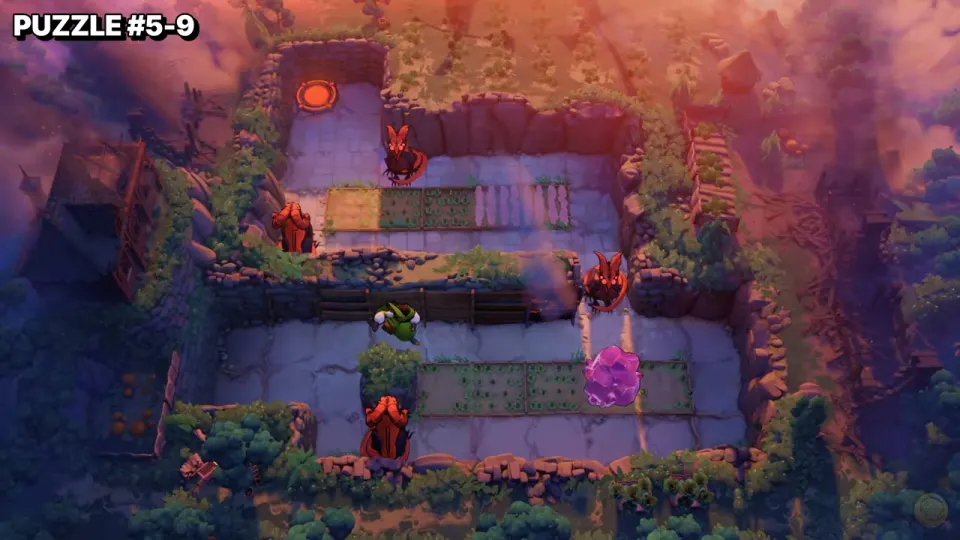
- Take the crystal from the lower terrace over to the right-hand stairs and up to the upper terrace. (3:22)
- Set it in the upper lane to block the statue there, then walk to the exit at the top-left.
Puzzle 9
Key idea: the party regroups. Get everyone onto the gold plates on the right. (3:42)
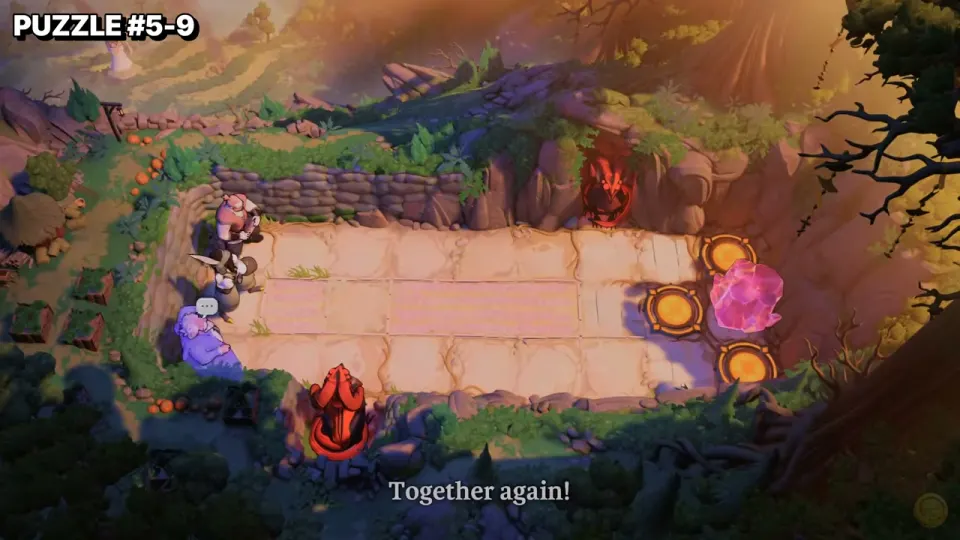
- First move the crystal off the plates and back toward the middle so it no longer blocks them.
- Walk each hero across the courtyard. Leave the crystal just west of the plates and put one hero on each plate. (4:04)
Puzzle 10
Key idea: the gate stays up while monsters are present, so crush the spider with crystals. (4:26)
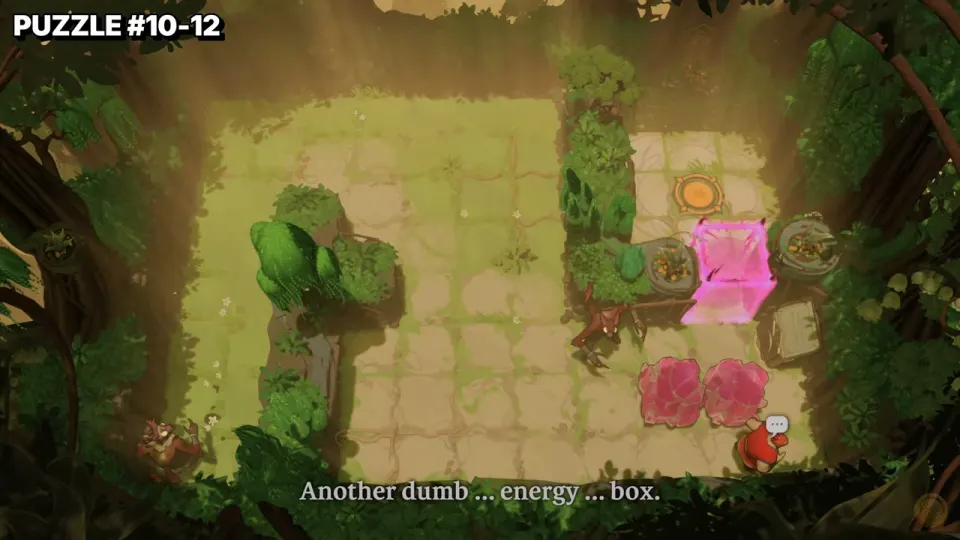
- With the Warrior, push the crystals up into the open middle. Move so the spider follows you there. (4:34)
- Push a crystal into the spider to defeat it. The pink gate becomes an outline. (4:50)
- Walk to the exit at the top-right.
Puzzle 11
Key idea: more crystal-pushing to clear the monster. (4:57)
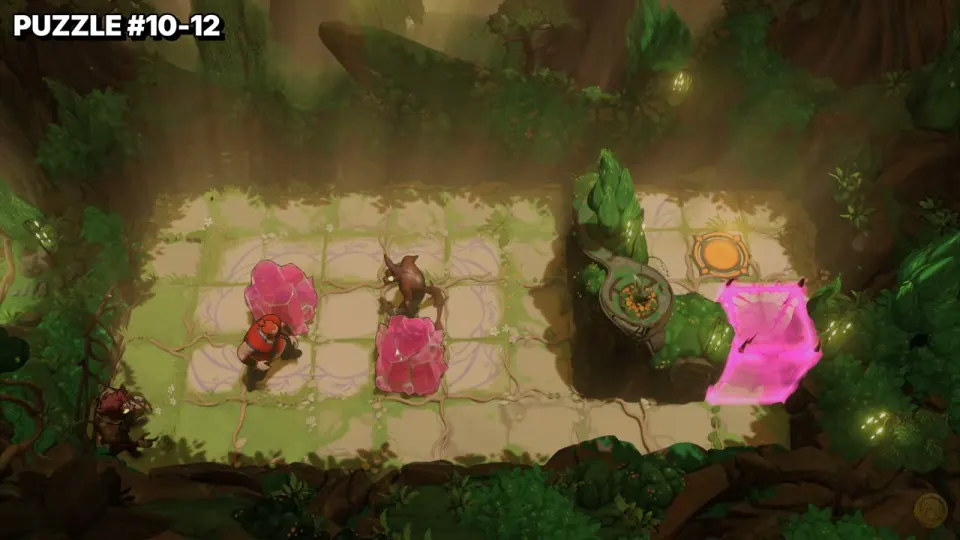
- Use both crystals to pin the spider against the west side, then push one into it. (5:08)
- With the gate open, cross to the exit on the right.
Puzzle 12
Key idea: two spiders this time. Defeat both before the gate opens. (5:20)
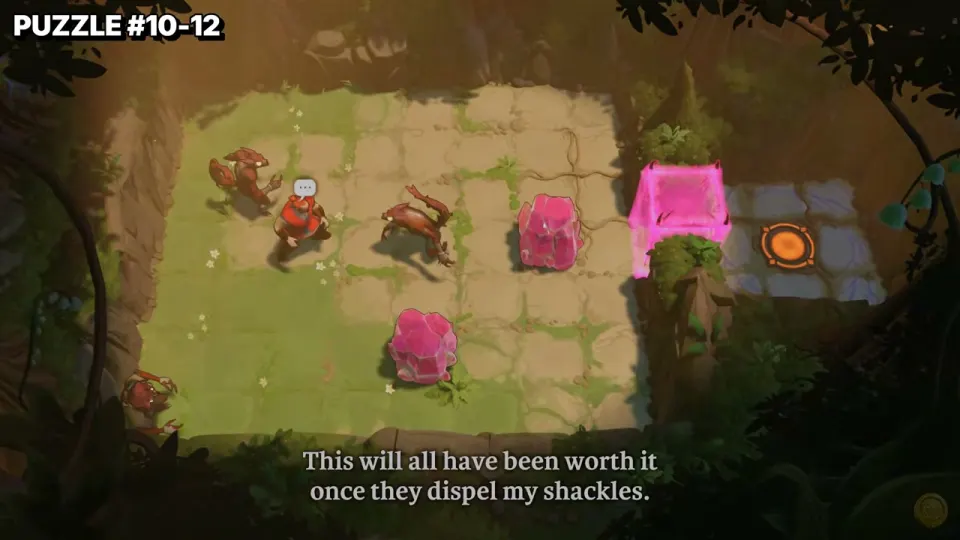
- Lead one spider into position and push a crystal into it.
- Use the second crystal on the spider waiting near the bottom-left. (5:28)
- The gate opens. Walk to the exit.
Puzzle 13
Key idea: two serpents and one crystal, so get the crystal between them. (5:48)
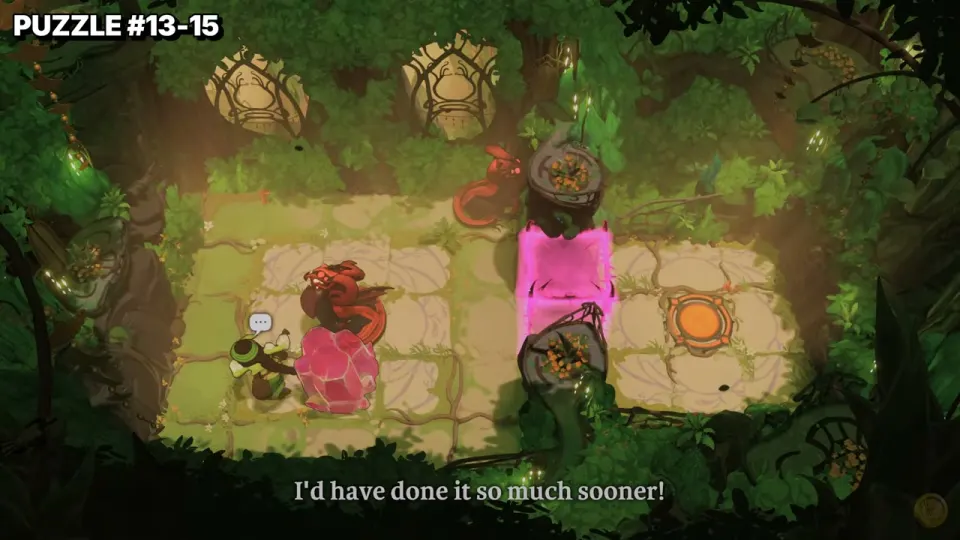
- With the green hero, bring the crystal down to the bottom row and draw both serpents toward it. (5:56)
- Once the crystal sits between the two serpents, they are defeated and the gate opens. Step through and pull the crystal along to the exit side. (6:02)
Puzzle 14
Key idea: set up a clean push line into the monster. (6:05)
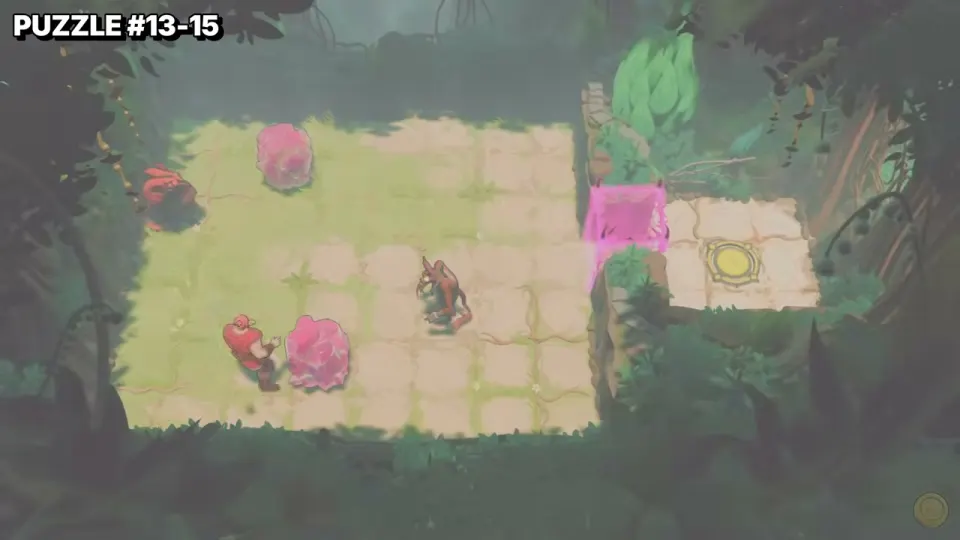
- Move a crystal into the middle of the room, then walk so the monster lines up beside it. (6:12)
- Push the crystal into the monster, then go through the opened gate to the exit.
Puzzle 15
Key idea: Izzy swaps the spider onto one plate and a crystal onto another. (6:24)
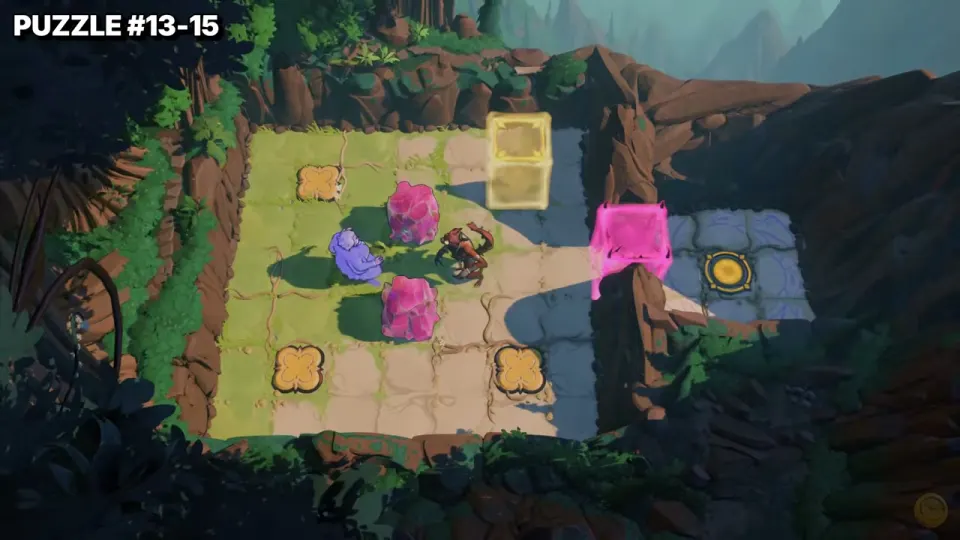
- Stand in line with the spider and swap it onto the top-left flower plate. The gold block at the top becomes an outline. (6:56)
- Walk through the opened block, then swap a crystal onto the bottom-left flower plate. The pink gate opens. (7:01)
- Walk to the exit on the right.
Puzzle 16
Key idea: let the fire statue do the fighting. (7:26)
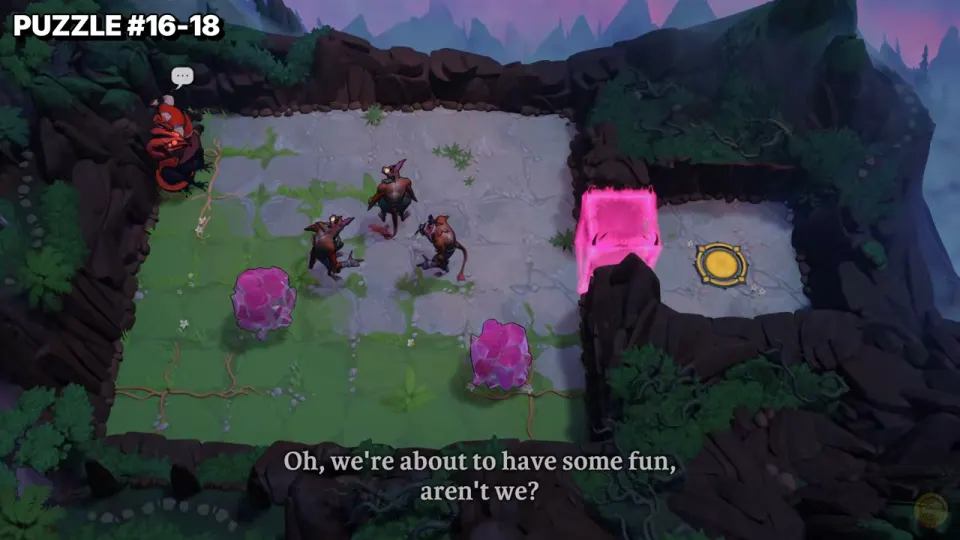
- Lure the monsters into the statue’s row so the fire burns them. (7:28)
- Use the crystals on any monster the fire missed. (7:34)
- Walk through the opened gate to the exit.
Puzzle 17
Key idea: Izzy swaps monsters into the fire lane. (7:43)
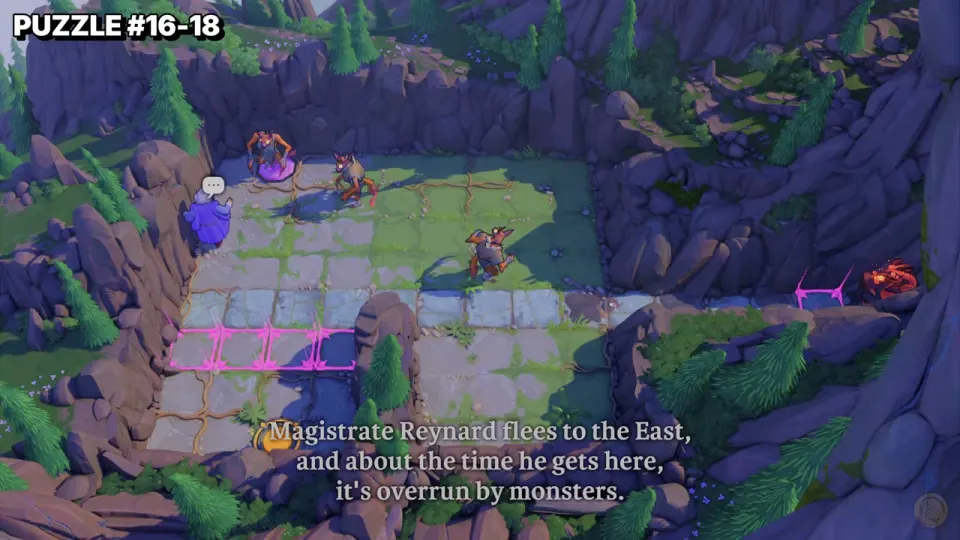
- Swap the monsters one by one onto the lower lane, which the right-hand statue covers with fire. (7:52)
- When the last one burns, the crystal blocks become outlines. Walk down to the exit at the bottom-left. (8:03)
Puzzle 18
Key idea: a crystal on the blue plate opens the ice block, and the fire statue clears a monster for you. (8:11)
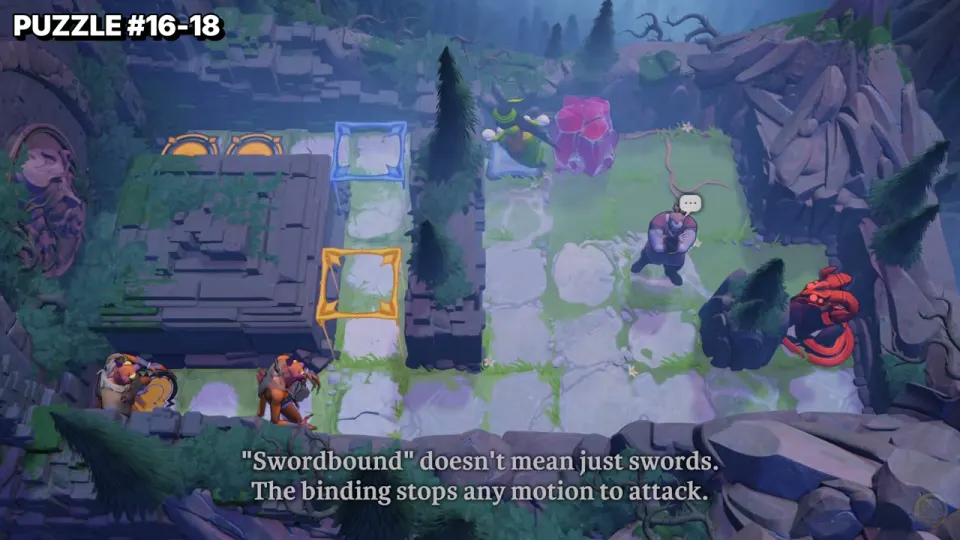
- Work the crystal up the middle column and onto the blue plate at the top. The blue block opens. (8:44)
- Clear the monsters at the bottom-left. One of them burns in the statue’s fire. (8:32)
- Move the heroes up the left column to the gold exits at the top-left.
Puzzle 19
Key idea: a short room. The bottom row is the way out. (9:07)
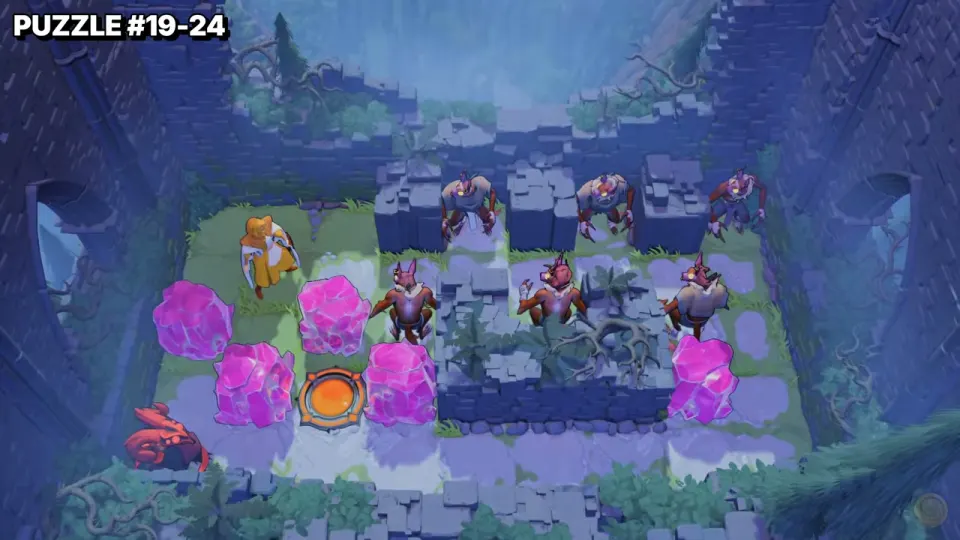
- The gold hero goes down to the bottom row. The statue’s fire sweeps that row, and she then steps up onto the exit between the crystals. The clip is only a few seconds long, so watch it for the exact order.
Puzzle 20
Key idea: Izzy’s swap carries a stranded hero across. (9:15)
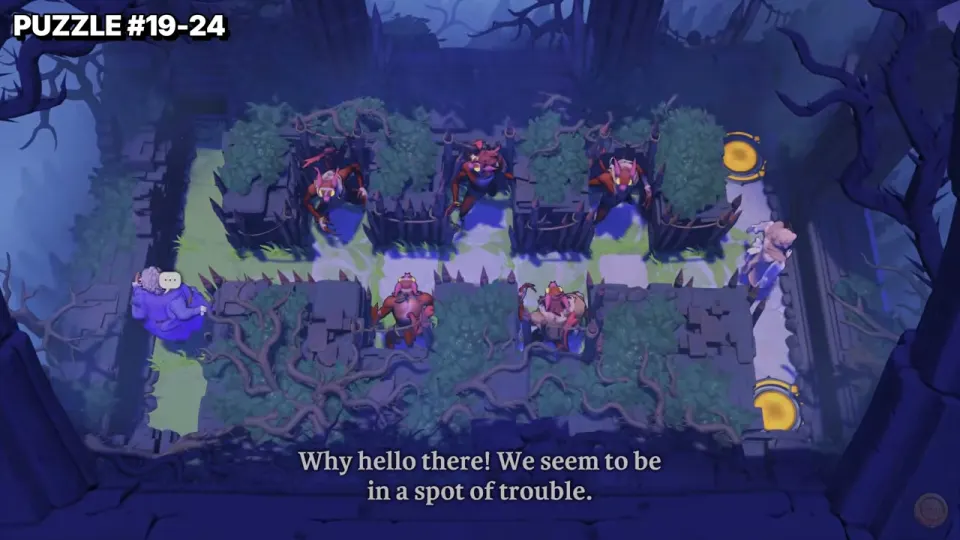
- Izzy swaps along the left edge to reach the other hero, then the pair cross between the hedge blocks.
- End with one hero on each of the two exits on the right. (9:21)
Puzzle 21
Key idea: get two heroes through a goblin-filled grove to the two exit plates. (9:28)
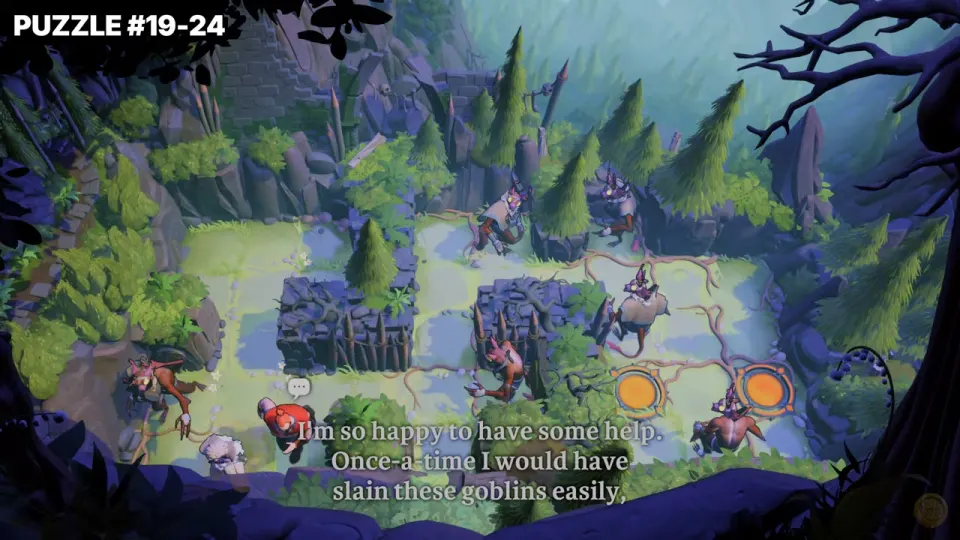
- Several heroes take turns moving through the gaps between the ruined walls. The video shows the order. (9:40)
- Finish with a hero on each orange plate on the right. (9:52)
Puzzle 22
Key idea: monsters count as weights. Two monsters and the crystal fill the three flower plates. (9:57)
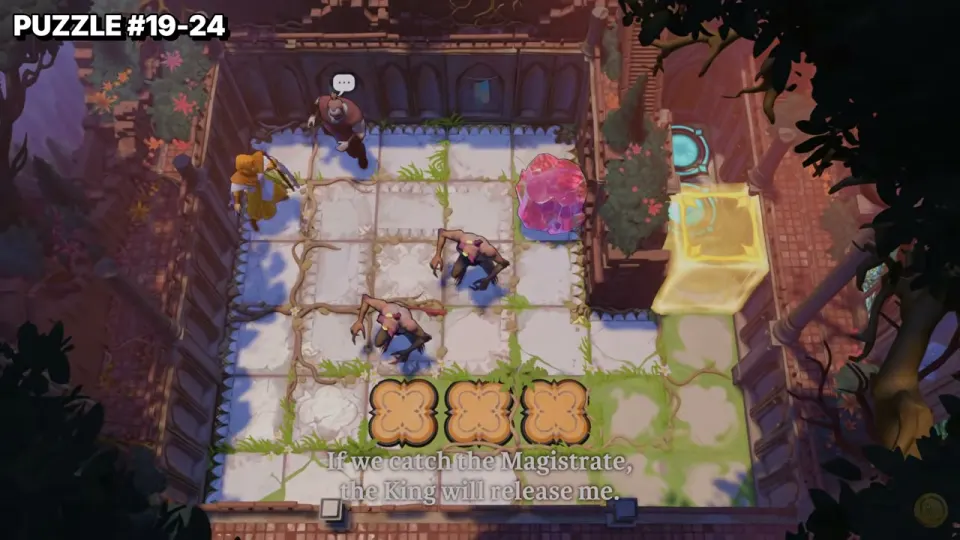
- Steer the two monsters onto the outer flower plates. (10:16)
- Bring the crystal down onto the middle plate. The gold block becomes an outline. (10:40)
- Walk the heroes up the right side to the exit.
Puzzle 23
Key idea: the crystals go on the purple plates to open the blue block. (10:55)
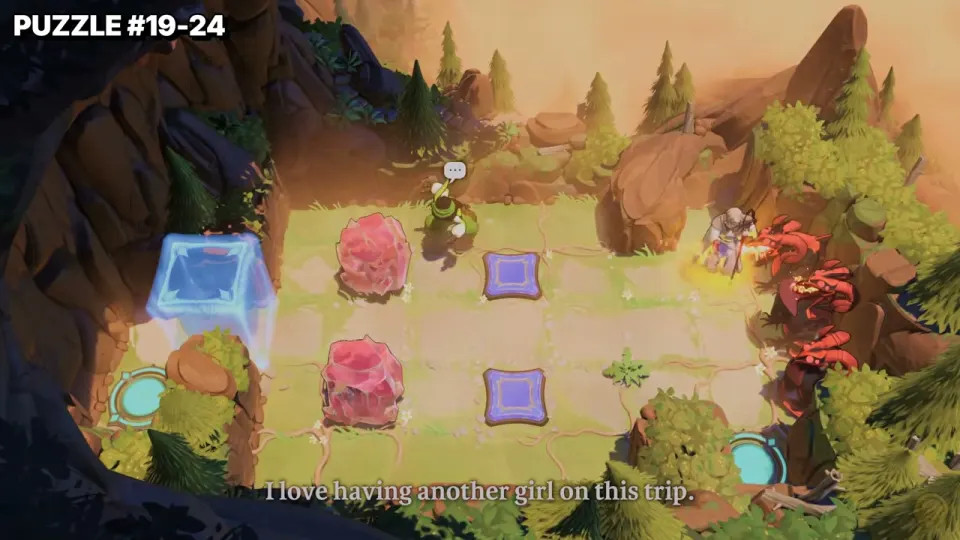
- Move the crystals onto the purple plates, keeping your heroes out of the statues’ fire. (11:07)
- The blue block opens. Take the heroes to the exits at the bottom-left and bottom-right. (11:15)
Puzzle 24
Key idea: the whole party moves through a rocky canyon full of goblins. (11:22)
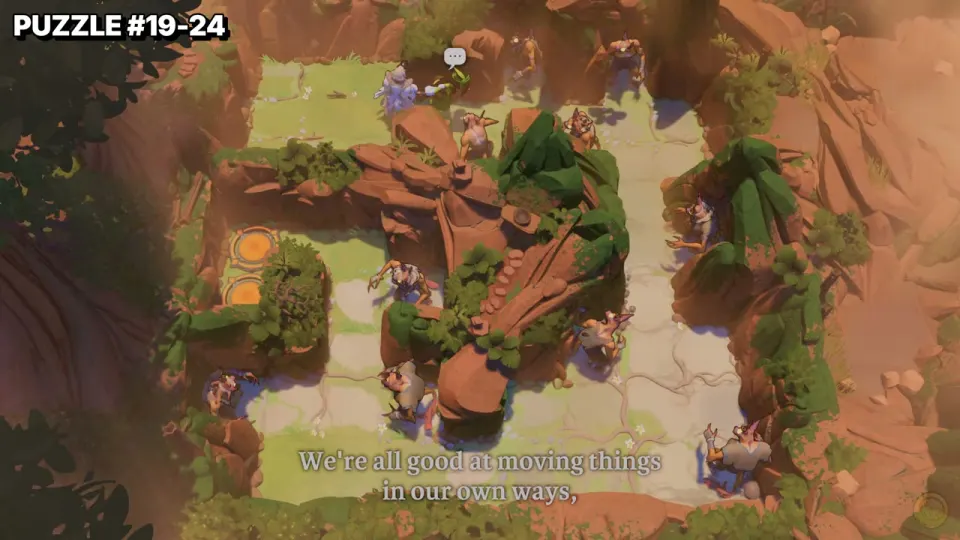
- The heroes split up around the central rock, using swaps to get past the goblins. The route is long, so follow the clip. (11:30)
- Finish on the orange plates on the left. (11:46)
Puzzle 25
Key idea: Izzy tunnels through a field of crystals by swapping. (12:04)
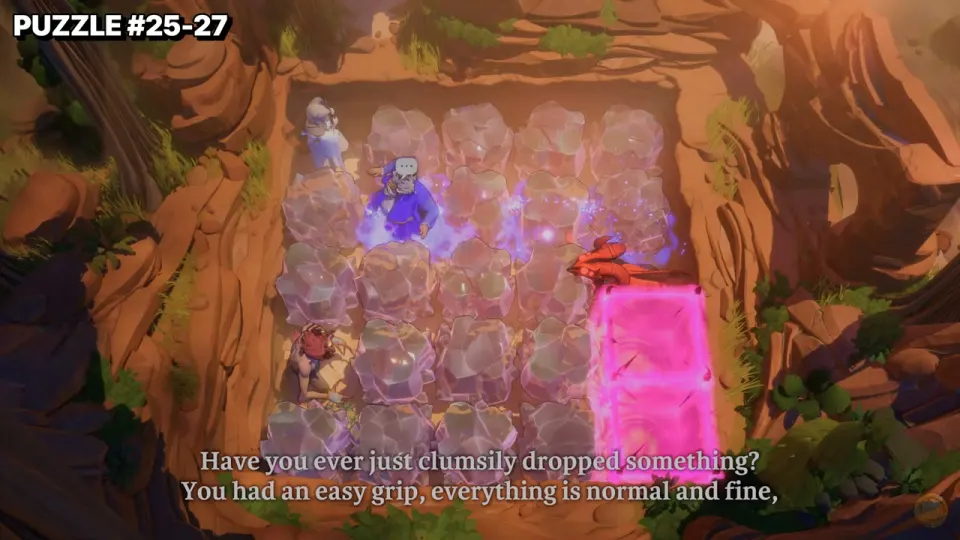
- Swap with crystals to move through the packed grid and open up space. (12:06)
- Clear the monster in the lower-left with the Warrior. The pink gate then becomes an outline. (12:26)
- Get both heroes into the exit lane on the bottom-right. (12:38)
Puzzle 26
Key idea: swap the monsters together to clear them, then fill both exit plates. (12:55)
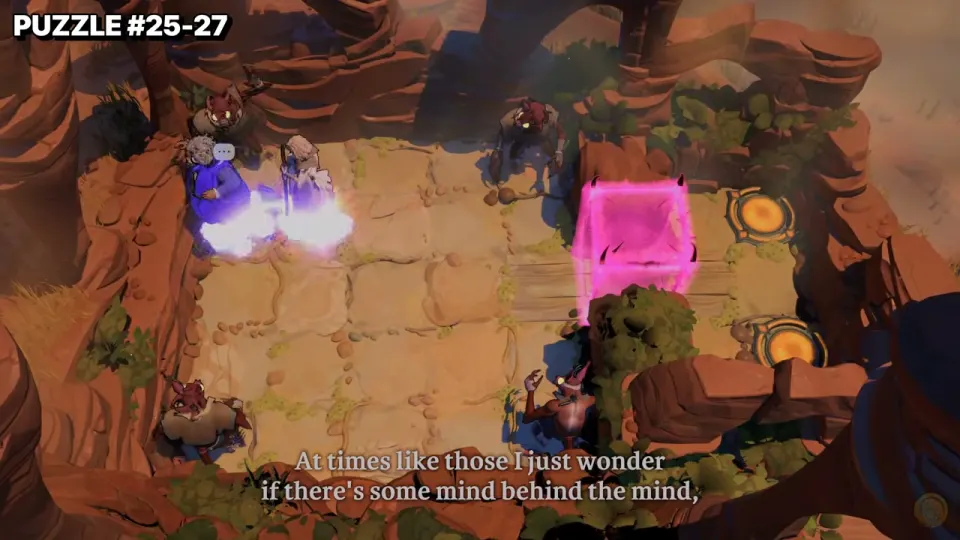
- Izzy swaps the monsters around the room until none are left. (12:58)
- The gate opens. Put Izzy and the gold hero on the two plates on the right. (13:18)
Puzzle 27
Key idea: the same room with more monsters, so the swaps need more care. (13:21)
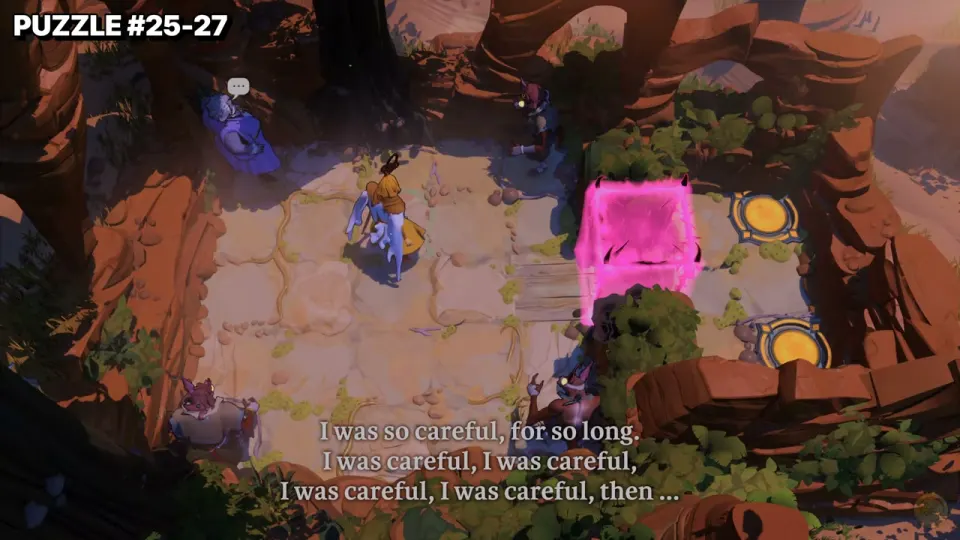
- Line Izzy up with each monster against the gate column and swap. The gold hero sets up the next position. (13:28)
- When the room is clear, both heroes go to the exit plates. (13:52)
Puzzle 28
Key idea: three heroes need the three green plates, and the crystal lets Izzy reach the far side. (14:28)
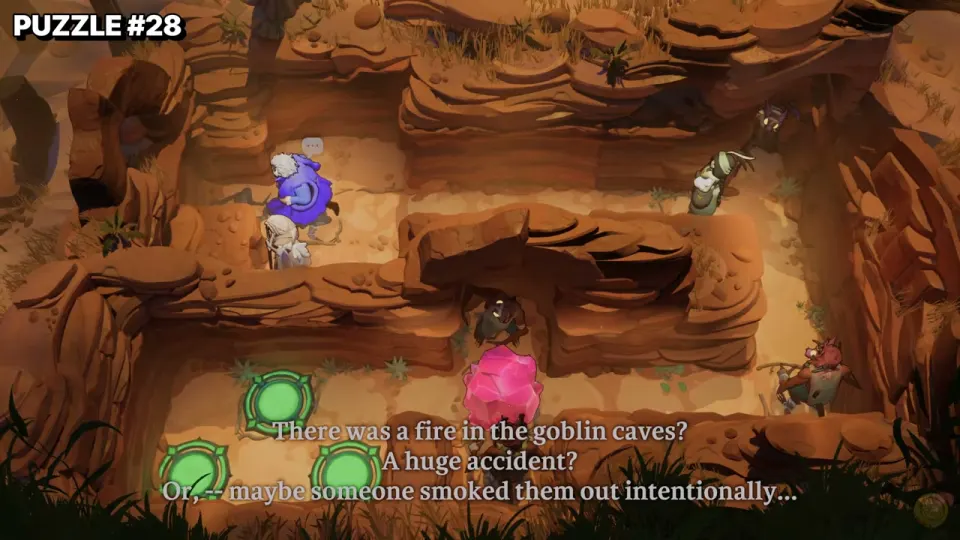
- Bring the crystal down the right side and use it as a swap target to move Izzy between the upper and lower paths. (15:04)
- Move the heroes along the bottom path past the goblins. (15:26)
- Finish with one hero on each green plate. (15:50)
Puzzle 29
Key idea: fill the three flower pads under the gold blocks, then send the heroes to the green plates. (16:34)
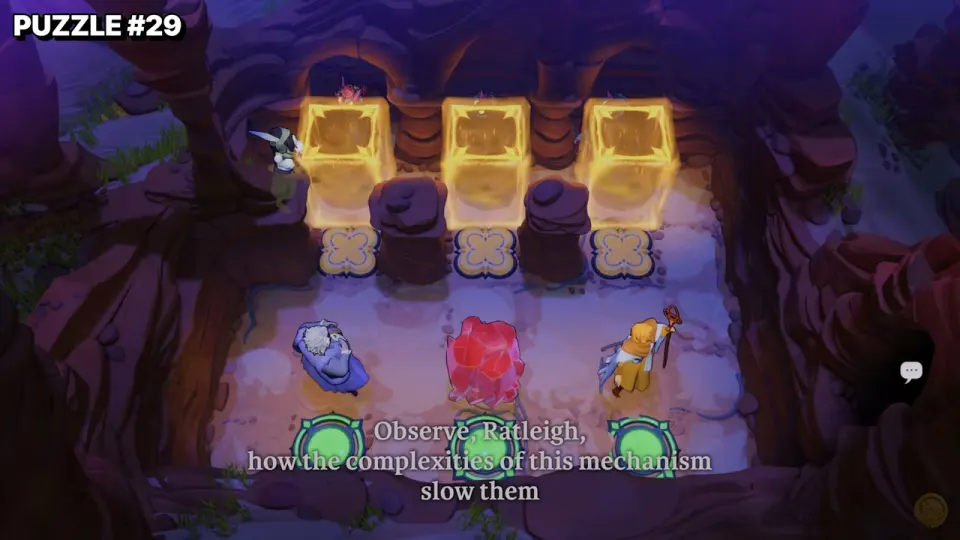
- With heroes or the crystal on all three flower pads, the gold blocks open. (16:50)
- Izzy swaps the crystal into position so the heroes can move off the pads. (17:06)
- End with the three heroes on the three green plates. (17:30)
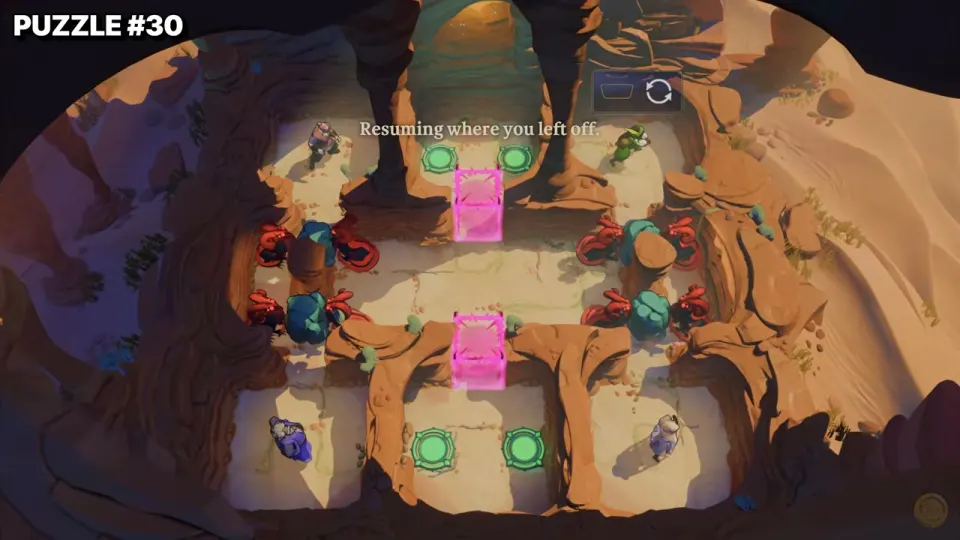
Puzzle 30
Key idea: the finale. Push the boulders into the fire lanes, then open both gates. (17:46)