This page solves every puzzle in Heroes 3: Bard, Druid, the third chapter of the North world (The Hearty Heroes of Hauling). Puzzles are numbered in the order of the solution video. For each one you get the idea that unlocks it, the main moves, and links that jump to that moment in the video. Several rooms are long and full of back-and-forth moves. Where a step isn’t clear from the footage, the guide says so and links the video rather than guessing.
The moves you’ll use
- Crystallize. A hooded hero turns the plant or creature standing right next to it into a pale crystal block, with a green-white flash. Blocks can be turned back into plants.
- Swap. The purple-robed hero trades places with a target in a straight line (purple beam). A white silhouette marks the spot left behind. It works on other heroes and on plants and blocks.
- Push. The red-shirted strongman shoves crystal blocks.
- Song (the Bard). The lute player sings a line of music along a row or column. Goblins, crystals and blocks touched by the line move with her.
- Gates. Pink, yellow and blue cubes turn into empty outlines once their condition is met. Usually that means covering a plate, button or pad. In some rooms the pink cube opens once every creature has been crystallized.
Puzzle 1
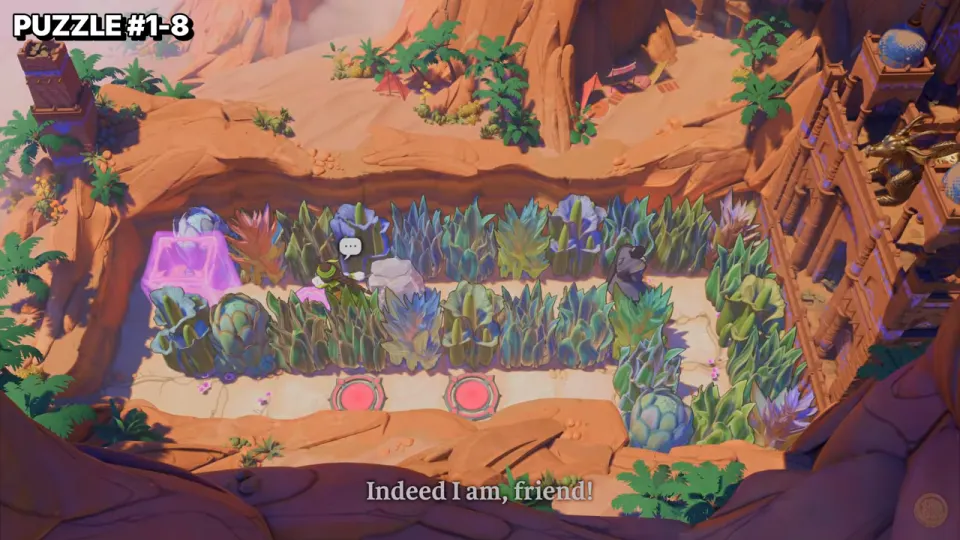
Key idea: get one hero onto each of the two pink plates in the lower lane. The hero in the upper lane can only come down the right side once the plant blocking it has become a block and been moved.
- The small green hero walks down the left end into the lower lane and onto the plates area. (0:14)
- The hooded hero, in the upper lane, turns the plant at the right-hand bend into a crystal block. (0:17)
- That block is pushed left along the lower lane. It can stay between the two plates. (0:19)
- With the bend open, the hooded hero comes down. The two heroes stand on the left and right plates. (0:22)
Puzzle 2
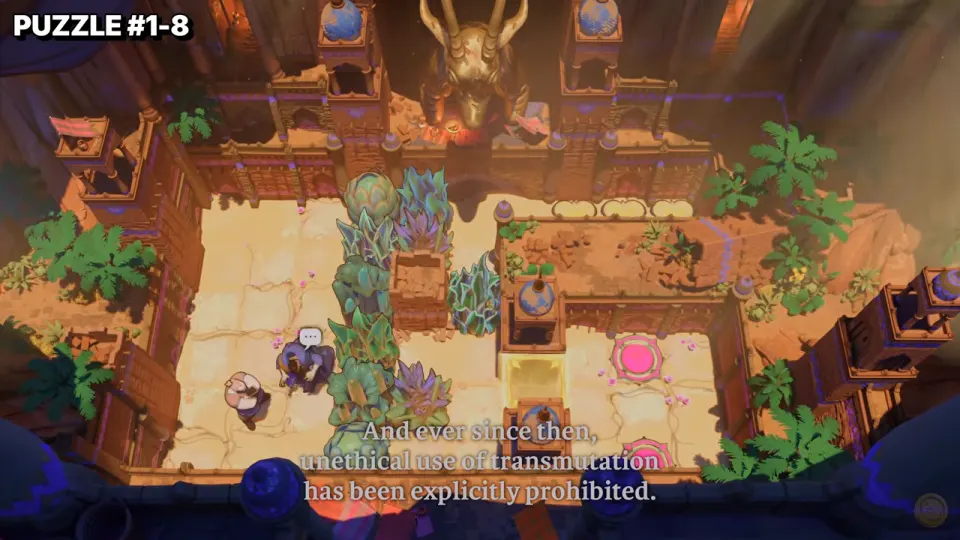
Key idea: a column of plants cuts the courtyard in two, and the two pink plates are on the right. Crystallize plants to make blocks, then push the blocks out of the narrow lanes and the top row so the heroes can walk round to the plates.
- The hooded hero crystallizes the plants at the bottom of the plant column, one at a time. (0:33)
- More plants along the column and the top row become blocks, and swaps move the heroes across the column. (0:40)
- The strongman pushes the blocks along the top row to the right, clearing a path over the top. (1:04)
- The heroes go over the top and down into the right section. One stands on each pink plate. (1:10)
The exact order of the swaps between 0:40 and 1:04 is hard to follow. Watch that stretch if your blocks end up stuck.
Puzzle 3
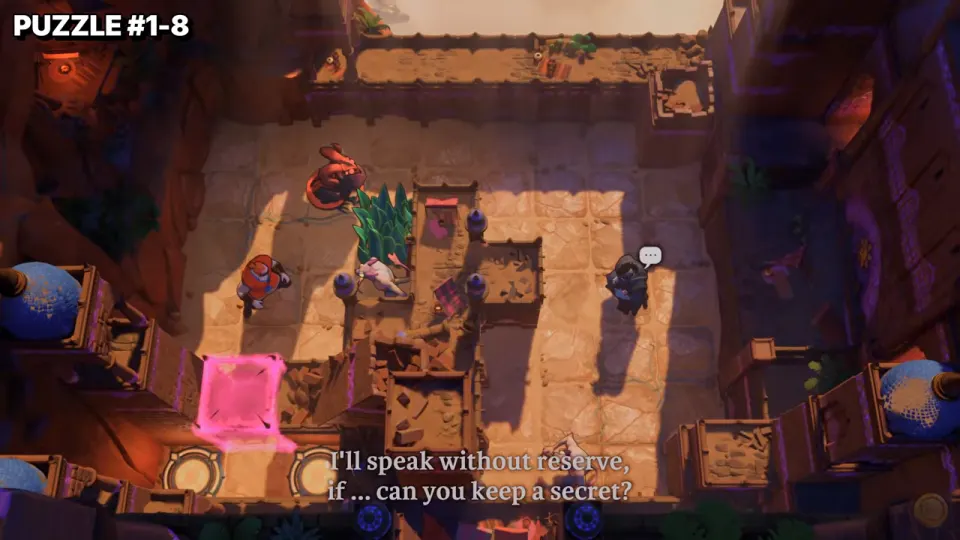
Key idea: the room is full of creatures. The hooded hero turns them into crystal blocks, the strongman pushes the blocks into place, and the pink cube at the bottom left opens.
- A red creature at the top is crystallized next to the strongman. (1:21)
- More transformations happen on the left side. A plant is crystallized and turned back while the heroes reposition. (1:30)
- The strongman pushes a block round the top and down the right side, to the creatures at the bottom right. (1:43)
- A last transformation at the bottom right opens the pink cube. (1:52)
What exactly triggers the pink cube isn’t clear from the footage. Watch from 1:43.
Puzzle 4
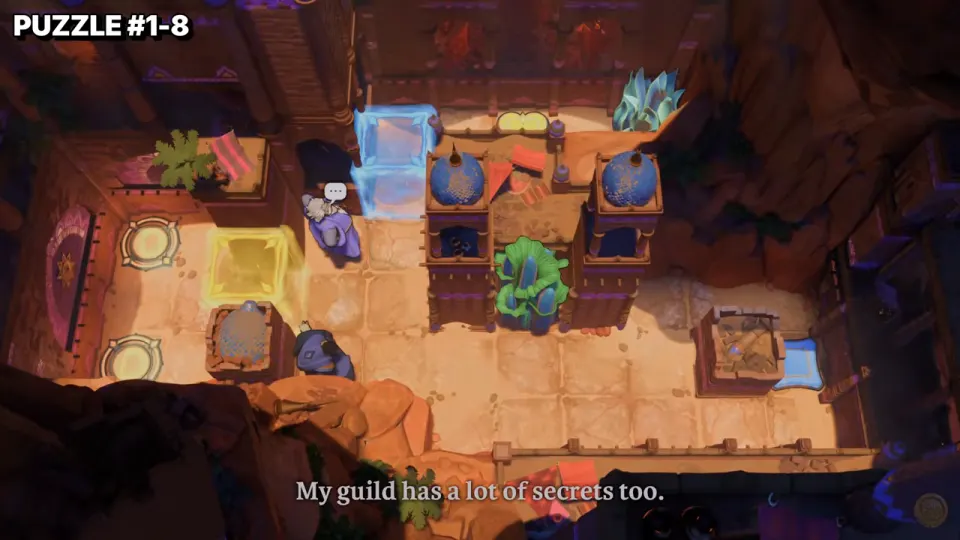
Key idea: two gates stand in the way. Opening the blue cube at the top lets a hero reach the area that opens the yellow gate. Then both heroes take the two plates on the left.
- The hooded hero crystallizes the green plant in the middle alcove. (2:05)
- The purple-robed hero swaps along the bottom row to cross the room. (2:08)
- After more crystallizing and swapping on the right side, a block ends up on the blue pad at the bottom right and the blue cube opens. (2:23)
- A hero goes up through the blue opening and the yellow gate opens. (2:29)
- A swap down the column brings the heroes back. One stands on each round plate. (2:42)
Puzzle 5
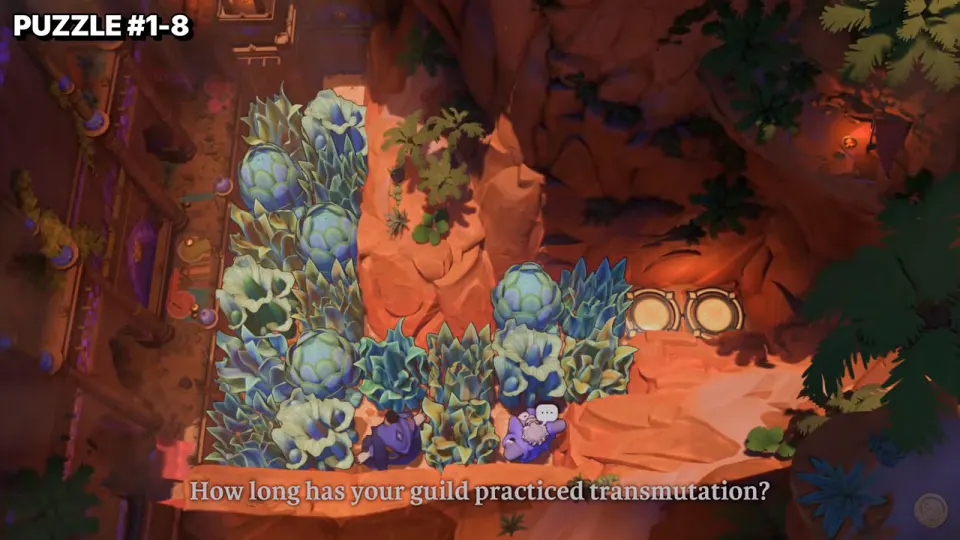
Key idea: plants block every route to the two golden plates. Move forward as a pair: the hooded hero crystallizes the plant in front of it, then the purple-robed hero swaps forward. Some crystals have to be turned back into plants later to reshape the field. This is the longest room in the chapter.
- On the bottom row, the purple hero swaps with the hooded hero, and the hooded hero crystallizes the plant above it. (2:50)
- Repeat up the two left columns, leaving a stack of crystals behind. (2:55)
- Reach the top of the left column and the upper path. (3:17)
- Turn several crystals back into plants to rearrange the field. This stretch is long and not easy to follow step by step. (4:07)
- Work along the row in front of the plates, crystallizing the plants there and swapping forward. (5:30)
- A last swap puts the hooded hero on the right plate, and the purple hero steps onto the left one. (6:08)
Puzzle 6
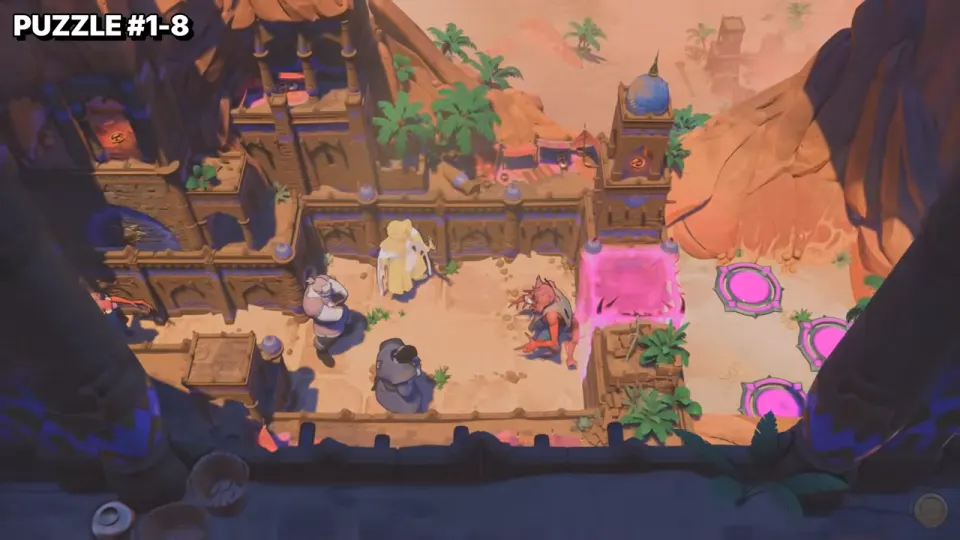
Key idea: crystallize both red creatures. The pink cube opens, and the party walks through onto the three pads.
- The hooded hero crystallizes the red imp next to the barrier. (6:19)
- Walk the party to the left wall, next to the red dragon. (6:22)
- Crystallize the dragon. The pink cube dissolves straight away. (6:30)
- The strongman shoves the crystal that used to be the imp out of the way and goes through. (6:35)
- Put a hero on each of the three magenta pads. (6:38)
Puzzle 7
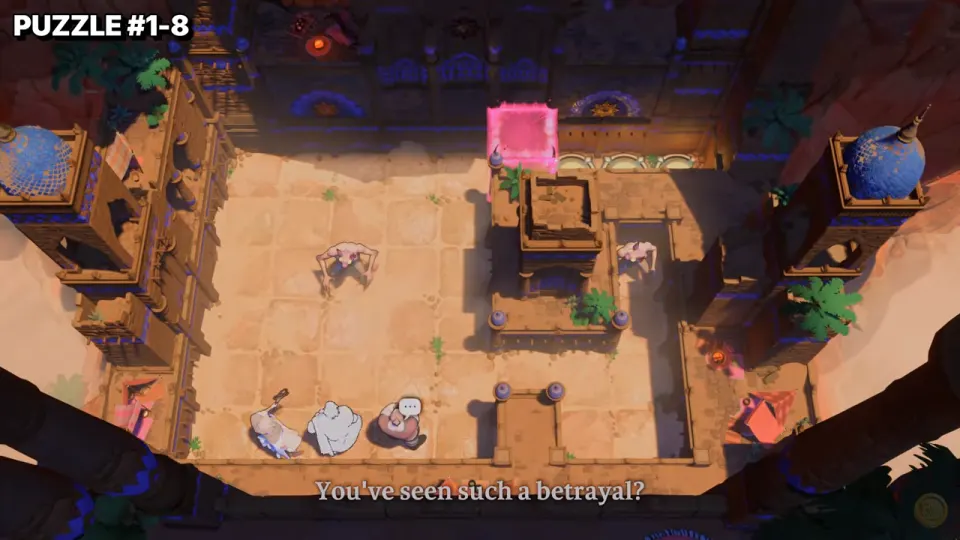
Key idea: the same rule as Puzzle 6, with a push in between. Crystallize the first creature, push its crystal round to the second creature, then crystallize that one too.
- The creature on the open floor at the middle left becomes a crystal block. (7:01)
- The strongman pushes the crystal down, then right, then up the corridor to the right of the pillar, next to the second creature. (7:05)
- The hooded hero walks down the right corridor. (7:17)
- Crystallize the second creature. The pink cube at the top opens. (7:25)
- Gather the party on the ledge behind the cube. (7:29)
Puzzle 8
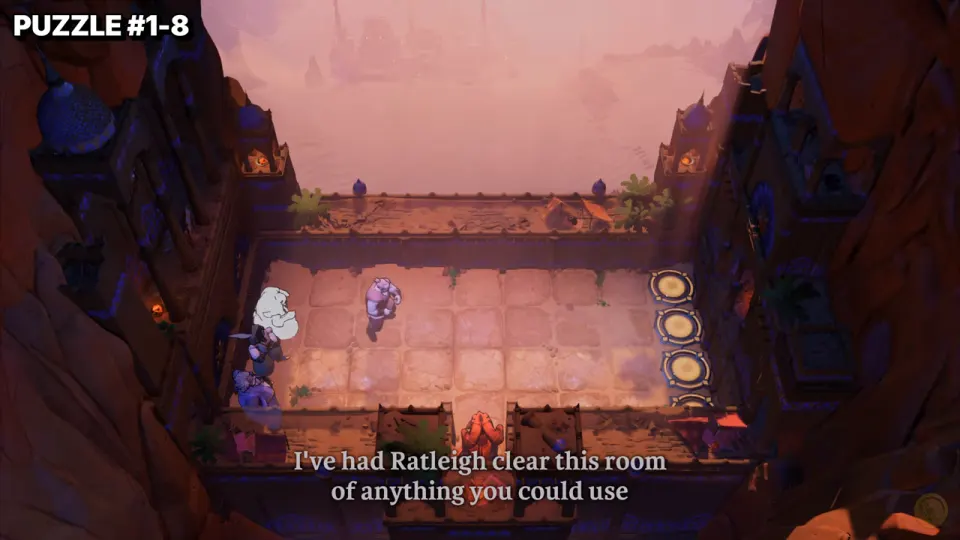
Key idea: there are no plants here, so party members themselves are turned into crystal blocks and pushed along the corridor. At least one is turned back later. All three pads at the right end need to be filled.
- Reposition the party and swap at the left end. (7:39)
- Two flashes leave two crystals in the middle of the corridor. (7:59)
- The strongman pushes the crystals to the right. (8:01)
- Swap near the pads, and turn the pink crystal back into a character beside them. (8:16)
- All three pads are covered. (8:19)
Who gets crystallized, and who ends on which pad, isn’t clear from the footage. Use the video for this one.
Puzzle 9
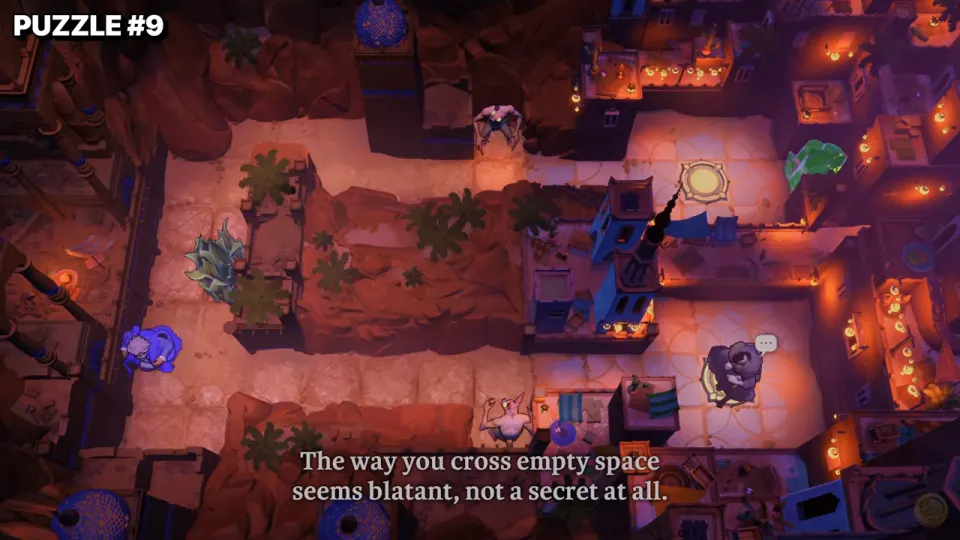
Key idea: the purple-robed hero can swap with plants, not just people. Use that to send the green bush onto the upper plate while the hooded hero ends up on the lower plate.
- The purple hero swaps along the bottom lane with the hero on the lower plate. (8:38)
- The plant at the far left becomes a pale block. (8:40)
- The purple hero swaps with the green bush along the top lane, then swaps with it again after another change at the top left. (8:49)
- A vertical swap on the left side, then more swaps along the bottom lane. (9:00)
- With the hooded hero on the lower plate, one last top-lane swap puts the bush on the upper plate. (9:10)
Puzzle 10
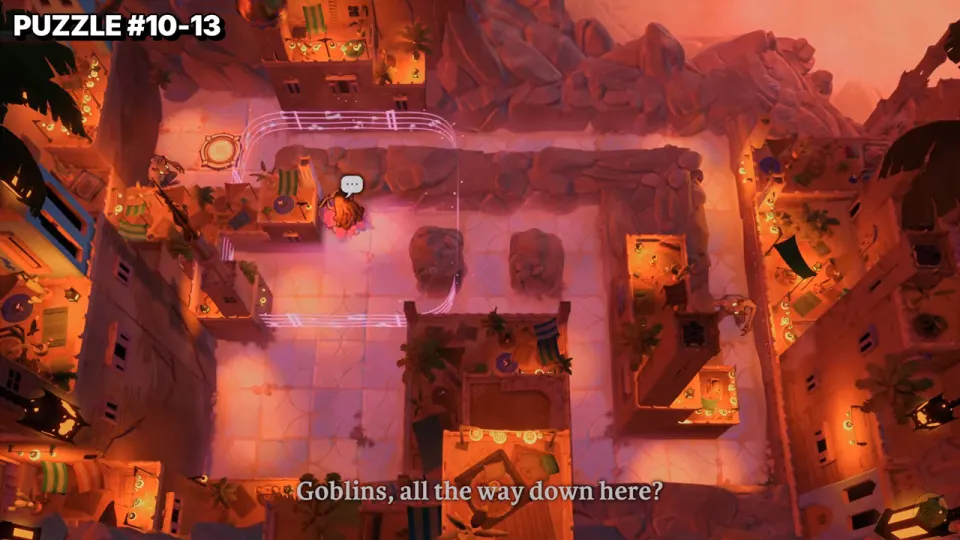
Key idea: the Bard is alone here. A goblin stands by the orange pad in the top-left alcove. Use the song to walk it away along the top ledge, then circle round and take the free pad.
- Walk down the left side while playing. The goblin by the pad reacts. (9:29)
- Keep playing as you move right below the ledge. The goblin walks right along the top ledge. (9:34)
- Go to the bottom right and up the right-hand corridor. Both goblins end up at the top right. (9:37)
- Slip onto the top ledge, head left and stand on the orange pad. (9:40)
Puzzle 11
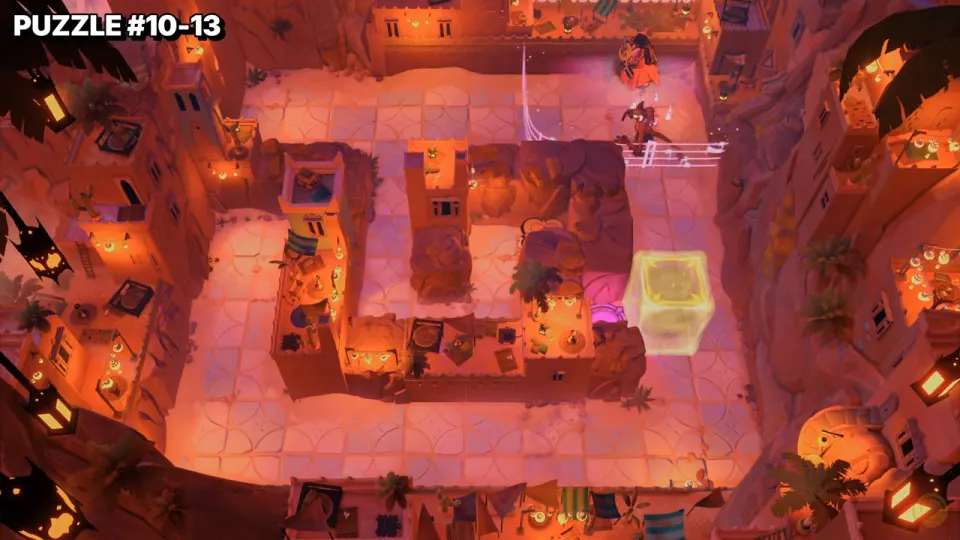
Key idea: lead the goblin out of its spot by the yellow cube and into the lanes inside the U-shaped cluster. Once it’s in the right place the cube opens.
- Play at the top right. The goblin follows you up and left along the top. (9:53)
- Keep it moving down into the left lane inside the U. (9:56)
- Circle round the outside while the goblin works through the inside to the inner bottom right. (10:02)
- One more burst of music, and the yellow cube turns into an outline. Walk through it. (10:09)
The exact goblin position that opens the cube isn’t clear from the footage.
Puzzle 12
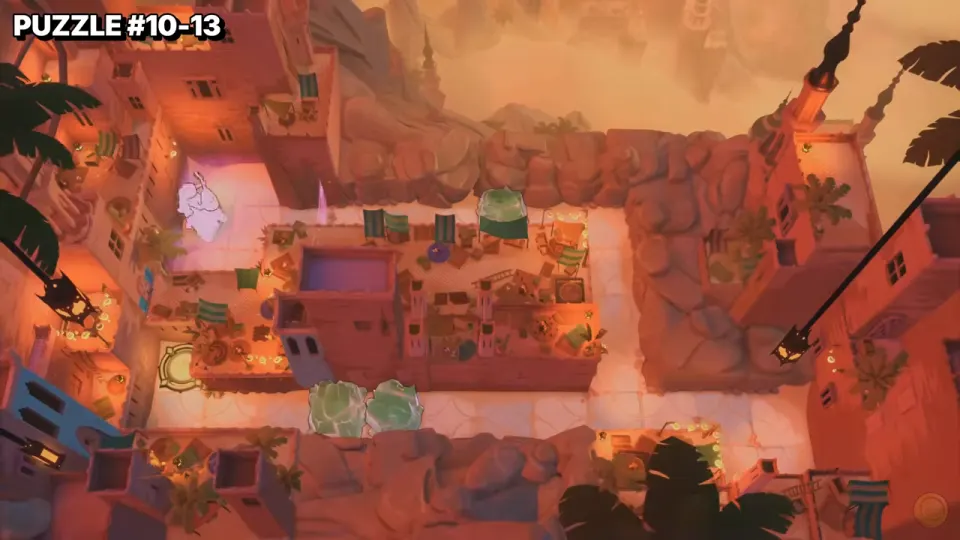
Key idea: the song moves the three green crystals too (“They do respond, and move!”). Rearrange them so the gold pad on the left can be reached.
- Play beside the top crystal. It slides left to the left column. (10:16)
- Go to the bottom right. A bottom crystal moves right. (10:22)
- The crystals are moved up the right column. (10:26)
- Walk to the gold pad on the left. (10:30)
Subtitles cover part of this room, and which crystal goes where between 10:22 and 10:29 isn’t clear. Watch it in the video.
Puzzle 13
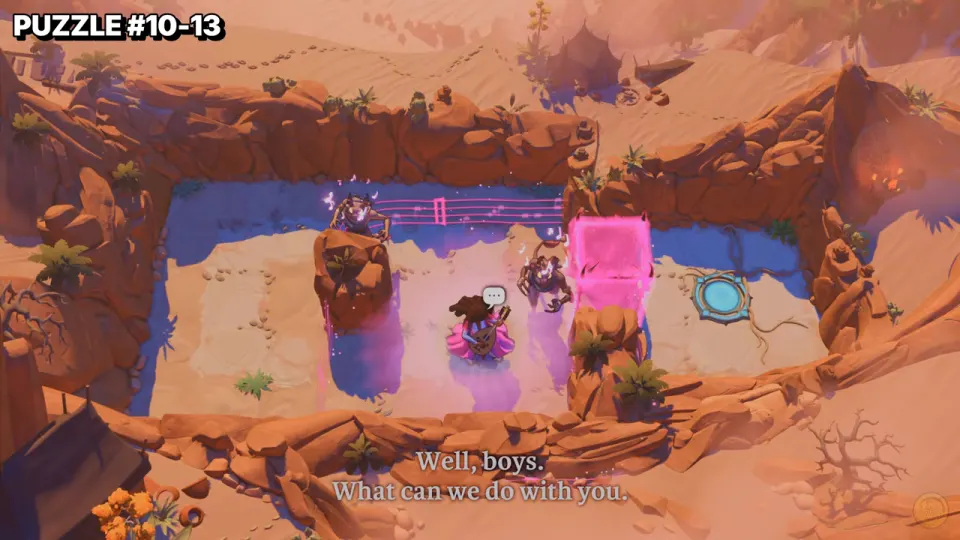
Key idea: use the song to steer the two goblins round the rock pillar until they run into each other at the top. The pink cube opens at that moment.
- Play around the pillar. One goblin goes round to the right side of it. (10:34)
- Circle to the left of the pillar. The goblins come together along the top edge. (10:42)
- The goblins collide in a scuffle, and the pink cube becomes an outline. (10:47)
- Walk through onto the blue pad. (10:48)
Puzzle 14
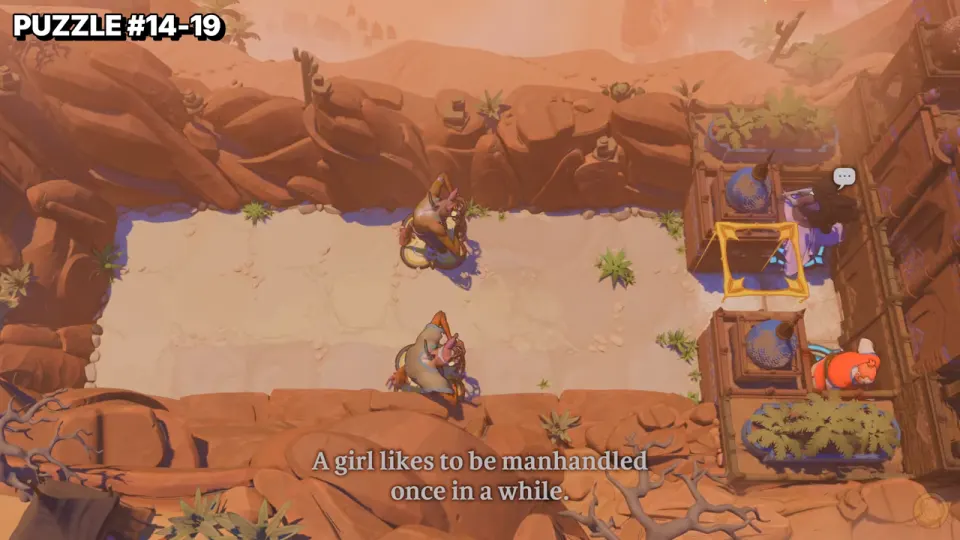
Key idea: the yellow gate needs both yellow plates covered. Play the song to put a goblin on each plate. The strongman then drags the Bard through the open gate.
- Note that the gate opens while the strongman stands on a plate and closes when he steps off. (10:58)
- Play. Both goblins move. (11:01)
- With a goblin on each plate, the gate opens. (11:05)
- The strongman walks right, pulling the Bard into the gate. They end up one on each blue pad. (11:06)
Puzzle 15
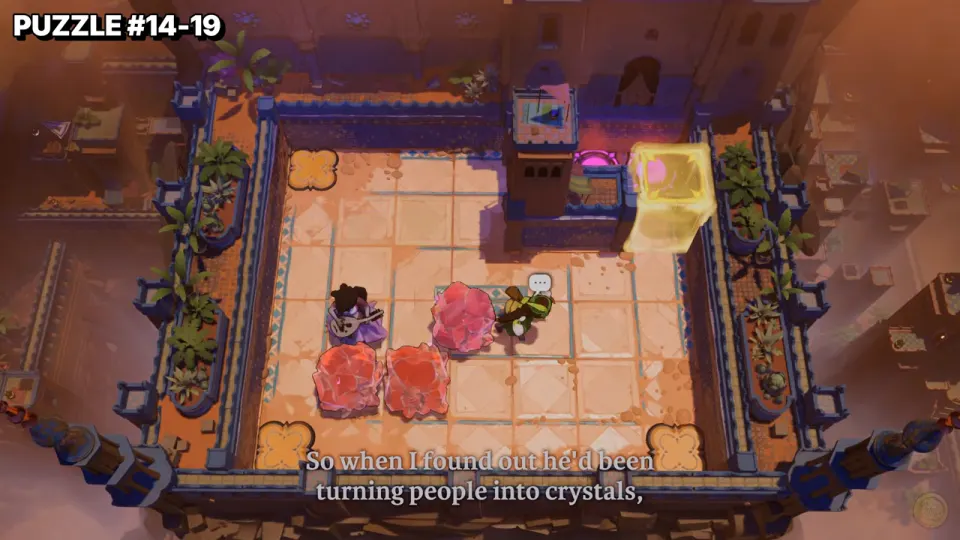
Key idea: there are three crystals and three orange plates in the corners: top left, bottom left and bottom right. Put one crystal on each plate. The yellow cube at the top right opens.
- Move the pink crystal right and then down, to the middle right. (11:20)
- Move one red crystal up to the top left, and the other down and left onto the bottom-left plate. (11:26)
- Line up the top-left red crystal on the top-left plate. (11:38)
- Bring the pink crystal down onto the bottom-right plate. The cube opens. (11:48)
- Walk round to the top right and through the open cube. (11:54)
Which hero moves each crystal isn’t clear from the footage. The end state, with one crystal on each corner plate, is.
Puzzle 16
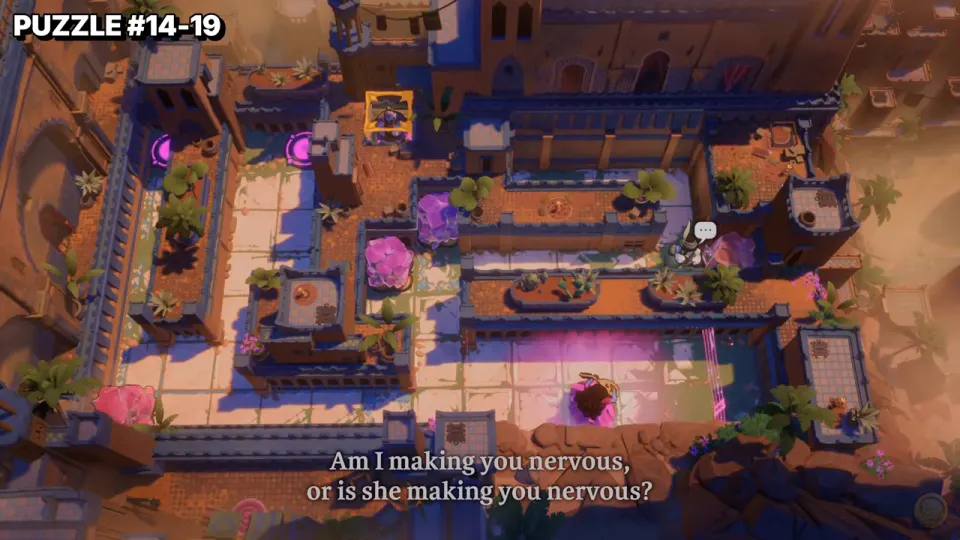
Key idea: bring the party round to the two magenta ring pads at the top left. Use the song to pull a hero down and along the lanes. A hooded hero takes the form of a green lizard here.
- The gray hooded hero at the top centre changes into a green lizard and walks east along the top planter. (12:19)
- The lizard comes down the middle lane. The Bard, in the bottom lane, sings it down beside her. (12:24)
- Take both west along the bottom lane and up the left lane. (12:29)
- Sing up the far-left column so the lizard moves next to the left ring pad. (12:34)
- The Bard reaches the ring area and sings across the top. The room is solved. (12:38)
What exactly stands on each ring pad at the end is hard to see. Check the video around 12:38.
Puzzle 17
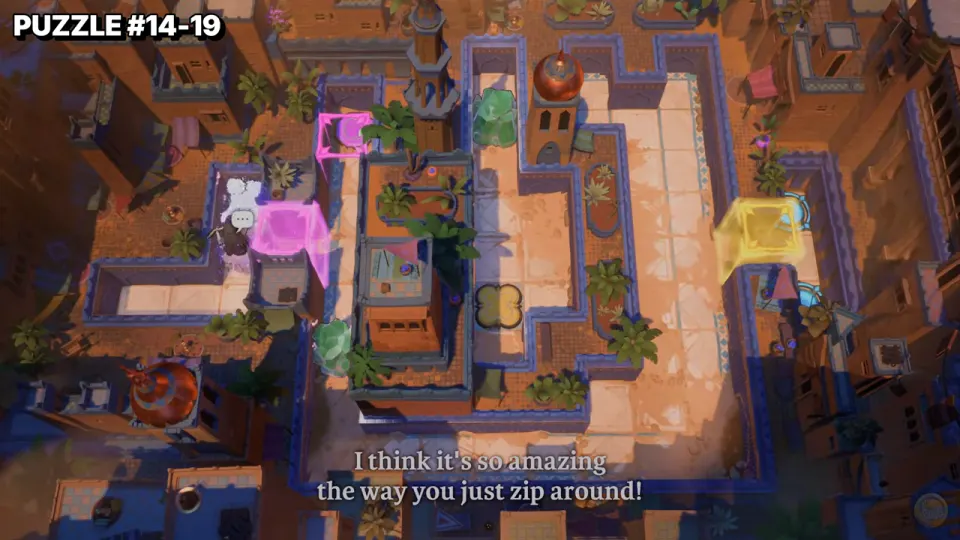
Key idea: first get the pink cube in the left nook up into the empty slot above it, which opens the route to the top. Then bring the green crystal down, and the yellow cube on the right opens.
- The party works around the pink cube in the left nook with quick pulls and swaps. This part is dense. (12:43)
- The pink cube moves up into its slot. (13:08)
- Head along the top-right corridor. The Bard sings there. (13:11)
- The green crystal comes down to the centre left, by the tan pad. (13:19)
- The yellow cube becomes an outline. Go round to the right and into its slot. (13:23)
The first 25 seconds are too fast to break into single moves. Watch from 12:43 at reduced speed.
Puzzle 18
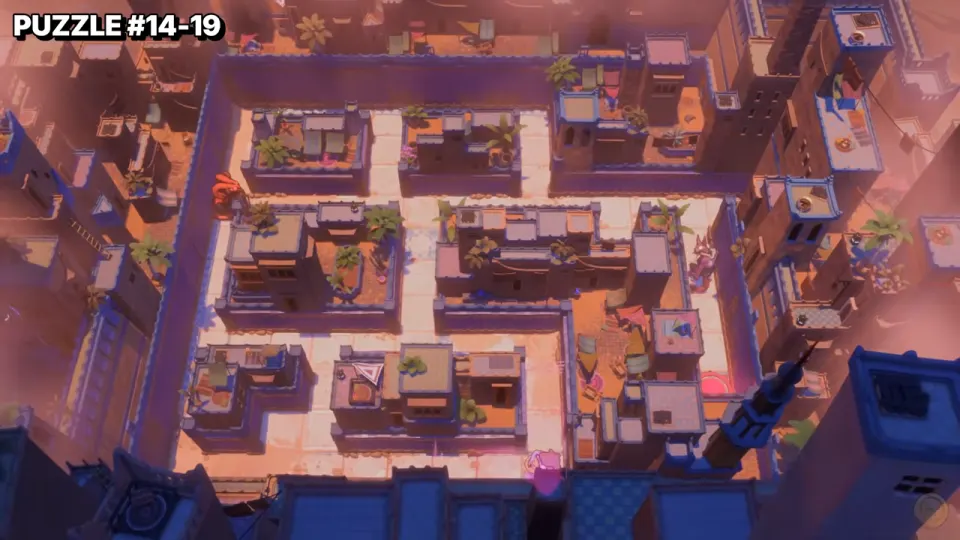
Key idea: lead the red creature through the streets from the far left to the right-hand column, singing from street corners. Then the Bard takes the pink pad at the bottom right.
- Walk up the middle and left streets and sing toward the red creature. It is dragged down the left street. (13:44)
- Keep singing from corners. It moves east along the lower street toward the centre. (13:49)
- The video seems to undo and retry here. (13:58)
- The route that works: pull it up the left street and east across the top street. (14:09)
- Bring it along the top to the right column. Then walk the Bard down to the pink pad. (14:20)
Puzzle 19
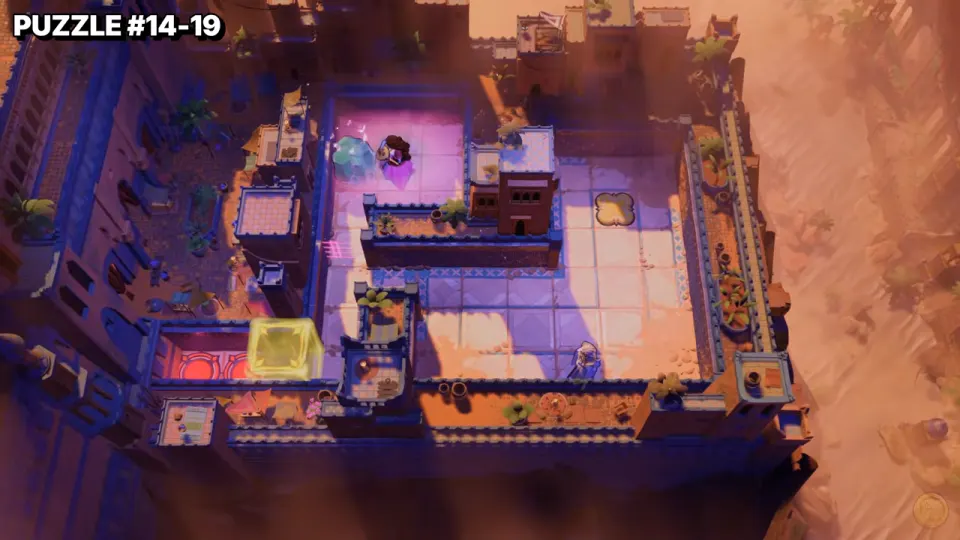
Key idea: use the song to pull the cyan crystal from the top-left nook down and then right onto the tan pad. The yellow exit cube opens.
- Gather the party around the crystal at the top left. (14:27)
- Sing from below to pull the crystal down the left column. (14:34)
- Move to the bottom of the big floor and sing again. The crystal slides right across the middle. (14:40)
- Go up the right side and pull once more. The crystal reaches the tan pad. (14:47)
- The yellow cube opens. Walk to the exit at the bottom left. (14:50)
Puzzle 20
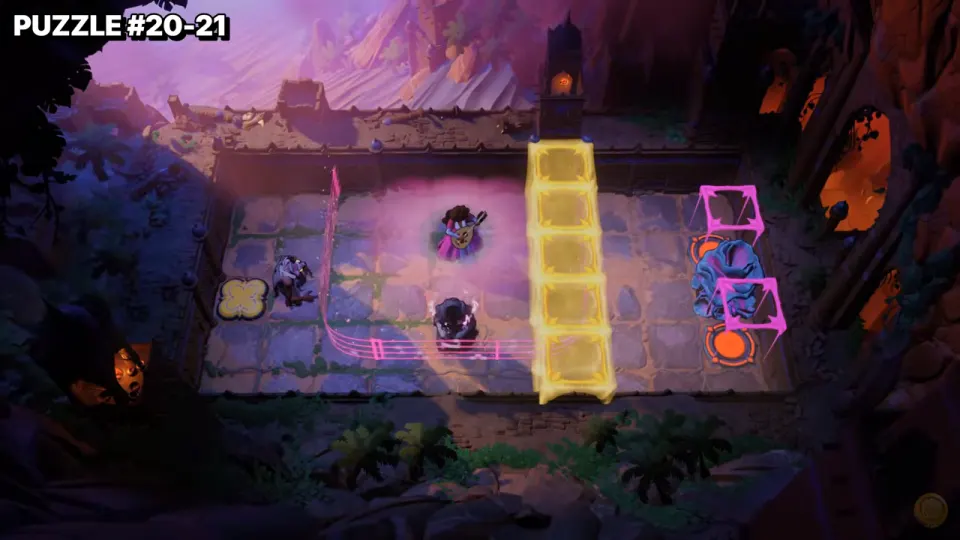
Before the room: the overworld courtyard. The blue cube that blocks the way here is opened from the central courtyard of the overworld map. Turn a bush into a crystal block, move it with the song, and get a crystal block onto the blue plate. The blue cube at the bottom centre opens. (15:14, plate covered at 15:40) The order of conversions in between isn’t clear. Watch from 15:14.
Key idea in the room: a column of yellow cubes keeps switching between solid and open, and two pink cube cells sit over orange pads on the right. Cross while the column is open, then fill the pink cells.
- Cross to the right side while the yellow column is open. (15:48)
- On the left half, a bush is turned into a crystal block and back several times while the Bard pulls things around. (16:06)
- With a crystal block next to the yellow column, the Bard sings a long line across the top and pulls it to the right. The pink cubes turn into outlines. (16:28)
- A last transformation at the pink cells. The party stands over the orange pads. (16:33)
What makes the yellow column and the pink cubes switch can’t be read from the video. Low confidence: watch the whole room.
Puzzle 21
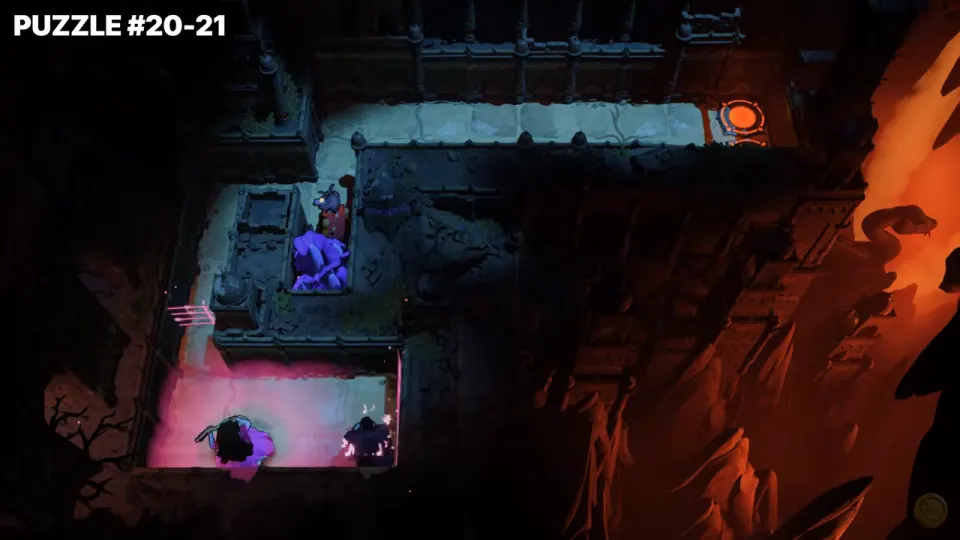
Key idea: flip the bush in the side niche between plant and block. As a block it can be moved, and as a plant it holds a spot. Switch it at the right moments so each hero can get through to the orange exit pad.
- Two heroes move up out of the start room into the top corridor, with the song playing. (16:43)
- The small blue-hooded hero turns the bush in the niche into a block. (16:49)
- With the song, the block ends up at the top-left corner of the corridor. (16:51)
- It is turned back into a bush there, then into a block again, and the blue-hooded hero walks right to the orange pad. (17:03)
- The block goes back into the niche and becomes a bush again. The others walk to the pad. (17:14)
The order of moves is clear, but why the bush has to change back and forth isn’t. Low confidence.
Puzzle 22
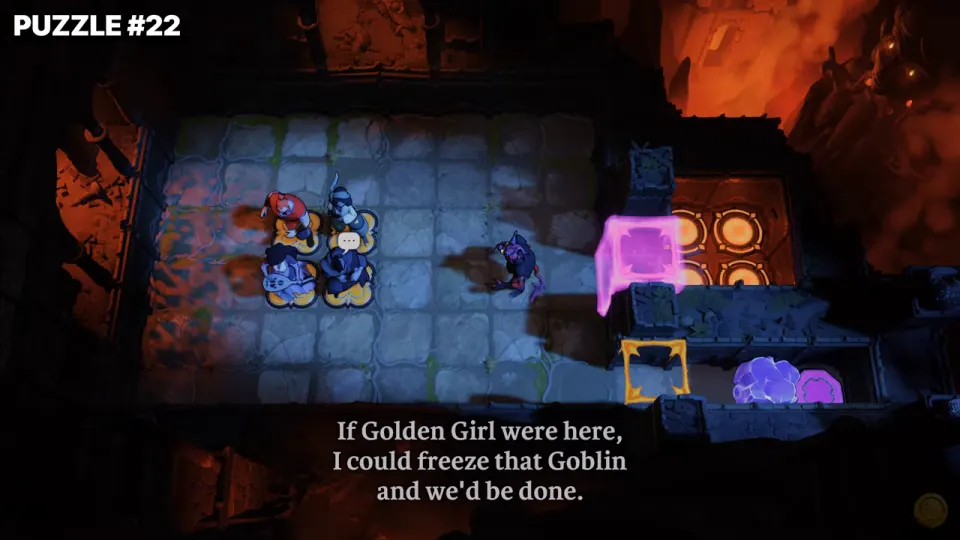
Before the room: the overworld. With the song, lead the red crystal cube off the red carpet at the top of the courtyard. Take it down the left side, along the bottom and up into the right-hand area, next to the red hooded figure. The entrance appears there. (17:36)
Key idea in the room: the 2×2 tan tiles are a button. Cover all four, using two blocks, the goblin (pulled by the song) and a hero, to clear the cubes in the way. Then send the party to the orange pads.
- Two flashes on the button tiles leave a stone block and a crystal block there. (18:04)
- The Bard plays and the goblin follows her onto one of the button tiles. (18:07)
- A hero takes the fourth tile. The yellow cube drops. (18:23)
- A hero walks to the square where the yellow cube stood, and the pink cube drops too. (18:26)
- Rearrange (the yellow cube comes back when the button is released, but the pink one stays open), then walk the party onto the orange pads. (18:51)
What keeps the pink cube open isn’t clear. Watch 18:26–18:51.
Puzzle 23
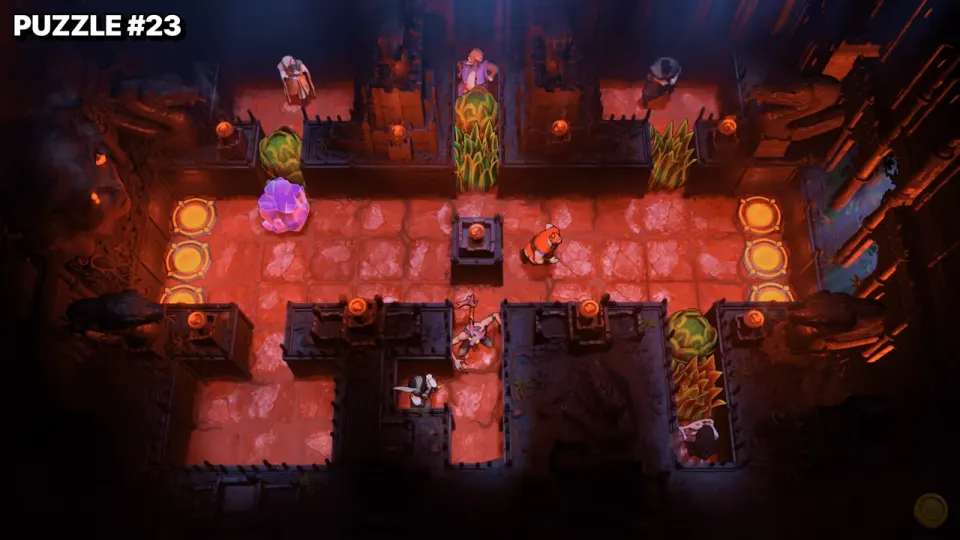
Key idea: the central hall has three orange pads at each end, six in total. Turn the plants in front of the upper alcoves into blocks to free the heroes, move the purple crystal to the left pads, and use swaps and the song to fill all six pads.
- Move the purple crystal from the lower left up to the left end of the hall. (19:26)
- Line moves between the heroes. The top-right plant becomes a block next to the gray hooded figure. (19:42)
- The top-left plant also becomes a block. (19:50)
- Three heroes take the right-hand pads. (20:55)
- Two heroes and the purple crystal fill the left-hand pads. (21:18)
The middle of this room (19:50 to 20:50) is a long run of swaps that can’t be read reliably from the footage. Watch it in the video.
Puzzle 24
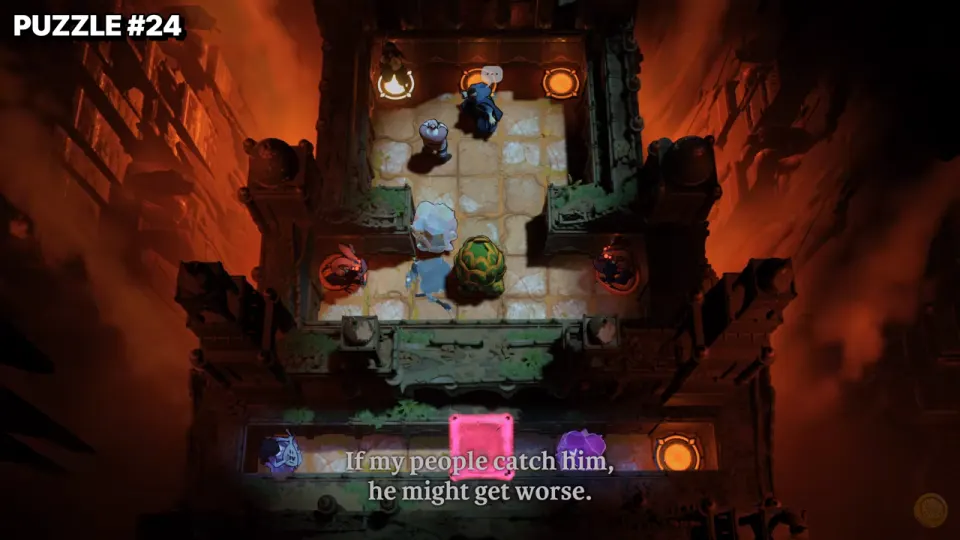
Before the room: the overworld. Move the red crystal cube left from beside the red hooded figure toward the corridor. Then bring the red hooded figure along next to it. The entrance is at the top. (21:40)
Key idea in the room: turn the plants into blocks to clear the floor. Then cover the three pads at the top and the orange pad at the right end of the bottom strip.
- The tall reed plant becomes a block. (22:06)
- The round bush becomes a block too. (22:21)
- Push both blocks down so they sit side by side in the row between the red flower alcoves. (22:24)
- The blue-hooded hero turns the left red flower, then the right one, into crystal blocks. (22:36)
- A song in the bottom strip, and the pink cube opens. (22:39)
- Three heroes stand on the top pads, and the Bard reaches the orange pad at the bottom right. (22:45)