Heroes and Mirrors is the crossover area where the Hearty Heroes of Hauling (North) meet the Trader’s mirrors from the Mirror Isles (East). The party keeps its North abilities, but every room adds mirrors, and the mirrors move heroes, crystals, goblins and dragons alike. This page solves all 34 puzzles and the 5 overworld puzzles between them.
Where it is: head right (east) from the gold room into the north-east corner of the map. 塞德莎’s walkthrough labels the map tiles N3E2, N3E3 and N2E2 (his part 11) and N2E3, N1E3, N1E4 and N2E4 (his part 12).
How to use this page: numbers follow The Flying Chungus’s three solution videos (part 1, part 2, part 3), counted straight through: his part 2 starts at our puzzle 10 and his part 3 at puzzle 16. Each heading has the key idea and two links: the matching Chungus chapter (no commentary) and the moment in 塞德莎’s narrated walkthrough where the room starts. The numbered steps link to 塞德莎’s video, because the steps follow his explanation. He plays puzzle 2 before overworld puzzle 1 and puzzle 1; after that his order is the same as Chungus’s.
Rules that matter here
- Mirrors. A mirror sends out two beams at a right angle. Reflect (塞德莎 presses X) and whatever stands on one beam moves to the tile at the same distance on the other beam. A red beam means the landing tile is taken.
- The diagonal rule. A reflected object lands on the same diagonal line through the mirror. So something you can only move with mirrors never leaves its diagonal. 塞德莎 draws these diagonals to find the right tile in puzzles 6, 13, 24, 25 and 31.
- One blocked, all blocked. If any mirror in the room can’t reflect, none of them can (puzzle 3 teaches this). Standing a hero or a crystal in front of a mirror is how you switch it on or off.
- Two mirrors: clone and merge. With two mirrors on the same object you can split it into two copies, or put two copies back together as one. Heroes, crystals and goblins all work.
- Mirrors move monsters too. Goblins can be reflected into each other (they take each other out) or into water. A reflected dragon turns to face the mirrored direction (up becomes down, left becomes right; two reflections in a row can turn it sideways). Mirrors also bounce dragon fire and the Wizard’s line of sight.
- Hero abilities. The Thief pulls whatever is behind it when it walks away, which is why walking off a button can drag a mirror with it. The Warrior pushes. The Druid turns plants into stone blocks and back. The Wizard swaps places with whatever it is looking at. The Bard’s song drags a crystal in its line along with it, so you often reflect just to break that hold. The Cleric can’t push, but 塞德莎 uses spots where it can stand over water (in a dragon’s fire line, or next to another hero or a goblin).
- Buttons and gates. Coloured buttons switch the matching coloured blocks. Some blocks open when their button is held and others close, so check which state you need before you reflect.
Overworld puzzle 1
Key idea: on the area map, use the Bard and the mirrors to free the crystal and send it down, which opens the way to puzzle 1. (YouTube 0:00 · 塞德莎 1:16)
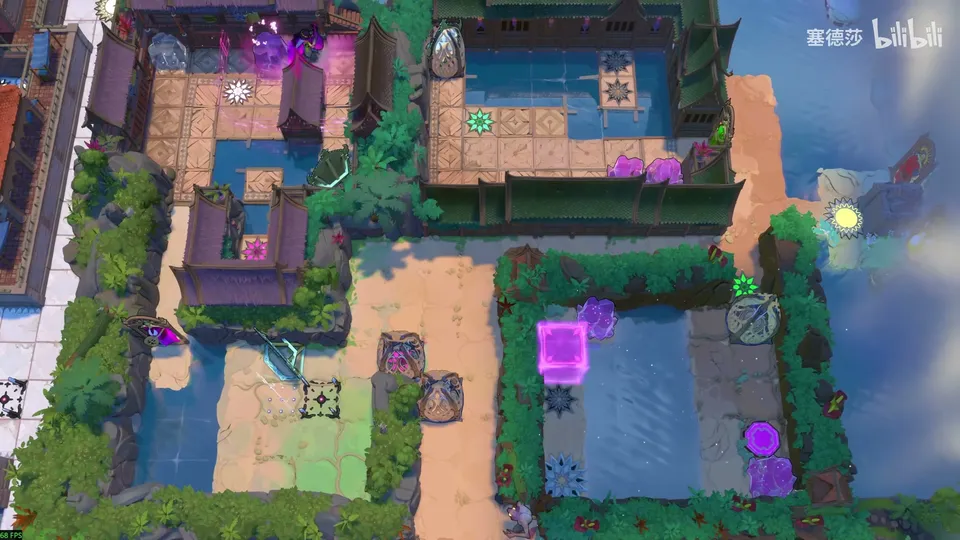
- Move the crystal next to the mirror, then reflect it so it is no longer held by the Bard. (1:27)
- Send the crystal to the spot 塞德莎 marks, reflect again to break free, and use the large mirror area to send the round crystal down. (1:37)
- Walk over and enter the room. The exact tiles are easiest to follow in the clip.
Puzzle 1
Key idea: the crystal has to stay on the button while the Bard is sent away. That only works if, at the moment you reflect, the Bard stands on the tile up and to the right of the button with the crystal on the button. (YouTube 0:23 · 塞德莎 1:37)
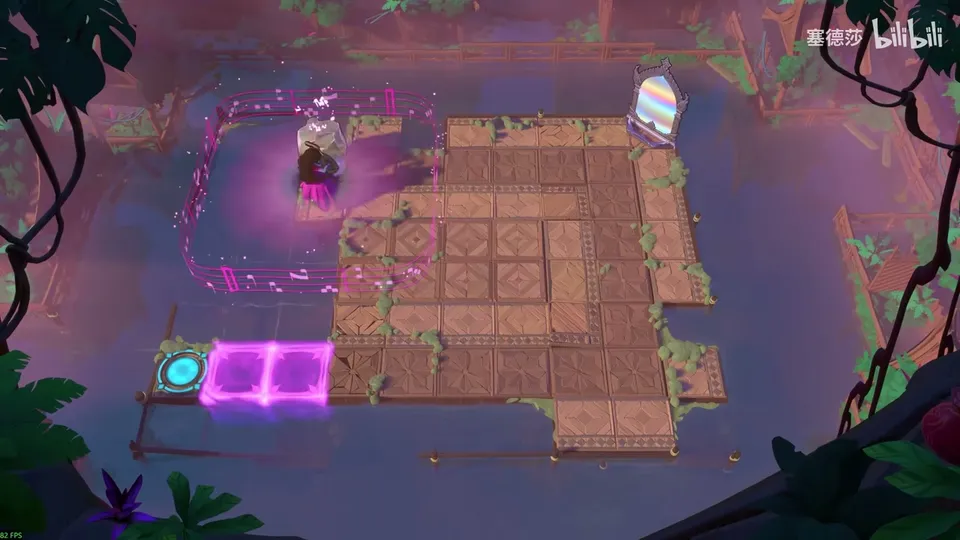
- Reflect the crystal to one side so the Bard lets go of it, then shuffle it left. (2:05)
- Reflect once more and walk so the crystal ends up directly below the Bard. (2:21)
- Stand the Bard on the tile up-right of the button, with the crystal one tile down-left on the button. Reflect: the Bard is carried off and the crystal stays on the button. (2:29)
- The pink block opens. Walk to the cyan exit. 塞德莎 notes this is just one short route; others work too. (2:37)
Puzzle 2
Key idea: get the crystal directly below the Bard. Mirrors keep changing which side of you it ends up on, so first open a sideways gap, then come at it from underneath. (YouTube 1:00 · 塞德莎 0:23)
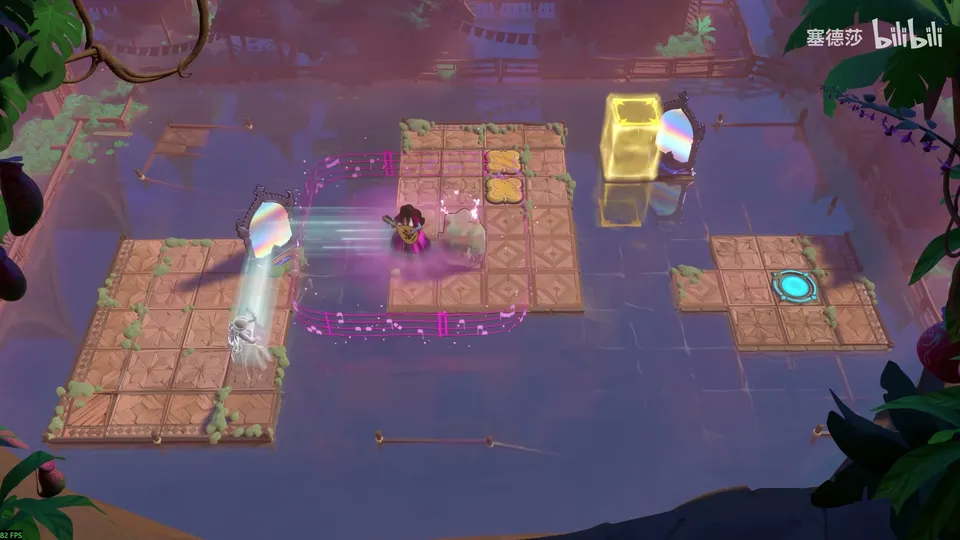
- Send the crystal to the right-hand platform and follow it. It is now directly to your right, not below you. (0:27)
- Open a gap: send the crystal to the far right, come back, and cross again from the other spot. (0:46)
- Reflect once more to break free, then approach the crystal from below. (0:55)
- Send it over, reflect, and come back. The crystal is now directly below the Bard. Finish at the cyan pad. (1:07)
Puzzle 3
Key idea: this room teaches the rule that one blocked mirror stops all of them. Keep the top-left mirror working by parking something in front of it, then ferry the Cleric and the Trader across to the two yellow pads. (YouTube 1:37 · 塞德莎 2:41)
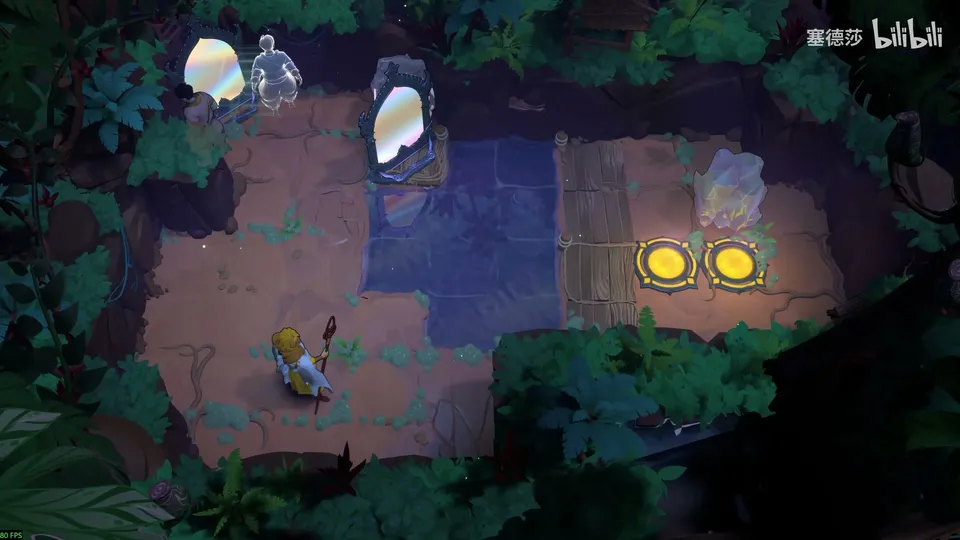
- At the start the top-left mirror’s beam is red, so no mirror in the room will reflect. Stand a hero in front of it and bring the Cleric back. (3:01)
- Use the crystal on the right to block the tile directly in front of the top-left mirror. Now it can keep sending things. (3:21)
- Order: Cleric stands in front, the Trader reflects to the right, send the crystal back, bring the Trader back, then push the crystal across. Both heroes finish on the yellow pads. (3:41)
Puzzle 4
Key idea: the Thief can only pull, and a mirror changes which way the pull goes. Zig-zag the mirror into place, and finish with a reflection instead of a walk, because walking off would drag the mirror along. (YouTube 2:10 · 塞德莎 4:05)
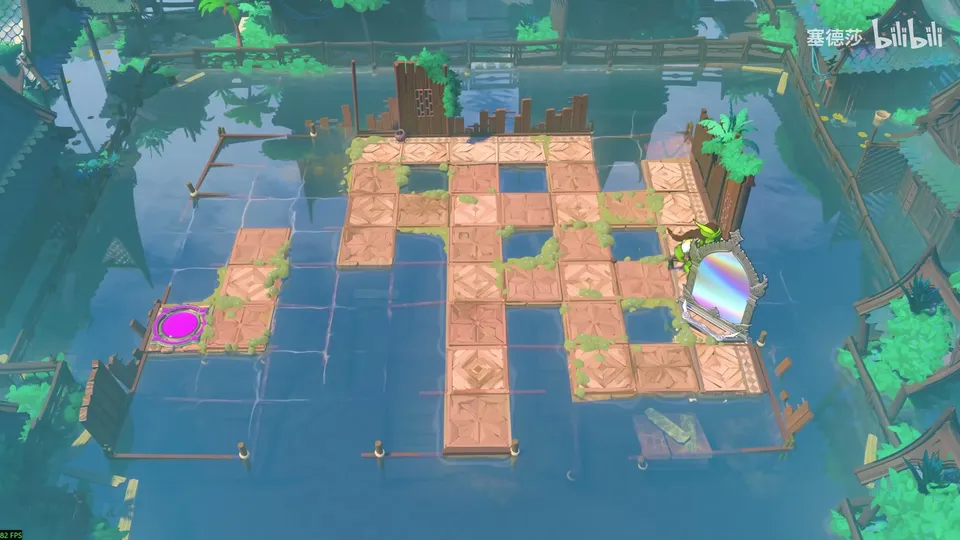
- Pull the mirror up as far as it goes, then down. (4:21)
- Reflect to change direction and pull it left, then down. (4:31)
- Pull it up on the other side, then down onto the target tile. From there the mirror can reflect you across to the left. (4:42)
- Reflect down rather than walking: a step would drag the mirror with you. (4:53)
Puzzle 5
Key idea: a mirror has to sit on the button, but the Thief drags it off whenever he walks away. Use a second mirror to reflect the Thief out instead, then use the first mirror to rescue the second. (YouTube 2:40 · 塞德莎 5:31)
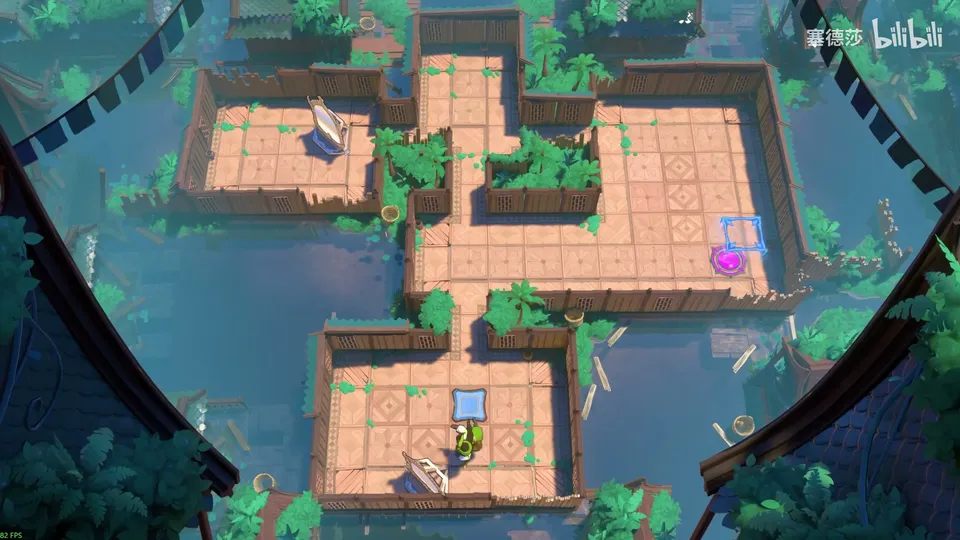
Getting there: on the overworld the Thief needs to reach the top-right. Put a crystal on the tile in front first, then pull the mirror onto it and reflect. (5:01)
- Pull one mirror onto the button. Walking away from it would pull it off again. (5:40)
- Put the other mirror at the top of that column. Now you can leave by reflecting to the top-left, drop down and reach the exit. (5:50)
- The second mirror has the same problem, so rescue it with the first one. Order: first mirror onto the button, pull the second mirror over, reflect out, then pull the last mirror across and reflect again. (6:28)
Puzzle 6
Key idea: four stages in a row, all about filling gaps in the water with crystals. Draw the diagonal from the landing tile back to the mirror to see where each crystal must stand before you reflect. (YouTube 3:06 · 塞德莎 6:51)
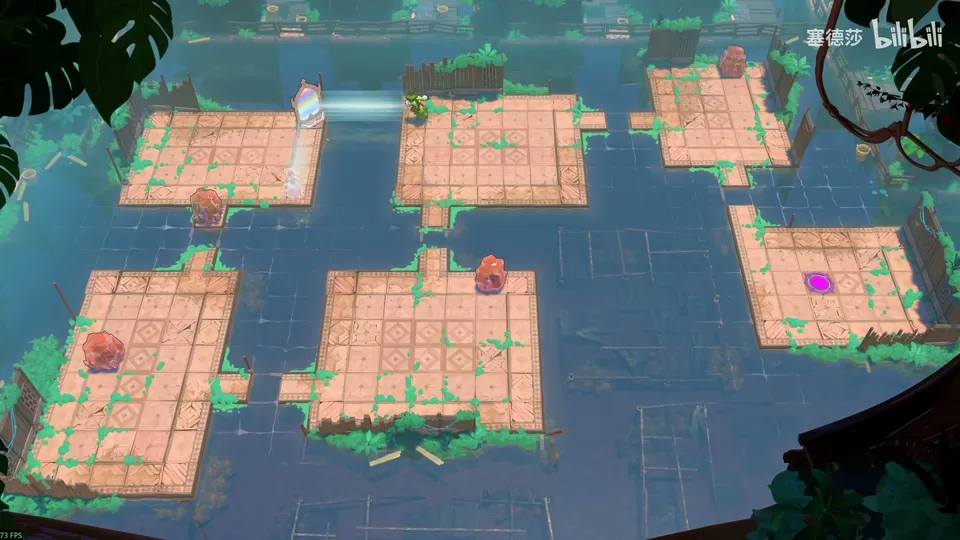
- Stage 1. Reflect across first. On the diagonal two tiles work; pick the edge one, reflect the crystal there and pull it the last step by hand. It now reflects into the water gap. (7:21)
- Stage 2. Reflect the crystal to the marked spot, then pull the mirror one tile left. The diagonal now ends right on the gap. (7:42)
- Stage 3. The mirror can’t reach the obvious spot, so move the crystal below the reflection point instead. Reflect while you pull the mirror up, pull again, and reflect back. (8:24)
- Stage 4. Two gaps but only one crystal. The top-left gap doesn’t need filling, because you can reflect over it. Pull the top-right crystal down into the right row, come back, pull the mirror left and reflect it into the column of the bottom-right gap, then pull it in. (9:28)
- Pull the mirror into place, use it to get back to the right and walk to the exit. (9:48)
Puzzle 7
Key idea: the goblin has to hold the button for you, because you need to be at the bottom-left mirror for the last reflection. First send the goblin far enough from the mirror that you can take the mirror back. (YouTube 4:38 · 塞德莎 9:57)
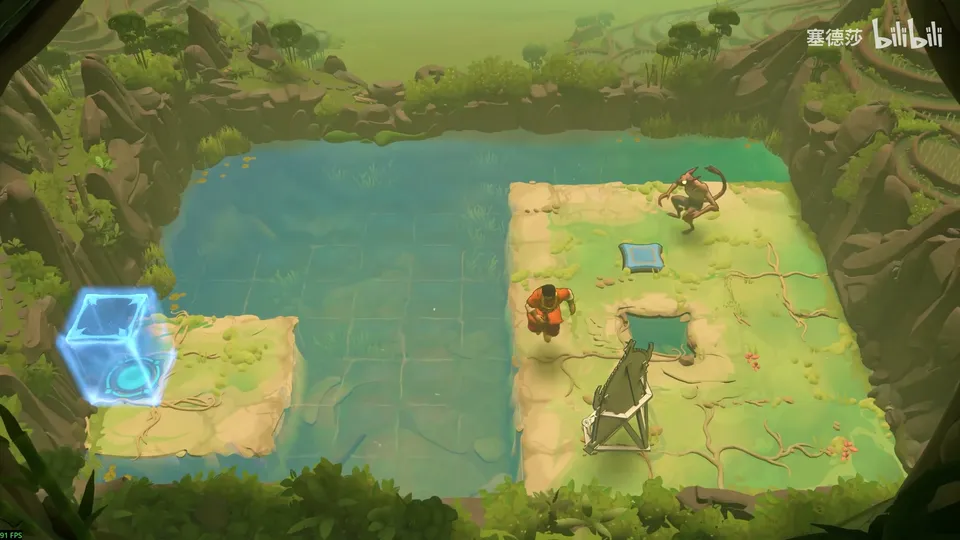
- The cage opened by the earlier rooms lets you in. This room is the Trader’s. (10:12)
- Reflecting the goblin straight onto the button leaves it touching the mirror, and then you can’t get the mirror out. Reflect it twice instead so it ends one tile away from the mirror. (10:22)
- With the goblin on the button, take the mirror back and use the bottom-left mirror to reflect to the exit. (10:42)
Overworld puzzle 2
Key idea: fill the two water tiles in front of you with the two crystals, using a mirror. The button is finally held by the mirror itself. (YouTube 5:00 · 塞德莎 10:53)
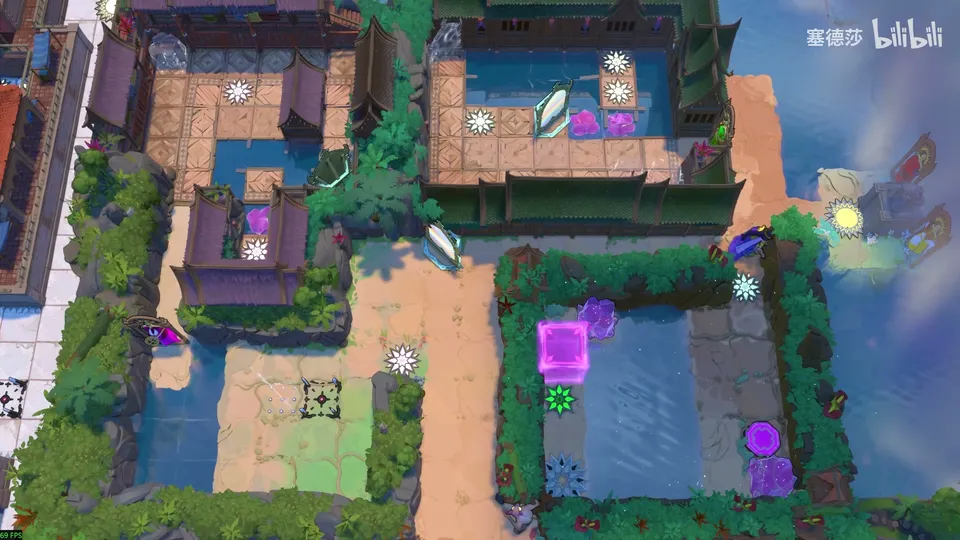
- Push the mirror into position and push the first crystal out. (11:22)
- Adjust the crystal, go round through the upper passage and push the mirror in. Reflect the crystal onto the first water tile. (11:33)
- Same for the second: reflect the crystal out, push the mirror out, reposition the crystal, come back in and push the mirror in again. (11:44)
- The path is open. Leave the mirror on the button and walk through. (11:55)
Puzzle 8
Key idea: you must reflect onto the green energy block on the right while both green buttons are held. The Druid turns plants into stones, and two mirrors let you merge two stones into one, which clears the wall of plants. (YouTube 7:02 · 塞德莎 12:10)
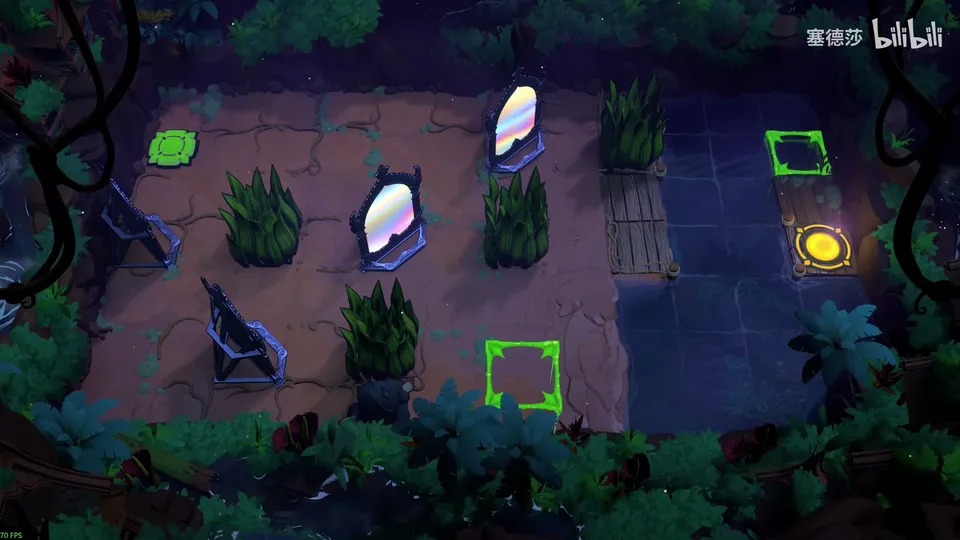
- Reflecting now just drops you, because the green block on the right hasn’t formed. There is a second green button besides the top-left one. (12:26)
- Four plants block the way. Turn one into a stone and move it next to another plant, turn that one into a stone so it blocks a mirror’s reflection point, and the two stones merge into one. Do the same with the other pair. (13:10)
- Don’t merge the last two stones: you need two things for two buttons. (13:20)
- Move one stone into the top-left corner and turn the plant beside it back so the stone is held in place on that button. (13:40)
- Reflect the other stone onto the second button and go to the reflection spot at the same time. (14:00)
Puzzle 9
Key idea: three checkpoints, each needing a different mix of yellow and green buttons. You set them by blocking mirror beams with the Cleric. The last one needs two Clerics, so clone the Cleric with two mirrors. (YouTube 7:40 · 塞德莎 14:19)
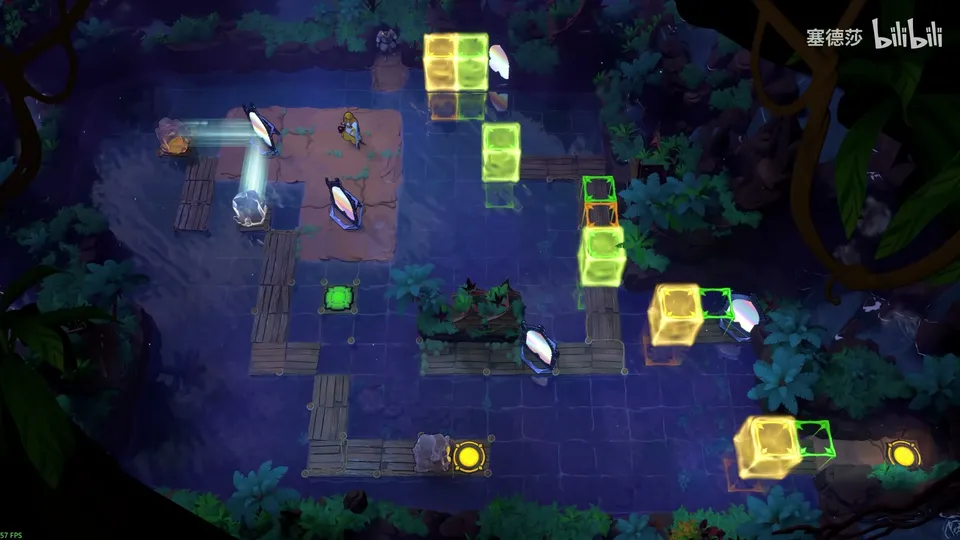
- Checkpoint 1: you need yellow released and green held. Reflect the crystal over, and stand the Cleric in the top-left mirror’s path so only green is pressed. Also block the bottom-right mirror’s path so green doesn’t release and crush the Trader. (14:53)
- Checkpoint 2 is green, yellow, green. Yellow must stay pressed throughout; toggle green to get through. (15:21)
- Use a mirror to push a block over for the Cleric, who can’t push, and to pave its way to the exit. (15:43)
- Checkpoint 3 needs both colours released, so both reflection points have to be blocked, and you only have one Cleric. Stand the Cleric on the tile where you first pushed the mirror, between two open mirrors, and it splits into two. (17:50)
- Reflect the crystal to the top-left, clone the Cleric, block both beams and send the Trader through. Then block one path, send the crystal back and merge the two Clerics into one before walking to the exit. (18:22)
Puzzle 10
Key idea: the Cleric can’t push anything, so this room is pure positioning: reflect only from spots where a goblin or a dragon’s fire will hold the Cleric up on the other side. (YouTube 0:00 · 塞德莎 19:07)
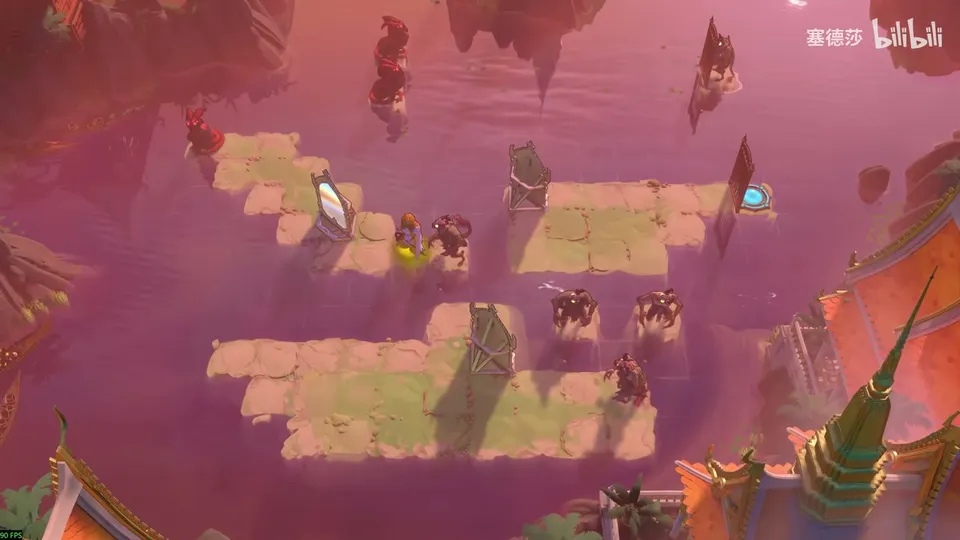
- Walk along with the three goblins, then reflect. A goblin on the far side catches the Cleric, and you continue to the top-right. (19:31)
- Reflect down onto a dragon’s fire tile, go round the monster to the upper fire line, and reflect back to land on the exit. (19:47)
塞德莎 explains this room in one breath; follow Chungus’s clip for the exact stops.
Overworld puzzle 3
Key idea: reach the top-right of the overworld with the mirror and the Cleric’s water walking. (YouTube 0:18 · 塞德莎 19:59)
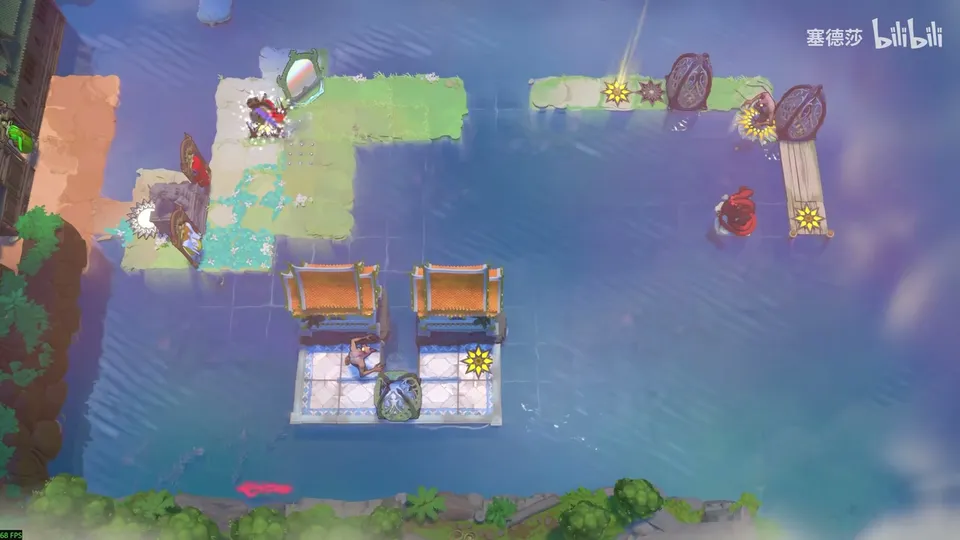
- Use the mirror to put the Cleric over the water and walk the rest of the way to the top-right. (20:03)
Puzzle 11
Key idea: here the mirror moves monsters for you, and you walk along dragon fire. When you end up one tile short, stand on the tile where the fire line before the reflection crosses the fire line after it. (YouTube 0:28 · 塞德莎 20:16)
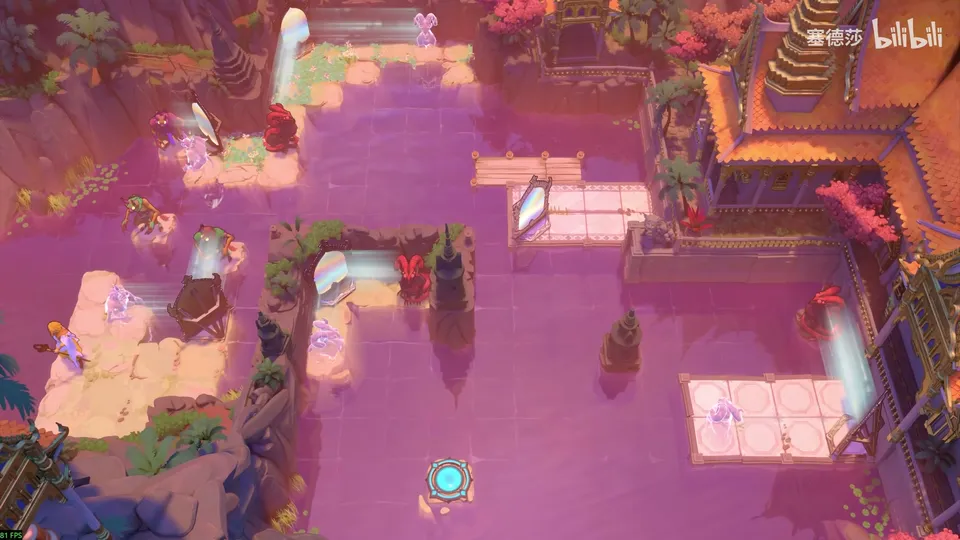
- Reflect a monster to a spot, walk there, then reflect it back so you can climb up. Do the same with the upper goblin. (20:16)
- Move the dragon that blocks you out of the way and back again, so you can walk along its fire line. (20:30)
- One tile short of the right side: stand on the crossing point of the two fire lines (before and after the reflection) and you stay in the middle. (20:41)
- Adjust the bottom-right dragon first, otherwise it drops during the reflection and you can’t come back. Use the same crossing trick to reach the platform. (20:51)
- To go to the left-middle you need the left dragon firing right at that moment. Block one mirror path so the lower dragon reflects one time fewer; the two dragons are then in step. (21:36)
- Go up, use the crossfire again and reflect to finish. (21:46)
Puzzle 12
Key idea: the reflection can only put the Thief next to the goblin, never on the lower island. So reflect the Thief beside the goblin with the Cleric right beside him; then the Thief pulls the Cleric across and both stay up over the water. (YouTube 1:08 · 塞德莎 22:02)
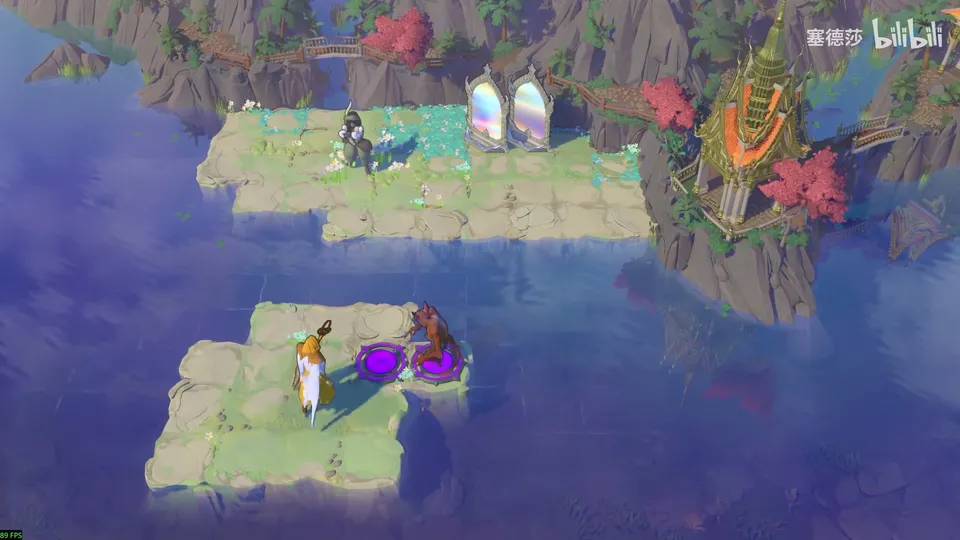
- Stand the Cleric on the start spot and pull the mirror over so the Cleric can come up. (22:02)
- The copy points only reach the two tiles next to the goblin. Find the spot where the Thief lands next to the goblin and the Cleric lands next to the Thief. (22:37)
- Reflect both together. Then the Thief pulls the Cleric left; both float and reach the purple pads. (22:57)
- To clear the goblin, one more reflection drops it in the water. (23:08)
Overworld puzzle 4
Key idea: now that the cage is open, reflect from the marked tile and a goblin below catches you. (YouTube 1:31 · 塞德莎 23:08)
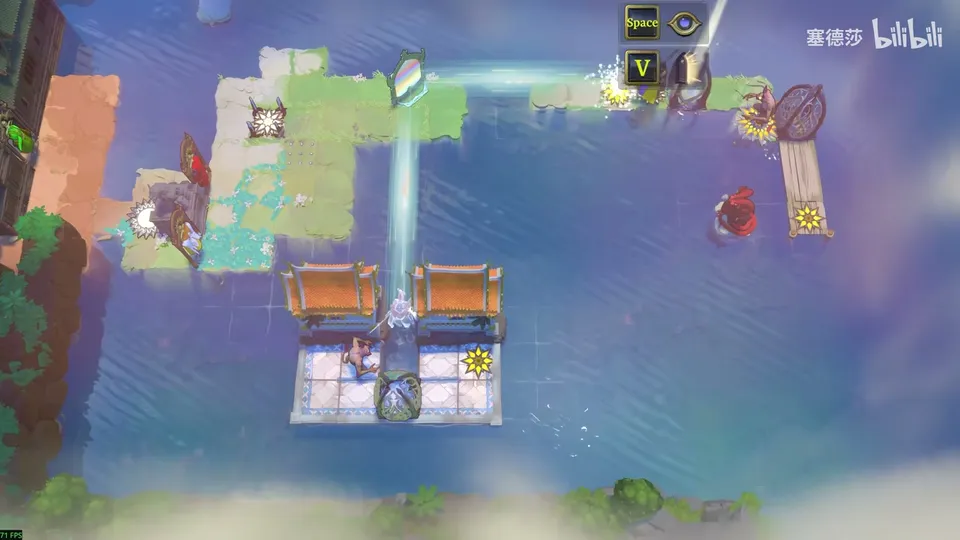
- Go back and reflect from the spot shown. The goblin on the other side holds you up and you can go down to the next room. (23:20)
Puzzle 13
Key idea: the Cleric can only walk to the exit over water if a dragon breathes downward from the tile left of the two stones. Clear the stones with the button, then nudge the dragon onto the right diagonal by hand, because the mirror alone leaves it one tile off. (YouTube 1:38 · 塞德莎 23:36)
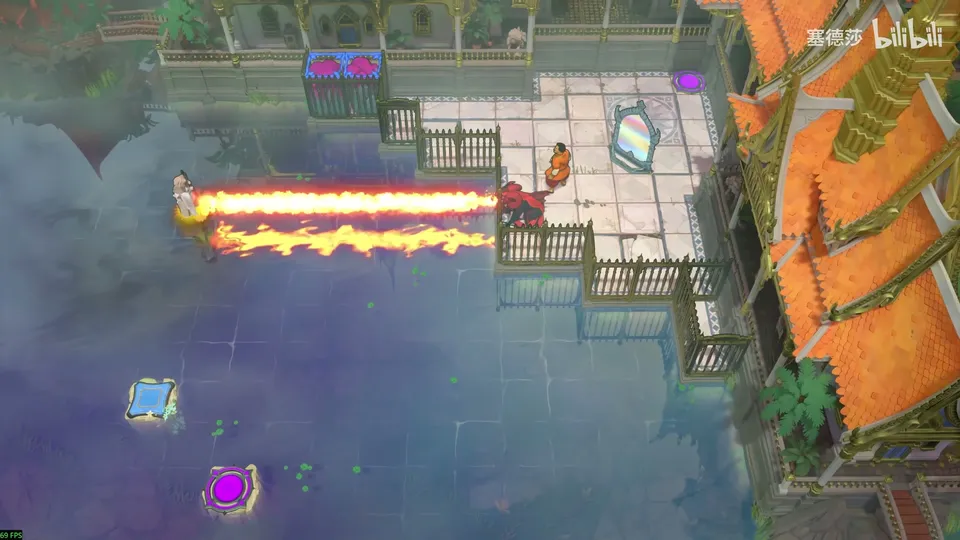
- First press the button to clear the two stones. Use the crossing fire lines to move the Cleric step by step. (24:06)
- After one reflection the Cleric can go down. Send the dragon to the spot that lets you reach the button. (24:17)
- The dragon must end in the innermost tile at the top-left. That tile is one off the mirror’s diagonal, so the Trader pushes the dragon from one of the two neighbouring tiles (down or left) onto the diagonal. (24:38)
- The final fire has to point down, so push it left with its head facing left. This also keeps the Cleric from dropping. Reflect back, move the dragon, push, then reflect up to the exit at the top-right. (25:19)
Overworld puzzle 5
Key idea: a goblin stands on the entrance to the next room. Reflect it into the water. (YouTube 2:18 · 塞德莎 25:49)
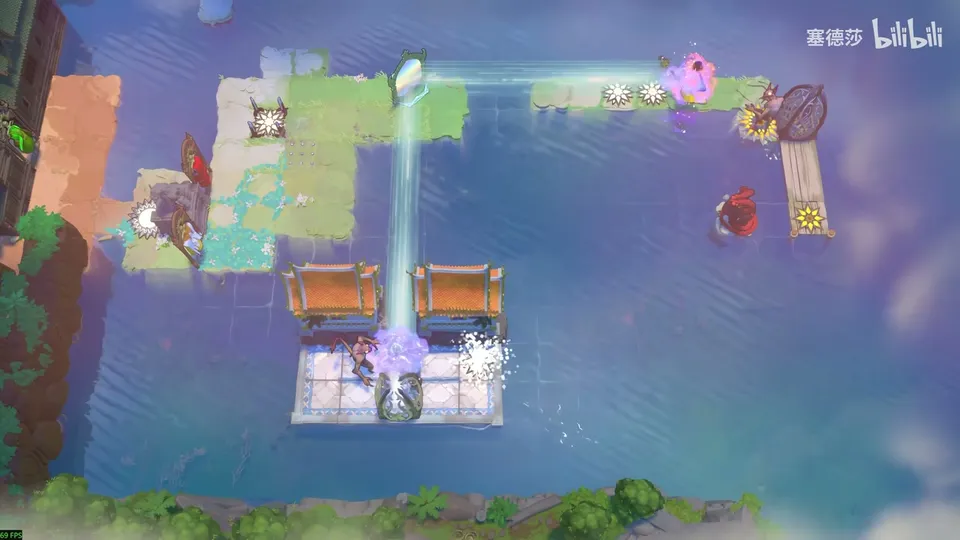
- With the lower cage open, use this mirror to reflect the goblin standing on the room’s entrance into the water, then walk in. (26:00)
Puzzle 14
Key idea: mirrors reflect dragon fire. Put a mirror where it bends the fire down to the exit row, get the Cleric onto the tile below the mirror, and walk down inside the fire. (YouTube 2:48 · 塞德莎 26:29)
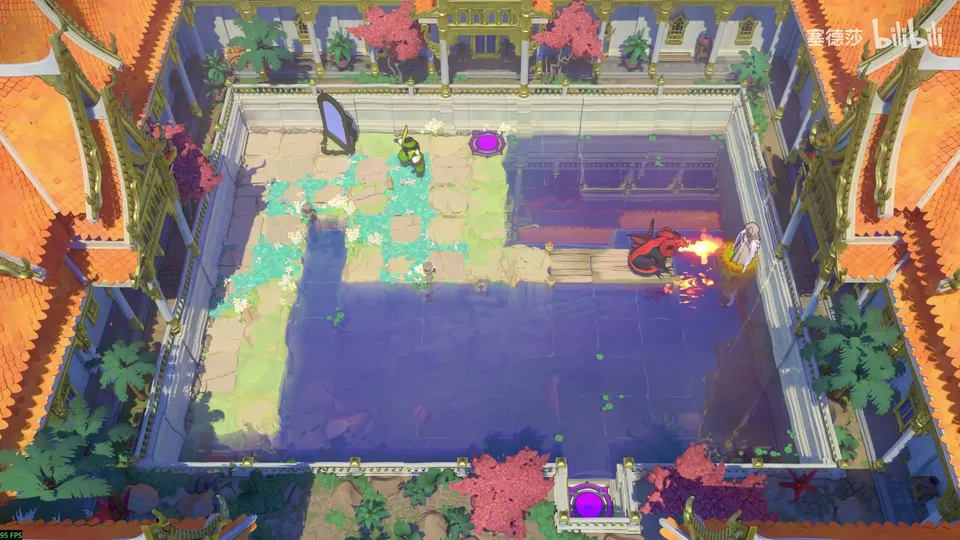
- Only the Cleric can realistically get there. The dragon breathes right and can’t reach the bottom row (that’s water), so you need another way down. (26:37)
- Test it: block the fire, pull the mirror into it, and the flames bend. (27:18)
- Target: mirror on the marked tile, dragon in its final spot, Cleric on the tile below the mirror. Start with the dragon one tile lower, walk the Cleric across, pull the dragon up and then right. The Cleric’s tile stays on fire, so it doesn’t sink. (27:47)
- The Thief can’t drag the mirror to the shore alone. Stand the Cleric so the Thief floats while pulling it down, then pull the mirror right. (29:05)
- Now the Thief is stuck. Bring the Cleric to the marked tile to catch him. (29:27)
- Last move: Cleric in place, pull the dragon up, walk down the fire to the exit. (29:38)
Puzzle 15
Key idea: an optional bonus room. All four buttons must be held to open the door before the exit. The pre-placed mirrors make the dragon burn itself, which you avoid at first and use at the end. (YouTube 3:21 · 塞德莎 29:38)
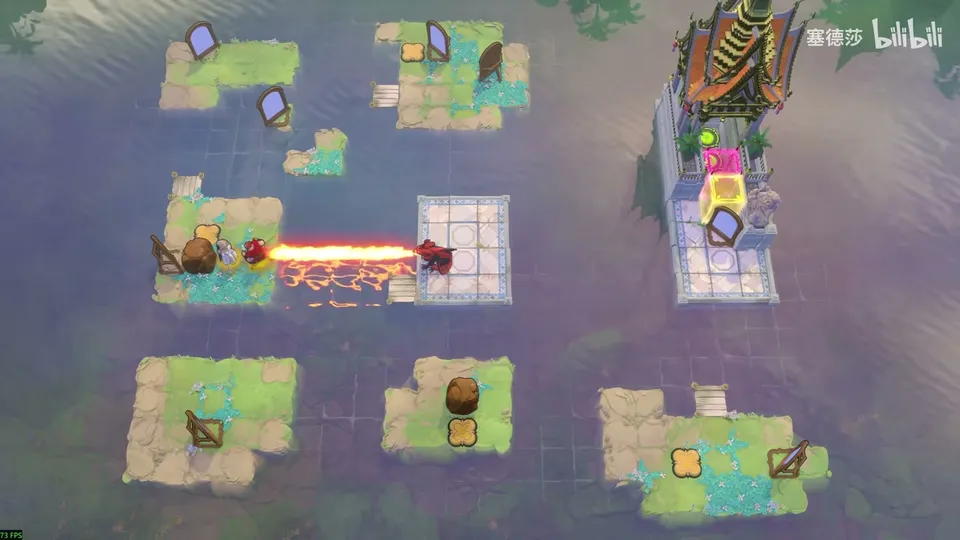
- Cross to the left-middle island with the Warrior pushing across the water. You will have to push the structure there one tile left. Go up and press the button. (30:30)
- The two mirrors above make the dragon burn itself. Push the top mirror up one tile first. The Warrior and the Cleric then push the mirror down while the Cleric blocks the fire line. (31:10)
- Same in the next part: push the mirror right, come round and push it back, with the Cleric blocking. Then push a mirror left onto the button. (31:50)
- Placing the mirror makes a fire path to the bottom-left. Getting the Cleric to the tile down-left of the Warrior means walking a long loop the other way round. (32:20)
- At 32:45 塞德莎 explains the plan for the bottom-right: the monster there has to burn itself with its own reflected fire, and the button can only be held by a mirror. The teleport there is one-way, so park a mirror to make a path back up. (32:45)
- Run the plan: take the mirror out, place it, walk the long loop again, push the stone onto the button on the way, then push the last mirror left. The dragon burns itself and the room is done. (34:50)
Puzzle 16
Key idea: take the mirror out, hold the button with a crystal, and park the mirror on the crystal’s reflection point. Then every reflection switches that button on or off from a distance. (YouTube 0:00 · 塞德莎 37:20)
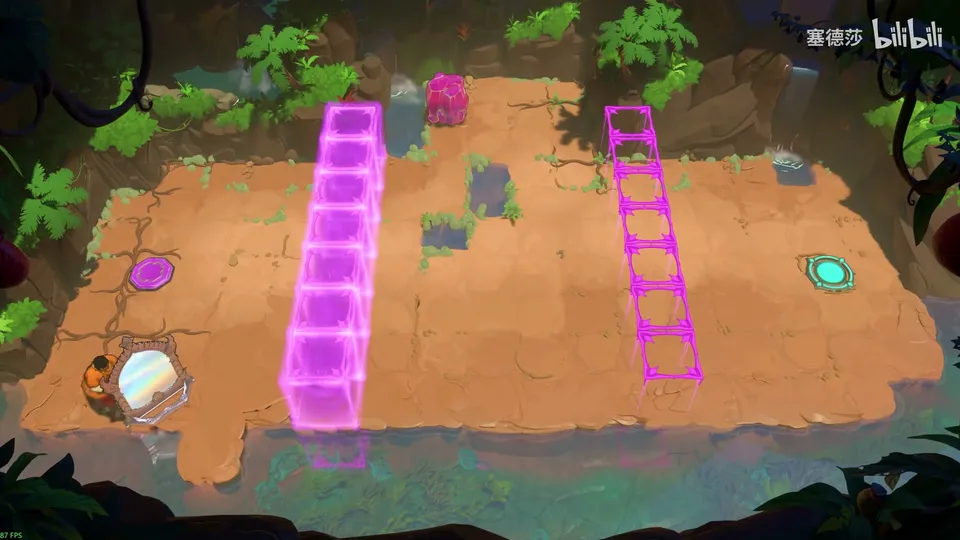
Getting there: back on the overworld, reset the mirror and push it below. Holding the button there opens the upper door and closes the lower one, so reflect while you hold it to land on the open tile under the upper door. (36:53)
- Take the mirror out and use it to hold the button first. (37:32)
- Push the crystal to the bottom and the mirror to the right spot, then step on the button to reflect the crystal over. The crystal now holds the button. (37:43)
- Put the mirror on the crystal’s reflection point. Each reflection toggles the button, which moves the pink walls; use it to reach the exit. (37:53)
Puzzle 17
Key idea: each hero holds the button the other one needs, so neither can leave first. Put a mirror in front of each, stand both on their buttons and reflect: they enter together. (YouTube 0:28 · 塞德莎 38:00)
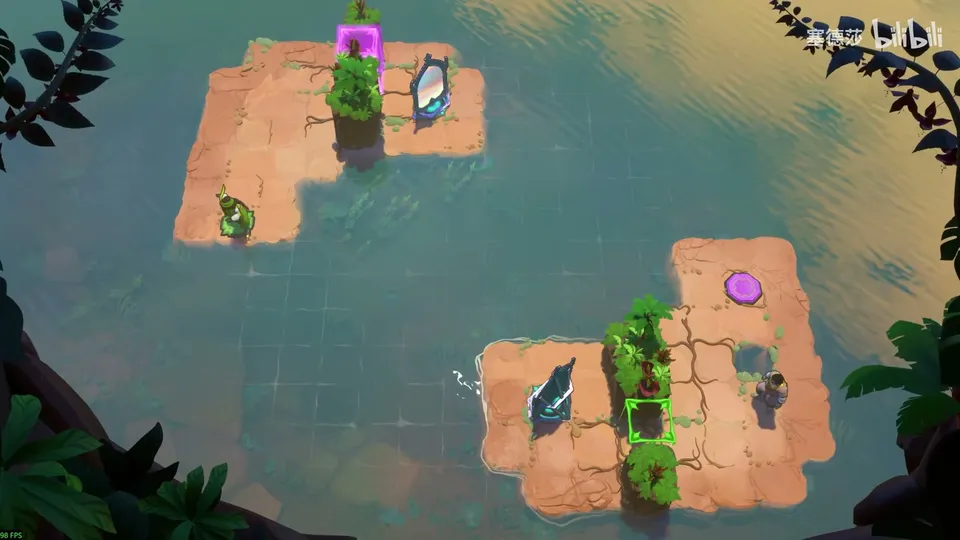
- The green button at the top-left lets the Trader at the bottom-right into his exit; the pink button at the bottom-right lets the Thief at the top-left into his. (38:10)
- Place the two mirrors on the two spots 塞德莎 shows, stand both heroes on their buttons and reflect. Both arrive at once. (38:20)
Puzzle 18
Key idea: the finish is a reflection from the bottom island while you hold its button (which removes the purple gate). The catch: the lower mirror blocks that reflection, so park it on the gate’s tile and let the gate get rid of it. (YouTube 0:53 · 塞德莎 38:40)
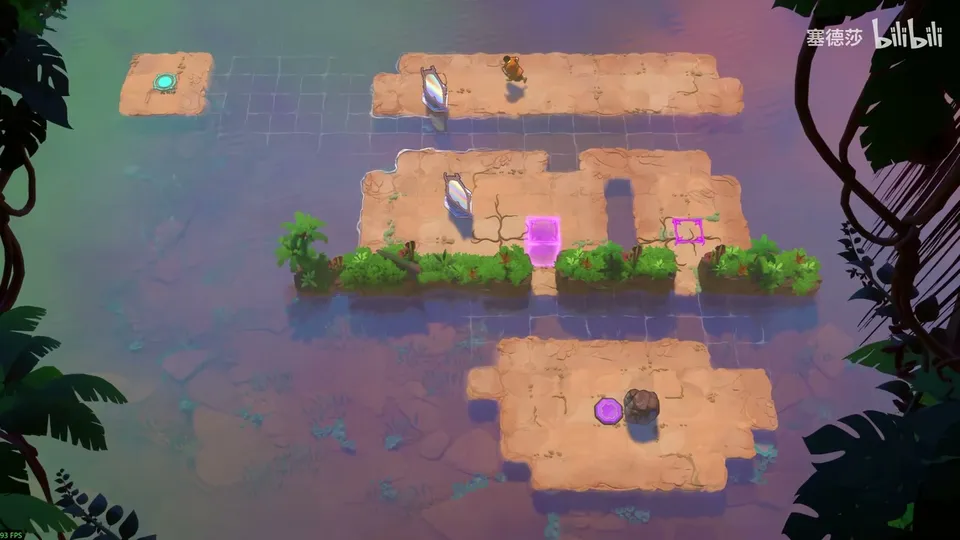
- You can’t push the middle mirror into the right half, so the only way down is the top mirror. Go to the middle island first and move its mirror so you can come back up later. (39:17)
- Go down, hold the button, and return to the middle with the mirror you placed. (39:45)
- Go up and put the top mirror on its final tile, then return to the middle. (40:05)
- Going down now, the lower mirror sits in the line of the reflection. Put it on the purple gate’s tile and release the button with the stone; the gate removes it. (40:21)
- Hold the button and reflect to the exit. (40:45)
Puzzle 19
Key idea: you need a delayed switch: the first reflection must not press the button, the second must. Build it in the water with stacked crystals and a blocker that the first reflection throws into the water. (YouTube 1:31 · 塞德莎 40:56)
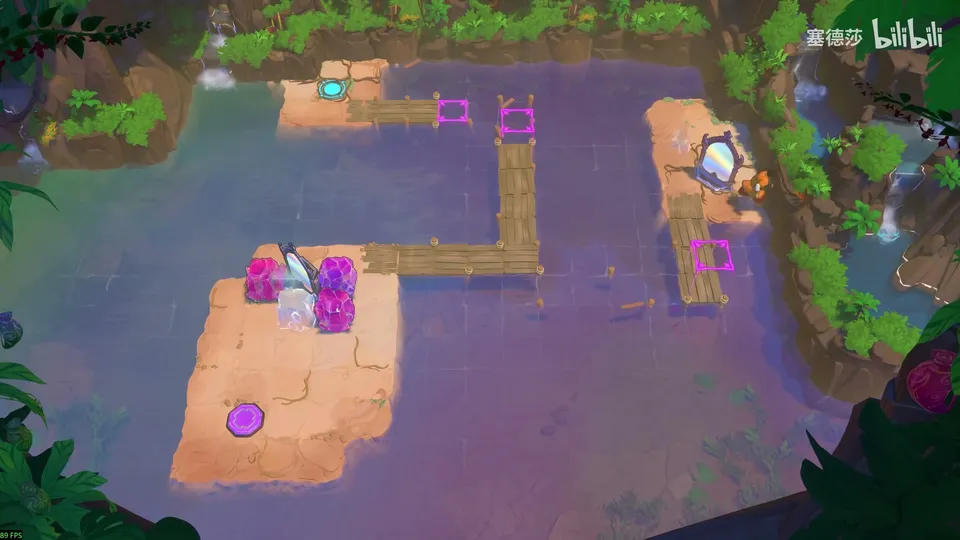
- There is only one way in at the start. (41:07)
- The plan: stand on the marked tile and reflect so you land in place while a crystal lands on the switch. Done directly, the reflection back crushes you. (41:27)
- So hide the real crystal behind a blocker. The first reflection throws the blocker into the water, where it sinks out of the way; the second reflection sends the real crystal onto the button. (42:50)
- A crystal only stays on the water’s surface if two crystals sit under it. Put the mirror in place, reflect one crystal there, then a second to the same tile, then the one that reaches the button, and finally the blocker. (43:31)
- Reflect twice and the switch closes behind you. (43:55)
Puzzle 20
Key idea: two switches with opposite needs. Green must turn on once and then stay on; purple must stay off on the first reflection and then flip every time. Build a contraption for each out of crystals and mirrors. (YouTube 2:19 · 塞德莎 44:07)
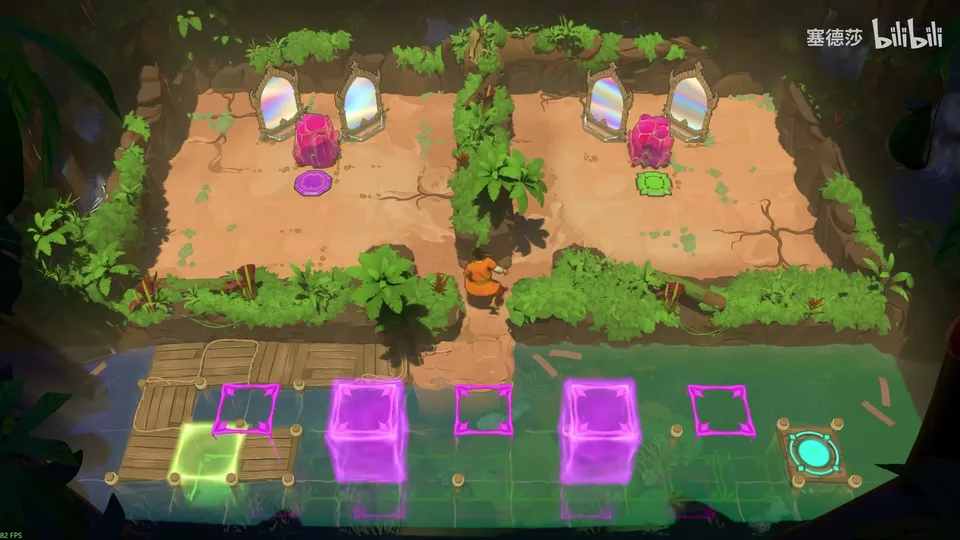
- The purple button flips back and forth: a crystal next to a mirror toggles it on every reflection. (44:27)
- On the right, walk to the marked tile and flip the green button once so the whole floor on the right appears. It must never release after that. (44:47)
- Make two crystals with the mirrors. Place one so its reflection lands on the green button, and the other as a blocker. After the first reflection the blocker sits between the mirror and the button crystal, so later reflections leave green alone. (45:44)
- On the left, the purple side must stay off on the first reflection and then toggle. Arrange its mirror so the crystal goes to the middle first and onto the button from the second reflection on. (46:47)
- Reflect once: green appears, purple stays off. Then keep reflecting: purple toggles while green stays put, and you walk along the blocks to the exit. (47:11)
Puzzle 21
Key idea: everything sits in one row. Get behind the mirror so you can push it left, and bring a crystal back with you to fill the hole in front of the exit. (YouTube 2:56 · 塞德莎 P12 0:11)
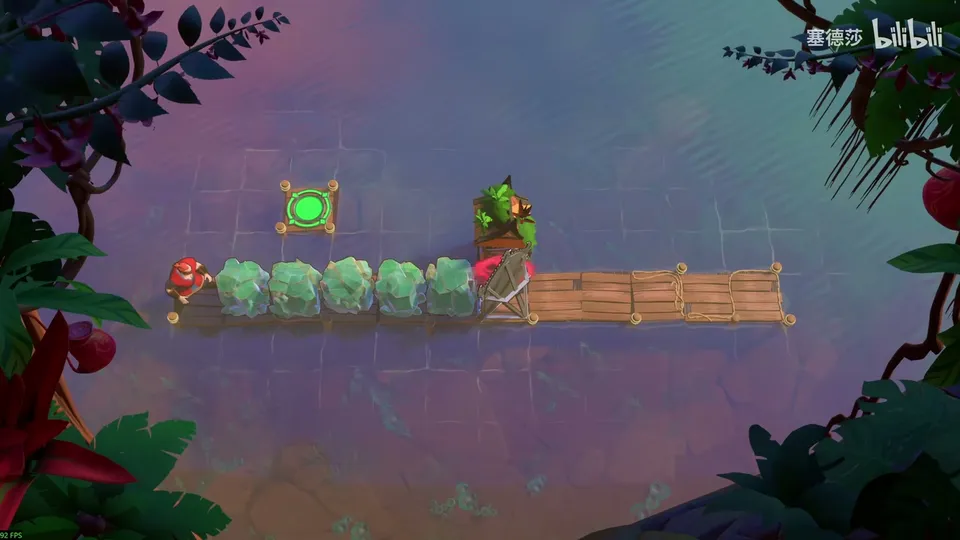
- On the overworld, collect the mirror (or reset it from above), push it down and fly to the far right to reflect into this part of the area. (0:00)
- Push one tile, reflect; push one tile, reflect again so two crystals stack; push once more and reflect. (0:40)
- Push the crystal down on purpose. You are now behind the mirror, with the mirror and a crystal. (0:52)
- That crystal is right against the mirror, so you can push it into the hole the mirror reflects to. Walk to the exit. (1:00)
Puzzle 22
Key idea: two mirrors facing each other in a U shift you sideways every time you go round, by the number of empty tiles between them. Reflect from the lower tile so the Warrior and the Trader end up in the same column, then send both left together. (YouTube 3:17 · 塞德莎 P12 1:18)
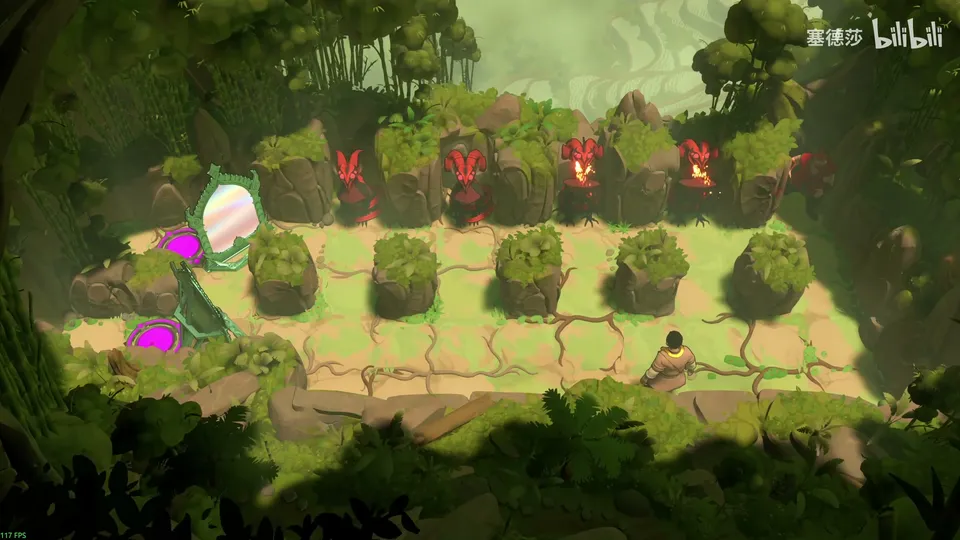
- With a gap of two tiles between the mirrors, each reflection moves you two tiles left. (1:49)
- Sending the heroes one at a time fails: one would have to break a mirror to reach the exit, or the first hero blocks the second’s line. (2:08)
- Reflect from the lower position instead, so the Warrior and the Trader stand in the same column, then reflect both left at once. The beam isn’t blocked and both reach the pads. (2:30)
Puzzle 23
Key idea: the U-shaped mirrors again. The Druid needs to reach the two plant spaces at the top, which only works if the very first reflection happens at the far left. The Warrior then extends the next reflection with a crystal. (YouTube 3:28 · 塞德莎 P12 2:52)
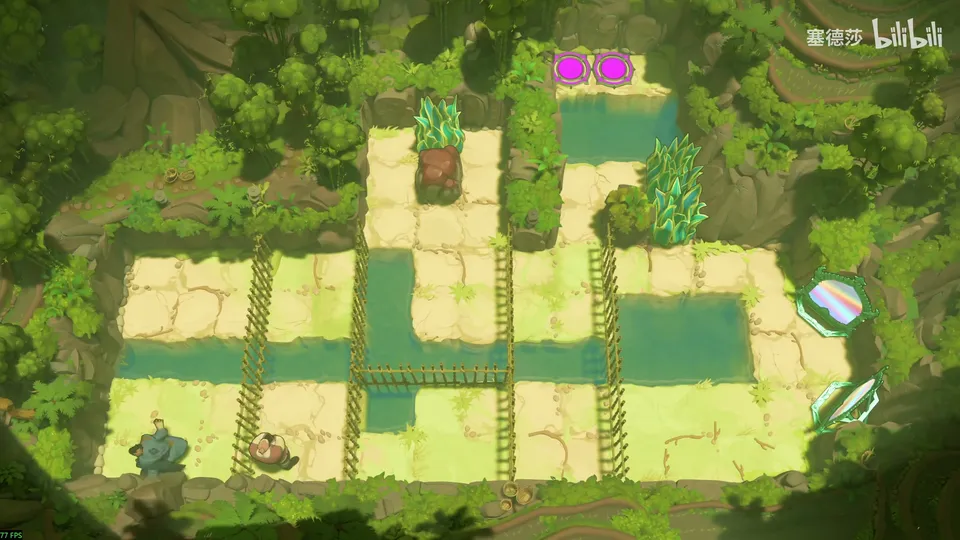
- Reflect first from the leftmost tile. The two-tile shift leaves you just in front of the first fence; reflect again to get up. (3:13)
- The next reflection can’t reach the top-right, so bring the Warrior. He puts a crystal on the left to lengthen the reflection, so you can drop into the pen below first. (3:43)
- Then reflect up to the top-right. (3:54)
- Turn the two plants into stones. The Warrior follows the Druid’s route and pushes both stones up; the heroes reach the pink pads. (4:04)
Puzzle 24
Key idea: eight goblins, and only the mirror can move them. Each goblin stays on its diagonal, and the diagonals hold 2, 1, 3, 1 and 1 goblins. Two goblins at the edge can’t be reached at all. That forces two four-goblin knockouts. (YouTube 4:21 · 塞德莎 P12 4:17)
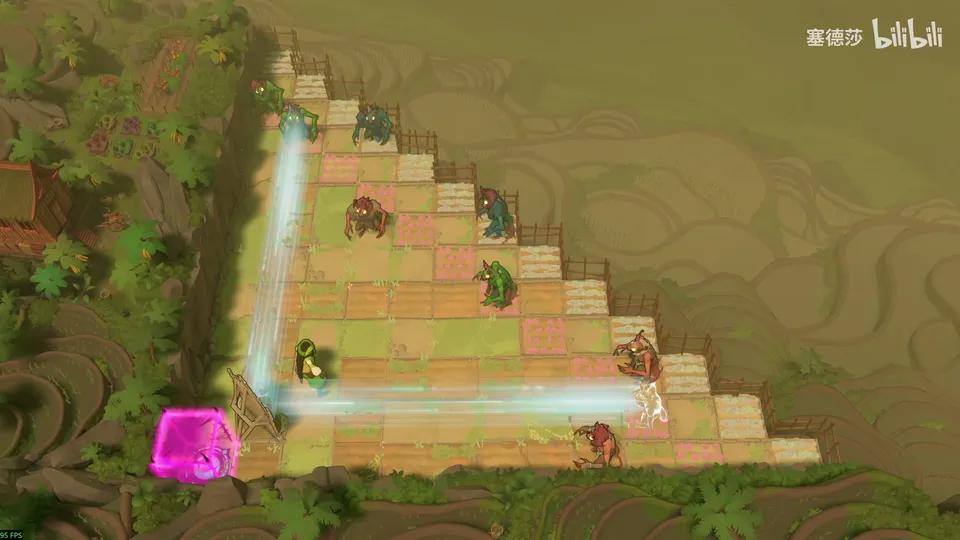
- The Thief can’t pull goblins, and the mirror can’t be pulled to the edge, so the two goblins against the edge never move. (4:38)
- Only the goblin on the neighbouring diagonal can reach those two. It also has to take one from the three-goblin diagonal, so four go down together. The remaining goblins form the second group of four. (6:40)
- Move one goblin out of the way, bring another into place, then put the last one in the middle: the first four-goblin knockout. (7:07)
- Upper group: move one over; the next is too close, so move it down and then up; bring in the last one for the second knockout. The pink block opens. (7:27)
Puzzle 25
Key idea: three small rooms in a row. Goblins only fall when they meet another goblin or the water, so you reflect, clone and merge them until they do. (YouTube 5:36 · 塞德莎 P12 7:48)
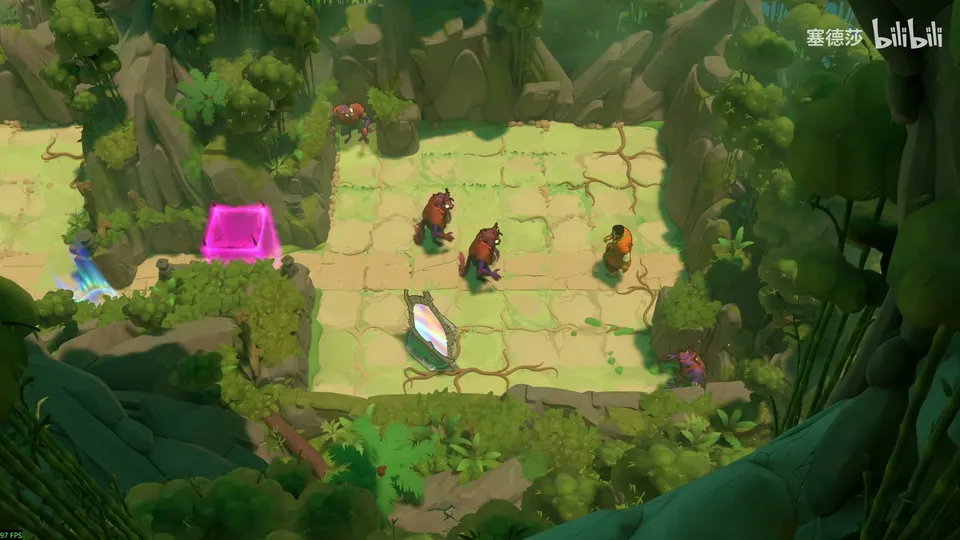
- Room 1: reflect the two goblins onto the two goblins in the corners; they take each other out. The mirror can’t come with you. (7:58)
- Room 2: there is only one goblin. Bring it over, take the left mirror out, put the goblin back, then use the two mirrors to clone it so the copies knock each other out. (8:20)
- Room 3: the two goblins share a diagonal, so they can never stand next to each other. Use the water: first merge them into one with two mirrors. (9:42)
- Send the merged goblin to the top-right, reflect it onto the tile beside the water, and shove the other mirror into it so it falls in. (9:52)
Puzzle 26
Key idea: dragon fire bounces off mirrors. Line up a mirror, push the dragon so its fire turns into the monsters, and keep yourself out of the reflected line. (YouTube 6:48 · 塞德莎 P12 10:13)
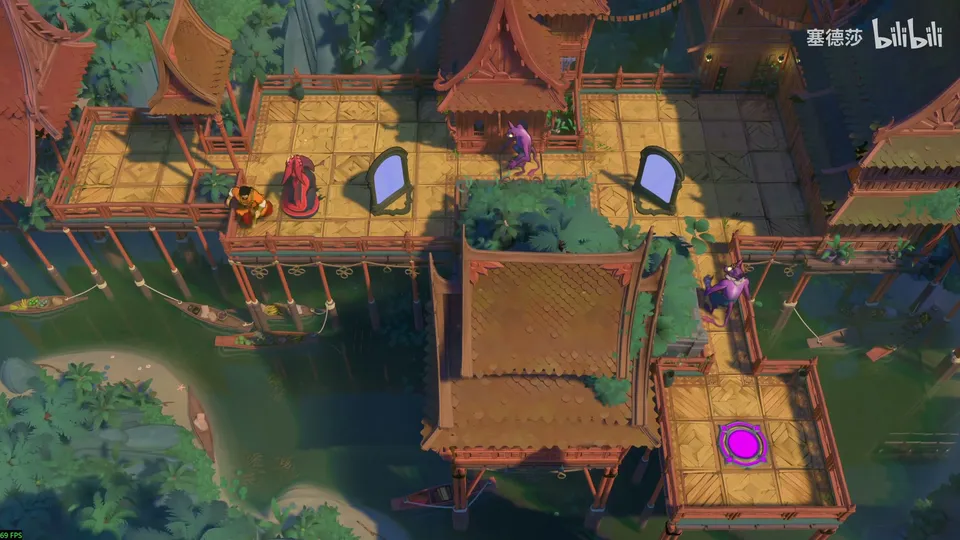
- Put the mirror on its tile, then push the dragon over. Don’t push the mirror left, or the fire comes back at you. (10:34)
- Push the dragon away again, set a mirror on the right, and push it in to burn the last monster. Walk to the exit. (10:44)
Puzzle 27
Key idea: five goblins (top, bottom, left, right and the top-right corner). A reflection flips the dragon to face the opposite way, so it can only cover one axis; the other two goblins have to be burned with fire bounced off a mirror. (YouTube 7:10 · 塞德莎 P12 10:56)
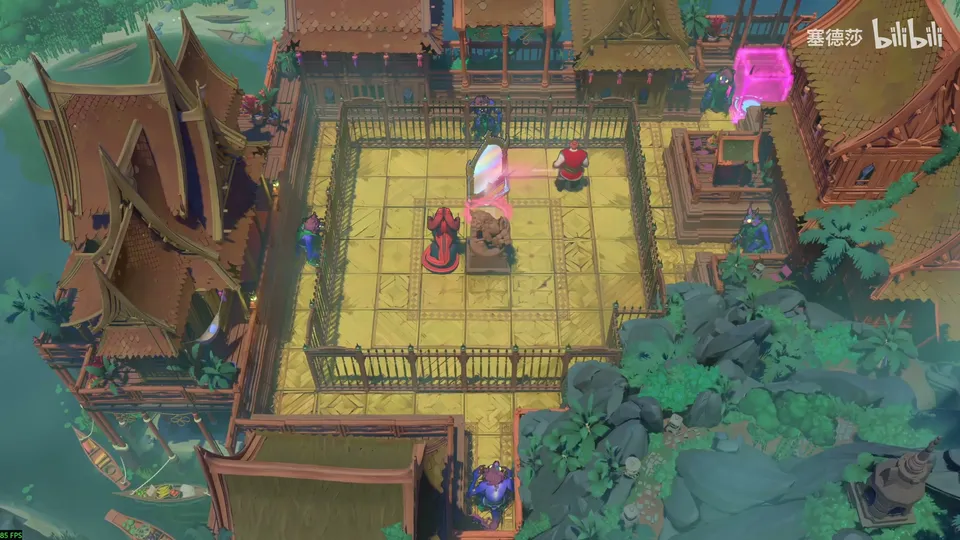
- The top-right goblin goes last, together with the dragon: it is caught by the fire as it hits the dragon. (11:04)
- Push the dragon sideways onto the marked tile and reflect it. Reflecting turns it to face the other way. Burn one goblin, reflect again, burn the top one. (11:15)
- A reflection only swaps up and down or left and right, never a quarter turn. So the right and bottom goblins need reflected fire: reflect and push right, then the same for the other. (12:07)
- Take the dragon out facing up. Reflect it to that direction, move it to the marked tile, move the mirror, reflect it there. Reflect yourself into the right-hand space, push the dragon up, and reflect left. (12:37)
Puzzle 28
Key idea: goblins and mirrors form a timer, so you have a fixed number of moves to reflect the Cleric in front of the Trader before he is caught. The solution needs every shortcut, including one where a single Thief step also moves the Cleric. (YouTube 9:13 · 塞德莎 P12 13:38)
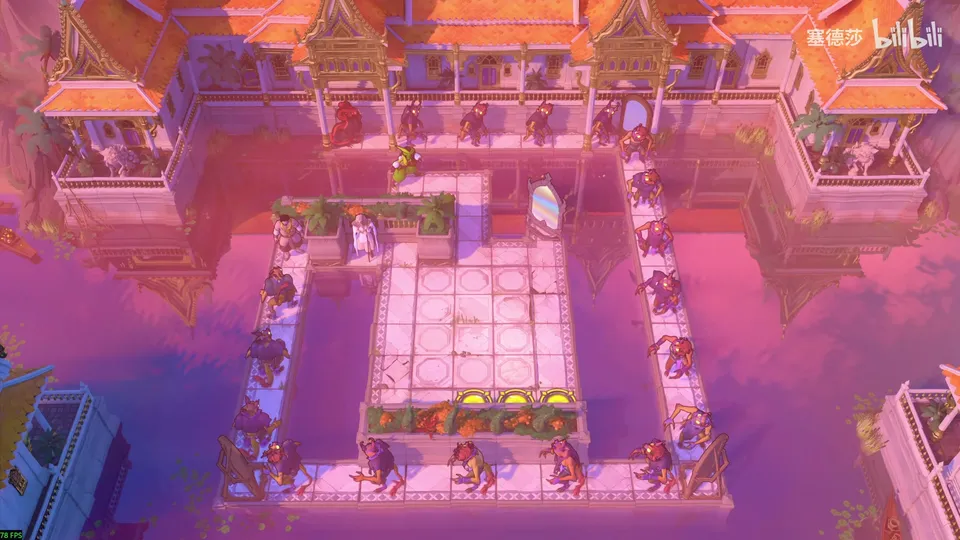
Getting there: with both overworld mirrors free, swap back and forth between them to creep towards the centre. (13:20)
- Go and pull the mirror first. Reflecting here takes two moves instead of three. (14:12)
- Pull it down, then reflect again: one move instead of two. Then go left. (14:22)
- The obvious finish (step aside, walk the Cleric over, reflect, three steps down) is one move short. (14:28)
- Merge two moves: when the Thief steps down, he pulls the Cleric down with him. That’s enough to block the line and bring the Trader back. (14:52)
Puzzle 29
Key idea: three rooms in which the dragon has to burn a goblin, and in the last one itself. A dragon fires the moment it lands, even if it then drops into the water, and two reflections in a row can turn it sideways. (YouTube 9:42 · 塞德莎 P12 15:20)
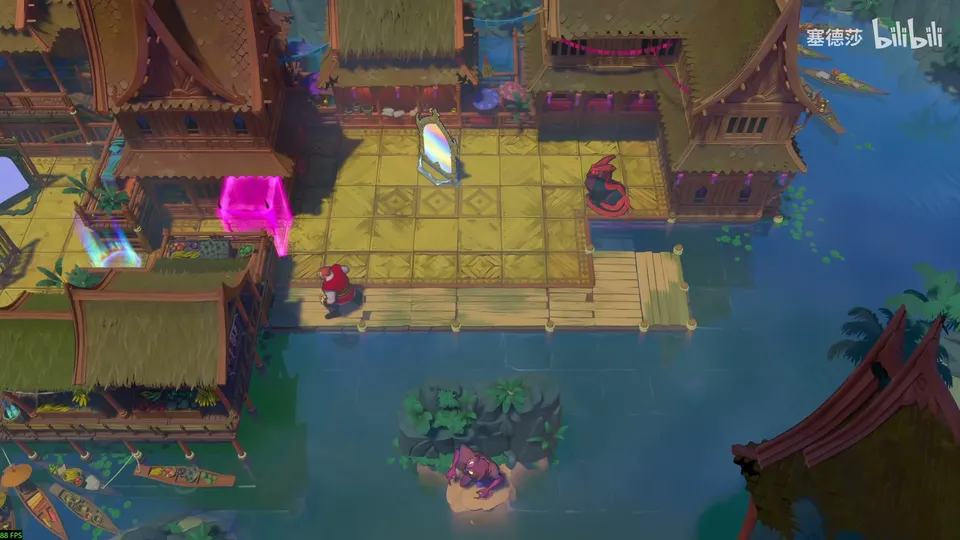
- Room 1: the goblin is on an island below. Reflect the dragon into the goblin’s row: it burns the goblin as it lands, then falls in the water. (15:44)
- To set that up, reflect to the top, bring the dragon over and reflect it once so it faces down, then place it one tile further out. (15:56)
- Room 2: the dragon must face left. Two mirrors let you reflect it twice in a row. Reflect up, push the dragon down and a little right, reflect, then push it up: the goblin burns. (16:36)
- Room 3: push the down-left mirror into the dragon’s row without trapping yourself. Stack the up-left mirror against it, push the down-left one up, come round from the right, and push left. Then push the up-left mirror into place: the goblin burns. (17:28)
- Use the last mirror to turn the dragon’s fire back on itself. (17:50)
Puzzle 30
Key idea: the Wizard’s line of sight bounces off mirrors, so the Wizard can swap with things around a corner. Use it to carry the crystal left and onto the button. (YouTube 10:43 · 塞德莎 P12 18:26)
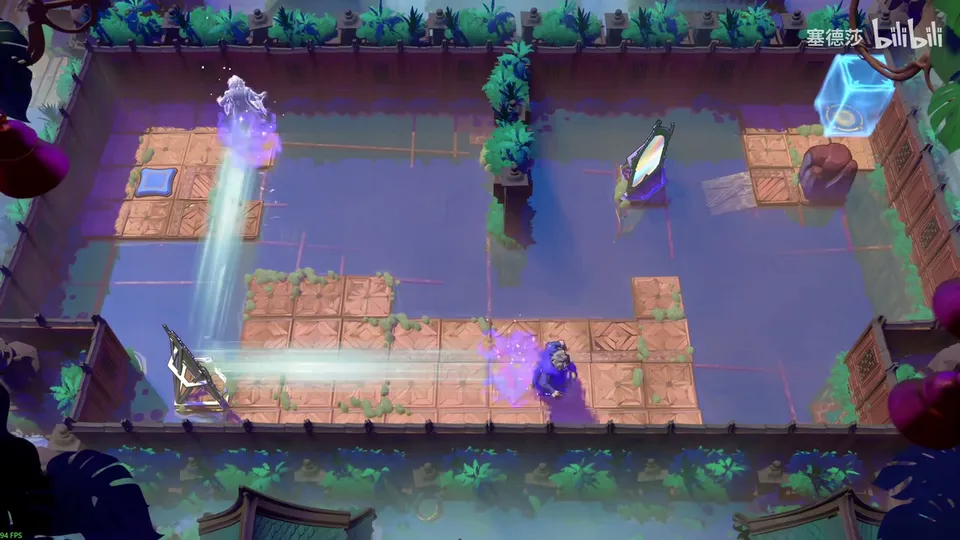
Getting there: a shortcut opens on the overworld on the way; 塞德莎 opens it as he passes. (18:01)
- Reflect across first. To reflect again you’d need to step up next to the mirror, and that’s where you see the mirror bend the Wizard’s sight. (18:35)
- Swap with what’s at the reflection point, then reflect across. That moves the crystal further left. (18:58)
- Same on the other side: reflect up, swap the crystal up from the marked tile, reflect down, and bring it out. (19:08)
- You can’t leave directly, so reflect first and then switch down. Push the crystal onto the button. (19:18)
Puzzle 31
Key idea: the diagonal rule says the reflection to the exit has to start from the three bottom-left tiles, where the crystal is. So the special mirror (塞德莎 calls it the magic mirror) must end up where the plain mirror stands now. (YouTube 11:21 · 塞德莎 P12 19:40)
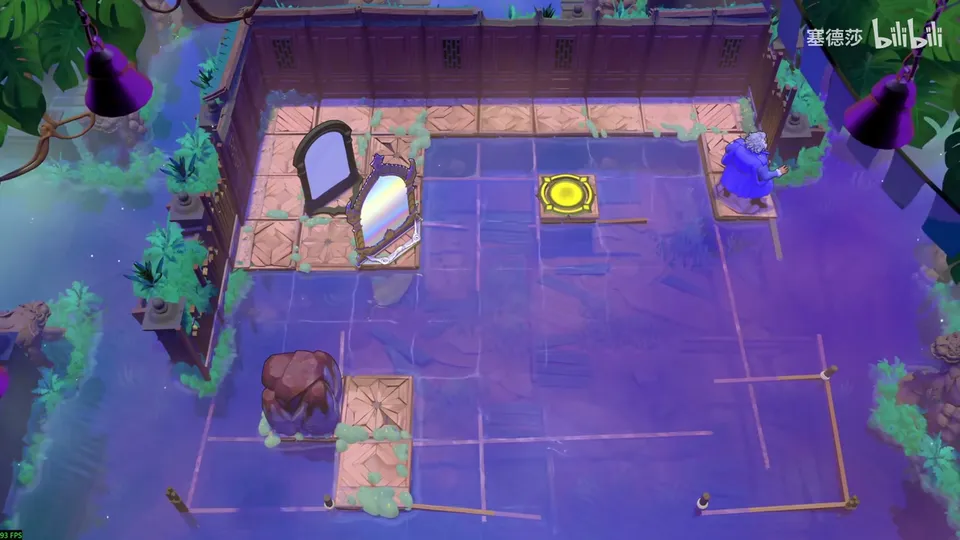
- The only start: swap up with the crystal in the top-right. (19:56)
- Push the plain mirror up one tile, go up-right, push the magic mirror onto the plain mirror’s old tile, and walk round. (20:08)
- Go to the far right, move the crystal out of the way, and reflect to the exit. (20:32)
Puzzle 32
Key idea: a room about moving one mirror. The obvious spots are traps, because the mirror ends up blocking your own path. Move it to the second column via the two protruding tiles, and park it so the last swap lands you behind it. (YouTube 11:43 · 塞德莎 P12 20:50)
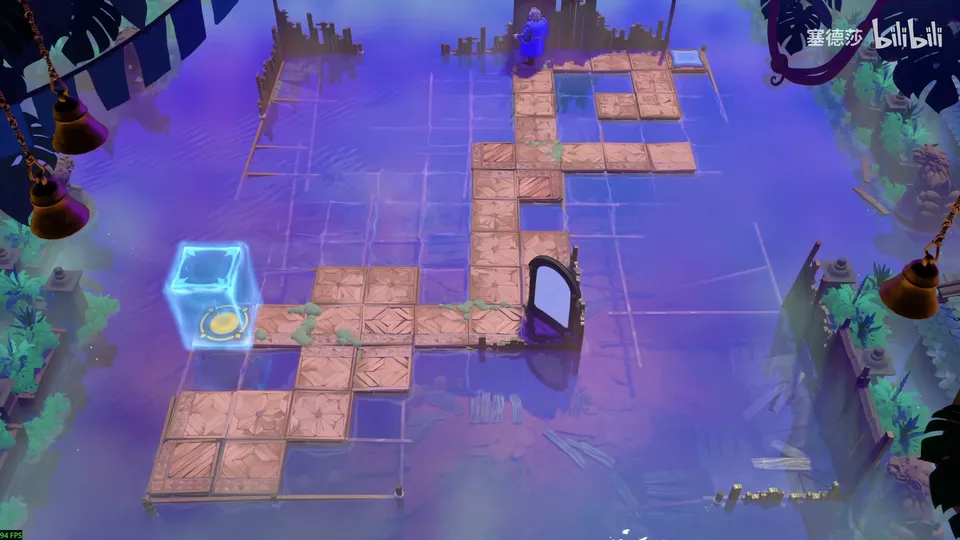
- Move the mirror to the first spot, then bring it out from the other side; pulling it straight out doesn’t work. (20:50)
- Don’t put it on the obvious tile: later, carrying it up makes it block your way. That whole line is a trap. (21:12)
- Aim for the second column (塞德莎’s “column B”). Get there via the two tiles that stick out. (21:36)
- Don’t carry it straight up either. Park it on the marked tile, take it to the innermost spot, and then up, so that your final swap puts you behind it. Walk to the exit. (22:00)
Puzzle 33
Key idea: pushing only moves mirrors left or up, never onto the button. Use reflections to ferry the mirrors instead. (YouTube 12:10 · 塞德莎 P12 22:53)
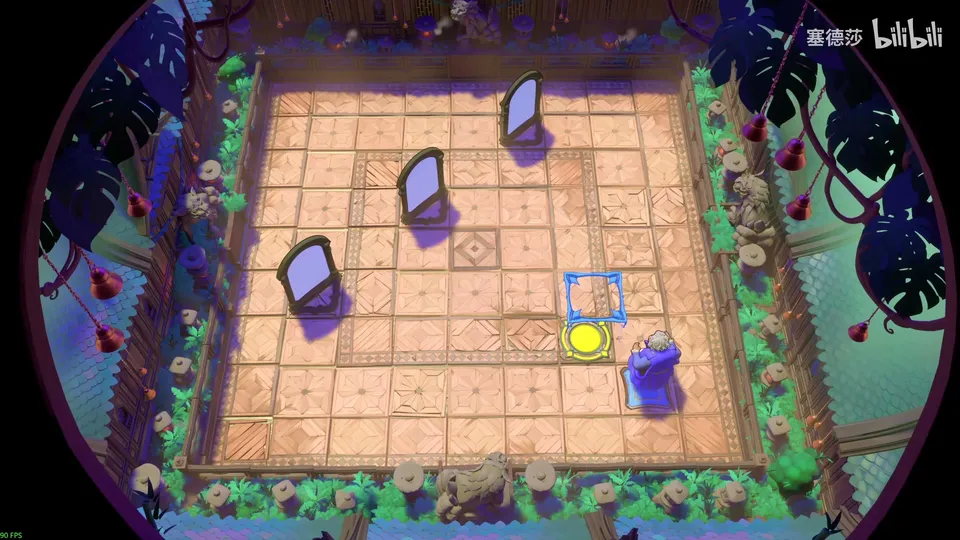
- Move one mirror to the marked spot first; that lets you send another mirror to its tile. (23:03)
- Move that mirror so you can send the next one to the top-right and then onto the marked tile. (23:14)
- Last, move the mirror against the edge to its spot. Now there is a reflection point that sends a mirror onto the button. (23:25)
Puzzle 34
Key idea: four mirrors in a rectangle make the Wizard swap with itself in a loop, so it can’t move left or right. Break the rectangle at the bottom-right mirror, the only one whose removal lets you step out of the loop. (YouTube 12:34 · 塞德莎 P12 23:36)
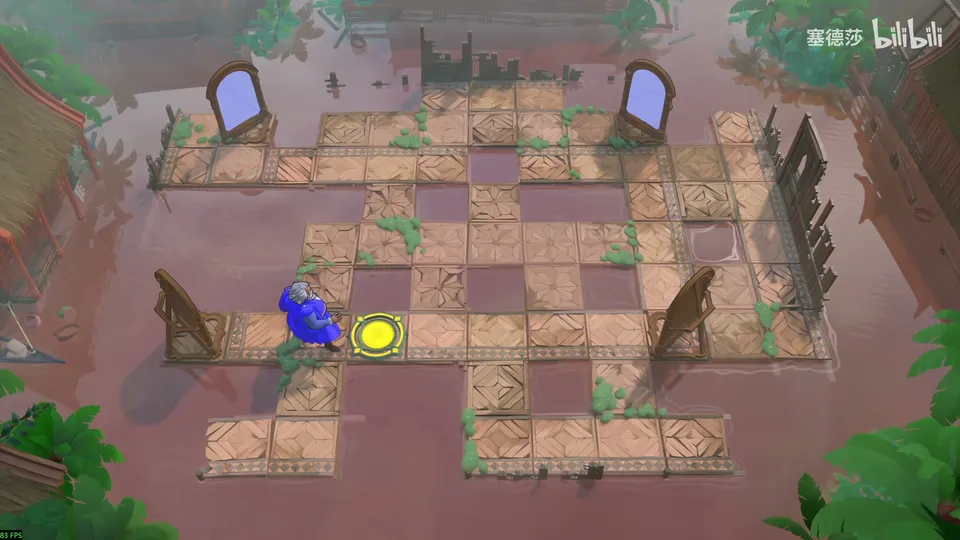
- Walking straight to the pad doesn’t work: inside the rectangle the Wizard keeps swapping with itself. (23:56)
- Breaking a random mirror (for example the top-left) leaves three mirrors that still form a loop, and you’re worse off. (24:08)
- Follow the route along to the far right and swap with the bottom-right mirror. (24:47)
- Step right to leave the loop, then walk to the yellow pad. 塞德莎 first thought a second mirror had to go, but the walk works. (24:59)
That clears the area. Check the map (Tab) to make sure no puzzle is left in this corner. (25:27)