Heroes and Stones, East is the eastern half of the crossover where the Hearty Heroes of Hauling (North) meet the Sailor’s skipping stones and lily pads from Skipping Stones to Lonely Homes (South). Here the Thief, the Druid, the Cleric, the Warrior and the Wizard each add a new way to stop a skipping stone or hold a lily pad. This page solves all 14 puzzles, the overworld puzzle and one extra room. The western half is on the Heroes and Stones, West page.
Where it is: cross the bridge east from the western half (the way opens after West puzzle 8). 塞德莎’s walkthrough labels the map tiles the right half of S5, S5E1, S5E2, N6E1 and N6E3 (all in his part 21).
How to use this page: numbers follow The Flying Chungus’s solution video, which labels puzzles 13 and 14 “Heroes and Water”; they are Cleric rooms you reach from this area, so they are here too. Each heading has the key idea and two links: the matching Chungus chapter (no commentary) and the moment in 塞德莎’s narrated walkthrough where the room starts. The numbered steps link to 塞德莎’s video, because the steps follow his explanation. His order is the same as Chungus’s; he also plays one Druid-and-Sailor room that Chungus doesn’t show, listed as the extra room after puzzle 2.
Rules that matter here
- Skipping stones. A skipping stone pushed into water skips in a straight line and only sinks into a walkable tile when something stops it while it is still over water. Crystals sink where they land. Two stones stacked in a line (the second one stops against the first) is still the basic way to pave a tile.
- The Thief pulls a moving stone. The Thief pulls whatever is behind him when he steps away. That works on a stone that is still skipping too: pull at the right moment and the stone stops next to him (puzzles 1 and 2).
- The Druid roots things. The Druid turns plants into crystals and back. Turn a crystal skipping stone into a plant while it is moving and it takes root and stops; turn it back and it sinks. If the crystal is riding a lily pad, the plant’s roots hold the whole pad in place, which lets you delay one pad or bring two pads together (puzzles 4 and 5).
- The Cleric stands over water. The Cleric can’t push, but it does not fall into water on a tile that is protected: in a dragon’s fire line, or next to a goblin or another hero. Those protected water tiles are push spots that would otherwise not exist (puzzles 6 to 14).
- The Warrior’s push mid-skip. As in the West half, the Warrior can push something into a skipping stone’s path while it is moving, which turns the stone. In puzzle 8 the thing he pushes is the Cleric.
- The Wizard swaps one-for-one. Swaps never change how many things are on an island (puzzle 10).
- Dragons and goblins. A dragon’s fire kills heroes in its line, and a stone in the line blocks it. Killing a goblin can close a monster gate for good, so check before you knock one out (puzzle 9).
- Slow time. Hold Ctrl for the timed parts.
Puzzle 1
Key idea: two stones from the top right have to be stacked into a path at the exit, but the channel doesn’t let you push or pull them across. The lily pad brings the first one; for the second, the Thief pulls it while it is still skipping. (YouTube 0:00 · 塞德莎 0:17)
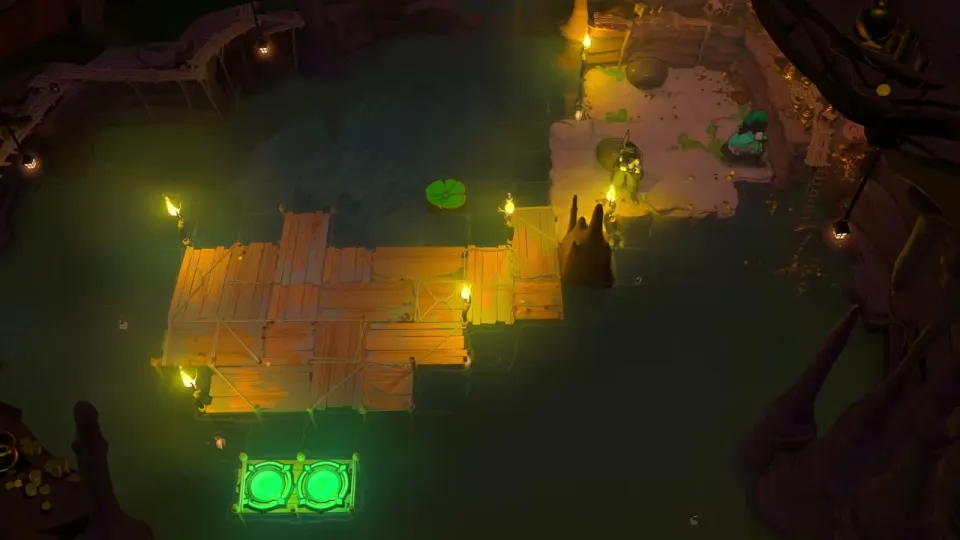
- Bring the first stone with the lily pad: have the Thief wait at the spot 塞德莎 shows, knock the stone left, and pull it over. (0:40)
- The pad only works once. For the second stone, skip it left and pull down with the Thief as soon as he can reach it: a stone can be pulled while it is still moving. (1:00, demo at 1:20)
- Push both stones across to the exit and stack them. (1:30)
Puzzle 2
Key idea: the same Thief trick, several times in a row. Each leg of the stone’s route is “push it along, the Thief pulls it off at the end”, so plan where the Thief waits before each push. (YouTube 0:46 · 塞德莎 1:45)
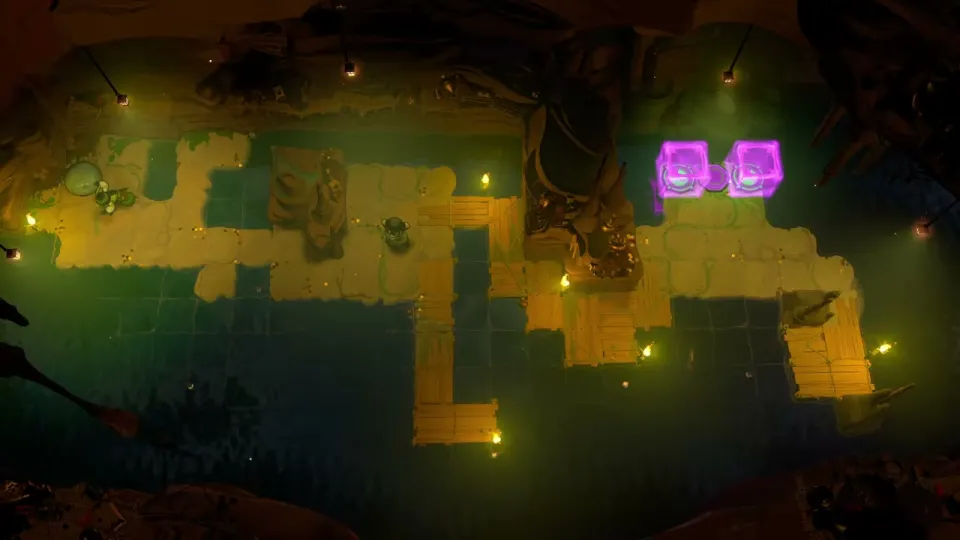
- Get the top-left stone out. The layout shows the route: push it right from above and pull it down with the Thief on the right. Skip it down one tile, pull it one tile, and push it to the bottom side. (1:54)
- Now it has to go up to the next spot. Put the Sailor in position and pull it over; then wait there to pull it down. (2:15)
- Next leg: the L-shaped plank bridge at the bottom. You push right along it and pull the stone up at the far right, so first push the stone to that start, push down, and let the Thief pull. (2:26)
- Bring the Sailor over, send the Thief ahead to wait, push left from this point and pull. Pull to the right rather than the left; it makes the rest easier. (3:00)
- Push right and pull once more at the last spot. (3:25)
Extra room: Druid and Sailor
Key idea: the Druid can stop a moving crystal stone: turn it into a plant just as it passes the Druid and it roots in place, then turn it back into a crystal and it sinks. Use that to build a two-stone path. This room has two stages and is not in Chungus’s East video. (塞德莎 4:02)
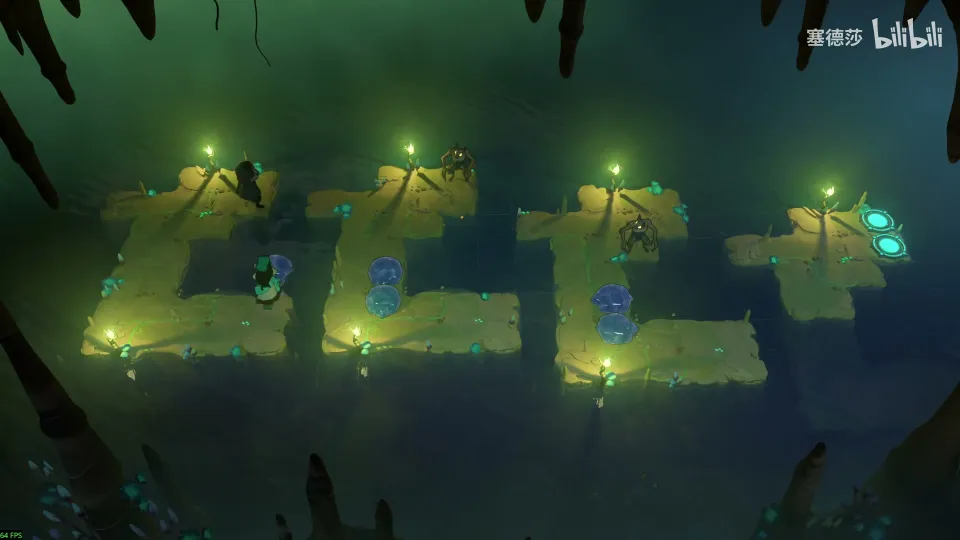
Getting there: on the map, the Druid turns the plant into a crystal (crystals sink), and you push it right into the water. (3:48)
- Send the crystal stone along the water and turn it into a plant as it reaches the Druid; it roots and stops. Turn it back into a crystal and it sinks. (4:11)
- Build the path with two stones. A goblin is in the way, so the first stone has to go in from this one spot; then go right, change it back, and stack the next one further right the same way. (4:22)
- Stage 2 is the same layout with the goblin moved, so the spots change: the first one is here, and the second is just below the Druid. Push the stone up and stop it with your body. (4:54)
Puzzle 3
Key idea: you have to cross a dragon’s fire line. Only the lily pad can block it, and the stone is needed to start the pad, so something else has to ride along as the blocker. (YouTube 2:35 · 塞德莎 5:34)
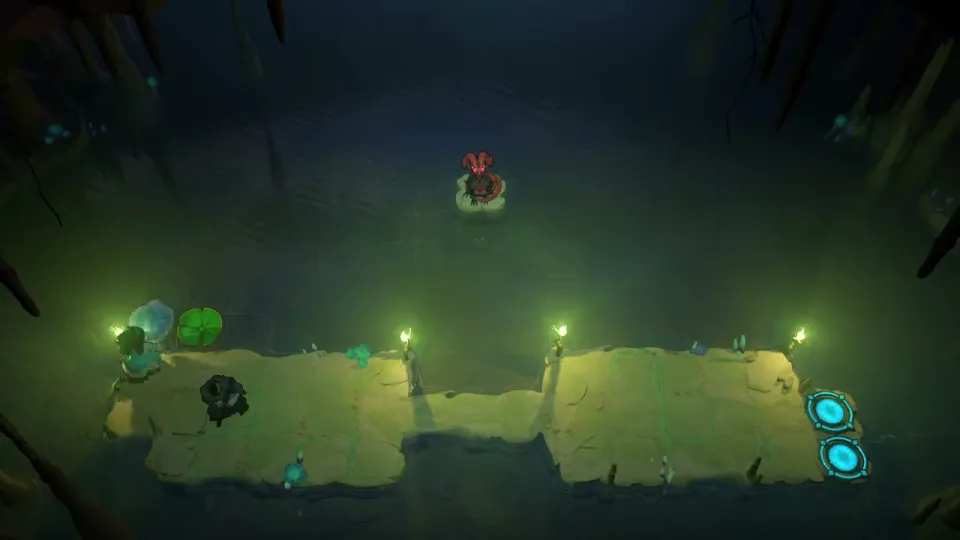
Getting there: go back to the Druid and open any plant. (5:22)
- 塞德莎’s answer is to turn the Sailor into a crystal and let that crystal block the fire, then change him back on the right. The Druid waits on the left. (5:40)
- Start the pad, make the crystal, and hold Ctrl. (6:00)
- When the stone is in the middle, move right twice, change him back, and step down at once. The exact moves are clearest in the video at 6:00. (6:20)
Puzzle 4
Key idea: two buttons that want opposite things. The bottom-right one needs the two lily pads apart (ride one out, come back on the other); the top-left one needs them side by side, so a crystal on the front pad can be pushed left onto it. The Druid fixes both: a crystal turned into a plant on a pad roots the pad, which lets you split the pads and later put them back together. (YouTube 2:59 · 塞德莎 6:30)
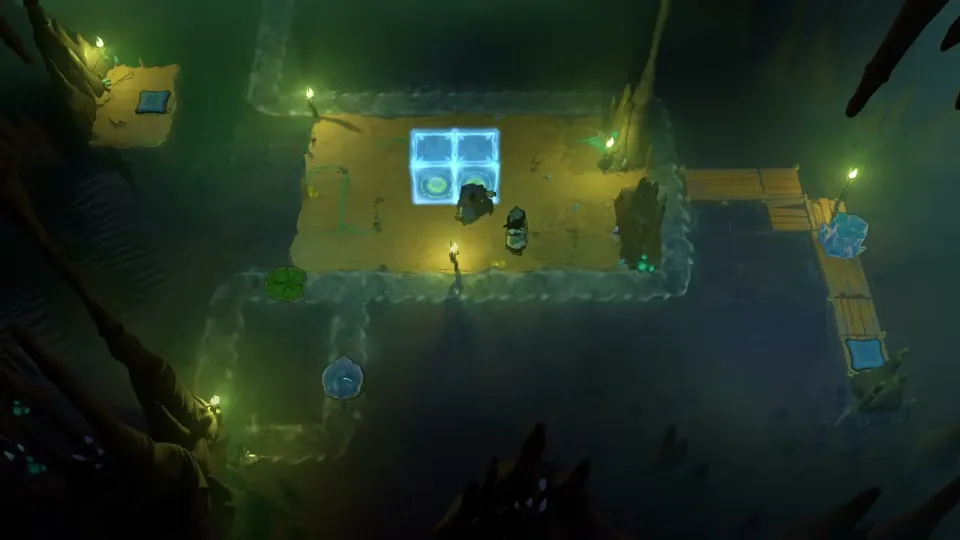
- The plan: for the bottom-right button, ride the first pad over, push the crystal onto the button, and come back on the second pad. For the top-left button, the pads must travel side by side on the top current with a crystal on the front one. (6:40)
- At the start your only move is to push down. By default the pad carrying the crystal ends up behind. (7:40)
- Turn the crystal on one pad into a plant: its roots wrap the pad and hold it, which creates the gap. Wait a little, then turn it back. (8:00)
- Let the pad go past, push the crystal over, and come back. Hold Ctrl here or you may not make the push in time. (8:20)
- Merge the pads the opposite way: push the crystal onto the front pad, turn it into a plant, and wait for the back pad to catch up. Put the Sailor on the back pad, turn the plant back into a crystal, and push it left onto the button. (8:40)
Overworld puzzle 1
Key idea: on the area map, get the ordinary skipping stone on the right to the tile left of the middle plant, which you can only do by pushing it from left to right along your row. Where you push the crystal at the very start decides whether that is still possible. (YouTube 3:34 · 塞德莎 9:12)
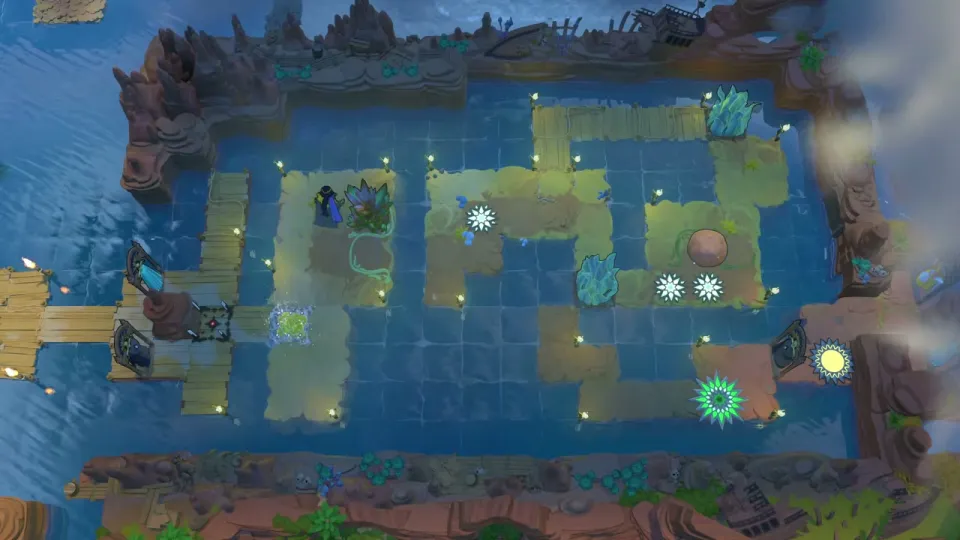
- Reset first; from the current state you can’t get through. Then push the crystal to its prepared spot, not anywhere else, or you can’t push the stone left to right later. (9:20)
- As the Druid, leave the middle plant alone (you need it) and turn a different one. Change into the Sailor and move the stone: push it left here, left again there, then right from here. (9:40)
- Change back to the Druid, turn that plant, and go down to puzzle 5. (10:00)
Puzzle 5
Key idea: a “bus”. Put the two lily pads together with a crystal stone on the front one and the Druid behind it. Whenever the Druid turns the crystal into a plant, the front pad roots and the back pad is blocked, so the whole bus stops exactly where you want it. (YouTube 4:22 · 塞德莎 10:15)
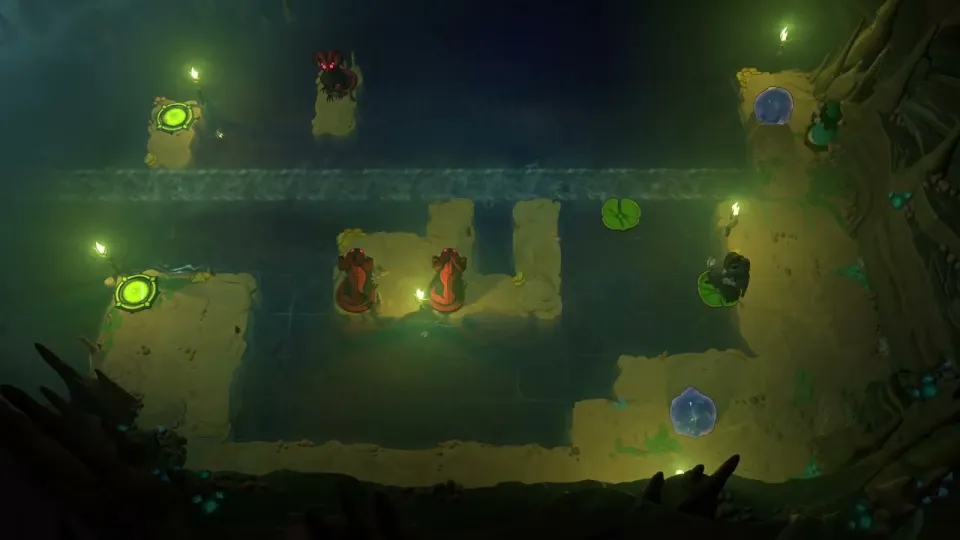
- The route: stop the bus here, get off and turn the plant into a crystal; ride on to the next stop and do the same; then stop on the left where the plant blocks the dragon’s fire line. (11:00)
- You need one crystal back to push it left later, so stop there once more to get it, and finally push it to the tile right below the dragon, where it blocks the fire so you can come back safely. The Druid then rides to the last stop at the top-left exit. (11:40)
- Run it: the front pad is knocked upward and the back pad sideways. Board, knock the first pad, then the second at the right moment. (12:00)
- Get off here and make the stone; get off at the next stop and make the other. (12:21)
- Stop midway to block the fire, fetch the stone back, use it to block the dragon so the Druid isn’t burned, and ride to the exit. (12:40)
Puzzle 6
Key idea: an easy Cleric room in two parts. The Cleric can stand over water in a dragon’s fire line, but it falls if it walks off that line, so put a stone wherever it has to step off. (YouTube 5:28 · 塞德莎 13:44)
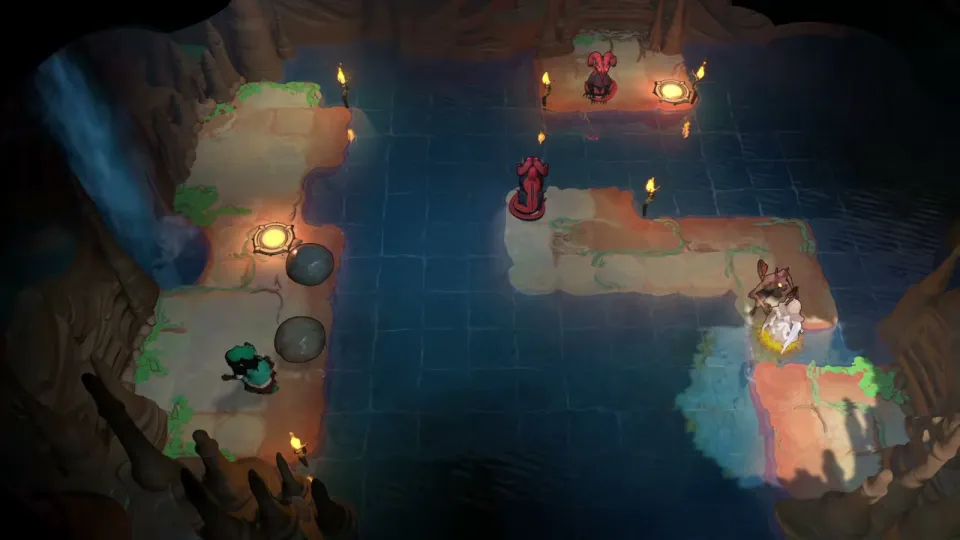
Getting there: on the map you have one skipping stone. Place it so you can reach the top right, put on the Cleric’s outfit, go up and turn right. (13:20)
- First part. Float out to the spot in the fire line. Stepping down and then left or right would drop you, so push a stone in here to make a path. (13:56)
- Second part. Switch over to the left dragon’s fire line: put a stone in the middle and cross. (14:10)
Puzzle 7
Key idea: the Cleric must climb past several gaps, and only dragon fire lets it cross water. Put the dragon on the lily pad and send the pad up: the fire line moves up with it and the Cleric follows. (YouTube 5:47 · 塞德莎 14:23)
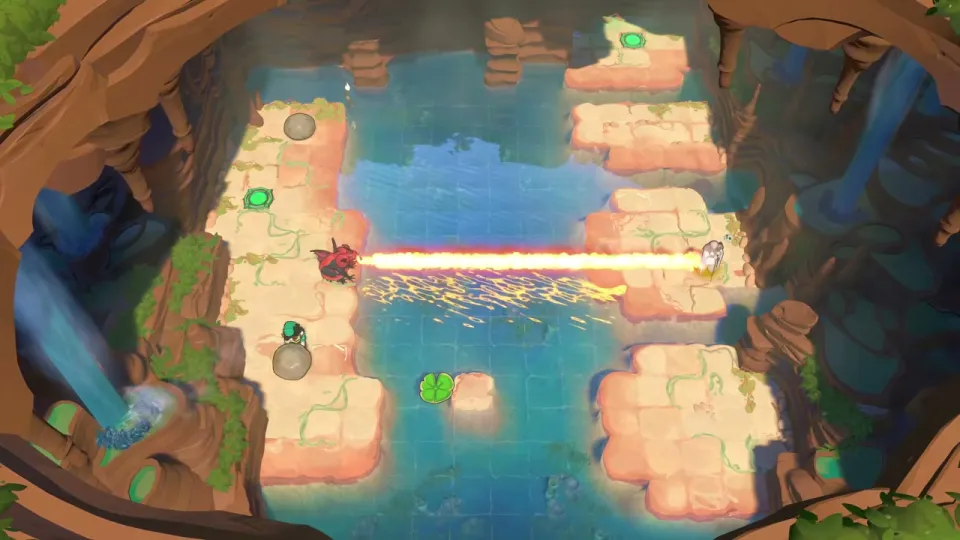
- First put a stone next to the lily pad, or you can’t push the dragon onto it. (14:40)
- Move the dragon here and let the Cleric down, then move it there and let the Cleric across, and step away. Push the stone over as a backstop and move the Cleric aside. (15:00)
- Push the dragon onto the pad, park the Cleric on the right, and start the pad. (15:18)
- Walk up whenever the dragon’s fire is level with you. (15:27)
Puzzle 8
Key idea: the top-right lily pad has to be knocked left, but no stone can reach the island below it. So skip a stone along the row and, as it passes, let the Warrior push the Cleric into its path: the Cleric floats in the fire line and turns the stone upward into the pad. (YouTube 6:34 · 塞德莎 15:49)
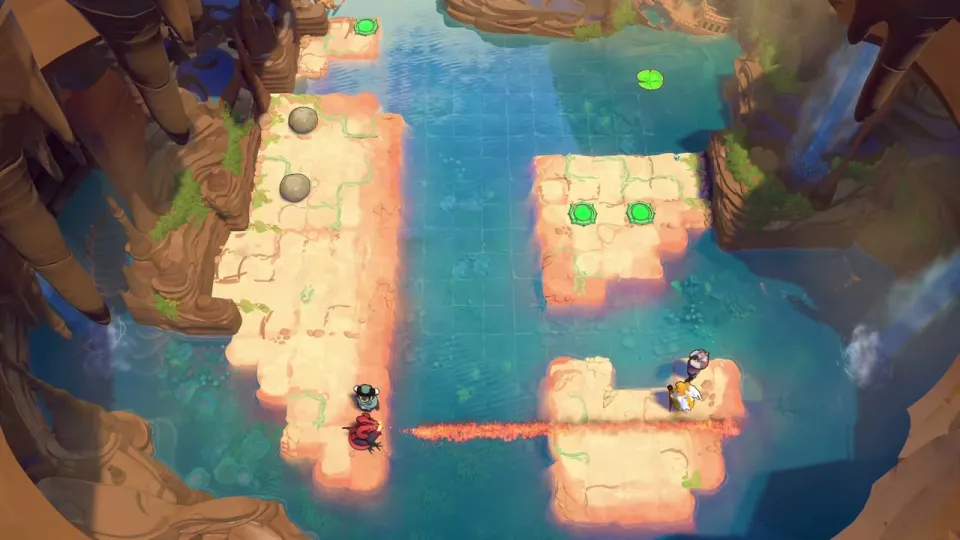
- The natural plan, pushing a stone up the rightmost column, fails: 塞德莎 found no way to get a stone onto that inner island. You don’t need one there; you only need to get up yourself. (16:00)
- Break the deadlock first: push the dragon down so the Warrior can get out, bring the Cleric over, block, and push the dragon back up. (17:38)
- Push one stone to its spot and another below it so the two stack, then put the dragon where its fire covers the missing tile in the middle, and push all the way up. (17:58)
- Up top, push the stone back into the row and put the dragon one row below the stone, so the Cleric can float there. (18:20)
- Push the stone right; just before it arrives, switch to the Warrior and push up. Wait for the pad to come and cross. Before leaving, push the dragon up, because the right side is otherwise stuck. (18:39)
Puzzle 9
Key idea: don’t kill the goblin: it would close the gate for good. Instead, cross the gap by standing the Cleric next to the goblin over water, after first building a spot where a stone and the goblin can sit. 塞德莎 works it out backwards. (YouTube 7:45 · 塞德莎 19:15)
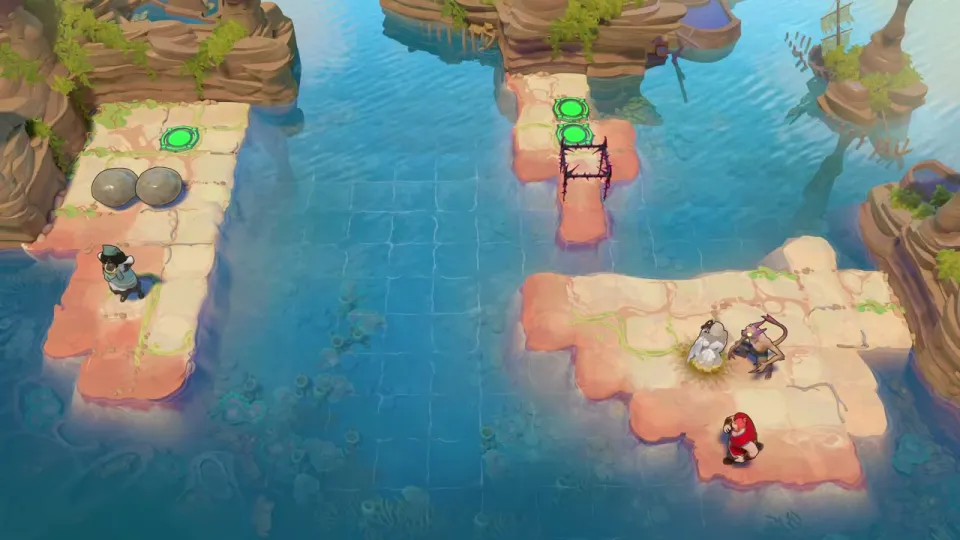
- Two ways to cross the gap: put a stone in it (塞德莎 found no way to float there), or put a stone beside it and the goblin on top, so the goblin protects the Cleric and it can float across. He calls the second the intended solution. (19:40)
- Working back: to place that stone, the Cleric must float on a tile next to the goblin, and for that it first needs another stone placed from the existing ground. (20:20)
- Do it: put the goblin here, float the Cleric, and have the Sailor push from the left. (21:20)
- Move the goblin, stand the Cleric here, place the second stone, and move the goblin onto it. Cross. (21:40)
Puzzle 10
Key idea: a Wizard island room again: swaps are one-for-one, and the top of the middle island is one object short. Carry one up by making a floating spot for the Cleric, goblin below and Cleric above, and use a skipping stone to swap the Wizard into the middle. (YouTube 8:34 · 塞德莎 22:43)
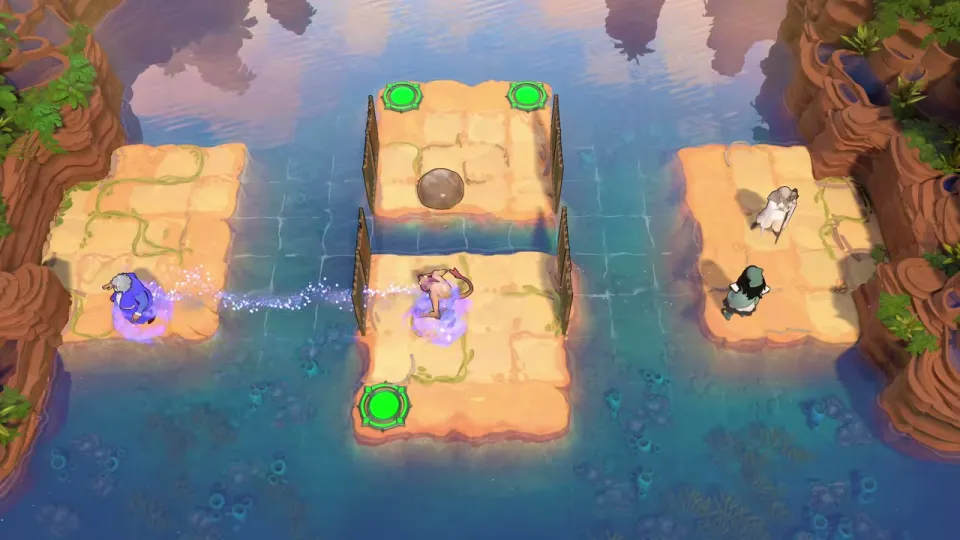
Getting there: puzzle 9 unlocks a new stone. With two stones you can reach new places: reset, push it to the spot that leads down to this room, change into the Cleric’s outfit and go up. (22:17)
- The upper half of the middle island has one object too few, so something must be carried up. With a goblin below and the Cleric above, the tile between them is safe to float on. (23:00)
- To get onto that tile, put the Sailor and the skipping stone on the right island (it starts with two objects) and push the stone left; the Wizard swaps into the middle at the right moment. Goblin below and Cleric above is the right way round; the other way leaves two below and one above. (24:00)
- Set up: the goblin is in the wrong row, so move the Sailor over, move the stone right, bring the Cleric up, then swap the goblin across and into place. (24:39)
- Push the stone left and swap the Wizard in at the right moment. Swap up (the Cleric can float), and both reach the two buttons at the top. (25:20)
- Fetch the Sailor: swap, bring the Sailor over, then swap with the goblin. (25:37)
Puzzle 11
Key idea: at the end the Warrior pushes the Cleric, floating in the dragon’s fire line, all the way left to the exit, but then the Warrior needs a tile to step onto. So a stone must end up on one of the two tiles right of the exit, which means getting it onto the top-left island using float spots. (YouTube 9:22 · 塞德莎 26:37)
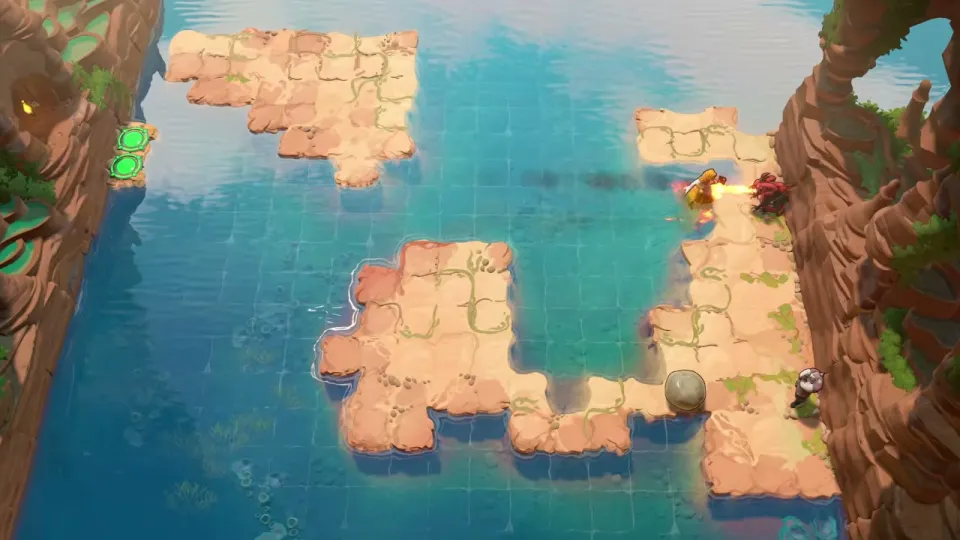
Getting there: a third stone is now unlocked. Lay the first stone as before and stack the other two to fill one tile, then come in from the top. (26:00)
- The stone can only reach the top-left island by being pushed up from below at one spot, where the Cleric can float because the dragon fires left along that row. (27:40)
- The dragon ends up stuck in one place, so the stone has to finish on the tile next to where you stop. The Cleric can reach the tile above it and push the stone down into place. (28:40)
- Bring the Cleric over and move the dragon (push it up first, then down from above). (29:20)
- Use the dragon’s fire to float behind the stone and take it out, push it over, float and push it left, then float and push it up. (29:40)
- Push the dragon up to its final spot, float over, push the stone up into place, park the Cleric to hold it, and fetch the Warrior. (30:20)
Puzzle 12
Key idea: knock the bottom-right lily pad left so it comes to the heroes, who must jump on at once. The stone that knocks it has to come down the column next to the pad, so turn a skipping stone downward mid-skip, with the Sailor floating as the stopper. (YouTube 10:47 · 塞德莎 30:56)
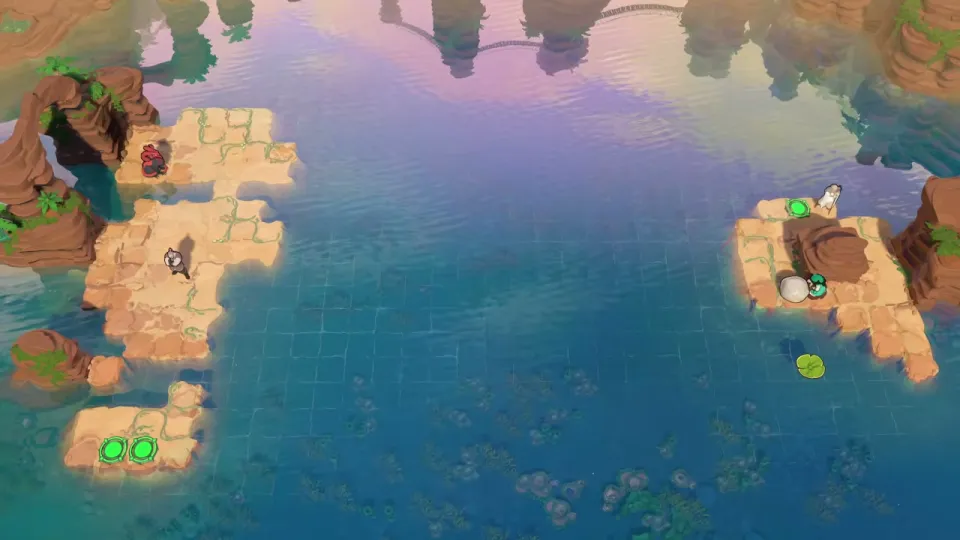
- Pushing from the right half of the pad is out: you’d have to float there, but the dragon fires right and the stone itself would block the fire. So the stone must come down the column beside the pad, from above. (31:20)
- To get it there, push the stone while it is still skipping right so it turns down. The Sailor can’t stand in water, so it needs a floating spot: the Cleric here, and the dragon firing right along that row. (32:20)
- Line up the dragon and the stone, then stack-push the stone right with the Warrior; that leaves the dragon exactly where it needs to be. (33:00)
- The dragon blocks the way up at first: move the stone over, push it up to block the fire, bring the dragon down, and keep the Sailor out of the fire. Use the stone as a spacer and push the dragon left (one row higher than 塞德莎 first tries). (33:20)
- Sailor here, Cleric there; push the stone right and step the Sailor down just before it arrives. (34:00)
- Now hurry before the pad arrives: Sailor up first, Cleric stays, push the dragon down, then run the Cleric onto the pad. Hold Ctrl so a misclick doesn’t break the run. Jump off as the pad comes in. (34:20)
Puzzle 13
Key idea: fill two pits, one to the right and one above. The right one is easy once the dragon is gone. The top one has no push spot, so make one: put a stone on the monster gate, float the Cleric beneath it and push up. (YouTube 12:44 · 塞德莎 35:45)
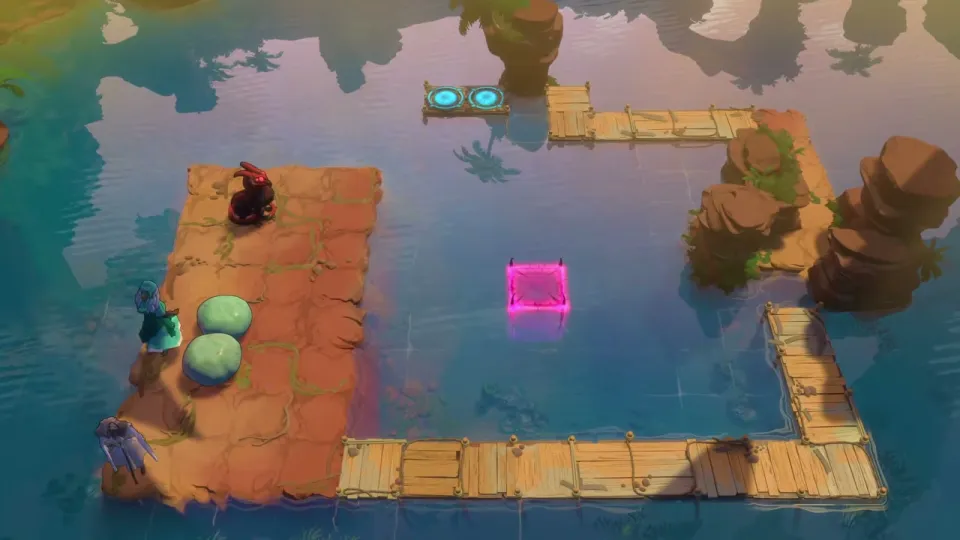
Getting there: the cage below has opened. Walk down along the fire line; the new room is on the left, just above the Cleric’s Heroes and Water area. (35:20)
- Push a stone onto the monster gate, bring the dragon down and float the Cleric over, then push up. (36:20)
- Go back by pushing to the right (you came by pushing, so you can’t walk back). (36:40)
- Kill the dragon and push the stone right into the second pit. (36:47)
Puzzle 14
Key idea: three dragons and a stone that has to drop into the exact centre of the big pool, where walls stop you pushing it straight in from any side. Push it up past the centre and let the Thief pull it sideways at the moment it passes; two Clerics keep the Thief safe over the water. (YouTube 13:25 · 塞德莎 37:23)
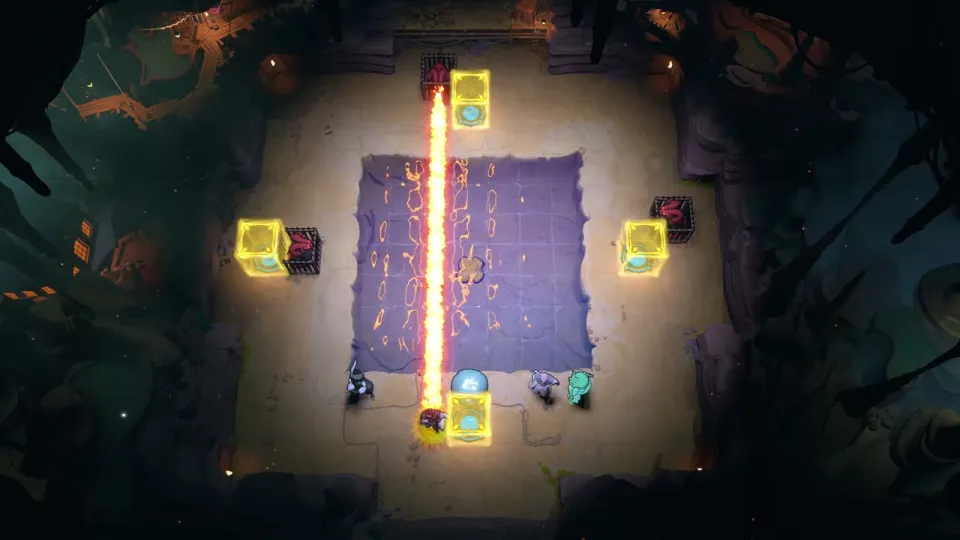
- The pieces: a Thief, two Clerics and a Sailor. The Sailor pushes the stone up from below; for an instant it passes the spot beside the Thief, the Thief pulls left, and the stone stops and drops onto the button. (38:00)
- The Thief has to stand over water for that. One Cleric floats next to it, protected by the left dragon’s fire, and the other waits so the Thief doesn’t fall after the pull. (38:20)
- Set up: first Cleric into place, the Thief up, the second Cleric from the right. Take the long way round from below; going straight up puts the Thief out of the fire line and it falls. (39:00)
- Push the stone up and pull left at the right moment. To get out of the floating spot afterwards, move the Cleric down and then left. (39:20)
That finishes every room in the north–south crossover. 塞德莎 then activates the teleporter and the gold block above. (40:00)