Reflected Beams is the crossover area where the Trader’s mirrors from the Mirror Isles (East) meet the beam emitters of Vault of the Beamcasters (West). The Flying Chungus files it under MxB (Mirrors × Beamcasters). Mirrors here move things the way they do in the East, but they also bend beams, and beams carry, push and break things the way they do in the West. This page solves all 25 puzzles and the 4 overworld puzzles between them.
Where it is: this is the east–west crossover, the last one 塞德莎 visits. The map wraps around, so East and West meet at the edges. His walkthrough labels the map tiles S1W5, S1E4 and S2E4 (his part 22) and S2W5 and S3W5 (his part 23). The MxB Gold Room is right next to it; that room is solved on the Gold Rooms page.
How to use this page: numbers follow The Flying Chungus’s two videos (part 1, part 2), minus his puzzle 1, which is the Gold Room. So his number is always ours plus one: our puzzle 1 is his puzzle 2, and his part 2 starts at our puzzle 13. Each heading has the key idea and two links: the matching Chungus chapter (no commentary) and the moment in 塞德莎’s narrated walkthrough where the room starts. The numbered steps link to 塞德莎’s video, because the steps follow his explanation. His order differs from Chungus’s: in part 22 he plays puzzle 1, the two overworld puzzles, puzzles 2–5 and then 9–15; puzzles 6–8 come in part 23, after a visit to a different area. Puzzles 16–19 and overworld puzzle 3 are not in Chungus’s videos; they sit in the lower part of the area that opens after puzzle 8, and their links go to 塞德莎’s part 23 only. Puzzles 20–25 and overworld puzzle 4 are post-game rooms on the ground layer, reached by dropping down from Double Beam Falling in Antipode High after the first ending; their links go to 塞德莎’s part 41.
Rules that matter here
- Same block, any distance. A Trader’s mirror only reflects while you stand inside the same block as the mirror (the glowing square around it). Standing right next to it, but outside the block, does nothing. Once it fires, though, it moves things however far away they are, even outside the block. Puzzle 1 teaches both halves.
- Mirrors bend beams. The dark-framed beam mirrors from the West bend emitter beams. The Trader’s mirrors bend them too, and still reflect you as well (puzzle 3).
- Beam colours work as in the West: red opens red energy doors (here, by reaching the tile next to the door), yellow breaks stones, green lets you walk through walls, cyan lets you push, and purple carries you to the far end of the beam.
- Purple carries objects too. Anything that enters a purple beam is carried to its far end, including a stone or crystal shoved in from the side. Whatever blocks the beam is its end, so a gem or a mirror in the way decides where you land.
- Green can’t pass fences. The green beam lets you walk through walls, but not through fences (puzzle 16). Cyan stacks too: for the Explorer one cyan beam lets him push one object; two crossing cyan beams let him shove a whole row (puzzle 19).
- The cart rolls back and forth along its line by itself, even through water, and pushes what is in front of it. It can only push one object; two stacked objects stop it.
- The Explorer can’t turn on the spot. He faces the way he last moved, and a reflection flips his facing. In puzzle 13 the reflect button and the Rod share the X key, so one press does both.
- The map wraps in puzzle 5: leaving one edge brings you back on the opposite one.
- Crystal carts. From puzzle 20 on, carts can be crystal. A crystal cart lets light through and takes on a beam’s power like a hero: in orange it jumps, in red it opens red doors for you, in yellow it breaks stones, in green it rolls through walls. A Trader’s mirror can also reflect a crystal cart, which turns its track from up–down to left–right (puzzle 22).
Puzzle 1
Key idea: the tutorial for mirror range. You only trigger a mirror from inside its block, but its reach is unlimited. Use that to fill a hole with a crystal, then find a tile along the edge that is still inside the mirror’s block, so you can get behind the last stone. (YouTube 1:24 · 塞德莎 2:20)
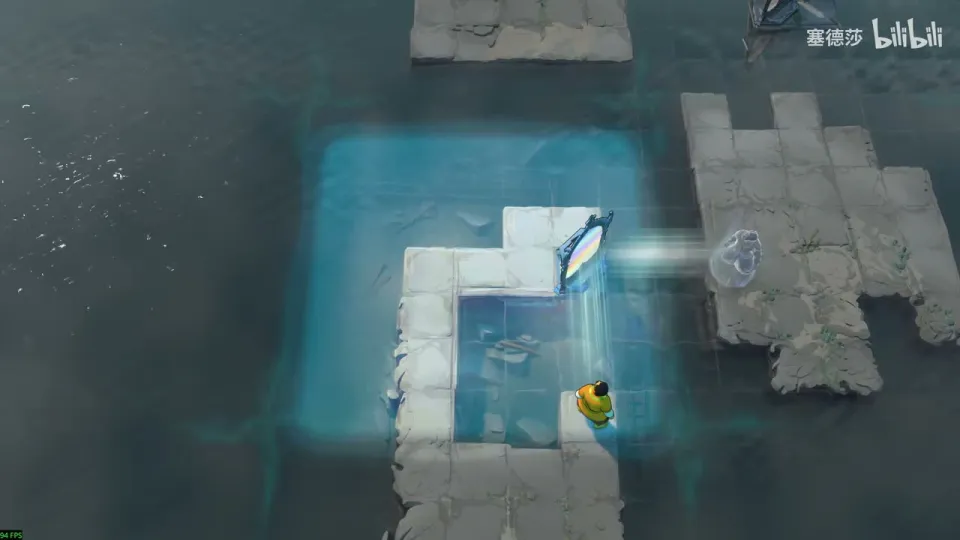
- Stand directly below the top mirror, outside its block: nothing happens. Step into its block and it reflects. (2:20)
- Reflect the crystal on the right across. It lands in line with the left mirror, so stepping into that mirror’s block reflects it again, even though the crystal is far away. (3:32)
- Drop the crystal into the hole, push the mirror up and reflect once more to cross. (3:32)
- The last gap needs a stone. Both stones are against the edge, and the obvious reflection point would only let you push them down. One tile to the right along the edge is still inside the mirror’s block: reflect a crystal there to make a path, reflect from that tile, and you land behind the stone and can push it up. (4:32)
Overworld puzzle 1
Key idea: an open level full of gems. Every gem uses the rule from puzzle 1: find a tile inside a mirror’s block whose long reflection lands on the gem. Not covered by Chungus. (塞德莎 5:41)
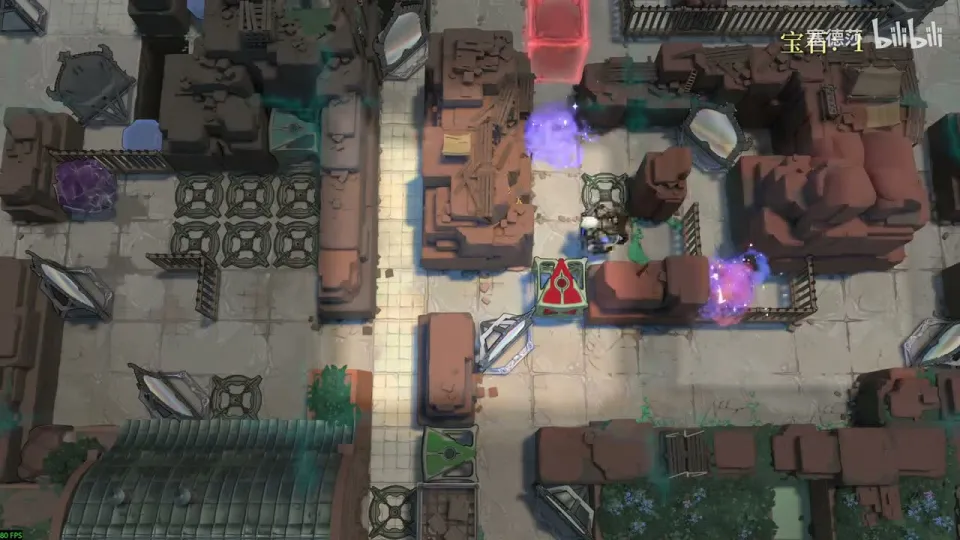
- Reflect to move the crystal aside, go in for the first gem, then come back and reflect to open the door. Leave this gem in its socket; you need its beam later. (6:03)
- Pick up the map. 塞德莎 switches to the top-down view from here on. (6:14)
- Gem 2: walk to the bottom of the long tunnel. That tile is inside a mirror’s block, and the reflection reaches the gem. (6:35)
- Gem 3: ferry a stone with several reflections until it sinks in the water, stand on it and reflect into the room with the gem. (6:57)
- Gem 4: light the orange beam, jump in, step left, then reflect right onto the gem. (7:42)
- Two green gems: walk through walls in the green beam. The first is reached by going down to trigger the lower mirror; the red beam you left lit is what gets you out again. The second is at the far end, where only one tile triggers the bottom-right mirror. (8:01, second gem at 8:29)
- Last gem: a crystal sits on the reflection point three tiles from the upper mirror. Moving it away isn’t enough, because it comes back when you reflect out. Put a gem in the socket nearby so that it blocks the crystal, then reflect in and out. (8:56)
Overworld puzzle 2
Key idea: with the gems collected, the cyan beam is lit. Bounce it from mirror to mirror until it reaches two things: the mirror blocking the path and the side of the stone. Standing in cyan lets you push both. Not covered by Chungus. (塞德莎 9:50)
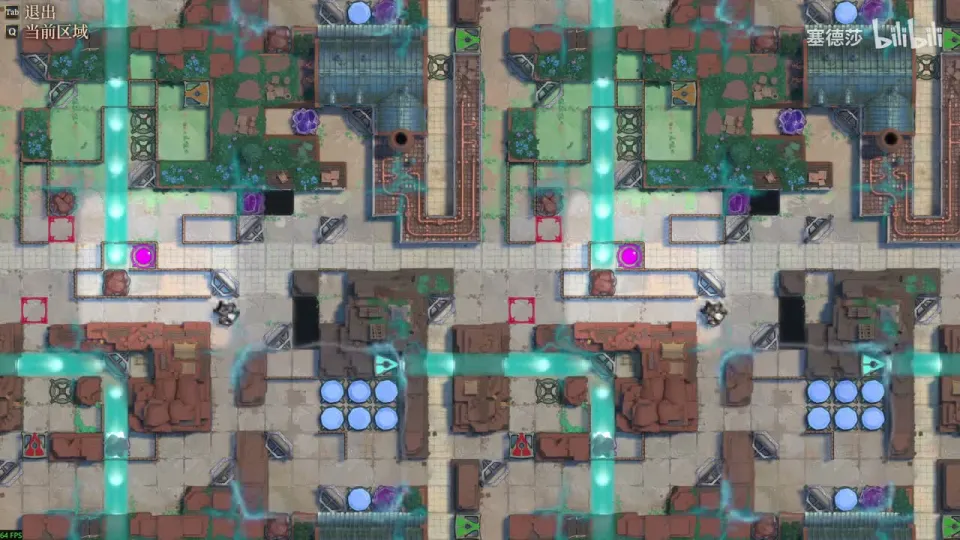
- Push the first mirror right so the beam hits the mirror above it. Push that one down so it bounces to the next, then push that one two tiles left. (10:09)
- The last mirror in the chain has nothing to aim at, so push it into the water. Push away the mirror to the right of the next one, then push that one down, or the right-hand mirror blocks its reflection point. (10:21)
- The beam now reaches the blocking mirror; push it out of the way. (10:33)
- Move the mirror aside and push the stone clear. (10:43)
Puzzle 2
Key idea: work backwards. The exit at the top right is reached from the small square at the bottom left, using the mirror at the top left. To get there, both mirrors have to come out of their corners, and each one can only be freed from one particular tile. (YouTube 2:28 · 塞德莎 11:20)
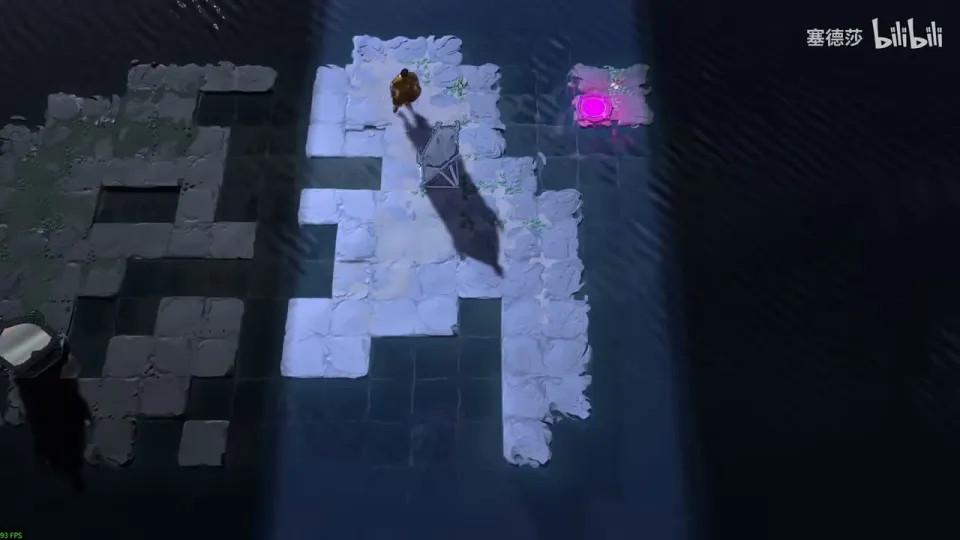
- Reflecting down at the start leads to a dead end (塞德莎 tries it and undoes). The goal: put a mirror at the top left and reach the small square at its lower left; from there you reflect onto the exit. (11:20)
- The right-hand mirror can’t go right. Push it up three tiles; then there is an empty tile on its left from which you can push it right. Only the down-right mirror, placed on one particular tile, reflects you to that empty tile. (12:32)
- Reflect in and push the right-hand mirror free. Now the left mirror is stuck: it has to go down one tile and then be pushed left from the bump beside it, so park the other mirror in the row that reaches that bump. (13:20)
- Push both mirrors to their final tiles, then reflect twice to reach the exit. (13:44) The exact tiles are easiest to follow in Chungus’s clip.
Puzzle 3
Key idea: the red beam opens a red door once you bend it to the tile beside the door. A Trader’s mirror bends beams too, so it can do both jobs at once: bend the beam and reflect you. (YouTube 3:41 · 塞德莎 14:54)
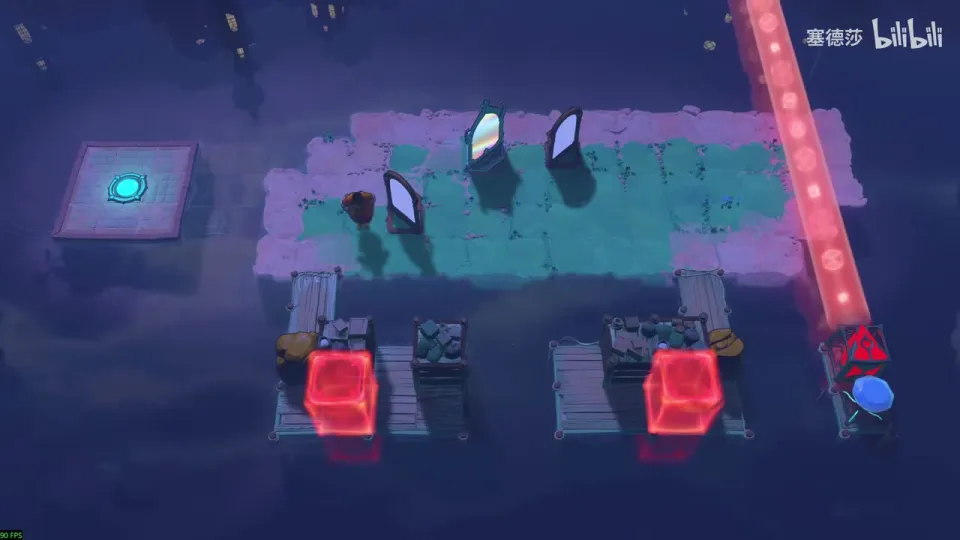
- Right door: bend the beam with the two dark beam mirrors so it ends beside the door, then put the Trader’s mirror where it reflects you in. Push the stone back out. (15:01)
- Left door: the same idea, but the Trader’s mirror you need for the reflection stands in the beam’s path and cuts it off. (15:23)
- Swap them: use the Trader’s mirror in place of the dark mirror. It bends the red beam to the door and reflects you at the same time. (15:31)
Puzzle 4
Key idea: four red doors, opened one at a time. The awkward ones are the high door, which only works from the starting position, and the last target, which needs the mirror beside the exit that you haven’t touched yet. (YouTube 4:14 · 塞德莎 16:00)
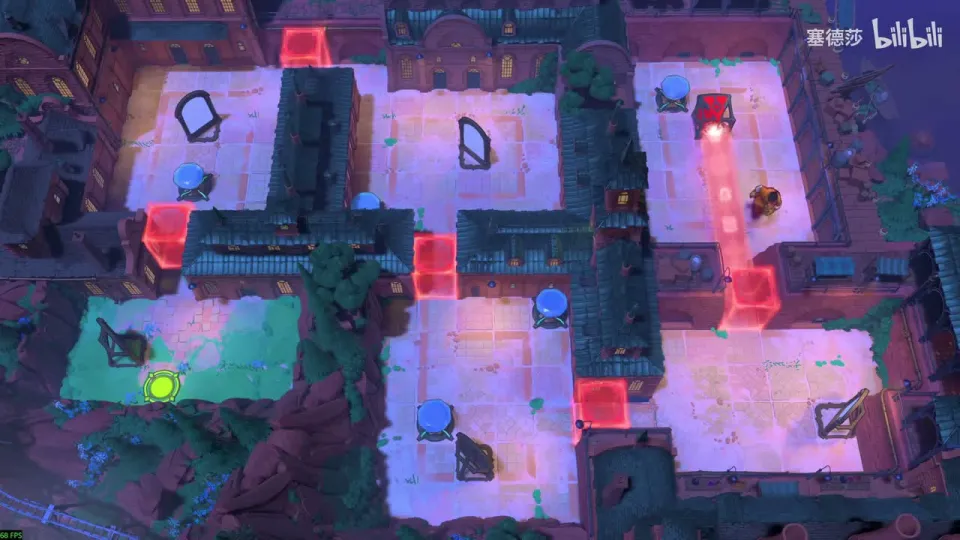
- Light the red beam and open the first door. Then use the mirror to open the left door. (16:00)
- The next door’s spot is blocked by a gem. Push the mirror up a little instead; 塞德莎 notes the beam still reaches through the wall. (16:08)
- The fourth door sits high up. Placing the mirror to reflect up there would lock you out later, so the only usable spot is where you started: send the beam up from there. (16:31)
- Gems block most routes to the last target. Use the mirror next to the exit: the down-right mirror on one tile, the up-left mirror on another, and the beam slips past every gem. (17:07)
Puzzle 5
Key idea: the room wraps around top to bottom and left to right. You have to get mirrors into the inner rooms by pushing them through gaps and then reflecting in after them, and you get past one spot with a U-shaped reflection. (YouTube 5:40 · 塞德莎 17:34)
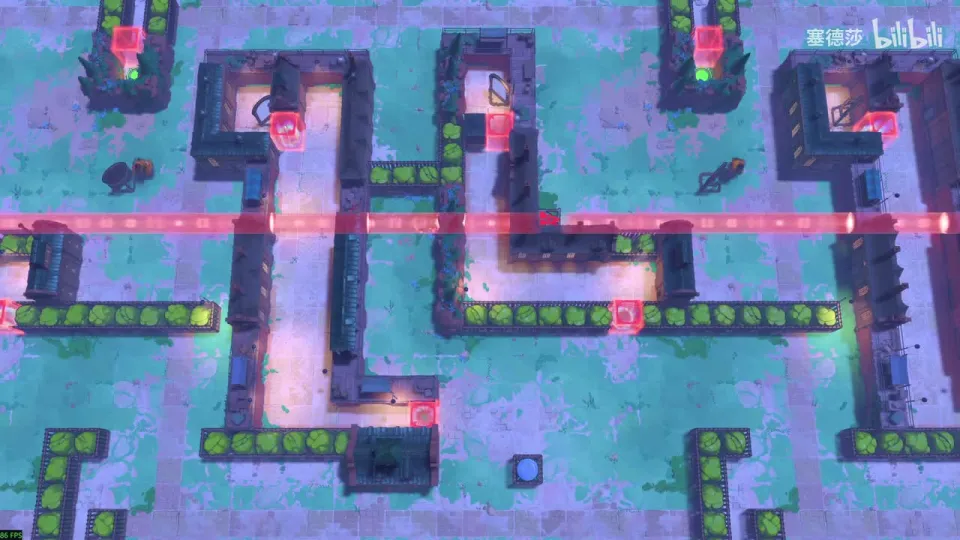
- Put the mirror in front of the first door to open it and go in. (17:34)
- The inner door: push the mirror in through the opening and reflect there. Now you can take two mirrors out: the one you pushed in and a new one. (17:49)
- Get past the next spot with a U-shaped reflection, up then left: place one mirror and adjust the other. (18:13)
- Reflect into the next room (down then left), take a mirror out, push it to the spot and go in to open the door. (18:45)
- The third mirror opens the last door, and there is only one tile for it: the lower one also works for the beam, but then you can’t get in. Move the two other mirrors into place to finish; the map is large, so watch the clip for the route. (19:11)
Puzzle 6
Key idea: you have to fill five water tiles, but no more than four stones can be freed. The fifth tile is the yellow emitter itself: push it into the water too. (YouTube 8:36 · 塞德莎 P23 11:14)
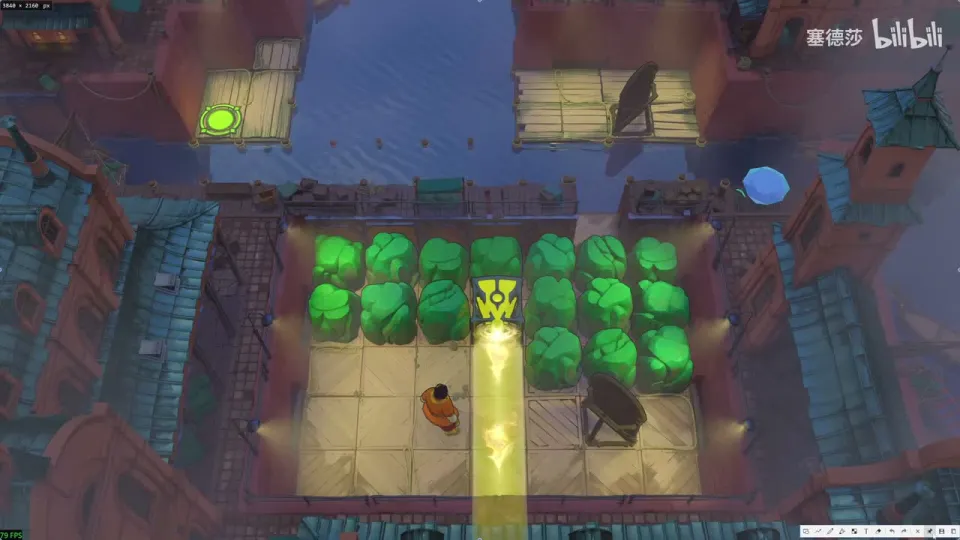
- Two stages. First get two stones onto the spot that frees the up-left mirror. Then fill the five water tiles to the exit. (11:18)
- Stones against a wall can never be pushed out, so break them with the yellow beam. Of the two near the start, break either one, then push the other left. (13:34)
- Don’t break the stone to the right of the emitter; you need it to get the emitter out later. Push the next stone over and take the mirror back. (13:55)
- Bend the beam into a U-turn to break the stone in the way, take the emitter out and push your first free stone across. Use the up-left beam to clear the next ones, then break the corner stone and one stone in the middle. (14:05)
- You now have four stones. Push the emitter into the water as the fifth tile, then push the stones in. (14:47)
Puzzle 7
Key idea: the exit is fenced in, so the only way in is to ride a purple beam that stops right beside it. The beam has to come down, turn right and be stopped there, and only the mirror can stop it. Work backwards from that picture. (YouTube 10:57 · 塞德莎 P23 15:25)
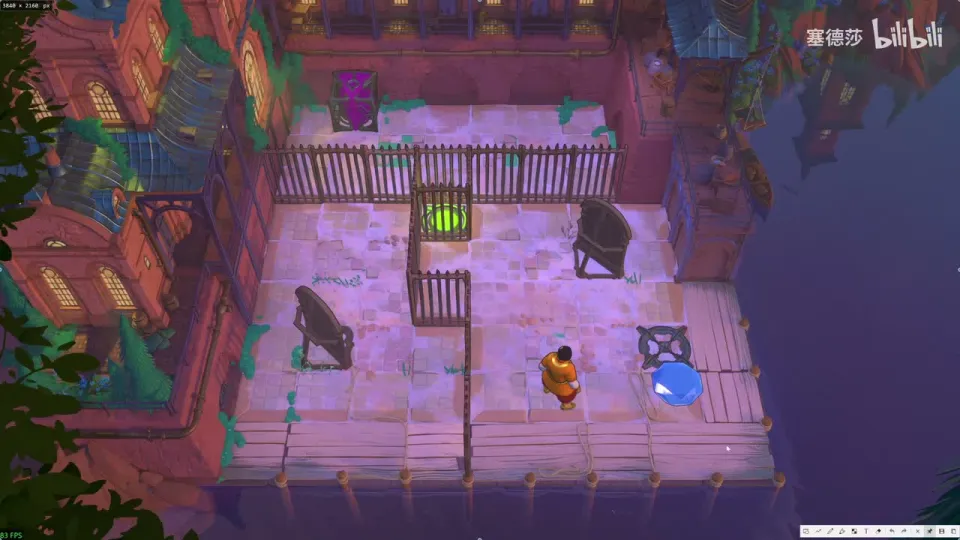
- The end state: one mirror stops the purple beam beside the exit, and a second mirror higher up turns it. Moving that second mirror means reaching the sealed area at the bottom left. (15:25)
- First place a mirror so the beam bounces onto the gem. The gem becomes the beam’s end, so you can ride out and back; without it the beam would throw you off the map. (16:52)
- Cut the beam, move the mirror, reconnect, and ride the beam left into the bottom-left area. Push the mirror up as far as it goes, then use it to get back to the bottom right. (17:13)
- Move the mirror to the very top, go up and ride the beam left to finish. (17:13)
Puzzle 8
Key idea: the green beam lets you walk through the wall at the top, but the green beam itself is in the way of the route up, and the mirrors start in awkward spots. Take them out one by one, using green to step through walls and push them from behind. (YouTube 11:42 · 塞德莎 P23 17:42)
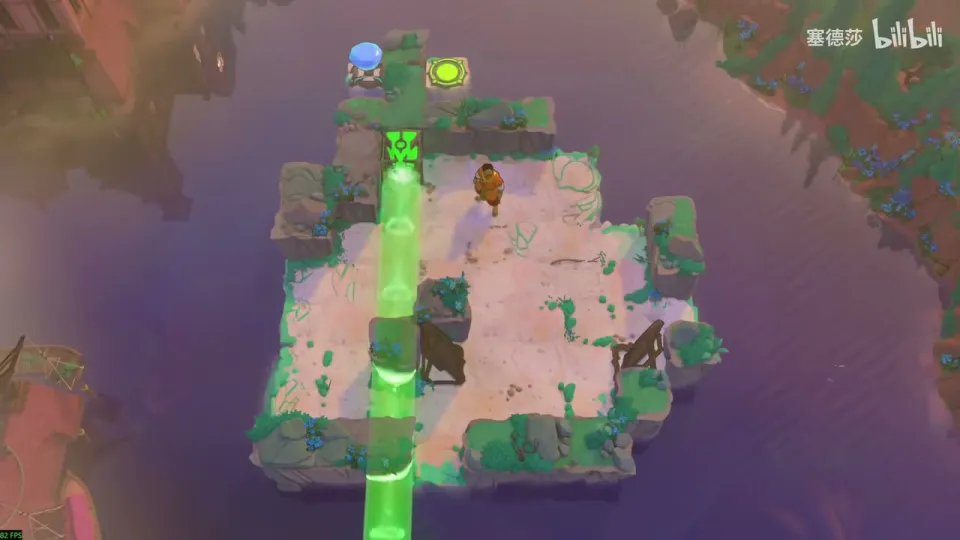
- On the overworld, put the stone in place and reflect into the room. (17:25)
- Take the first mirror out, then use it to aim the beam so you can walk through the wall and push the right-hand mirror into place. (17:42)
- To take that mirror back: push it right one tile, come in through the wall and push it up, then push it across. Aim the beam again and take the mirror out. (18:10)
- Rearrange the mirrors so you can go up and push the blocker right (where it ends up doesn’t matter). Finish with a U-shaped reflection into the column left of the exit. (18:22)
Puzzle 9
Key idea: don’t teleport into the exit, pave the way. Two water tiles need filling. The hard one gets its stone from the purple beam: the cart, which can drive through water, shoves a stone sideways into the beam, and the beam carries it to the far end. (YouTube 12:24 · 塞德莎 20:14)
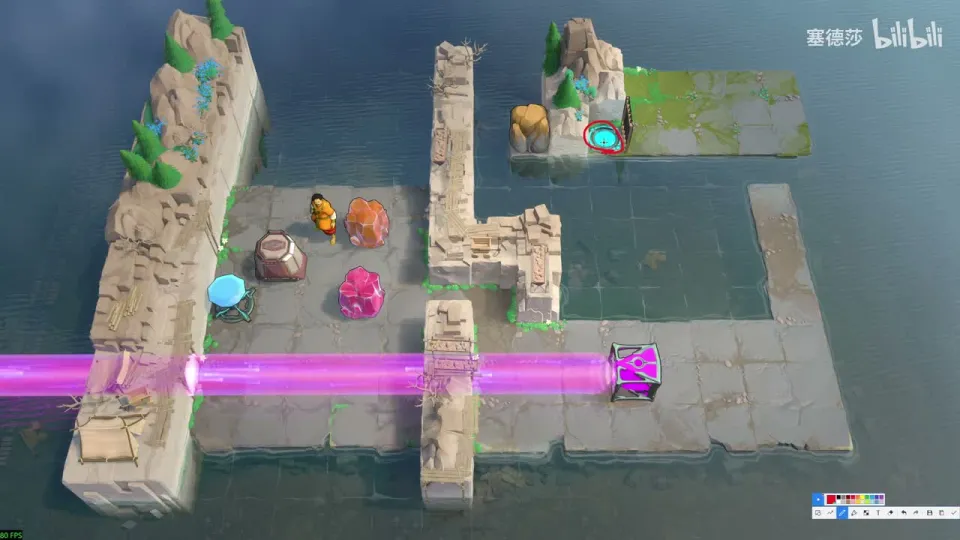
- Riding the purple beam into the exit fails: the emitter would have to sit in a spot where a stone blocks the beam. Instead, fill the two water tiles in front of the exit. (20:25)
- Push a stone onto the purple beam and let the cart push it right; the beam carries it across. Lay the first stone this way. (22:38)
- Cut the beam and move the purple emitter onto the right-hand water tile you planned, so the beam now ends where the second stone must go. (22:56)
- Push the next stone in. Done straight, you have to light the beam right after the stone drops and before the cart pushes it. Pushing the stone all the way to the edge first works without any timing. (23:20)
- This frees a robot on the overworld. Push it in and push the mirror to the spot shown; both are needed next. (23:56)
Puzzle 10
Key idea: the same paving trick, with a timing twist. The cart can only push one object, and the stone has to enter the purple beam at the moment the robot shoves the crystal at the top. (YouTube 13:02 · 塞德莎 24:22)
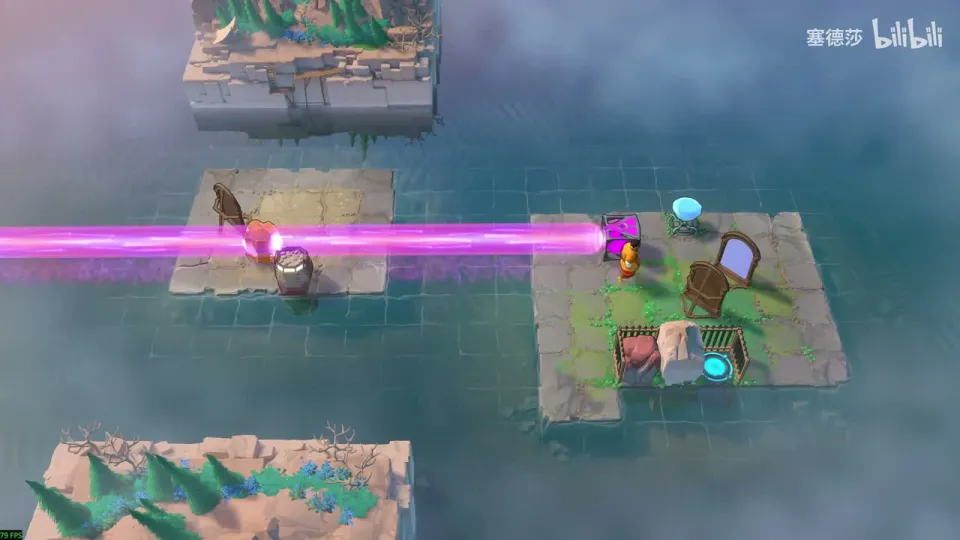
- The question is how to get the beam to where the robot is. One way works: push a mirror into the water and reflect there, with the cart in the water too. 塞德莎 suspects that isn’t the intended route and shows another. (24:40)
- Restart. While the beam is blocked, push the mirror down to its spot, then push the cart over. (25:30)
- Remember the cart pushes only one object; two stacked objects stop it. Cut the beam, put the up-right mirror and the down-left mirror in place, and set the emitter. (26:00)
- Timing: just as the robot at the top tries to push the crystal, push the emitter down. The stone is carried across. (26:27)
Puzzle 11
Key idea: let the cart move the mirror for you. Reflect up onto the large platform, set the cart so it pushes the mirror right, and reflect from the top into the big cage. (YouTube 13:52 · 塞德莎 27:45)
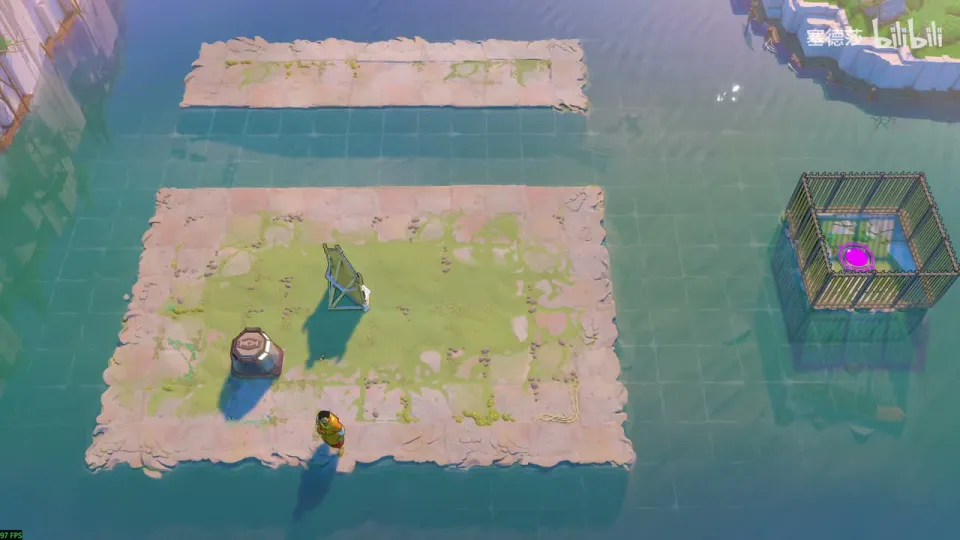
Getting there: reset the overworld, push the stone into the water, wait for the robot and push the mirror onto its head. Reflecting from the nearest stone now lands you by the two middle rooms. (27:18)
- Turn the cart to face left, then reflect up onto the upper platform. (27:45)
- Wait up there. The cart pushes the mirror right to the tile you need. (27:45)
- Reflect from the upper platform into the cage on the right. (28:10)
Puzzle 12
Key idea: only one tile lets you reflect to the exit, with the mirror in the top-left corner, and the crystal has to get there too. Ferry them across in two trips, with the cart’s help. Reflect only while the cart blocks the beam, or the stone below is thrown into the water. (YouTube 14:22 · 塞德莎 28:20)
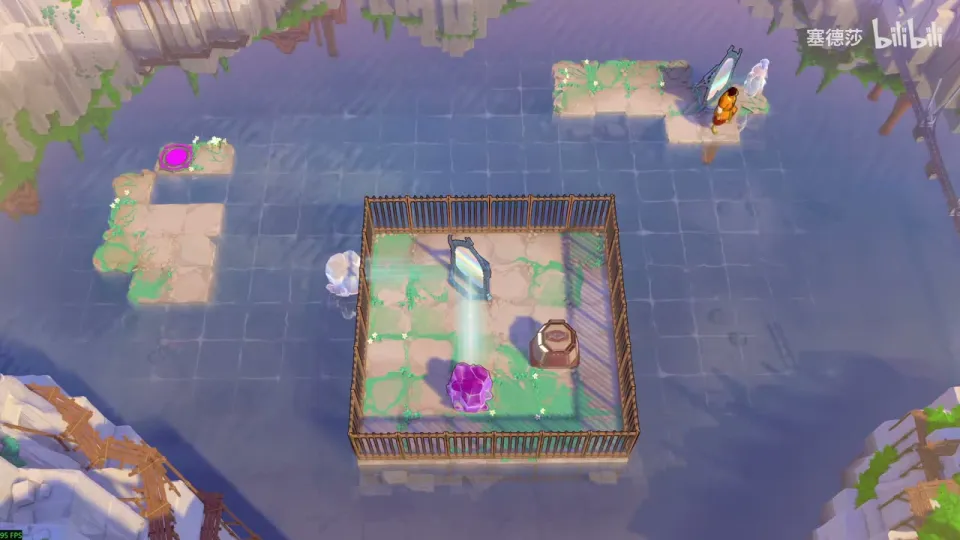
- You can only start with a reflection. Do it while the cart is blocking the beam, so the stone below stays put. (28:20)
- The finish: mirror in the top-left corner, you on the one tile that reflects to the exit, and the crystal also brought to the top left. The crystal can only be reflected from that same tile (everywhere else is water). (28:40)
- Put the crystal in place, take the cart along, cross first, then send the crystal after you. (29:00)
Puzzle 13
Key idea: the Explorer has to push a stone one tile left with the Rod, so he must face left on a particular tile. He can’t turn on the spot, but a reflection flips his facing, and the X key reflects and uses the Rod in the same press. (YouTube part 2, 0:00 · 塞德莎 29:50)
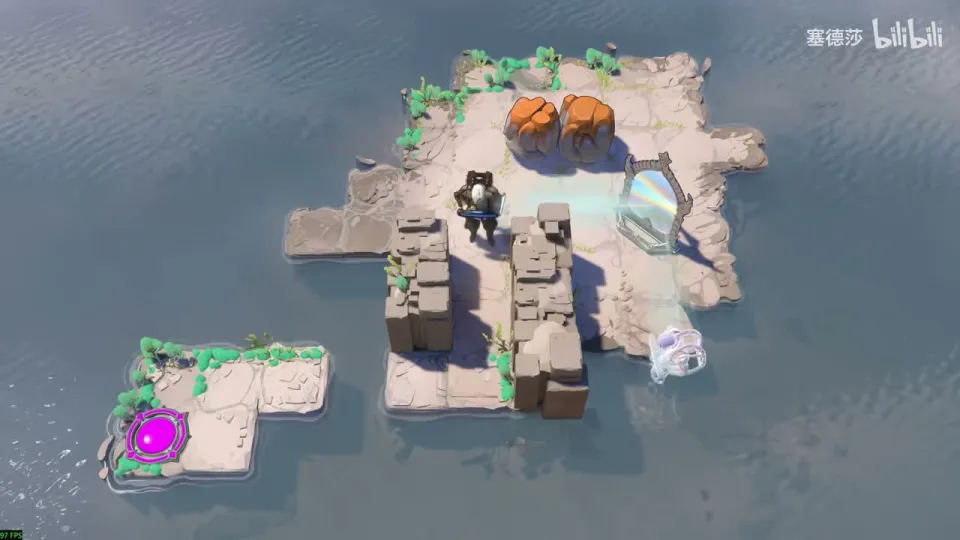
Getting there: many players miss this room. Push the stone into the water, put the mirror on the robot’s head again, and reflect from the stone’s position at the longest distance to land on the island. (29:26)
- Goal: get a stone onto the tile beside the wall (a reflection through the wall does it), then, facing left from the right tile, push it one more tile left. (30:00)
- If the mirror stands on the Explorer’s current tile, facing down there turns into facing left after a reflection. You can’t face down there directly, so first move the stone to the tile 塞德莎 shows; with it there, you can end up facing down. (30:30)
- Bring the mirror over via the top. Pressing X reflects and uses the Rod at once, and the push goes the way you faced before the reflection. (31:05)
- Take the mirror out and push it down, reflect (now facing the right way), push the stone down and reflect back. (31:25)
Puzzle 14
Key idea: two clones made by the mirrors must both reach the two exits, and one of them has to push a stone down. Clones move together, but the Explorer can’t turn on the spot: press down while one clone is blocked, and only the free one turns. (YouTube part 2, 0:35 · 塞德莎 31:36)
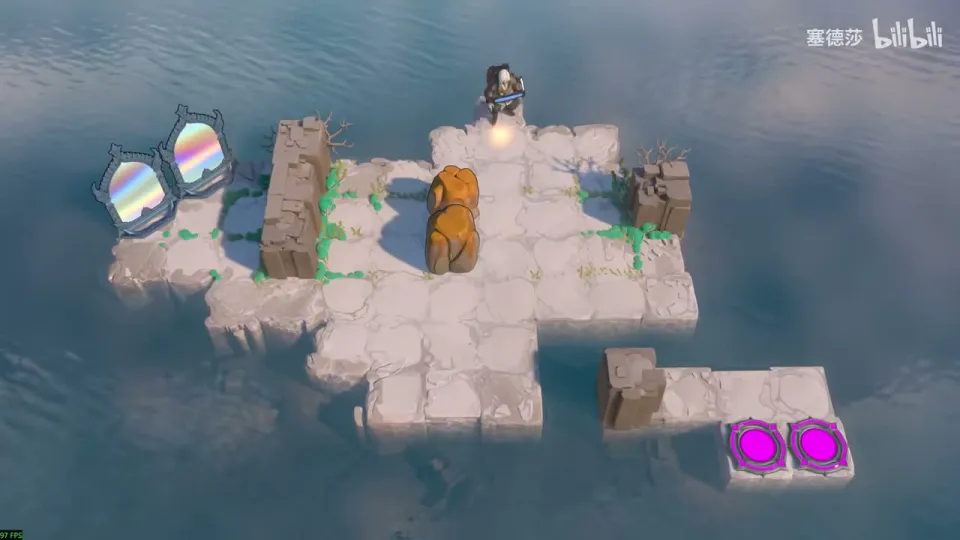
- Push the stone to the spot shown. You need someone facing down on the tile beside it to push it one tile down. The previous room’s mirror trick can’t turn you here, so use the two clones. (31:36)
- The picture you want: one clone facing right, and one facing down right next to it. Then a push to the right shoves the down-facing clone into place. (32:19)
- To get it: with one clone blocked below by the stone, press down. The free clone steps down and faces down; the blocked one stays where it is, still facing right. (32:19)
- Reflect to make the clones, walk right and then down, and use the Rod twice. Both clones reach the exits, and the cage on the overworld opens. (33:20)
Puzzle 15
Key idea: the Torc turns a beam emitter to face the way you are facing. You need two turns: one so a green beam fires left and lets you walk through the wall, and one more, combined with a mirror, so it points up to the exit. (YouTube part 2, 1:01 · 塞德莎 34:51)
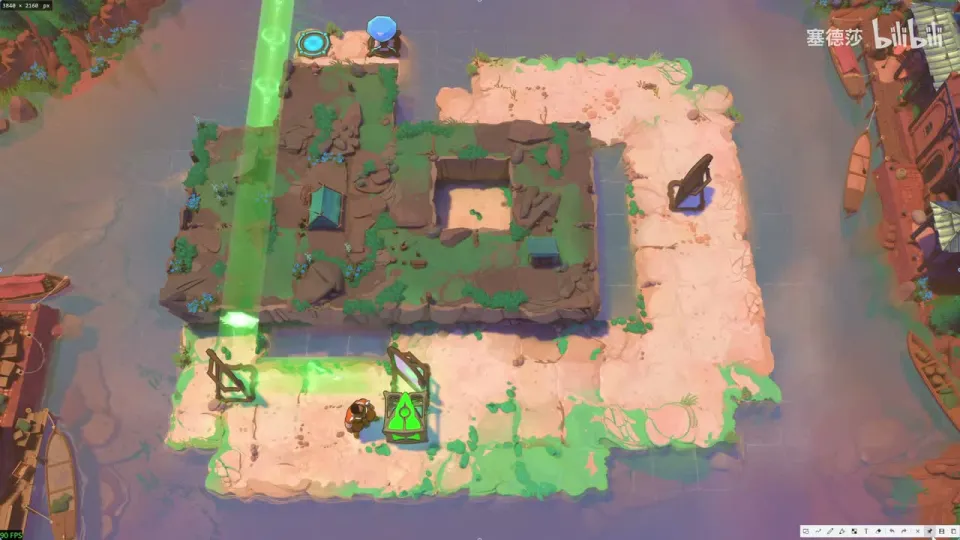
Getting there: the cage in front of this room needs two rooms solved: puzzle 14 and the room under the purple beam at the top right (puzzle 10). That is why 塞德莎 plays them in this order. (34:36)
- You can’t go straight up through the wall here (there’s water), so go in from below or above first, turn left, then go up. No single beam layout covers both, so you change the emitter’s direction twice with the Torc. (35:01)
- Place the mirrors: one facing up on the tile shown, one above it, and the last one where 塞德莎 puts it. (36:04)
- Go in. Don’t just step right here (that walks you into the wall); use the Torc on the emitter instead so a beam fires left, then walk through the wall along it. The exact input is easiest to see in the clip. (36:35)
- You now face left. Use the Torc again so the emitter fires left; the mirror turns that beam upward, and you reach the exit. (36:35)
Puzzle 16
Key idea: three heroes: the Trader and two Explorers, one shut inside the wall at the bottom left and one in the cage at the top left. The green beam walks you through walls but not through fences, so the way past the fence is a purple beam whose end is the green emitter itself. (塞德莎 P23 19:03)
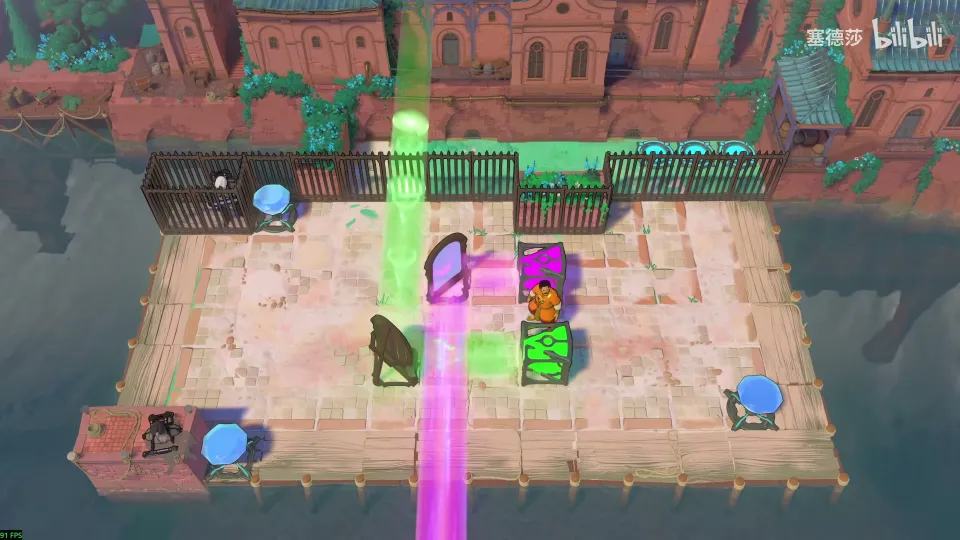
Getting there: puzzle 8 opens the bottom right of the area. Put the stone and the mirror where 塞德莎 shows and go down. (P23 18:51)
- New rule here: green lets you walk through walls, but not through fences. (19:22)
- Free the two Explorers. Cut the gem first. The one in the top-left cage can only leave on the purple beam, so put the mirror where 塞德莎 places it; the one in the bottom-left wall simply walks out through the wall in the green beam. (19:33)
- The way up is through the two grassy wall tiles that stick out: green lets you ignore them. (19:53)
- For the fence, ride the purple beam and make the green emitter its end (swapping the purple and green emitters works too). (20:08)
- Bring the two beams together, then jump in from the spot 塞德莎 shows to finish. (20:24)
Puzzle 17
Key idea: the exit is hidden under the odd crystal in the middle of the room. The hero here can’t push, so the cyan beam has to reach the tile beside that crystal, and the only way is to move the cyan emitter one tile down. (塞德莎 P23 21:09)
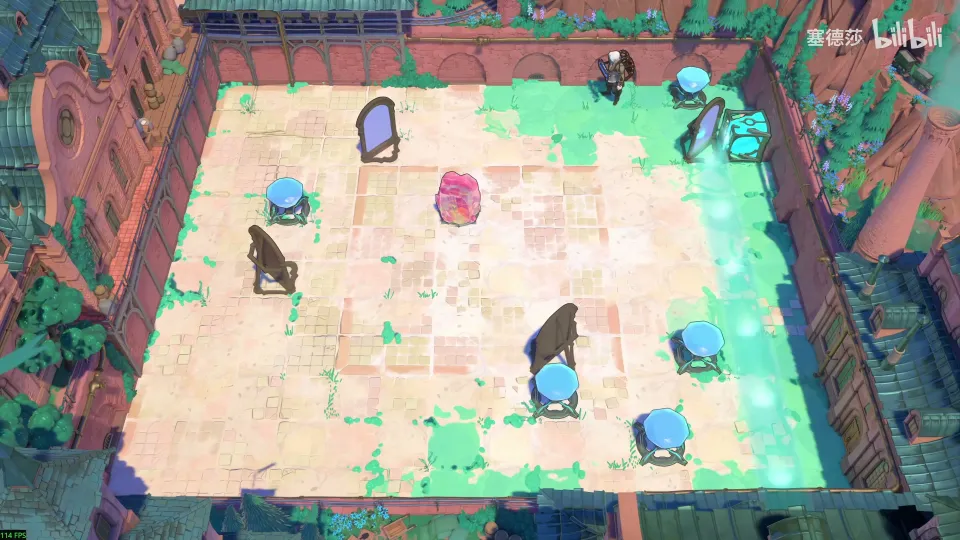
Getting there: open the cage, go back to the teleport point and light the cyan beam. The room at the top left only needs two stones laid in the water: the Trader normally pushes one thing at a time, but in cyan he shoves a whole row. (P23 20:44)
- Put the gem on the spot shown, then look for the exit: it is under the strange crystal in the middle. (21:11)
- The plan: get cyan next to that crystal by moving the cyan emitter one tile down. 塞德莎 found no other route. (21:45)
- You have to push the mirror up first or the beam can’t get out. Then push a mirror left and another two more tiles left, so the beam passes the gem that blocks it and reaches a mirror you can push down. (22:06)
- Work the mirrors down the room as 塞德莎 does (right, down two, reflect, down one, down again), then aim the last one right at the first mirror you pushed. Now there is cyan above the emitter. (22:27)
- The Explorer can walk through the gem, so go round over the top and push the emitter down. The crystal moves and the exit is free. (22:48)
Overworld puzzle 3
Key idea: the next room is hidden under three stones. Pick up the Torc in the bottom-left corner, send the cyan beam there with your new mirror, and turn the emitter to fire up so you can shove all three stones down. (塞德莎 P23 23:02)
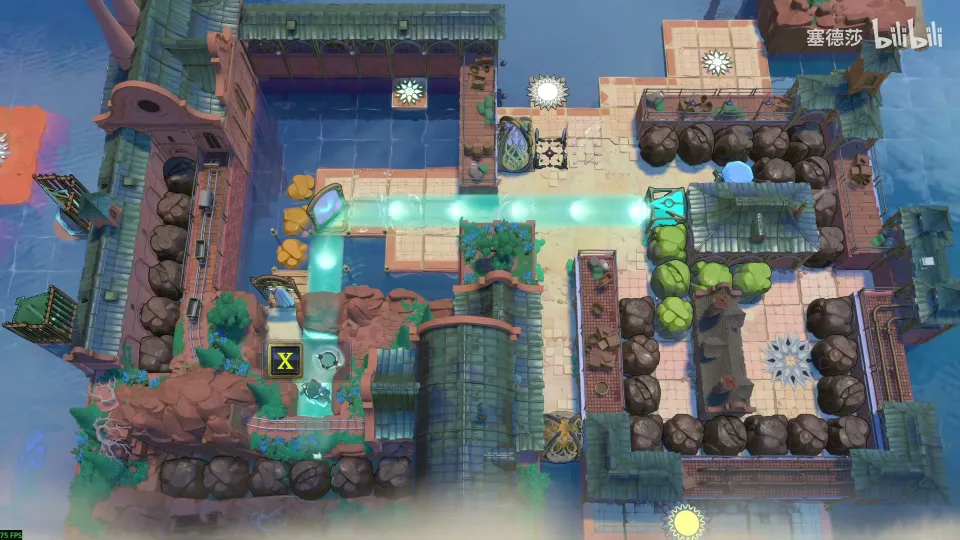
- Puzzle 17 unlocks a mirror that faces down-right, so you can send a beam downward. (23:14)
- Go to the bottom-left corner: push the stone in and enter. It holds the Torc, which turns a beam emitter. (23:27)
- Use the mirror to bring the beam to that spot, so you can change its direction there. (23:49)
- Turn it to fire up. Now you can push all three stones under it down, and a hidden room appears beneath them. (24:00)
Puzzle 18
Key idea: a shuffling room for the Torc and the cyan beam: you move the emitter around and keep turning it. The catch comes at the end: on the last tile you can’t turn it to face down, so first bring the bottom-right mirror over to extend the beam, as on the overworld. (塞德莎 P23 24:17)
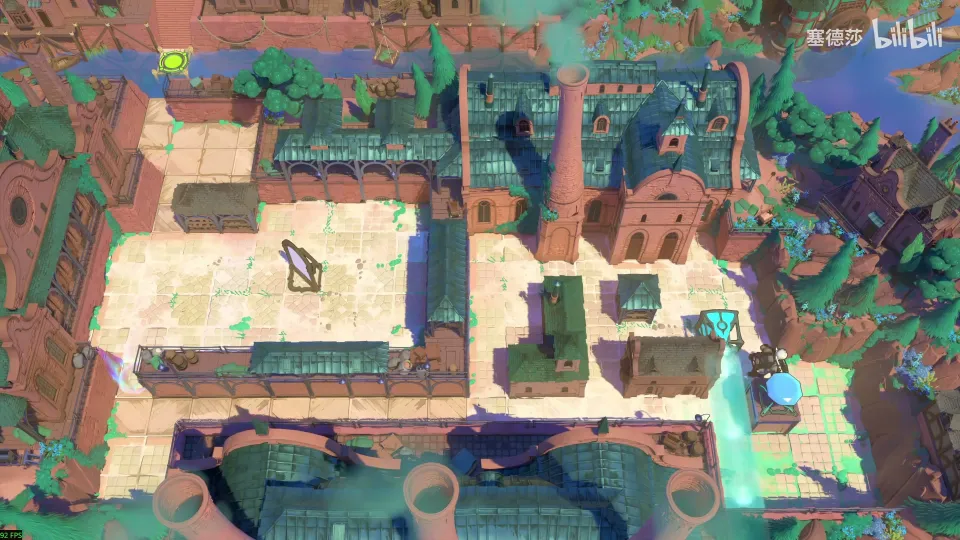
- Stage one: carry the emitter to the bottom left. Move it over and up, turn it right, move it left, turn it up, push it down, turn it right and it can leave that corner. 塞德莎 calls this part easy. (24:22)
- Turn it to face down there; this starts stage two. (24:41)
- The end state: the emitter on its final tile, turned right, pushed left, then turned down. On that tile it can’t be turned down directly, so reflect the beam with the bottom-right mirror to lengthen it. (24:47)
- Fetch that mirror: push it up one, take the emitter right, push up, turn left, push the mirror across, bring the emitter back down and left, turn it up and aim, then push the mirror two tiles right. (25:17)
- Push the emitter up and turn it right, then use the extended beam to turn it to face down. Done. (25:43)
Puzzle 19
Key idea: the stone blocking the bottom-right corridor has to go all the way up, but only the Explorer can get into that corner (a gem keeps the Trader out), and he needs to push a whole row. Two crossing cyan beams give him that; one beam only lets him push one thing. (塞德莎 P23 27:00)
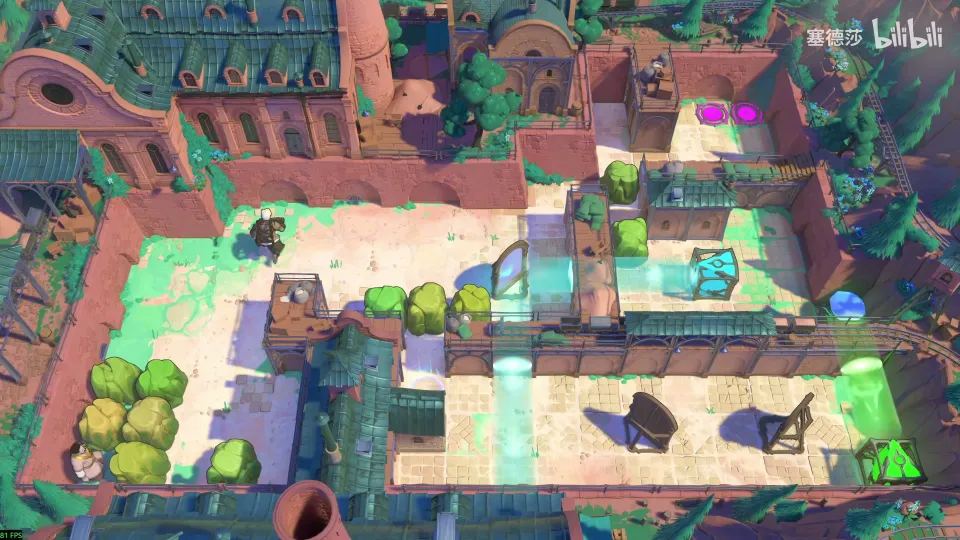
Getting there: the bottom-right room needs the cyan beam facing left. No reset needed: push the mirror in and take it out again, aim the beam, push the mirror up to the tile shown, turn the beam left there and push everything right to get in. (P23 26:04)
- First get the Trader out. A straight push gets stuck, because he can’t shove a row here. (27:03)
- Push the Explorer left to the spot shown and use the cyan beam to push the stone right one tile. The Trader can come out. (27:10)
- Clear the way to the bottom right: three stones have to go right, and only the Trader in cyan can push a row. The Explorer can’t push the mirror right from where he is, so do it the other way round: push the mirror to the right side, send the Trader in and push from right to left. Then the Trader pushes once more and you are in the bottom right. (27:23)
- Push the blocking stone up one tile, then build a crossfire: push the emitter up, set the mirror so the beam comes back onto itself, push the emitter up again and place the second mirror. With two cyan beams crossing, the Explorer can shove the row up. (28:31)
- You are back to a single push, so move the emitter right and up, take the mirror back and move it up one; push again. (29:00)
- The emitter can’t go any higher, but now the Trader can reach the stone: one push up and the room is solved. (29:13)
Puzzle 20
Key idea: the tutorial for crystal carts. The switch for the red door is inside, where you can’t reach it, so the cart has to open the door for you. A crystal cart lets light through and takes on a beam’s power: cyan lets you push it, orange makes it jump, red makes it open red doors. (塞德莎 P41 0:36)
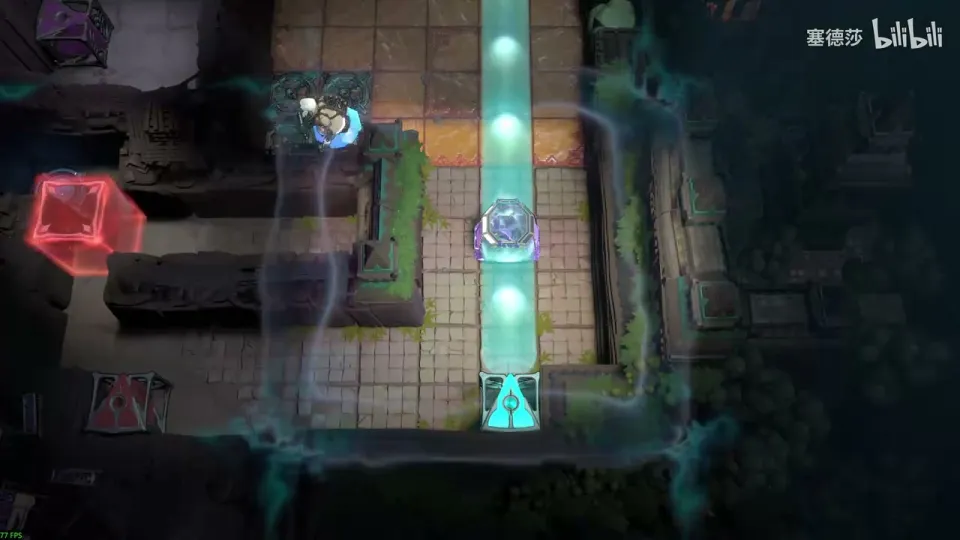
Getting there: this is a post-game room on the ground layer. After the first ending, finish Double Beam Falling in Antipode High, then take its top-left drop point down. (P41 0:06)
- Light the purple beam at the top left; it brings the crystal cart out. (0:47)
- Light the cyan beam and push the cart down. The cart is crystal, so the beam passes through it. (1:08)
- Switch the beam to orange: the cart jumps into the inner room. (1:15)
- Switch to red. The cart, now red, opens the door for you. (1:23)
Puzzle 21
Key idea: two crystal carts. To get right, you ride the carts across the water, but two floor tiles in the middle block their path. A cart in a green beam rolls through walls, so get green onto a cart’s row in the water. The jutting wall on the left means green can only reach the top two or the bottom two rows. (塞德莎 P41 1:54)
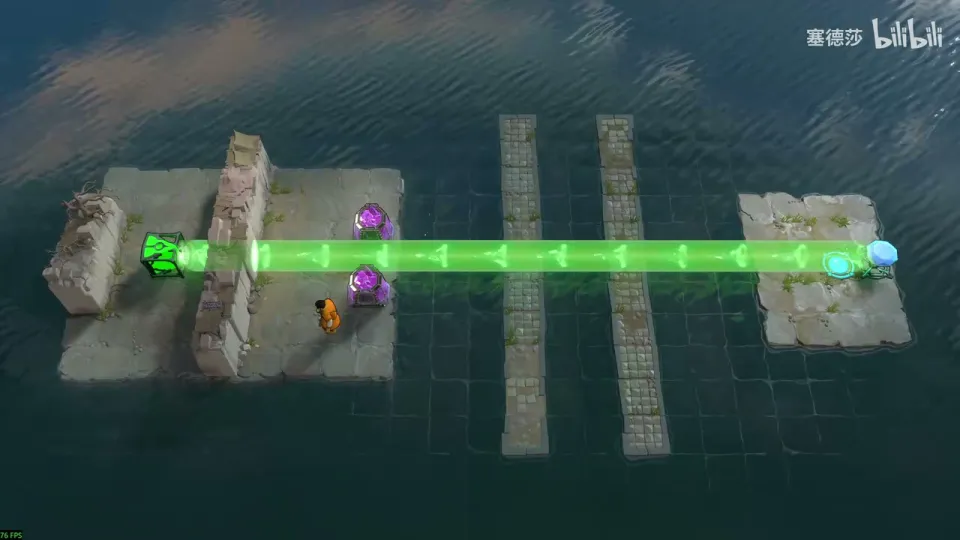
Getting there: back on the area map, put the crystal cart in the yellow beam and let it break the stones one by one. At the end push it up one more tile, because the cart pushes before it moves on. Clear the platform, which is in the way, and go in. (P41 1:42)
- Push one cart into one of the rows that green can reach. (2:15)
- Set up the green emitter so it can be pushed down onto that row, but don’t push it yourself, or you can’t get back. Let the other cart push it. (2:35)
- The timing matters: the cart in the water must be heading right when the beam comes down. If it isn’t, change when you send the left cart in. 塞德莎 says he doesn’t know an exact rule for the timing, so copy it from the video. (2:55, 3:18)
Overworld puzzle 4
Key idea: clear the stones that block the way to the big star room. Putting the yellow emitter right next to them doesn’t work, because a stone inside the wall stops the beam. Instead, use the mirror here so the left crystal cart picks up yellow’s breaking power. (塞德莎 P41 3:27)
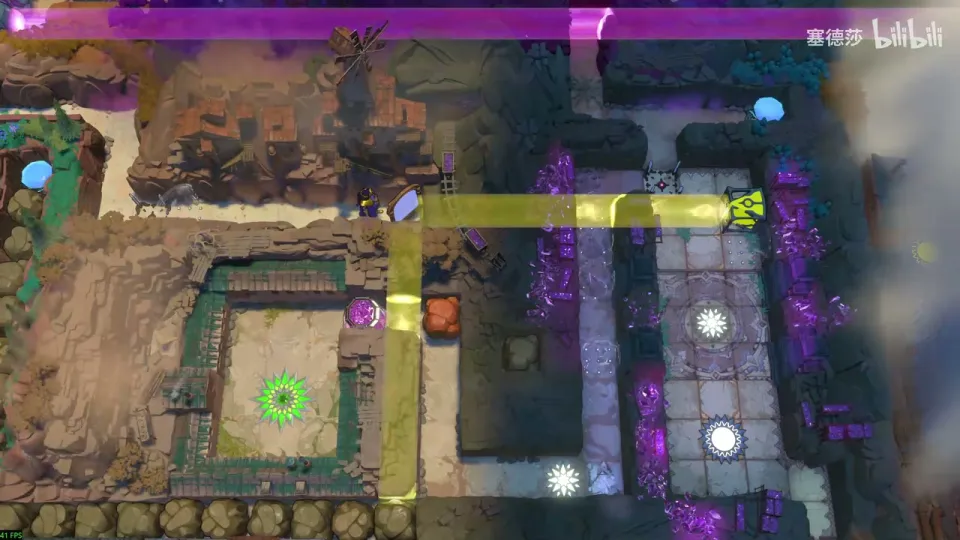
- Go over to the left, to the spot 塞德莎 shows. From there you can reach the right side and shift the mirror a little. (3:49)
- The yellow cart clears the three stones. Leave the crystal where it is; it isn’t in the way. (3:59)
- Go back the way you came. The Reflected Beams title card shows here, and the big star room is open. (4:07)
Puzzle 22
Key idea: a big star room. You have to hop right to the goal, but there is no right-facing beam or mirror. The answer is the crystal cart: reflect it with a mirror and its track turns from up–down to left–right. Put it in the lower row of water and push the up-facing orange emitter onto it. As the cart rolls right, it carries the orange beam with it, and you follow the beam to the goal. (塞德莎 P41 4:17)
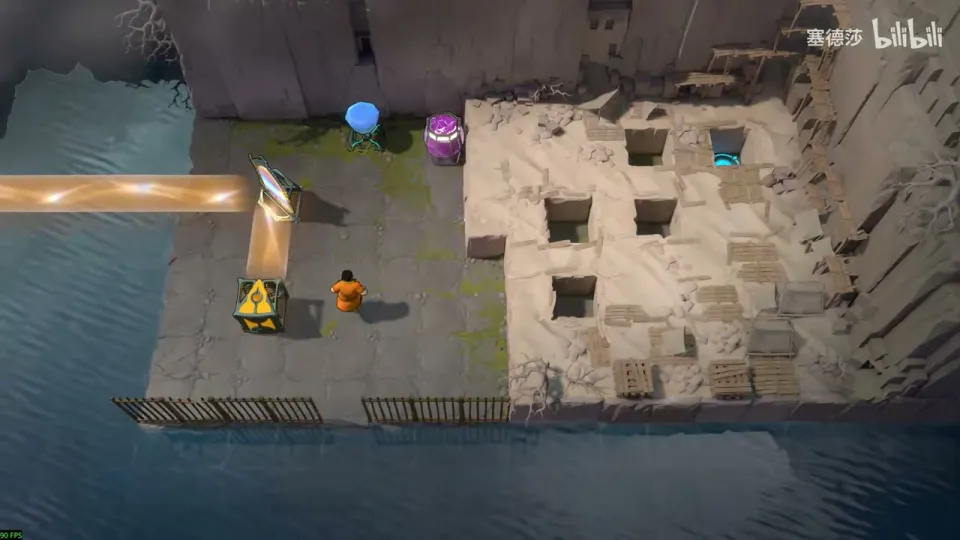
- Switch the beam off first, so nothing goes wrong while you move things. Reflect the cart out: after the reflection it runs left–right. (4:57)
- To set up, turn it back to up–down and move it left, because you will reflect it into the water from there. (5:29)
- Light the orange beam now. If you wait until the cart is in place, you’re too slow to reach the emitter. (5:48)
- Reflect the cart into the water only while it is moving up, or it ends up going the wrong way. (5:59)
- Push the emitter up onto the cart and follow the moving orange beam to the goal. (6:05)
Puzzle 23
Key idea: lay an orange path for the Explorer on the left. In orange he always moves two tiles at a time, so he stays on the water the whole way. The room is very open: any route that works is fine. 塞德莎 builds a beam loop with the mirrors above, then sends the beam right and round to the goal. (塞德莎 P41 11:10)
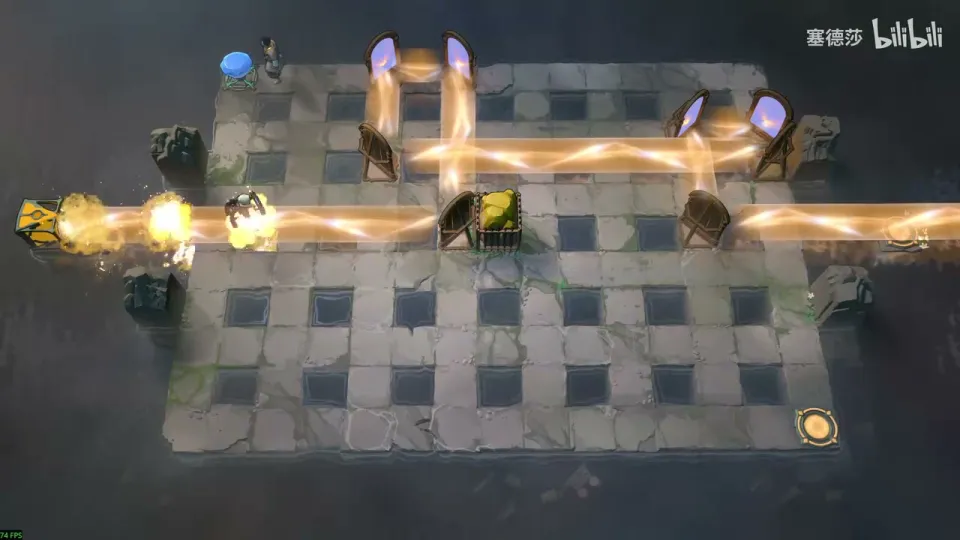
Getting there: back on the upper layer, take the next drop point. It brings you down beside the rooms of puzzles 23–25. (P41 10:46)
- Start by having the Explorer jump straight to the tile below you, then turn the beam, for example upward, so he jumps up. (11:28)
- Build a loop above with the mirrors, then send the beam right. Put this mirror here and pull the other one out. (11:38)
- Use the mirror on the right to turn the beam up, take it round and back down, then right toward the goal. (12:16)
- Set off: right, up, then back down along the loop. (12:46)
Puzzle 24
Key idea: with the orange beam pushed to the bottom, you only need one tile to stand on to drop down onto the goal. So the real job is to push the crystal stone onto the tile just above the goal, using the orange beam and two mirrors. (塞德莎 P41 13:15)
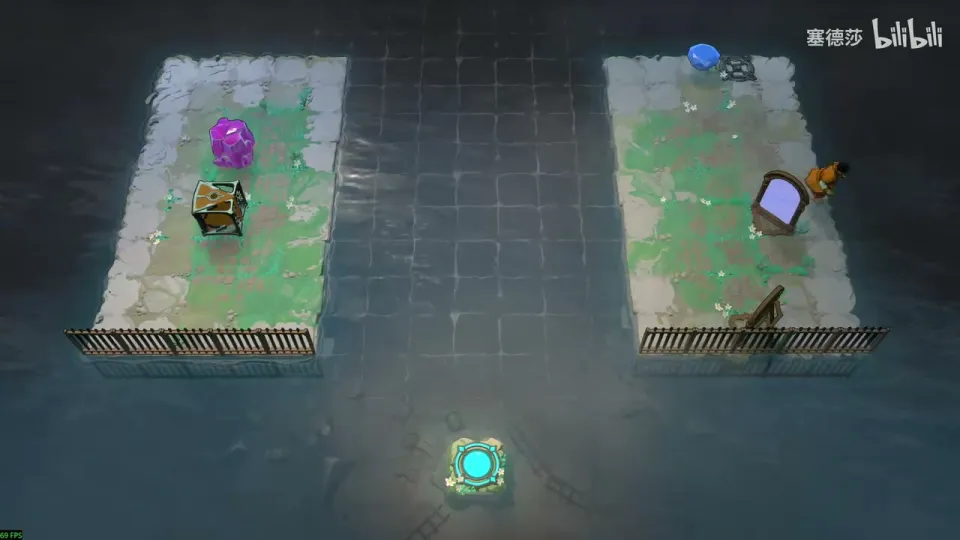
Getting there: walk left. The angle on the area map is wrong, so adjust it in the middle on the way. (P41 13:00)
- Switch the beam off so you can rearrange. Put the left-facing mirror and the down-facing mirror on the tiles 塞德莎 shows, switch the beam back on and go left. (13:30)
- Push the emitter a little left, then one tile down. (13:50)
- Push the stone down from the very edge, then right. It stops right above the goal. (14:00)
- Come up and push it down once. You can now drop onto the goal. (14:10)
Puzzle 25
Key idea: you finish with a purple end-teleport to the goal at the bottom right, so a purple beam has to run along that row. You can’t walk into that beam. Instead, step out onto the water from the middle, keep yourself up with an orange beam, and jump down into the purple beam’s range. (塞德莎 P41 14:49)
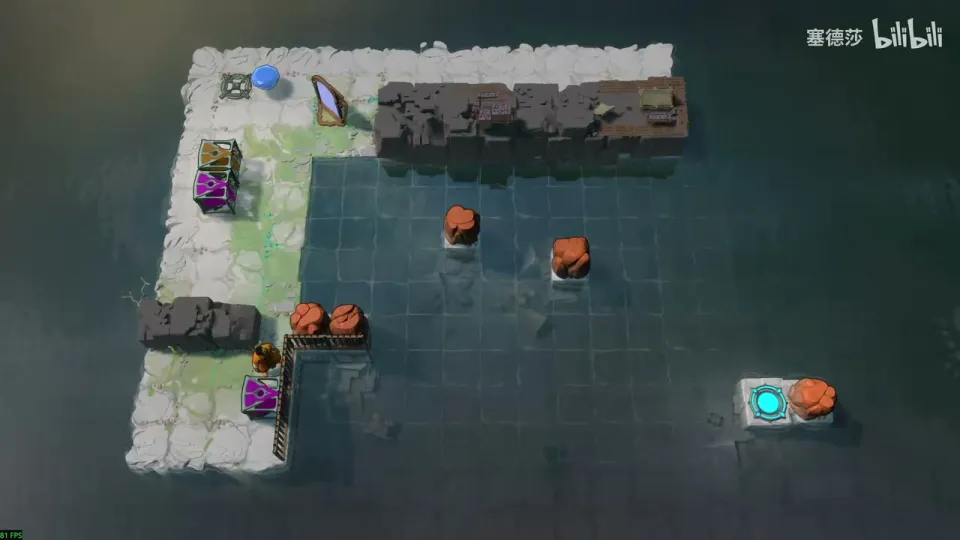
Getting there: come back below, push the beam aside, reset the right-hand part, then push the mirror up and go right and down to the room. (P41 14:30)
- Aim the purple beam into this column with a directed reflection. (15:21)
- Put the purple emitter here. Ride purple into the orange beam’s range, jump down two tiles (the parity works out), then go right to the goal. (15:31)
- There is no way back on foot, so undo out of the room. (15:45)
That clears Reflected Beams. 塞德莎 heads up the new purple beam to the next area after puzzle 15 (P22 37:03); the lower rooms 16–19 come in part 23, and after puzzle 19 the area’s sign shows every room solved (P23 29:29). The post-game rooms 20–25 come in part 41, and at the end of that part 塞德莎 checks every area sign and finds the ground layer complete. (P41 34:38)