Heroes and Stones, West is the western half of the crossover where the Hearty Heroes of Hauling (North) meet the Sailor’s skipping stones and lily pads from Skipping Stones to Lonely Homes (South). The Warrior, the Wizard and the Bard keep their North abilities, the Sailor comes along in several rooms, and almost every room is about getting a skipping stone to stop in the right place. This page solves all 20 puzzles. The eastern half is on the Heroes and Stones, East page.
Where it is: from the north–south crossing next to the HxS Gold Room, head left (west). 塞德莎’s walkthrough labels the map tiles N6W1, S5W1, the left half of S5, N6W2 and N6W3 (all in his part 20).
How to use this page: numbers follow The Flying Chungus’s solution video. Each heading has the key idea and two links: the matching Chungus chapter (no commentary) and the moment in 塞德莎’s narrated walkthrough where the room starts. The numbered steps link to 塞德莎’s video, because the steps follow his explanation. His order is the same as Chungus’s except that he plays puzzle 9 before puzzles 7 and 8.
Rules that matter here
- Skipping stones skip until something stops them. Push or kick a skipping stone into water and it skips in a straight line. If it reaches land it ends up on the shore. Only when something stops it while it is still over water (a wall, a crystal, a hero, a dragon) does it sink and become a walkable tile. Plain crystals are different: push one into water and it sinks right where it lands.
- Lily pads. A stone that hits a lily pad sets it drifting. A stone on a pad rides along with it, and you can stand on a moving pad. Currents carry pads.
- The Warrior’s stack push. The Warrior pushes a whole row of things at once. In this area that has a second use: he can push a skipping stone while it is still moving on the water, which turns it to a new direction or shoves it against something so it sinks. 塞德莎 calls this new and Warrior-only; puzzles 3, 5, 6 and 9 are built on it.
- The Wizard swaps. The Wizard swaps places with whatever is in its line, stones and lily pads included. A swap is always one-for-one, so the number of things on each island never changes; stones are how you move things between islands (puzzles 10 to 12).
- The Bard’s song. The Bard drags a stone in its line along with it. Two things matter here: while a stone is skipping on water the Bard can’t steer it, and a skipping stone moves two tiles per step while the Bard moves one, which is how you change their relative position (puzzles 13 to 20).
- Dragons. A dragon breathes fire along a line and kills any hero standing in it. A stone or pad in the line blocks the fire. A dragon can also be the backstop that stops a skipping stone.
- Resetters. On the area map, a resetter only resets certain objects, not the whole area. 塞德莎 uses this on the way to puzzle 1 and before puzzle 9.
- Slow time. Many rooms need you to act while a stone or pad is moving. Hold Ctrl to slow time.
Puzzle 1
Key idea: a chain of six small stages in the fog in front of the area’s door. Each one is about getting onto, or steering, a lily pad, or about filling water with a skipping stone that has something to stop against. (YouTube 0:00 · 塞德莎 15:42)
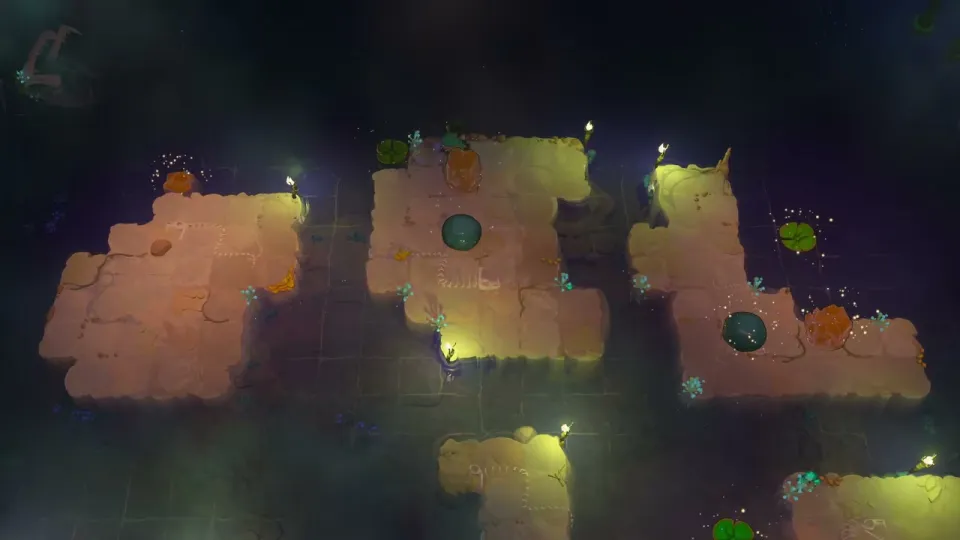
Getting there: a dragon standing on a lily pad blocks the way left. Knock the pad up or down with a skipping stone to move the dragon out. To cross, you need one more stone in the middle as a stepping tile. The nearby resetter only resets the stones on the right, not the dragon and pad, so reset, then use the gold stone and the other stone to fill the gap, and reset again if a spare stone ends up blocking the path. (14:21)
- Stage 1. You need to ride the lily pad to the right, but can’t reach it. Extend the shore by one tile first, then knock the pad and wait for it to come to you. (15:50)
- Stage 2. Two water tiles in the channel need filling. A crystal can simply be pushed in, but a skipping stone would skip to the far shore. Push the stone along the notch in the channel and put the crystal in its way so it stops and sinks. (16:02)
- Stage 3. The lily pad has to drift right and then down. Both obvious ways to send it right lose your stone, so first park the crystal as a stopper; then, when you push the stone up, it stops beside the pad and you can knock the pad right at the right moment. (16:43)
- Stage 4. Two tiles in the bottom-left need filling, and a skipping stone plus a plain stone can’t do it. Knock the lily pad down; at one point it stops against the shore. Push the crystal onto the pad from the jutting tile, then push it off to the left into the water. Hold Ctrl here and move left quickly. (17:35)
- Stage 5. The hardest stage. The pad has to go up, turn left, then turn down. 塞德莎 warns that it is easy to misread the pad’s route; the jutting tile hints at the right one. First push the crystal into the water so the pad will catch on it. Then push the stone up to start the pad, recover the stone from above, and push left at the right moment to turn the pad down. Ride it across. (18:26, done at 20:22)
- Stage 6. Easy: push the crystal into the notch, push the stone all the way up and kick it left. (20:50)
Puzzle 2
Key idea: the same room twice. The first time it is an ordinary crystals-into-water room. The second time the three crystals are skipping stones, which won’t sink unless something stops them, so you have to find the few spots where they can. (YouTube 2:05 · 塞德莎 21:30)
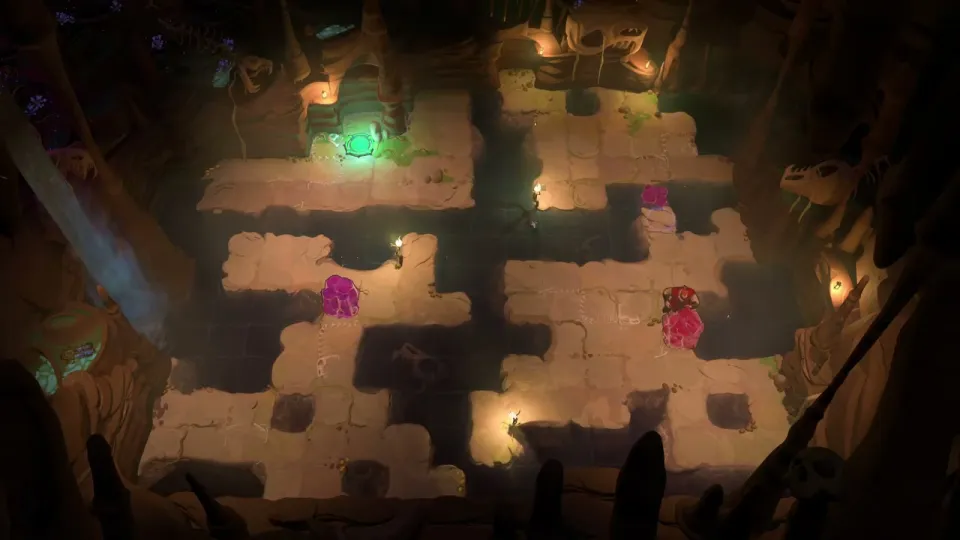
- Crystal version. Move the crystal into place, go round underneath and come out the other side to the exit. (21:39)
- Stone version. At first the only spot where a stone can sink is by pushing it right into the wall. Then skip the next stone across to get it out. (22:20)
- The second stone has to be pushed down at the end of the channel, so first get it to the tile on the right: push it down here, go round, push it there, then left, then down. (22:40)
- For the last stone there seems to be no spot where it could stop. The answer is the trench next to where you entered the room: get the stone to the bottom middle, push it down, then right, push it right to the far side and back. Then keep pushing up to finish. (23:05)
Puzzle 3
Key idea: you need one sunk stone in the pool, but you can’t get the two stones out to stack them. Use the Warrior’s stack push instead: start the lily pad, and the stone riding on it becomes the stopper for the stone you push. (YouTube 3:44 · 塞德莎 24:59)
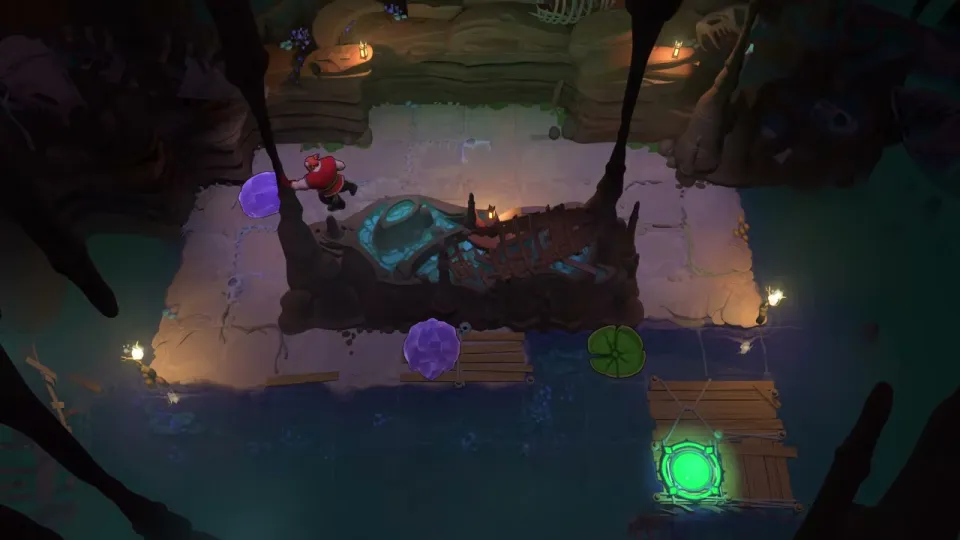
Getting there: puzzle 2 unlocks a skipping stone on the map. Push it one tile left and then straight up so it can be taken out later. A dragon guards the entrance, so knock the lily pad over and step on while the pad is still in front of the fire line. (24:22)
- Start the lily pad. (25:17)
- At the right moment, stack-push the stone into the water: the stone on the pad stops it and it sinks as a stepping tile. Cross to the exit. (25:30)
Puzzle 4
Key idea: the Sailor (bottom left) can reach the exit once a stone stops one tile to his right. Only the Warrior, pushing left along the jetty, can send it there, and the Sailor’s body is the stopper. A dragon blocks the Warrior’s spot, so he pushes from further back with two crystals as spacers. (YouTube 4:05 · 塞德莎 25:40)
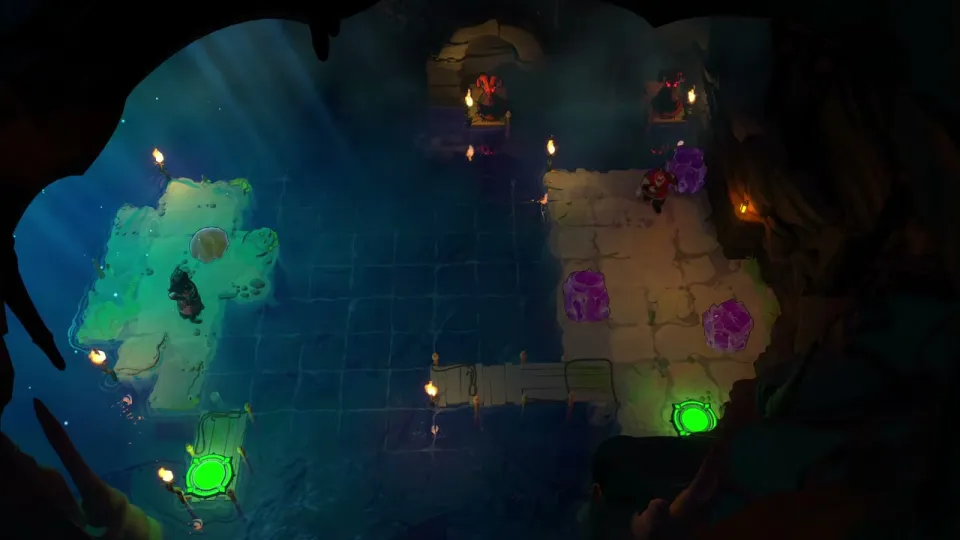
- The dragon in the middle above the Warrior stops him from stepping up to push directly, so you need two crystals in front of the stone. (26:00)
- Two crystals can be taken out: this one and the one on the right that the dragon is watching. The top crystal can never come out, and that’s fine, because it is the one that blocks. (26:20)
- Push the stone up a little, bring the crystal over and slot it in so the stone has two crystals behind it. (26:30)
- Stand the Sailor in the way and push. The stone stops against him and sinks. (26:40)
Puzzle 5
Key idea: a new move: the Warrior pushes a skipping stone sideways while it is still skipping, so it stops where a stone could never stop on its own. Use it once to bring the stone back, once to bring a stone down, and use the stones to clear the goblins. (YouTube 4:34 · 塞德莎 26:56)
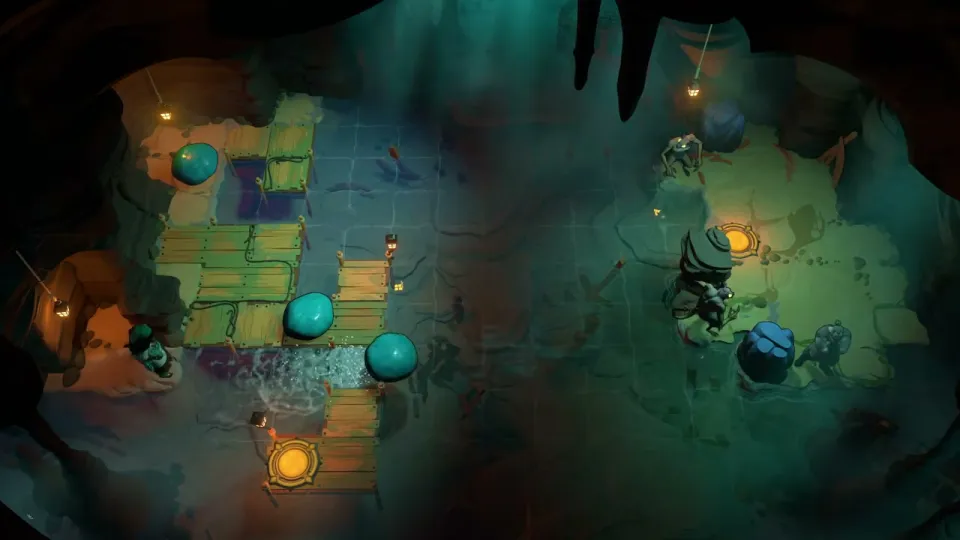
- At the start your only option is for the Sailor to kick the stone out. To get it back, the Warrior stack-pushes it to the left while it is still on the water; the goblin behind can’t be pushed further, so the push works. (27:05)
- Repeat the trick at the top: push the stone right, step onto the jutting tile, and push left just before it arrives. Now the stone can come down. (27:27)
- Use the stone to knock out the top goblin, then recover it. Leave the bottom goblin for now. (27:45)
- Push the stone right and bring it back with the Warrior’s push again, with the Sailor standing on the jutting tile above. Then push down, bring the other stone over and stack the two. (28:06)
Puzzle 6
Key idea: the stone has to end up one tile right of the Sailor, which means pushing it down a column it can never reach by itself. Send it sideways and, as it passes, let the Warrior push it down using the dragon as the backstop. (YouTube 5:23 · 塞德莎 28:38)
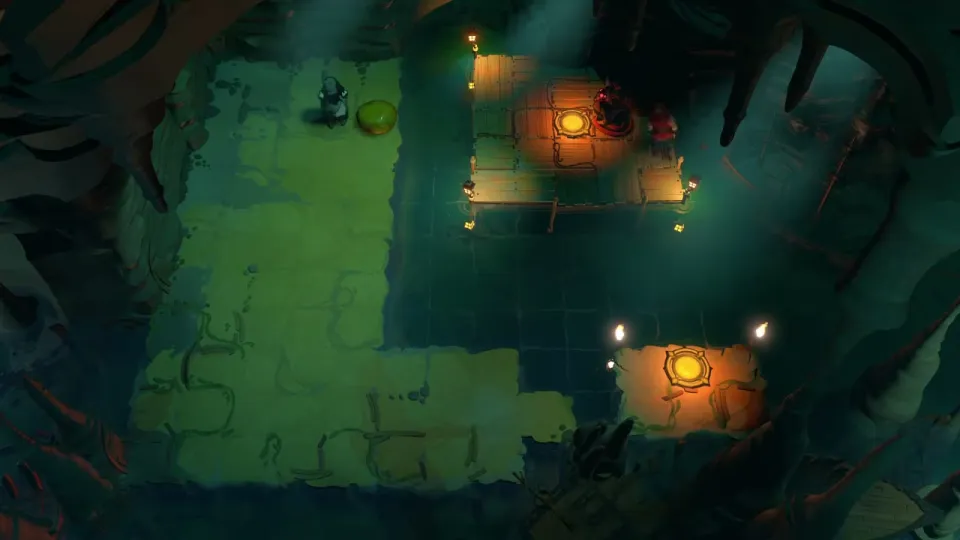
- The stone can never reach the right half of the platform; the nearest edge is too far from the column you need. So the plan is to push it out sideways and turn it downward mid-skip. (28:50)
- Get the stone out with a staggered shuffle: push the whole stack up, move the Sailor to the top, push the dragon down, push the stone down, push the dragon back up. (29:32)
- Push the stone right, move the dragon down, and when the stone reaches the column, push down. (30:00)
- Step out of the dragon’s line right after the push, or you will be burned. (30:12)
Puzzle 7
Key idea: the fire dragon on the right blocks both the Sailor and the Warrior. Keep a stone skipping across its line and run past while it shields you; tap the button so the stone doesn’t stop on the energy-block floor. (YouTube 5:55 · 塞德莎 34:07)
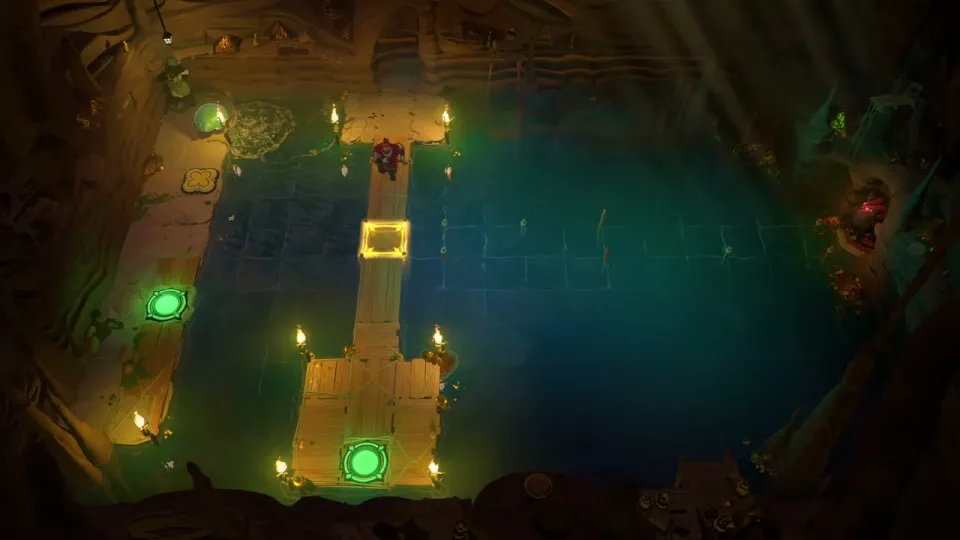
- Push the crystal stone to the right so it keeps skipping across the water through the dragon’s fire line. (34:18)
- The floor under the energy block would stop the stone, so right after the push, press the button and let go again. (34:29)
- While the stone blocks the fire, the Sailor crosses, then the Warrior hurries over. (34:40)
Puzzle 8
Key idea: the floor that appears while you hold the button can catch a skipping stone mid-water so it sinks. Use it once to get to the two stones in the bottom right, then catch both of them the same way. (YouTube 6:18 · 塞德莎 35:03)
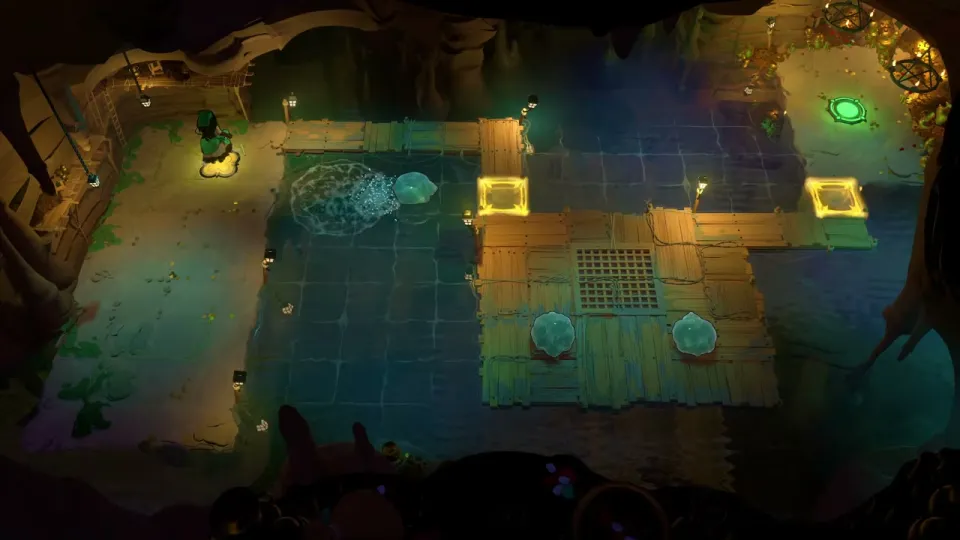
- The first stone starts against the edge, so it can’t hold the button; you have to stand on it yourself. Push the stone right and hold the button: the new floor stops the stone and it sinks, letting you down to the lower area. (35:11)
- Push both stones there to the left. (35:32)
- Press the button once to break the stone that was there, or it gets in the way later. (35:44)
- Push one stone right, run down, push the other up and then right, and hold the button so both are caught. The timing is loose. (35:54)
Afterwards: press the button on the map, reset, push the stone up again and then onto the wooden bridge and onto the button. That opens the way east (covered on the East page). (36:04)
Puzzle 9
Key idea: the Wizard needs a stone in the empty bottom-right corner to swap to. A stone can only slide along one row, so the Warrior has to turn it downward mid-skip, using the dragon as backstop, and the Wizard’s swap is what gets the Warrior there in time. (YouTube 6:57 · 塞德莎 31:30)
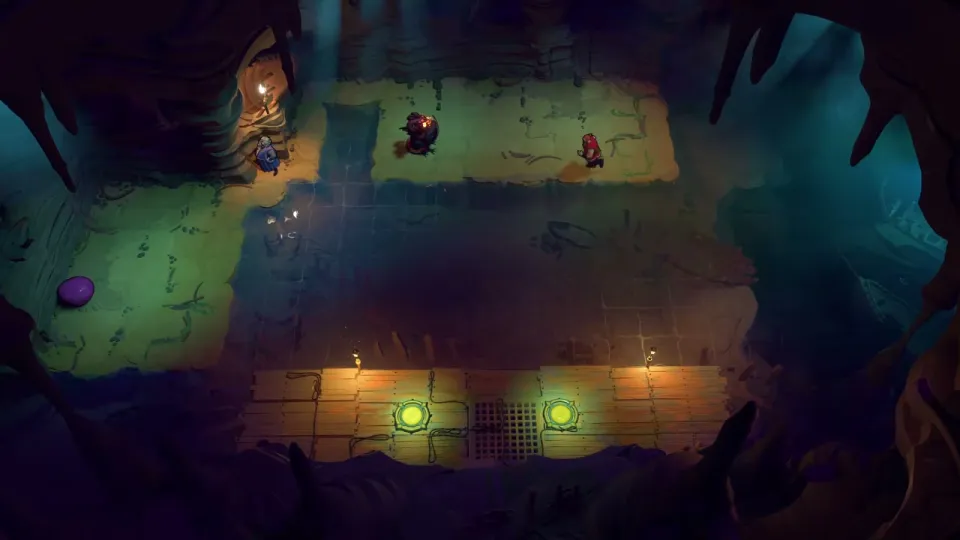
Getting there: this room is at the top left. While the lily pad’s stone is blocking the fire line on the left, push the stone down to seal that path. To avoid the goblin you have to bring a stone from above and park it in the gap below the room’s entrance: reset the stone, push it up, push it into place and walk round behind it. (30:29)
- The plan: the Warrior pushes the stone right along the row, then pushes it down as it passes, with the dragon behind as the stopper. Walking round would be far too slow, so the Wizard swaps the Warrior up to the top right. (31:49)
- Set up: bring the stone over, let the Warrior go round and push the dragon a little to the side (the further the better), then park the Wizard on its waiting tile. (33:02)
- With time slowed: push right, switch to the Wizard and swap, switch back to the Warrior, step up, push right, wait, push down. (33:22)
- Now there’s a stone in the bottom right. Swap over, push the stone back with the Warrior, swap the Wizard up, then swap with the stone. (33:39)
Puzzle 10
Key idea: a Wizard island room: every swap is one-for-one, so the number of objects on each island stays the same. The skipping stone is what lets you move things between islands. (YouTube 7:53 · 塞德莎 37:07)
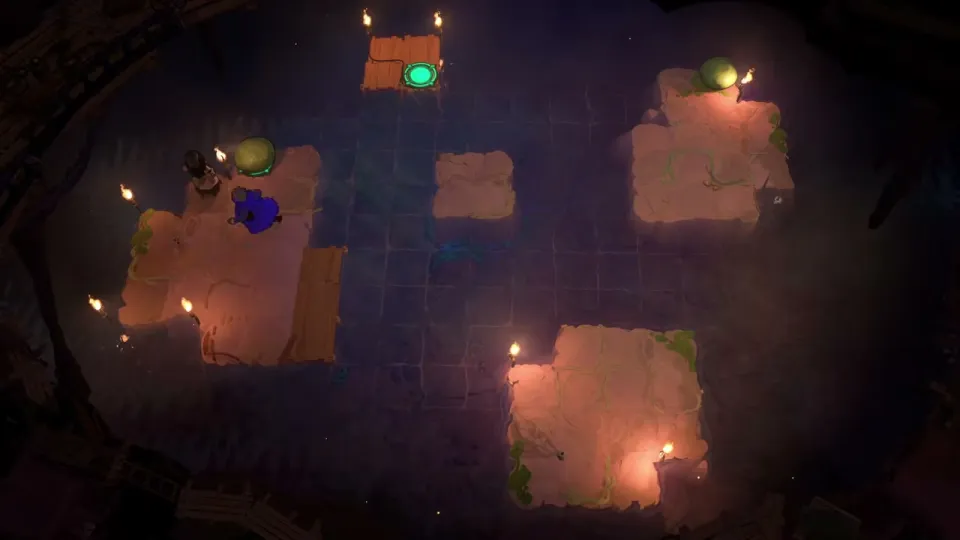
- Take the stone out and have the Sailor push it across from below. Pushing it to the right instead is useless; the 2×2 island in the middle exists only to stop you sending it to the top right. (37:18)
- Swap over, then have the Sailor kick the stone back. Bring the Sailor and the stone to the bottom right and send the stone up. (37:40)
- Swap the Wizard up and take the stone out, leaving it in the middle rather than against the edge. Swap to the bottom right: the Sailor is now top right. (38:05)
- Push the stone to the exit at the top, then swap twice more to finish. (38:16)
Puzzle 11
Key idea: a crystal stone is in the way of the exit and can’t be moved directly. Let the lily pad carry a skipping stone past, swap it in from a far position, then swap the crystal away: one-for-one, but the stone ends up higher, out of the way. (YouTube 8:32 · 塞德莎 38:57)
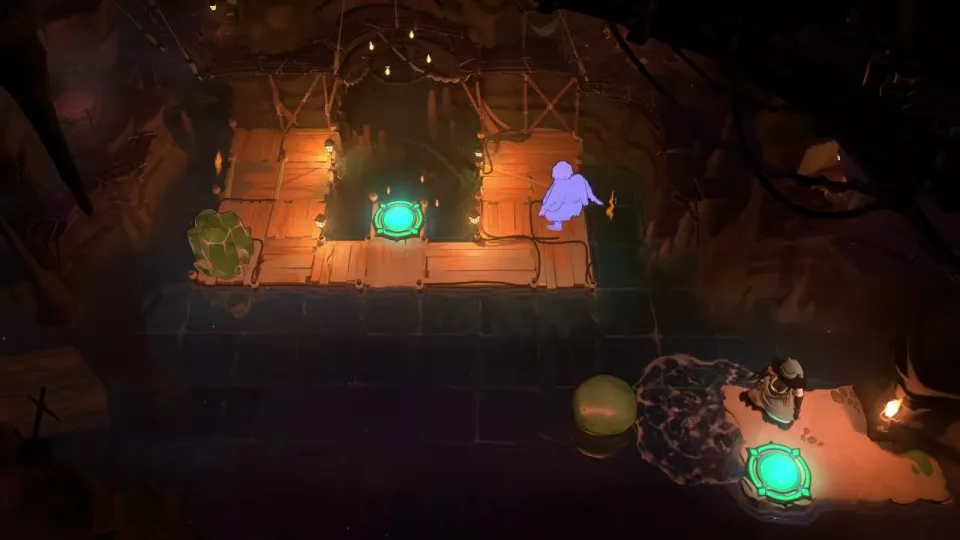
Getting there: puzzle 10 unlocks a stone. Push it into position, change into the Wizard’s outfit and swap up to reach this room. (38:33)
- Put the crystal stone in the bottom-left corner, and have the Sailor push the skipping stone to set it moving. (39:20)
- Swap the skipping stone in from a far position, then swap the crystal on the left end in. The stone lands higher up, so it no longer blocks the exit. (39:30)
Puzzle 12
Key idea: like puzzle 11, you only need to get the crystal out and have the Sailor push it into the water, but taking it out strands the Wizard. Use a very slow lily pad on the current and a quick series of swaps to get everything across. (YouTube 8:46 · 塞德莎 40:17)
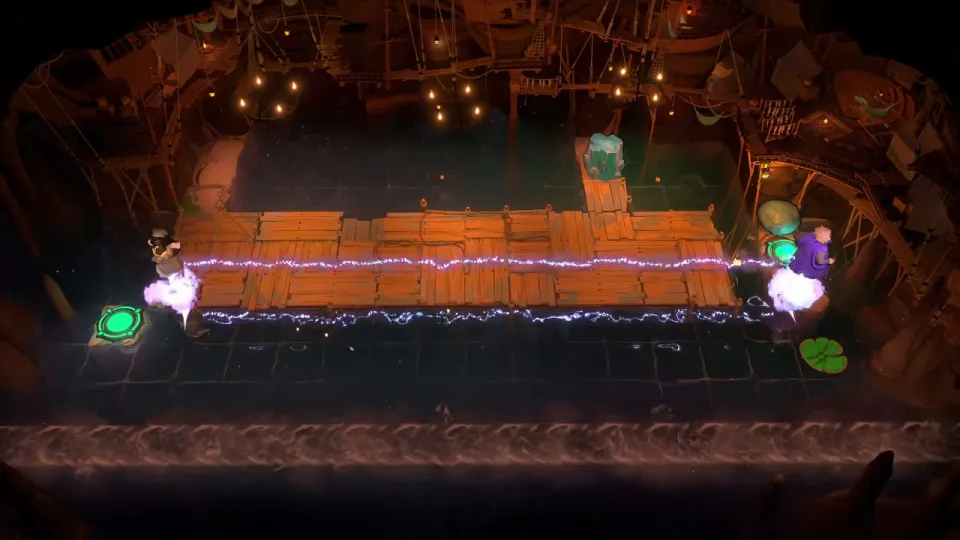
Getting there: back at the bottom, puzzle 11 has unlocked a lily pad. Knock it left with a stone on it, wait on the right for the pad, and swap onto it. (39:50)
- Move the stone to the right half, then swap the Sailor and the skipping stone, or you can’t push the stone at all. (40:38)
- Put the Wizard on the far-right tile and start the lily pad. It drifts very slowly, which gives you time for the next swaps. (41:00)
- In order: swap the stone up, swap the crystal onto the pad, swap left, swap the Sailor over, quickly skip the stone to the far left, swap the Wizard with the crystal, then with the stone that just skipped over. The crystal is now out. (41:20)
Puzzle 13
Key idea: the first Bard room. A plain crystal can’t reach the bottom right, but a skipping stone can, if it starts two tiles from the water so its slide ends right on the spot. (YouTube 9:37 · 塞德莎 42:16)
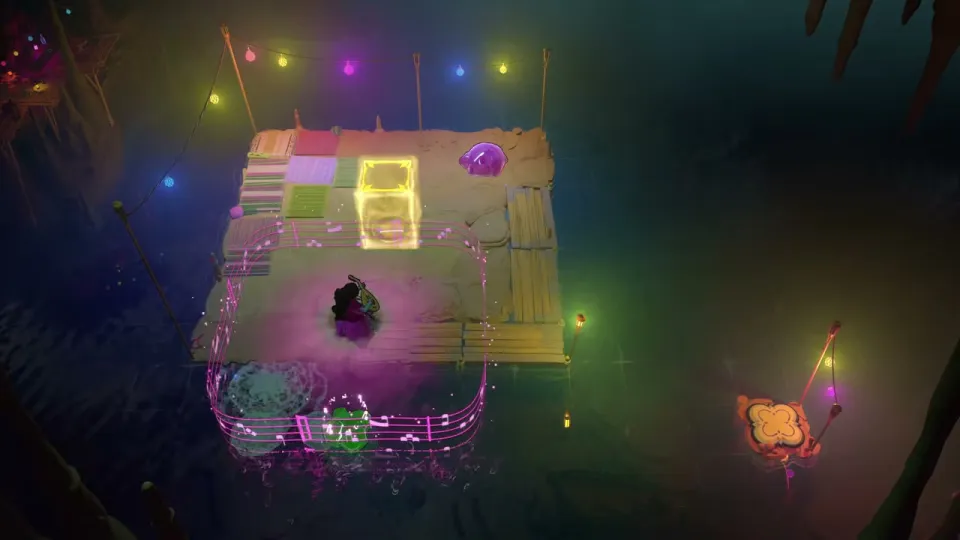
- Drop the stone straight into the water, then move it down a little so it is one tile below you. (42:26)
- Cut across and take it down. The stone slides to exactly the right tile; then go right. Watch the video at 42:26 for the exact positions. (42:26)
Puzzle 14
Key idea: same idea in two steps: first get the skipping stone out, then get it onto the button. Prepare a second stone first, because it is what catches the skipping stone. (YouTube 10:01 · 塞德莎 43:22)
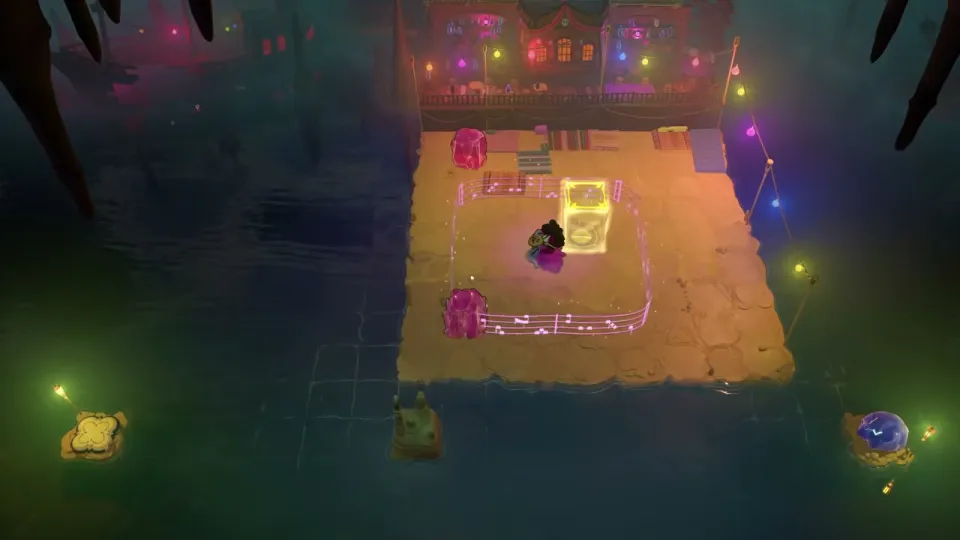
- Throw the stone into the marked row, then catch it with the other stone, go left and up. The skipping stone is out. (43:22)
- Let go of it, and move the other stone to the left column. (43:41)
- Send the skipping stone from the far end onto that stone, then down onto the prepared stone and left onto the button. (43:41)
Puzzle 15
Key idea: carry the skipping stone all the way round the outer ring to the button, turning each corner by catching it on another stone. When you run out of stones on the last sides, ferry one over first. (YouTube 10:48 · 塞德莎 44:25)
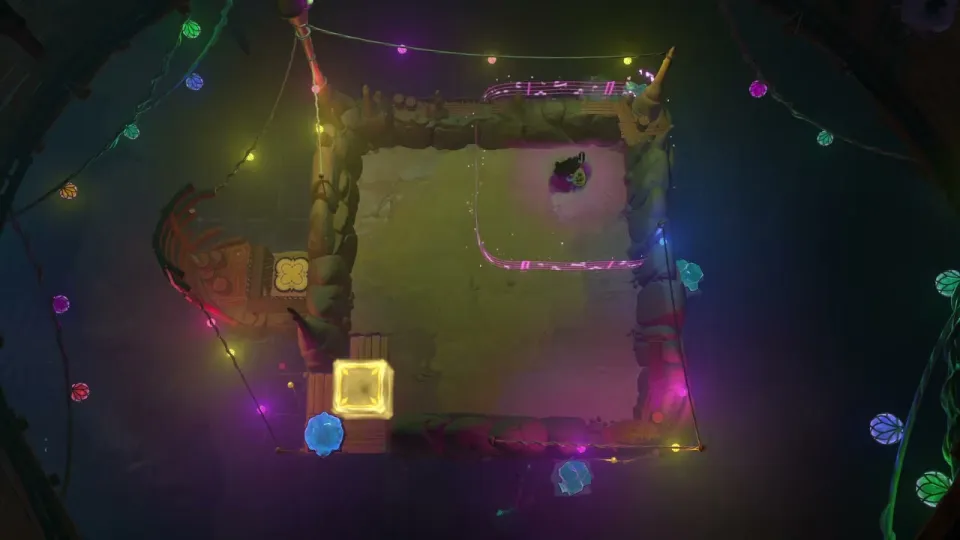
- Send the stone a little to the left first, then place the stones as 塞德莎 does (he skips the analysis because it is timing-based). (44:35)
- Hold Ctrl (and run) for the rest. Hold right to carry the stone to the bottom right, where it catches on the corner stone, then hold up the same way. (44:53)
- For the top and left sides there are no stones left. Ferry one over: shift the pile, send the top stone to the bottom, then move the remaining stone across the same way. (45:25)
- Repeat: hold up, hold left, hold down. The stone reaches the button. (45:45)
Puzzle 16
Key idea: a pure Bard-and-stone shuffle. The goal is to get the stone to the Bard’s top-left corner. On water the stone moves two tiles per step and the Bard one, so each move over water changes where the stone sits relative to the Bard. (YouTube 12:28 · 塞德莎 47:13)
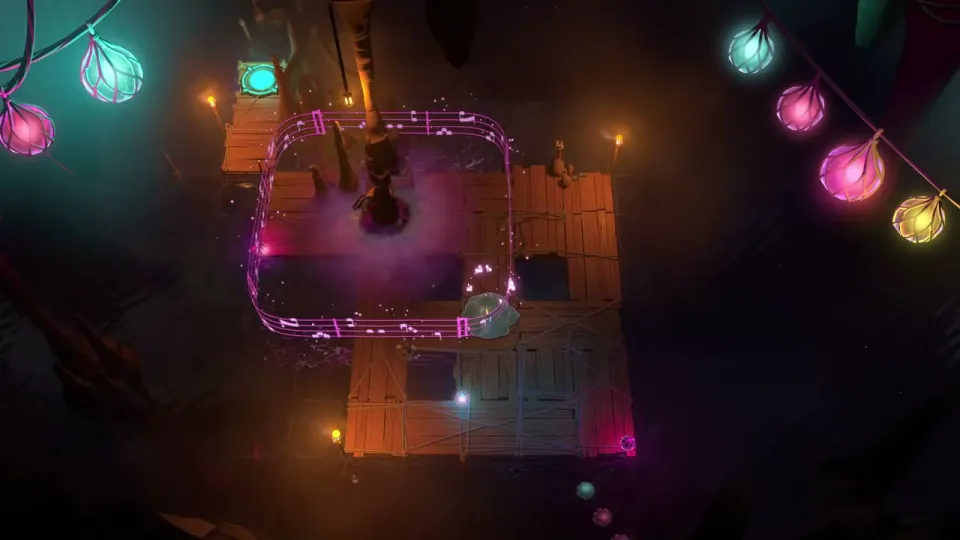
Getting there: on the map you steer a skipping stone left with the Bard. While a stone is moving on water the Bard can’t change its direction, so press left, then right at once (it keeps going left), then left again. At the last spot, press left and immediately step up-right to let go, or the stone drifts off. (46:14)
- Move the stone left three times over the water, then one more tile left. (47:40)
- Move it up, then use the lower water to move it up three more times. It ends in the top-left corner. (47:40)
Puzzle 17
Key idea: your goblin has to knock out the goblin blocking the bottom right, but it is two rows too high and nothing lets you shift it down. Make the walls yourself: first a stone you’re not holding, then a stone that’s still skipping, which you can’t steer and so works as a wall. (YouTube 13:10 · 塞德莎 47:59)
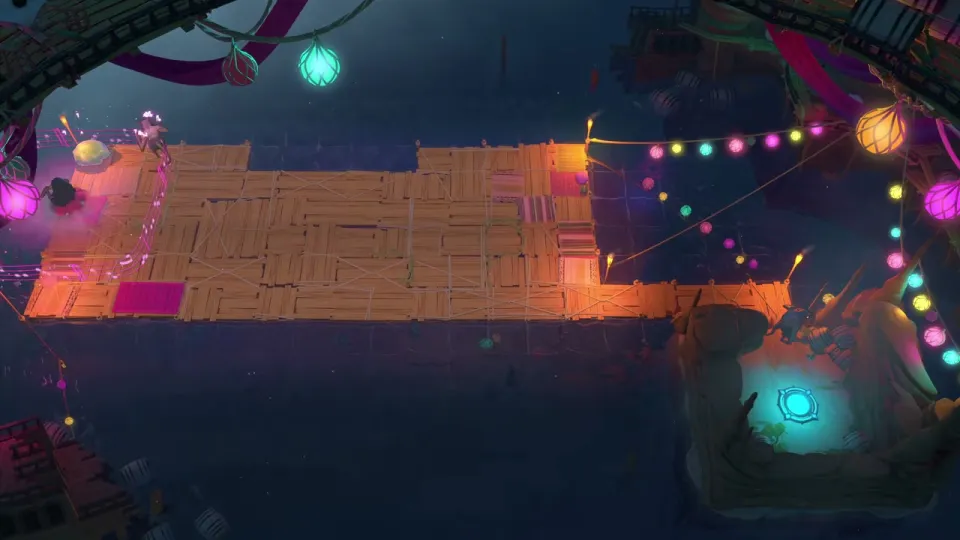
- Send the stone over and across so you let go of it. Use it as a buffer: moving up, the goblin is held back by the stone and shifts one row. (48:25)
- That trick only works once. For the second row, send the stone to the right again, line yourself up and step left to cut in. (48:58)
- Hold Ctrl, move right, and when the stone reaches the spot, move up quickly. The goblins are now in the same row. (49:12)
Puzzle 18
Key idea: only a stone directly above the Bard gets you through the energy gate’s button in the bottom right without dying. Ride a lily pad and let the stone reach that tile. (YouTube 13:44 · 塞德莎 49:25)
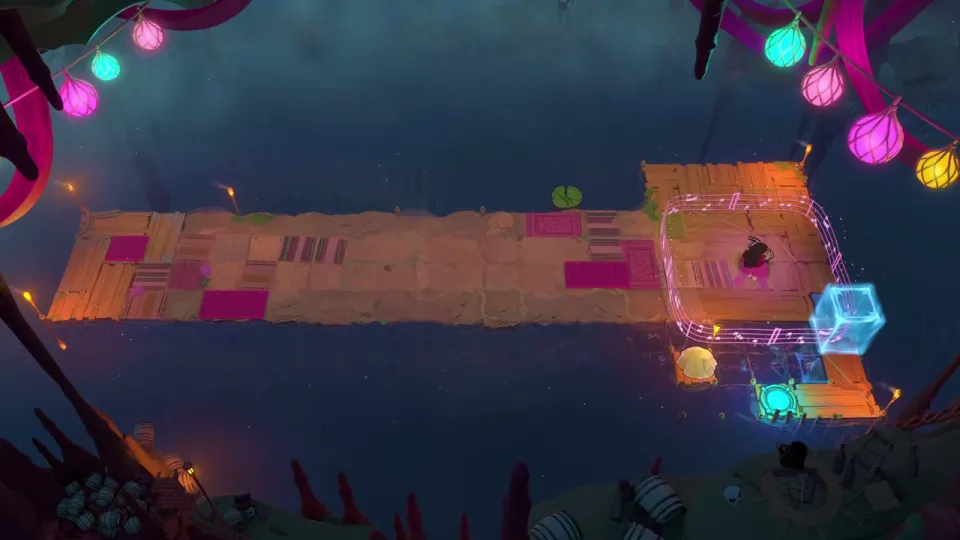
- At the start all you can do is send the stone to its first spot and change its direction. (49:35)
- Knock it left onto the lily pad, run ahead, and wait until it is exactly one tile above you before you move. (49:55)
Puzzle 19
Key idea: two stages with the Sailor. First send a lily pad right and then up to reach the right-hand column; the hard part is getting the stone back each time. Then sink a stone in front of the exit: it only stops if it is already on the bottom. (YouTube 14:05 · 塞德莎 50:17)
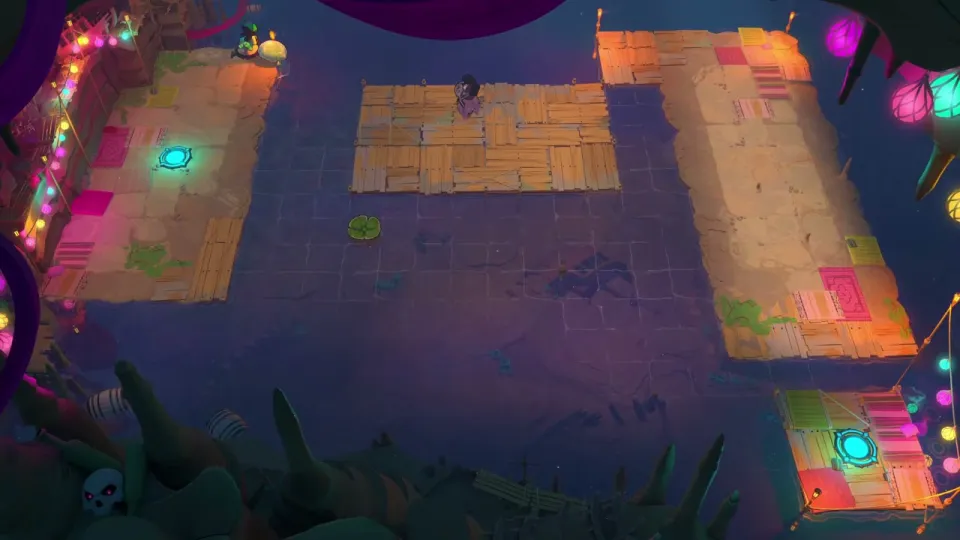
- Take the stone out: push it all the way right, move it down one, then left. (50:40)
- Use the stone to start the lily pad, then pull it back with the Bard from a distance, send it left, have the Sailor push it down again, and at the right moment knock the pad so it turns up. (51:00)
- If you’re a little early, undo and try again; 塞德莎 needs two tries. Ride up. (51:31)
- Now the stone has to sink in front of the exit. Thrown in by the Bard it always skips, and you can’t block it with your body. So have the Sailor send it over and back so it sinks against your body; once it’s on the bottom it can’t skip any more and the Bard can drag it into place. (51:52)
Puzzle 20
Key idea: three lily pads and two heroes. Knock the top pad left so it bridges the islands while it drifts, then make the lower pad drift in step with it so the Bard can drag the stone on the top pad down and send that pad back the other way. (YouTube 15:34 · 塞德莎 53:13)
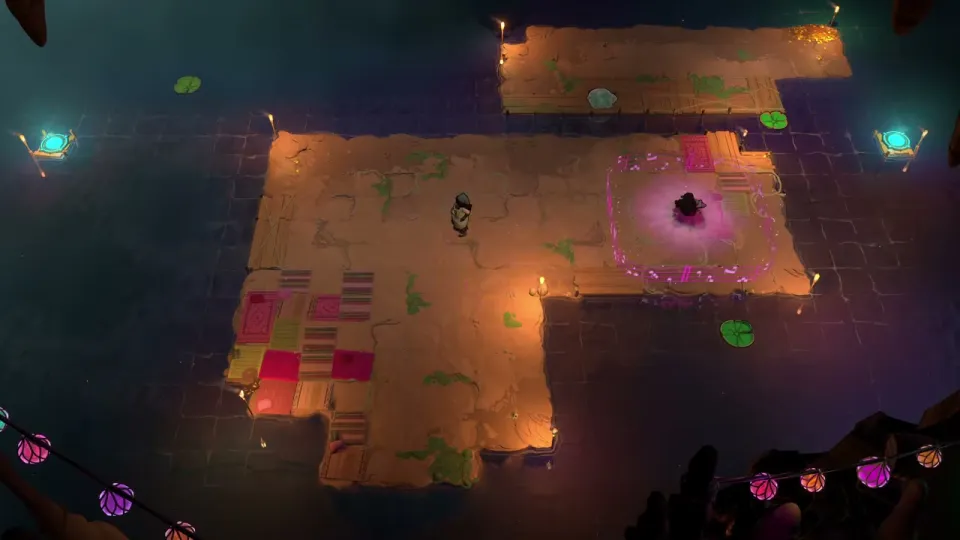
- The first idea, riding a pad right and up, is too slow because that pad is too far from the left shore. Instead, knock the top pad left; as it drifts it connects the two islands. To do that, push the stone right onto the lower pad, and when the pad reaches the right spot, pull the stone up with the Bard. (53:17)
- One hero rides the top pad left and steps off above the exit. The other hero needs the same pad to come back, so its direction has to flip to the right. The lower pad is the tool: start it so the two pads drift left together with the right gap (two up, one left), and the Bard can drag the stone on the top pad down, which knocks that pad back. (53:17)
- Run it: bring the stone down, push it over, park the Bard on the right, push, and step up at the right moment. Send the Sailor up first, then stand the Bard on the pad. (56:32)
- Time the gap between the pads (two up, one left). 塞德莎 misses it once and retries. (57:05)
- Step up straight away afterwards. If you’re slow, the stone can knock the pad the wrong way. (57:35)
That clears the western half. The path further down leads to the advanced Heroes and Light rooms, but it only opens once the north-west area is done. (58:15)