Shifting Beams (our working name; in-game Chinese 变形光束, English name not confirmed yet) is a late West area of Order of the Sinking Star, on the tile 塞德莎 labels W4. It adds two new beams, white and multicoloured, then a huge level where the egg from Vault of the Beamcasters has grown into a dragon that walks with you. This page solves all 37 puzzles and the 2 overworld puzzles. Earlier West content is on Vault of the Beamcasters.
Where it is: in the middle level of the West, to the left of the red puzzle area. 塞德莎 heads down there after the first ending, once he has seen the blue beam in the upper level. The area’s title card shows at P37 1:24.
How to use this page: we found no English video of this area, so the numbers are ours and follow 塞德莎’s walkthrough (part 37, part 38). Puzzles 1–11 are the tutorial level, 12–13 two small rooms, 14–36 the big dragon level, and 37 the crystals-and-white-light room. In the big levels a “puzzle” is one gem or a small group, as on our Vault of the Beamcasters page. Most of it is played on the overhead map with 3×3 or 4×4 blocks that wrap around. The steps follow 塞德莎’s moves, and where he only points at a tile we link the moment instead of guessing. 塞德莎 recommends doing puzzles 12–13 before the big level, because they teach the purple-plus-multicoloured jump it uses.
Rules that matter here
- Gems power blocks. As in West 1 and West 2: a gem in a socket lights every beam emitter in its block, and taking it back switches them off. Each floor is a small grid of blocks (open the map with Tab) that wraps around at the edges. Lifts and holes lead to the floors below, and the last floor checks how many gems you bring.
- Blue beam. Blue is the reverse of green: green walks through walls but not fences, blue goes through fences but not walls.
- White beam. Standing in white gives you a 3×3 glow, and every gem socket inside it counts as filled. When every socket of a block is lit (by gems or by the glow), its beams switch on. Leave the glow and they switch off. This lets you power a beam without a gem standing in its way, or keep a beam on only while you stand on one spot.
- Multicoloured beam. It changes the beam it overlaps:
- red closes energy blocks instead of opening them;
- cyan pulls instead of pushing;
- orange jumps three tiles instead of two;
- purple carries you to the middle of the beam instead of its end (on an even length, the farther of the two middle tiles);
- white lights every socket in the block instead of 3×3;
- blue breaks the fences you pass through;
- yellow stops breaking things one at a time. Instead, touching a shard on the floor (it gets a dark outline in the light) breaks every object of that kind in the block at once, and the shard disappears.
- The dragon (puzzles 14–36). The egg you hatched in the West has grown up. Press the follow button (F on keyboard) and it walks behind you; press it again and it stays put. Walk into it to swap places. It passes through fences and blocks beams, so it can be the end of a purple beam. It doesn’t follow you through a jump or teleport. It sheds multicoloured light on the four tiles around it, so it brings every effect above with it.
- The prism (from puzzle 23). Face an emitter and use the prism to change the colour of every emitter in the level, within the colours that level allows (in the big level: yellow, orange, purple, white and blue).
- Beads. A bead found inside a big level lets you leave and unlock what comes after it in the world without finishing the level. 塞德莎 shows it but finishes everything anyway.
Overworld puzzle 1
Key idea: the way in. Blue lets you through fences but not walls, green through walls but not fences, so take turns with both to place the blue emitter. (塞德莎 P37 0:29)
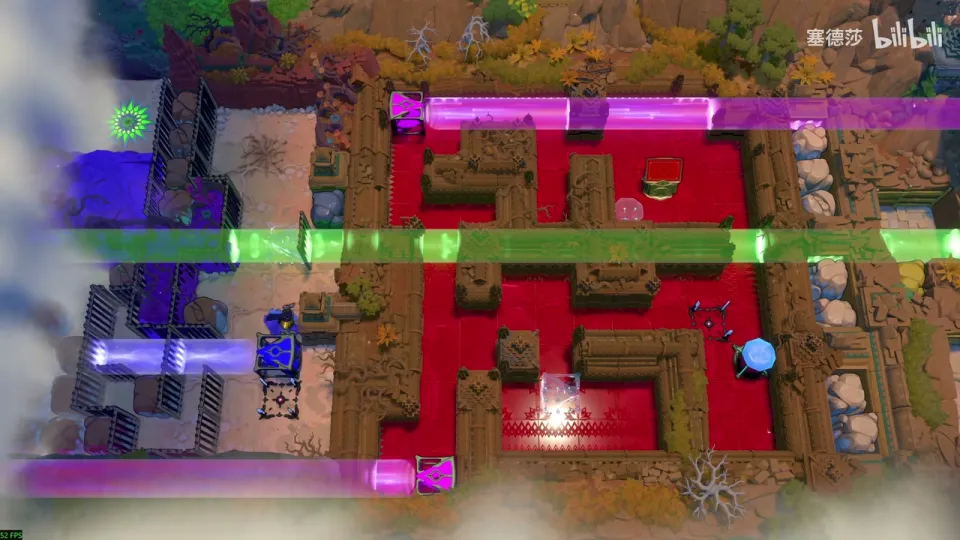
- Go through the wall in the green beam and push this to the left. (P37 1:09)
- Go up through the wall again and push this aside. Set the blue emitter here and cross the fences. (P37 1:15)
Puzzle 1
Key idea: the first room of the tutorial level teaches the white beam. Place the gem, step into the white light and watch the sockets inside your 3×3 glow light up; when both sockets of the block are lit, its beam switches on. (塞德莎 P37 1:34)
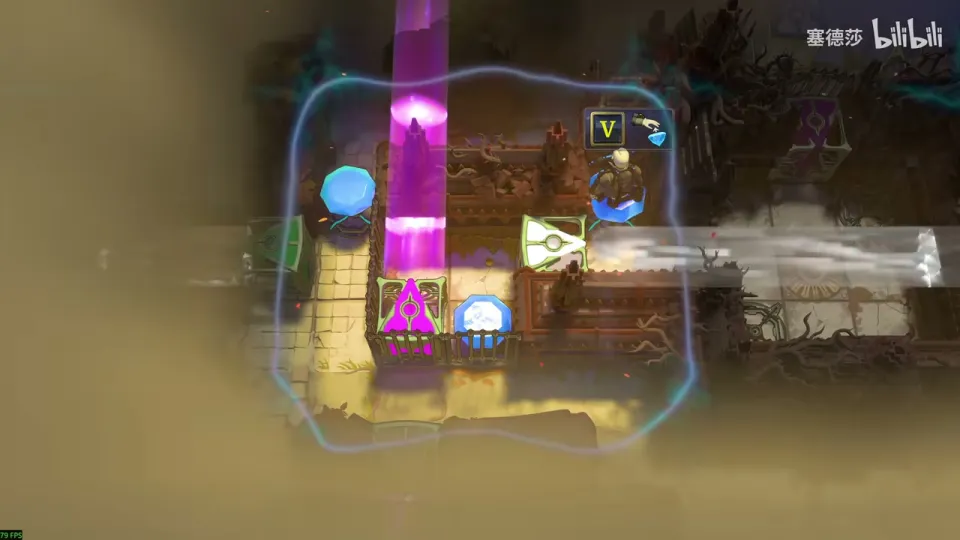
- Go to the far left and enter the level. It looks small, but it’s a big level on a 3×3 map. (P37 1:34)
- Put the gem here to light the white beam. (P37 2:06)
- Stand in the white light and move about: whichever socket is inside your glow lights up. Stand so both are inside and the block’s beam comes on. (P37 2:22)
- Use that to leave by the purple beam. The map is open from here, and the gems can be taken in any order. (P37 3:13)
Puzzle 2
Key idea: the gem behind the red door. Putting a gem in the socket would block the red beam itself, so light the red block with a white beam instead. (塞德莎 P37 3:35)
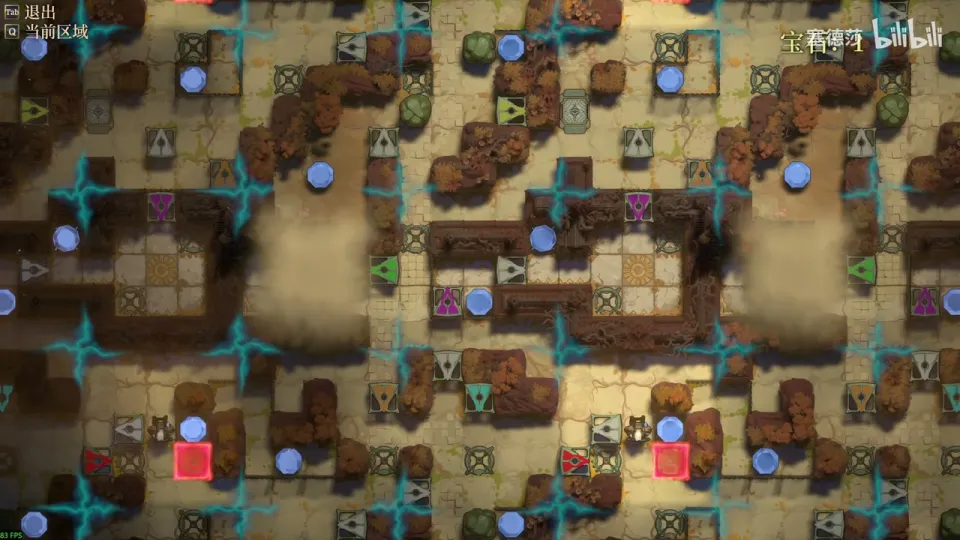
- First take the starting gem here. (P37 3:24)
- A gem in this socket blocks the red beam. Light the white beam in this column instead, and its glow powers the red block and opens the door. (P37 3:54)
Puzzle 3
Key idea: the gem behind the rock in the cyan beam. A gem in the socket would block the cyan light, so power it with white again, and walk round inside two other white beams so the block stays lit while you push. (塞德莎 P37 4:08)
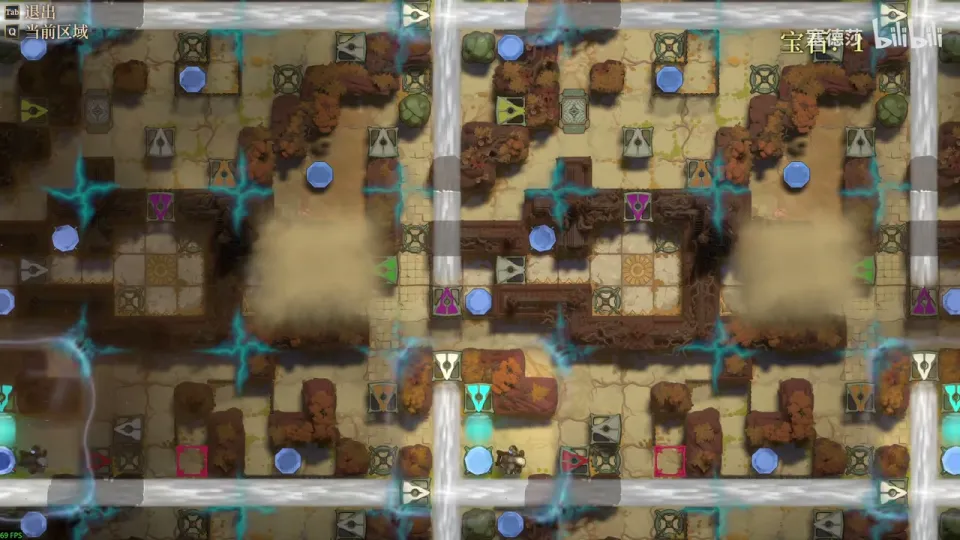
- Light this white beam and come over to light the cyan block. (P37 4:30)
- Get above the rock by going round inside the other two lit white beams, so the block’s sockets stay lit, then push the rock away and take the gem. (P37 4:40)
Puzzle 4
Key idea: the gem inside the L-shaped fence below. You jump in with orange, but with orange on you can’t step one tile left to the gem. So power the orange with white: it is on while you jump and off once you have landed. (塞德莎 P37 5:11)
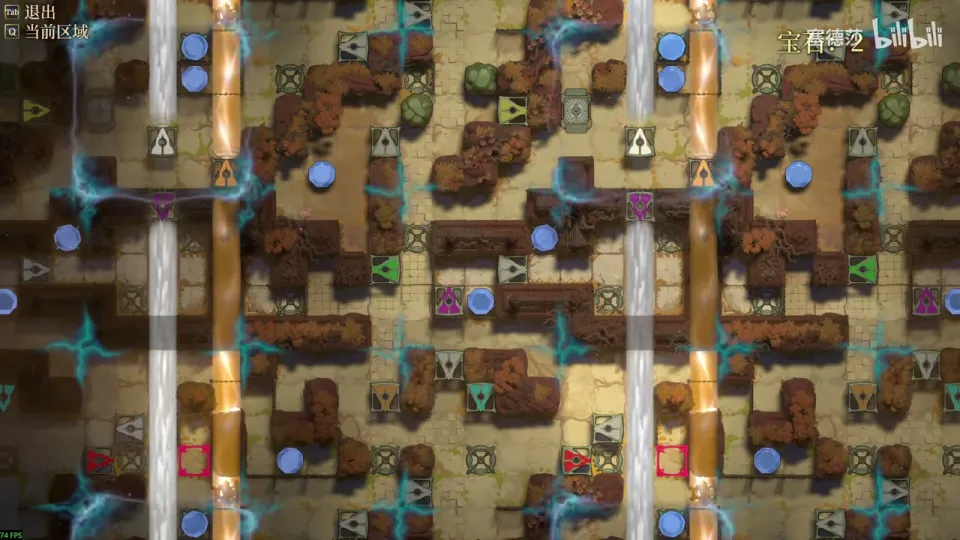
- Use the white beam to the right in this block, so you can jump in from here. (P37 5:28)
- Leave a way out first: the left-facing white on the right. (P37 5:44)
- Light the orange here and jump in. It goes off when you land, so step to the gem, take it, light the orange again and jump out. (P37 5:52)
- 塞德莎 points out a bug in his version: stepping up here leaves the red beam on although you’ve left the white glow. Don’t count on it. (P37 6:03)
Puzzle 5
Key idea: the gem at the bottom left of this block. Orange jumps two, which skips over the tile where the socket is, and you also need a way back. Put a gem in the socket as a blocker, not a power source. (塞德莎 P37 6:30)
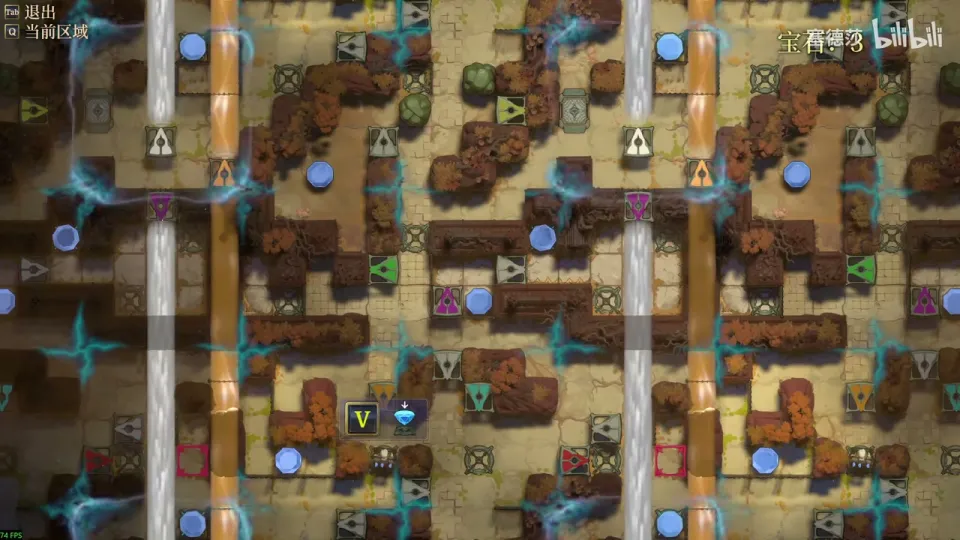
- You need a white beam that reaches the right spot: the one from the block above. (P37 7:07)
- For the way back, light the upward orange on the left. (P37 7:27)
- Put a gem in this socket first. It’s there to block the orange, not to light it. Then light the upward white below. (P37 7:33)
- Walk to the gem and take it: the white keeps the orange on, so you jump left, take the prize and come back out. (P37 7:49)
Puzzle 6
Key idea: get in (with green, through the wall) and get out (by breaking the top-right rock with yellow). Both blocks have their sockets on the inside, so start both with white beams first. (塞德莎 P37 7:59)
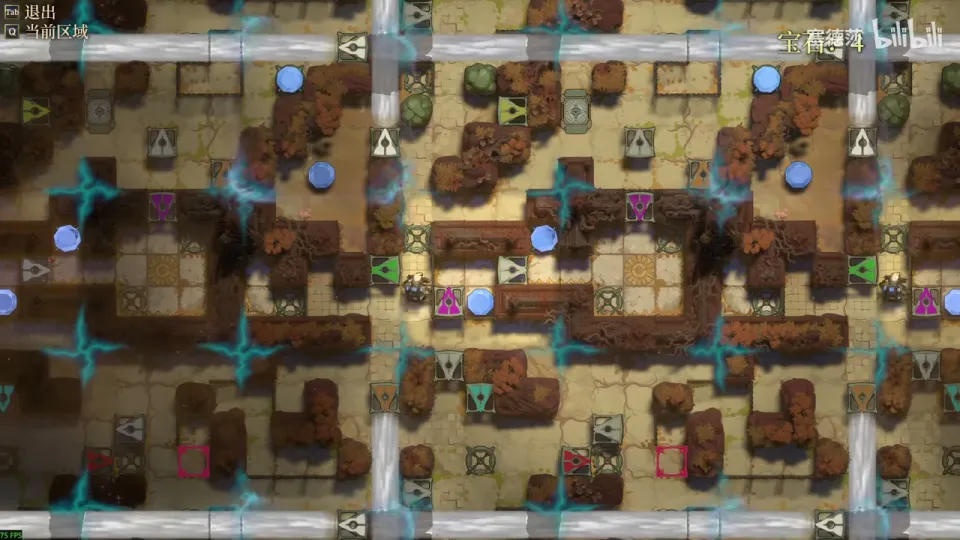
- The way out is yellow, but you can’t reach its socket. Light this white beam now; when you leave, it powers the yellow for you. (P37 8:40)
- The way in is the green below, whose socket is also inside. Use the right-facing white from the very start of the level to light it. (P37 9:01)
- Don’t walk in on that alone: once you leave the glow, the green goes off and you’re stuck in the wall. Get in, put a gem in to light the green properly, take the prize, and leave through the green, breaking the rock. (P37 9:12)
Puzzle 7
Key idea: the middle block, the hardest of the floor. The gem by the purple beam is a trap: jump in at the end and you’re stuck there. Light the purple only when you need it. Then recover the gem you left inside at the very start, and the two gems in the middle. (塞德莎 P37 9:34)
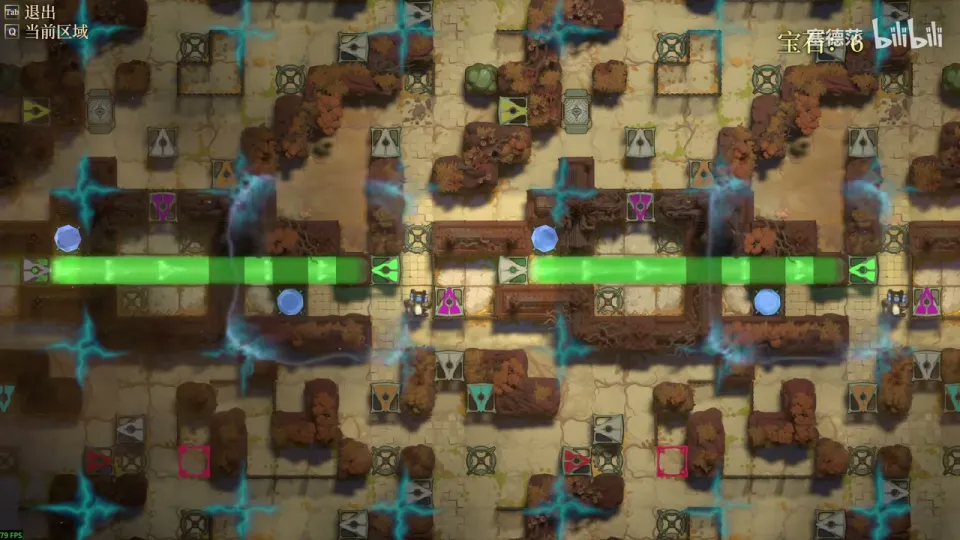
- If you jump to the end of the purple beam and out again, you land stuck at the end. Use the downward white to light the purple only while you jump in and out. (P37 9:55)
- To get the first gem back: go in, put a gem here (next to a beam that stays on) to keep the purple lit, so you can come and go. (P37 10:45)
- Light the white here first, so that after you take the gem the white keeps the green on and you can leave. Jump in, take it, jump out. (P37 11:09)
- For the two gems inside, put this block’s white here. Jump in, take the gem, and the white in the centre relights both, so you can get out. That’s all 8 gems on this floor; take the lift down. (P37 11:29)
Puzzle 8
Key idea: the second floor teaches the multicoloured beam. The door you opened shuts again, and a rock you push comes back towards you: multicoloured plus red closes energy blocks, and multicoloured plus cyan pulls instead of pushing. (塞德莎 P37 12:00)
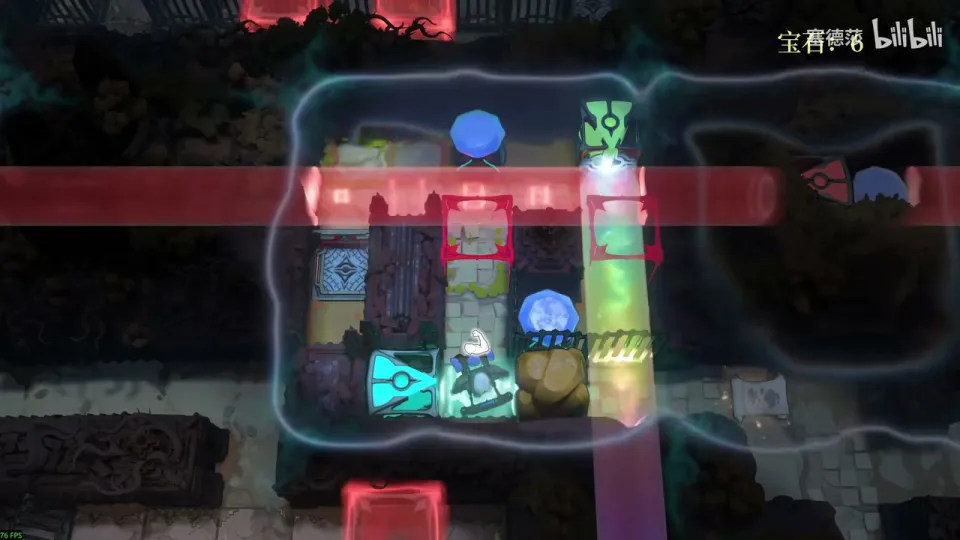
- Open the two doors and place the two gems to light the multicoloured beam. (P37 12:10)
- In it, the open door closes and the rock you push to the right gets pulled back. (P37 12:31)
- To push the rock right, switch that energy block off again and keep pushing; the map edge doesn’t stop it. (P37 13:22)
- Recover the two gems, take this one, open this with red and take the next: 8 gems again. (P37 13:44)
Puzzle 9
Key idea: light every red block inside the walled area. Orange only reaches every other column, but two gems here also light the multicoloured beam, and orange plus multicoloured jumps three tiles. (塞德莎 P37 13:52)
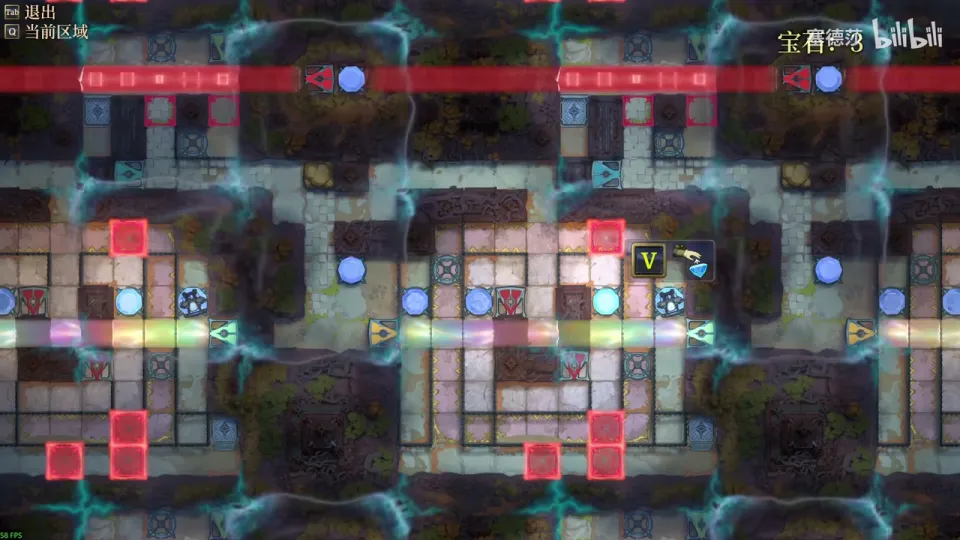
- Light the orange. With a two-tile jump you only reach these columns, so put a gem here and a gem here. (P37 14:02)
- Those gems also light the multicoloured beam. Try to jump in it: the effect lands three tiles away, so orange plus multicoloured jumps three. (P37 14:15)
- Jump out on the right, send this to the middle, jump left to here, and put this here: everything is lit. (P37 14:59)
- Open the doors (jump down here, go left and down), collect every gem the double jump can reach, switch off the orange and take the last. 8 gems. The one behind the red beam is inside the wall and can’t be reached. (P37 15:10)
Puzzle 10
Key idea: the third floor teaches yellow plus multicoloured, which 塞德莎 calls the worst-explained mechanic in the game. With both on, you can’t break a rock normally. Touch a shard on the floor instead, and every object of that kind in the block breaks at once. (塞德莎 P37 16:02)
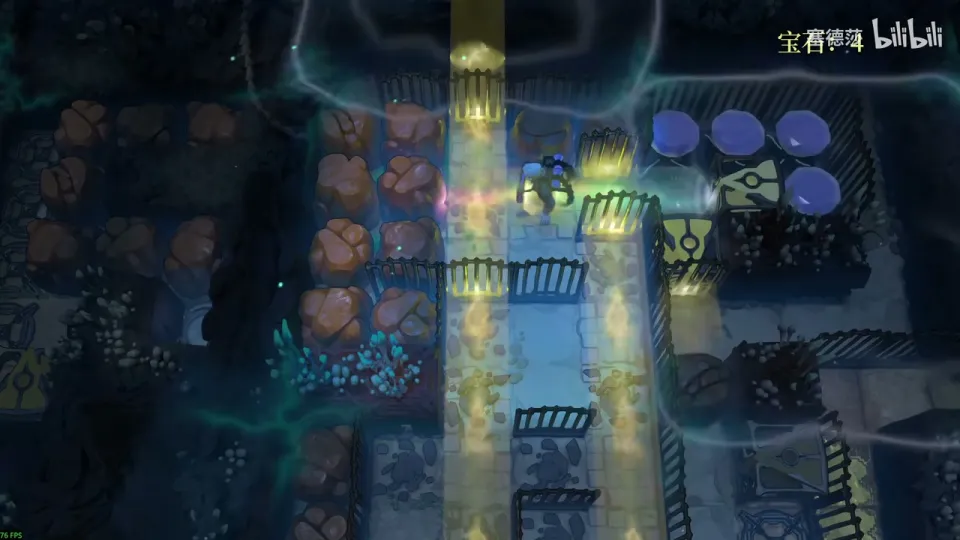
- Take the map. Break every rock you can on this side first; it doesn’t affect anything later. (P37 16:14)
- Place the four gems here: now yellow and multicoloured overlap. Nothing happens at the fence. (P37 16:33)
- Walk left onto the crossing: every rock in the block is gone in an instant. (P37 16:45)
- Why: in multicoloured light, shards on the floor get a dark outline. Touching one with yellow plus multicoloured breaks every object of the same kind in that block, and the shard you touched disappears. Without a shard, you can’t break even the rock next to you. (P37 17:20)
Puzzle 11
Key idea: finish the third floor without setting off the blast in the wrong place. The four rocks on the far left must stay, so walk around the crossings that have shards on them. Take the bead, then clear the rest with one last blast. (塞德莎 P37 19:15)
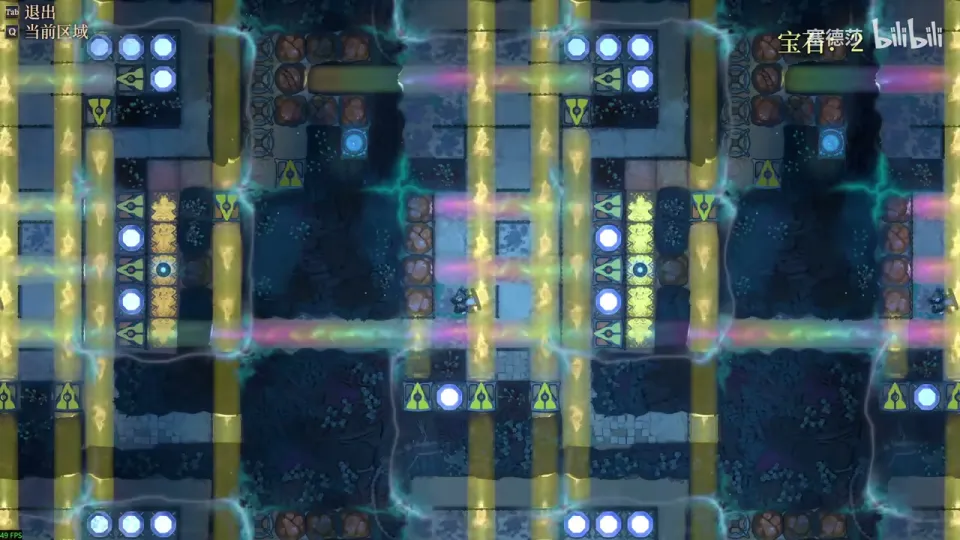
- Come in from the top left, break this rock and put the two gems in: the beams come on. (P37 19:26)
- Walking about here pulls the multicoloured light over, and with yellow plus multicoloured you can’t break the rock next to you any more. The middle beam must not get through, so the four rocks on the far left must not be blasted. (P37 19:47)
- Go round, not over the crossings with shards on them (like this one and this one). With no multicoloured light there, break the rock normally and take the bead. (P37 20:18)
- Now blast freely on this side. Recover two gems, light the yellow, make a shard at the crossing and step on it: everything shatters and the level is done. (P37 21:29)
Overworld puzzle 2
Key idea: reach the middle area (the entrance to the big level) with the two blue beams you unlocked and a gem, through the fences. If you just keep pushing everything up it fails: you have to swap the two beams’ parity first. (塞德莎 P37 23:27)
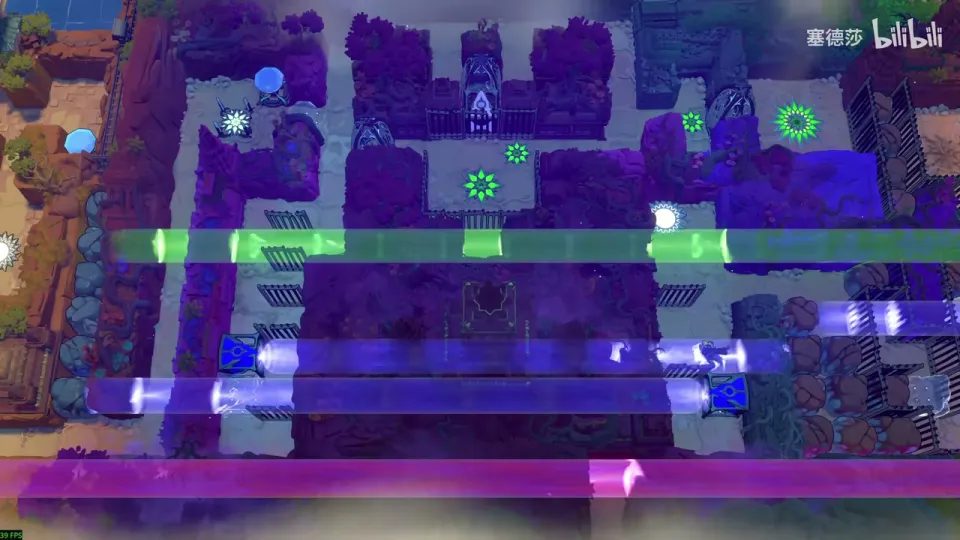
- (The junction on the left leads to the gold room.) Come down here and push this up, come back, go right and push this up to here, then on the left push this up to here. (P37 23:53)
- The key move: push this emitter down one, then that one down one, then push the whole structure up. That swaps the two blue beams’ parity. (P37 24:14)
- Pull this blue beam here, raise that one to the top, and you’re up. (P37 24:36)
Puzzle 12
Key idea: a small room that teaches purple plus multicoloured: you land on the middle tile of the beam instead of its end. On an even length you land on the farther of the two middle tiles. Count tiles to put the middle where you need it. (塞德莎 P37 25:15)
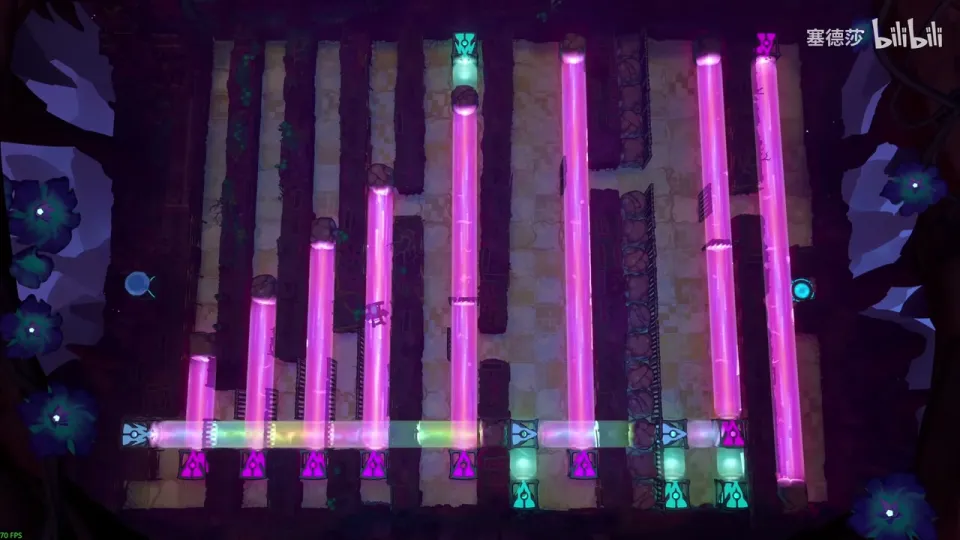
- Teleport up in the overlap and you stop in the middle: a 5-tile beam drops you on the 3rd tile, 7 on the 4th, 9 on the 5th. (P37 25:34)
- On an even length (12, say) the middle falls between two tiles, and you go to the farther one. (P37 26:16)
- First beam: from this tile down is four, so count four up from here and put the rock there. (P37 27:13)
- Second: move the multicoloured light, not the emitter. With the multicoloured light partway along the purple, you land in the middle of the section beyond it. (P37 27:37)
- Last: the right-hand purple can’t be changed, so fit the other one to it. Count six and put the multicoloured light on this row, then count three each way and push this here. Jump to the middle and down to finish. (P37 28:18)
Puzzle 13
Key idea: the small room you jumped past in puzzle 12. You can only start by riding the purple to its end, so overlap purple and multicoloured and hop between middles, moving the multicoloured light each time. (塞德莎 P37 29:13)
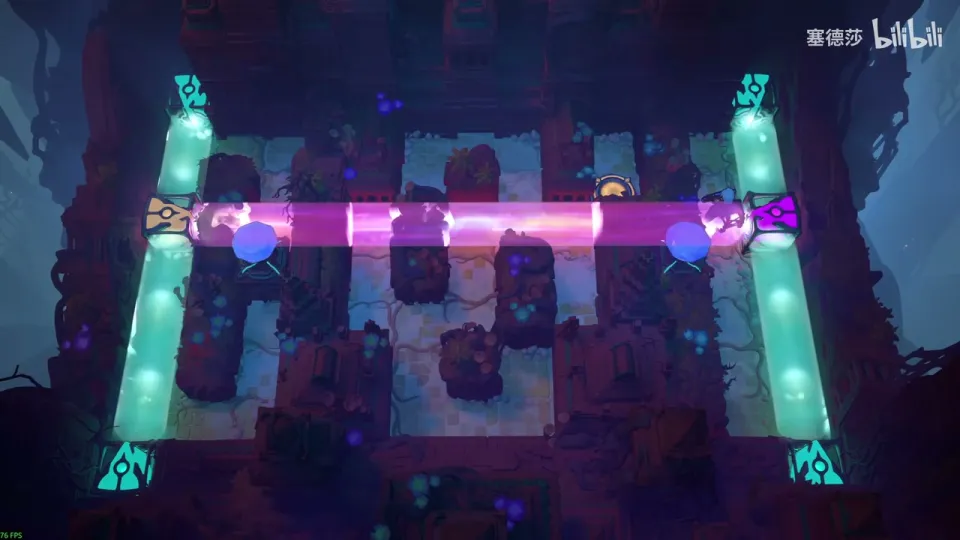
- Ride the purple to its end over here, then overlap it with the multicoloured beam. Jump left to the middle, then left again to the left-hand middle. (P37 29:22)
- Move the multicoloured light here, go back right, overlap below, jump to the middle, and jump left twice: the middle is on the left again. (P37 29:32)
- Put it at the top this time, move the beam to the top, jump here and then right to the goal. (P37 29:53)
Puzzle 14
Key idea: the start of the big level, which 塞德莎 calls “the Vault reopened”. The egg from West 1, which you fed gems in West 2, is now a dragon that can follow you. Here you meet its multicoloured light: yellow plus the dragon clears a whole group of rocks. (塞德莎 P38 0:21)
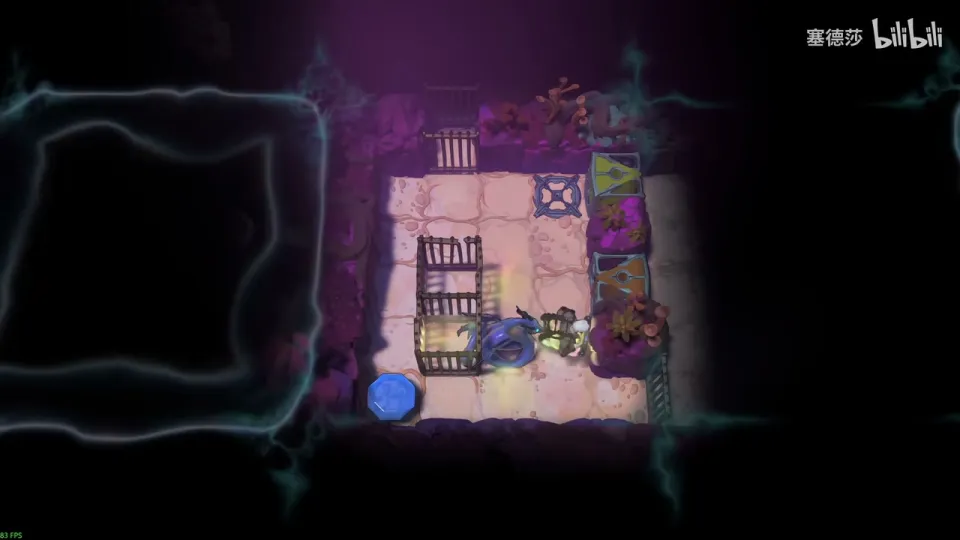
- Press the follow button (F; this is the only place the game needs it) and the dragon walks behind you. Press again to park it, walk into it to swap. It passes fences and lights the four tiles around it with multicoloured light. (P38 0:52)
- Place the gem, jump over and light the yellow. This side is a dead end: the orange on the right is the left beam, blocked by a rock. Breaking that rock needs the multicoloured light. (P38 1:47)
- Undo. Before going down, bring the dragon here through the fence below and park it. Come over, pull it up, park it outside, break this rock, then bring the dragon and touch the shard with yellow plus multicoloured: every rock here goes. (P38 2:42)
- You can’t park the dragon lower down for later: the orange blocks the path and the dragon won’t follow a jump. Leave it in the top half, go out, take the map (4×4) and the first two gems. (P38 3:47)
Puzzle 15
Key idea: stage 1 of the big level. Take four of the shining gems so that you carry five, enough for the five sockets in the left block. Two come from this block. (塞德莎 P38 4:48)
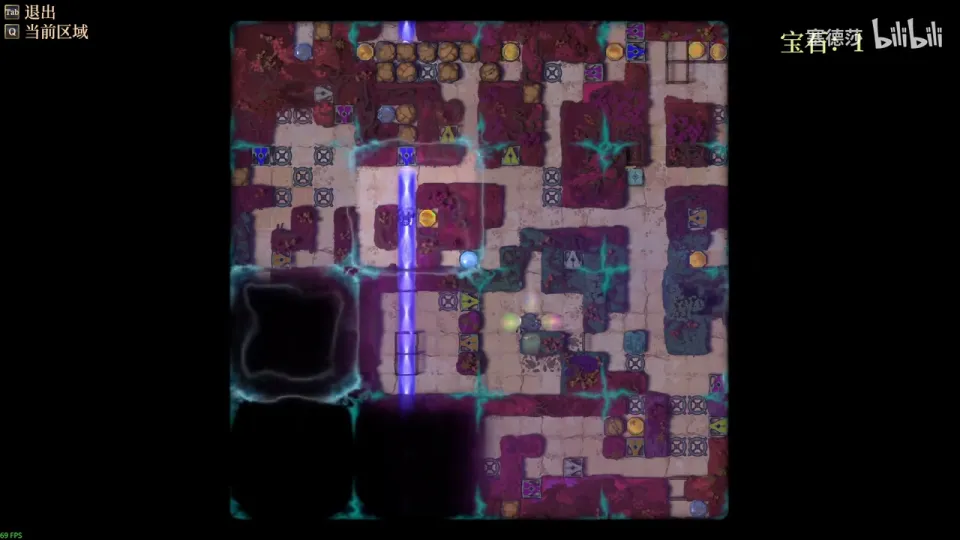
- Light this block’s socket to switch on the blue beam. It reaches the gem you placed at the very start, so take it back. (P38 5:05)
- The gem to the right of the blue: you can’t get out from there on foot, so use the horizontal orange on the right. Light it, go in through the fence, take the gem and jump out. Switch both off. (P38 5:36)
Puzzle 16
Key idea: the other two gems of stage 1. Blue gets you through fences to a gem lying on the floor. For the top-left gem, use white to light the purple, because a gem in that socket would block the beam. (塞德莎 P38 5:50)
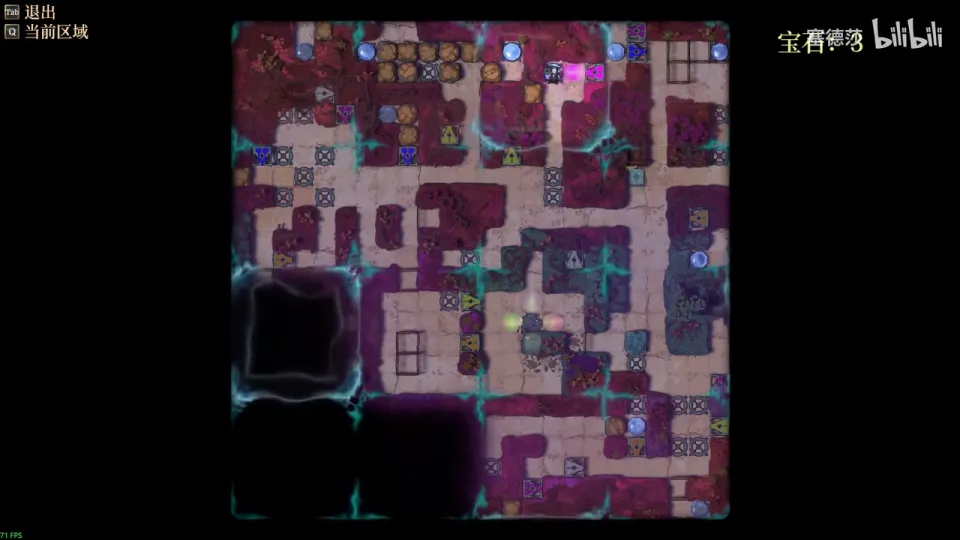
- Up here, light the blue beam and pass the fences. Take the gem on the floor, not the one further on in a socket: taking that one switches the blue off and traps you. (P38 6:10)
- Top-left gem: jump in with purple. A gem here would block the purple, so put these two gems here, light the white, and its glow lights the purple. Jump in. (P38 6:31)
- Taking the gem also lights a yellow that breaks the rock, so walk out. Put the five gems in the left block. (P38 6:54)
Puzzle 17
Key idea: stage 2, with the dragon. The horizontal orange takes you back to where the dragon started, so bring it out through the fence. The top block is a yellow-plus-multicoloured blast, but the yellow’s socket is inside, so start with white. (塞德莎 P38 7:16)
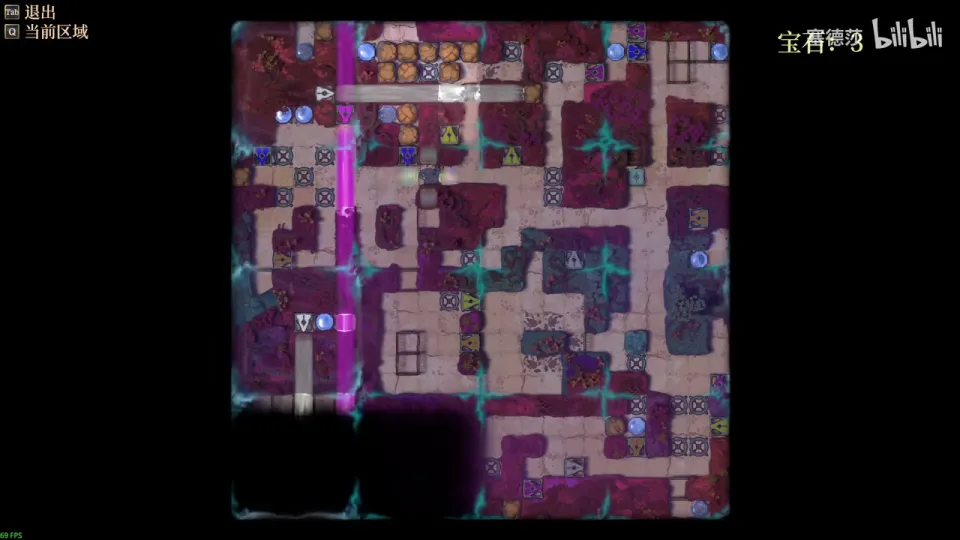
- Use the orange to get to the dragon, pull it here, jump out, and collect it through the fence. Six shining gems remain. (P38 7:26)
- The yellow socket is out of reach, so light the white here and use its 3×3 glow to power the yellow. Break this rock, then take the gem back. (P38 8:07)
- Bring the dragon, light this block with a gem, and one blast clears all the rocks. Take the gem. (P38 8:32)
Puzzle 18
Key idea: the middle-right gem. The purple below can’t reach it on its own, so jump to the middle of the beam with purple plus the dragon’s multicoloured light. The dragon also blocks beams, which is how you shorten the beam to put the middle where you need it. (塞德莎 P38 8:50)
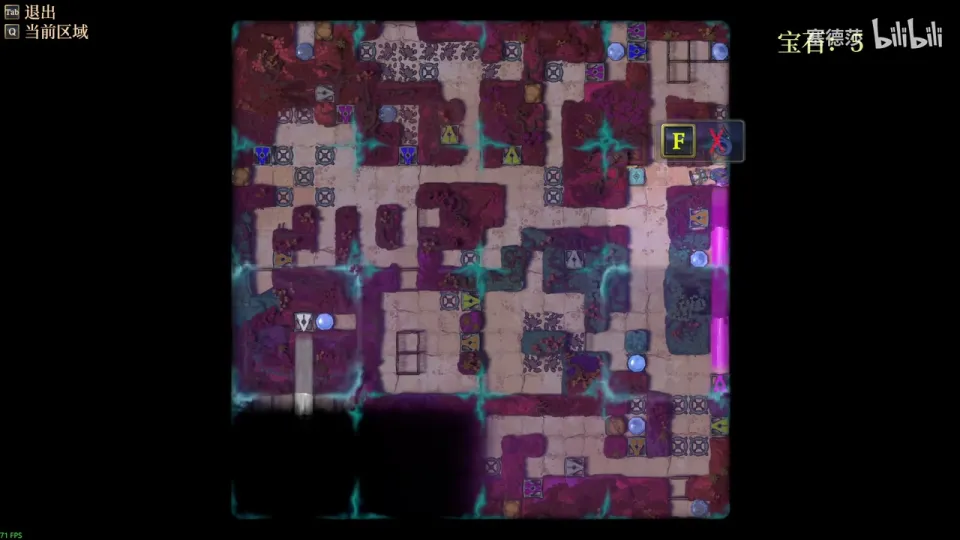
- With the dragon here, you land one tile short, so the dragon has to sit lower. (P38 9:24)
- The dragon blocks the beam. Park it here, loop round from the top, collect it from this side, pull it to this tile, and jump down: you land in the middle. Leave from below. (P38 9:48)
Puzzle 19
Key idea: the gem behind the blue emitter. You go in by the top-left purple and leave by this block’s purple. A gem would block the beam, so light the purple with white. The way out ends at a wall, so park the dragon as the end of the beam. (塞德莎 P38 10:14)
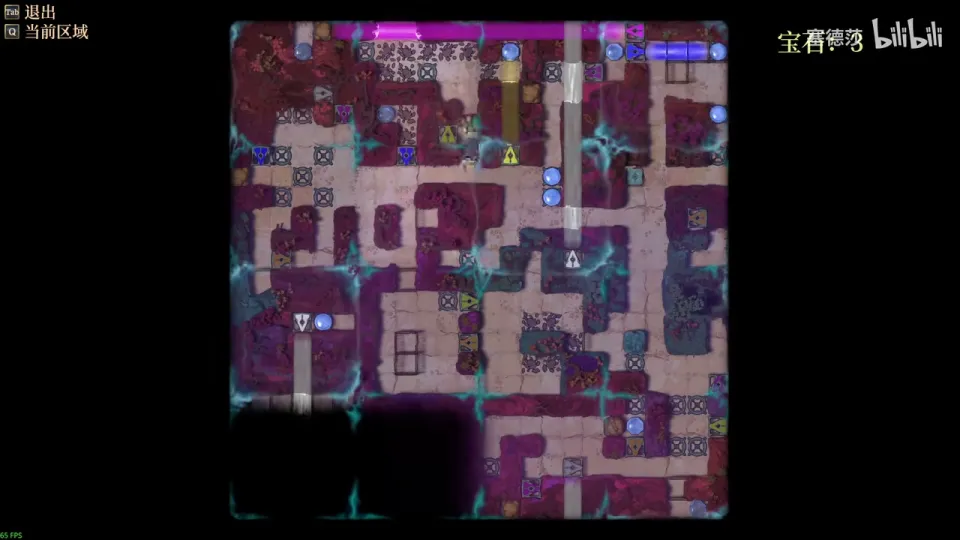
- Swap the gem in the top-left socket for the white beam, so the white lights the purple and you can jump in behind the emitter (the rock to its left is gone now). (P38 10:38)
- The purple you leave by ends at a wall. The dragon blocks light, so it can be the end: park it here, light the purple with white, jump in, take the gem and jump out. (P38 11:03)
Puzzle 20
Key idea: the top-right gem, surrounded by fences. Blue plus multicoloured breaks a fence as you pass through it, so walk the fences with the dragon beside you. (塞德莎 P38 11:27)
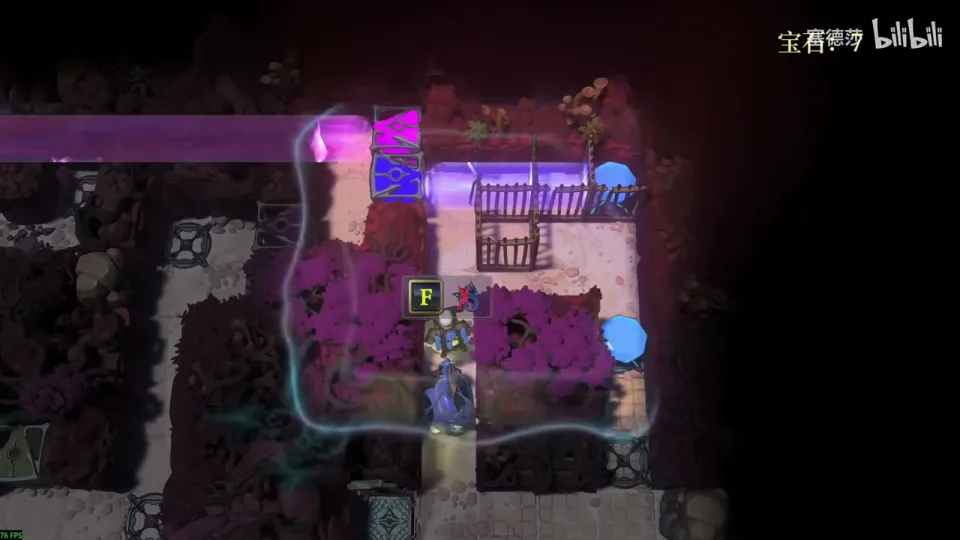
- Pass a fence in blue plus multicoloured light: there’s a faint sound and the fence is gone. (P38 11:41)
- Park the dragon here, swap with it here (that fence breaks too), then go left and right to break the rest. The gem is free. (P38 12:11)
Puzzle 21
Key idea: the bottom-right gem. Jump in with the downward orange and break the rock with yellow, but there’s a socket inside that the white glow (3×3) can’t reach. White plus multicoloured lights every socket in the block. (塞德莎 P38 12:27)
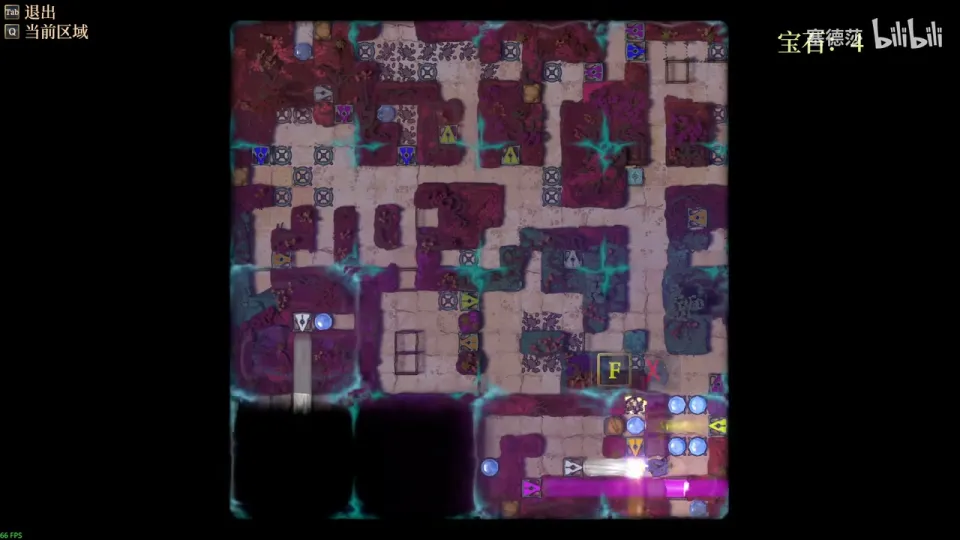
- Bring the dragon’s multicoloured light into the white: the glow grows from 3×3 to the whole block, and every socket in it lights. (P38 13:09)
- Put four gems here, light the whole block from this spot, and jump in with the orange. With the multicoloured light it’s a three-tile jump. (P38 13:30)
- Inside, put the gem in, the crown lights, and break the rock. Recover the gems, bring the dragon, take this one too. (P38 13:44)
Puzzle 22
Key idea: the last gem on this floor, on the left. A purple-midpoint jump has no spot to work from, but the horizontal yellow below does: jumping down needs three tiles, which orange plus multicoloured gives you. Light the purple too, to teleport back out. (塞德莎 P38 14:00)
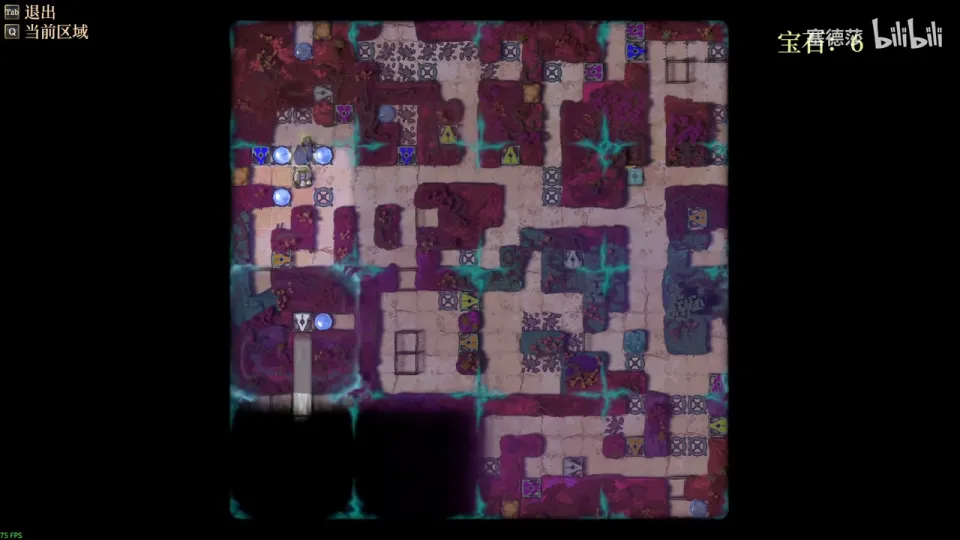
- Light the purple first so you can get out. Then jump in from the horizontal beam below with the dragon’s multicoloured light (three tiles). (P38 14:30)
- That’s every gem you can get on this floor: 11. Open the map here before going down. (P38 14:40)
Puzzle 23
Key idea: stage 3, on the lower floor, and the third artifact: a prism. Face an emitter and use it to turn every emitter in the level into another colour from this level’s set (yellow, orange, purple, white, blue). Going down to the bottom needs 23 gems, so collect everything first. (塞德莎 P38 15:08)
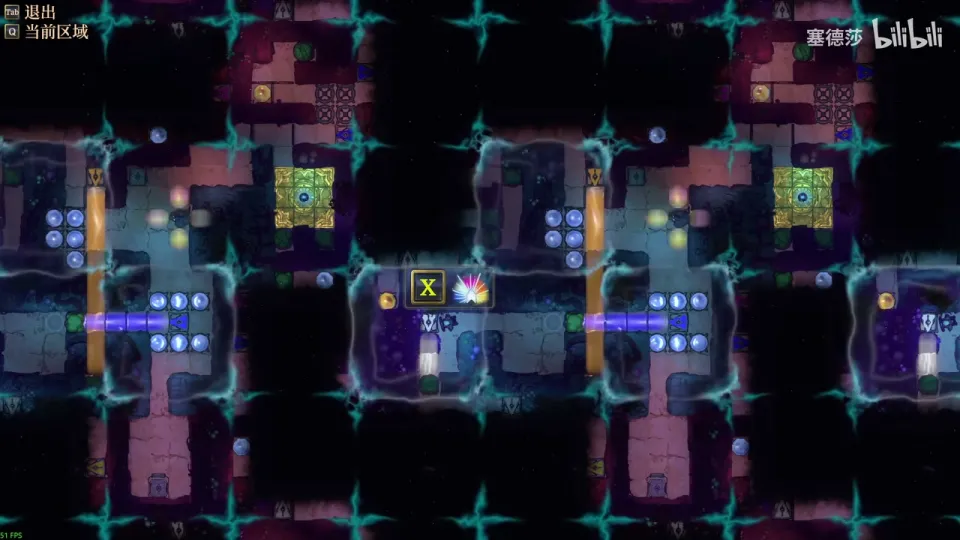
- Open the map, park the dragon nearby, and place the gems: five here (an orange beam lights), six below. Below that is the second basement, where the final check needs 23 gems. (P38 15:08)
- Go in through the blue fence, take the map (4×4 again) and jump in with the orange: you get the prism. Face an emitter to change its colour; all emitters change together. (P38 15:42)
- Use yellow to break this rock and open the map. There’s a fence here, so switch to blue, come down and take this stage’s first gem. You need four gems to leave, so take all three that remain. (P38 17:09)
Puzzle 24
Key idea: the gem on the right. You need orange to jump in and blue to pass the fence, then purple to teleport back out. (塞德莎 P38 17:38)
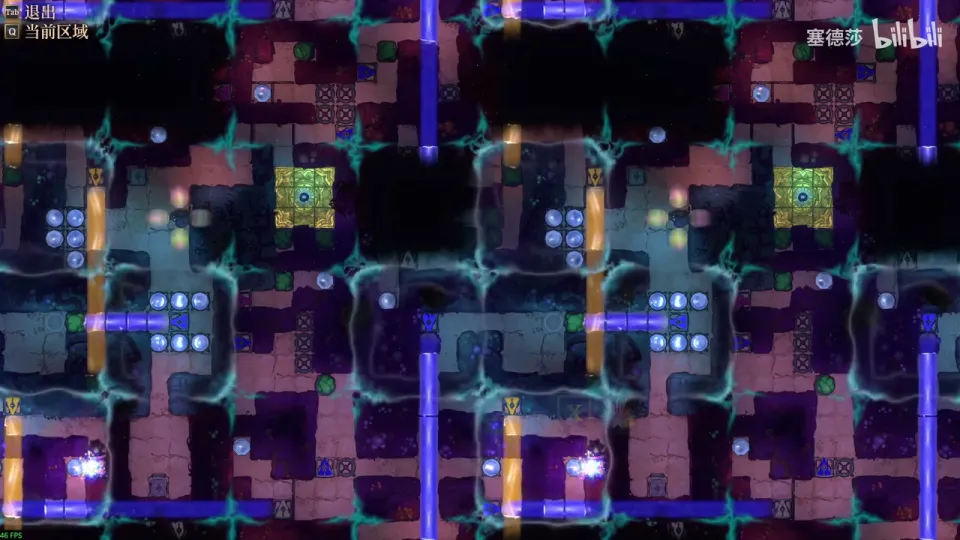
- Break this rock, then come up and change this emitter’s colour (塞德莎 goes through white to yellow) and break the next rock with the beams trained on it. (P38 17:38)
- Set this one blue and that one orange, and go in. Before entering, jump up and set the exit beam to purple so you can end-teleport out. (P38 18:01)
- After the teleport you’re stuck (left is the teleport end), so come up, go back in, set the beam to any colour that doesn’t interfere, and take the gem. (P38 18:21)
Puzzle 25
Key idea: the gem on the left. Turn the beam purple to teleport in, and turn it blue to leave through the fence, but you have to break a rock with yellow first. (塞德莎 P38 18:43)
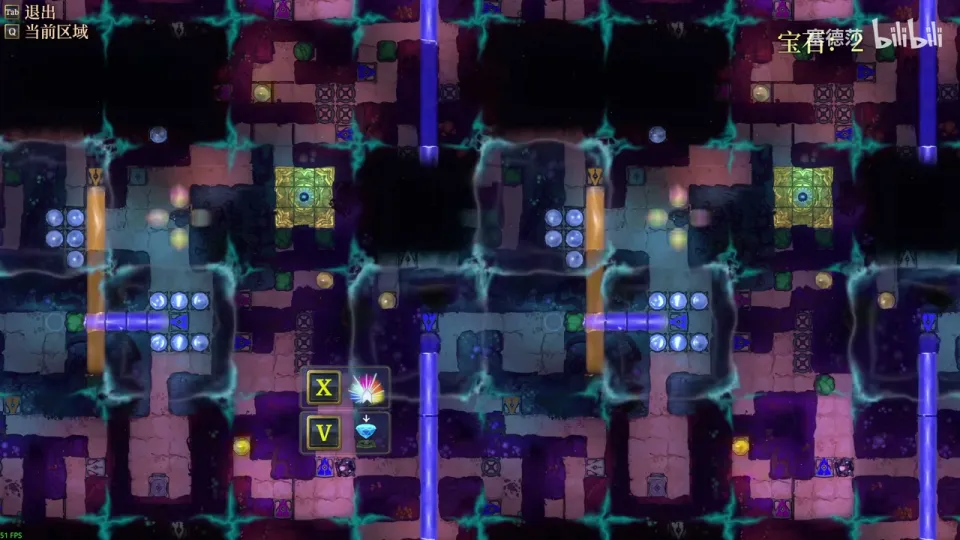
- Set it to yellow and break this rock. (P38 18:53)
- Set it to purple and teleport in to the end. Take the gem, teleport down along this beam so you face down, set it to blue, and walk out through the fence. (P38 19:04)
Puzzle 26
Key idea: jump in, break the rock, take the gem, jump out. If the top beam stays orange you end up stuck with every direction blocked. So power it with white, which keeps it on only while you stand on this tile. (塞德莎 P38 19:14)
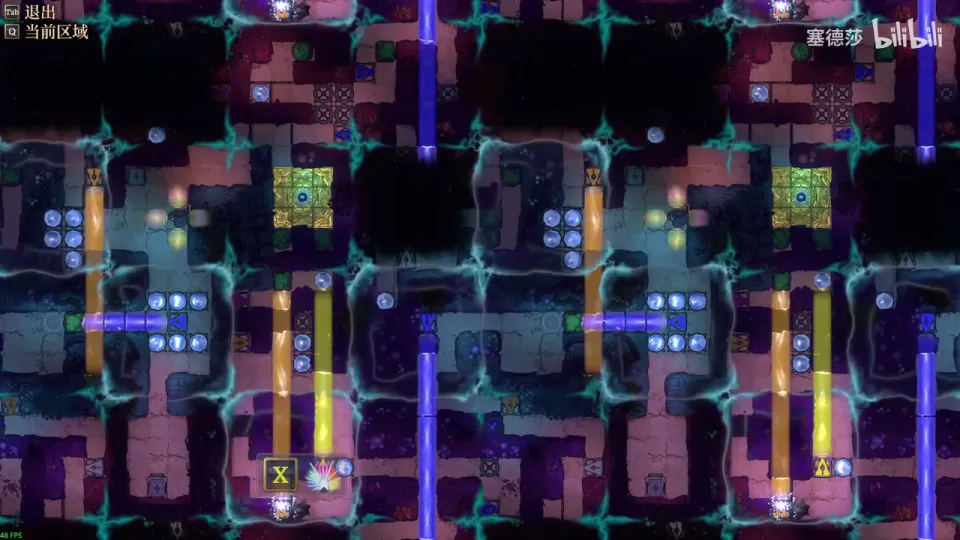
- Turning this emitter orange won’t work: from its jump the spot where you interact upward is past the rock, so you can’t break it. Use the other orange. (P38 19:24)
- Jumping in, setting the top beam to yellow, breaking the rock and jumping out with orange is right. But if the top beam stays on, you end up stuck in every direction. (P38 20:16)
- So take the top gem out, set that emitter to white and light it. Now the orange triggers only on this tile, so jump in. (P38 21:07)
- Set it to yellow to break the rock and take the gem. Set it to orange here, light it and jump out. (P38 21:18)
Puzzle 27
Key idea: the easy last one on this floor: set the beam to purple, end-teleport across, then set it to yellow and break the rock. On the way out, take a bead. (塞德莎 P38 21:30)
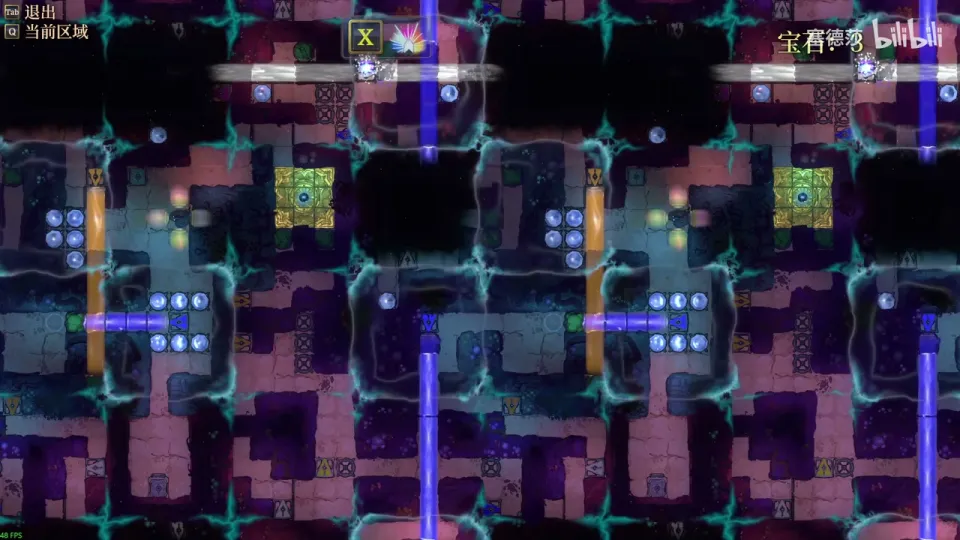
- Purple, teleport over, yellow, break the rock, take the gem back. The shining gem on the left can’t be reached yet. (P38 21:30)
- Light this, go out, and pick up the bead on the way (see the rules above). Then go back for the dragon. (P38 21:50)
Puzzle 28
Key idea: stage 4, the last. First, prepare: walk the dragon through the fences with the beam set to blue, which breaks them for good, so you never need blue to cross here again. (塞德莎 P38 22:42)
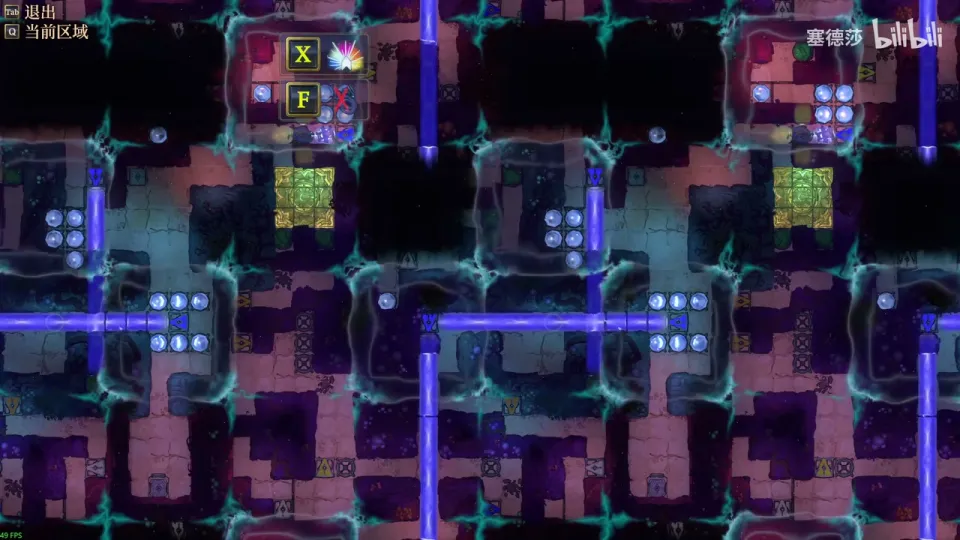
- Set this emitter to yellow, go down and break the rock, then set it to blue. (P38 22:54)
- Bring the dragon and walk back the way you came: every fence here breaks. Carry on up, break this fence, and hit three fences in one go here. (P38 23:16)
- Recover all the gems (five, six, five), go in and open the map: four gems here and four on the floor. (P38 23:46)
Puzzle 29
Key idea: the four gems on the floor. Jump in with orange; the rock in the way has a fence beside it, so yellow alone can’t reach it. You need blue (to pass the fence) together with yellow. (塞德莎 P38 24:08)
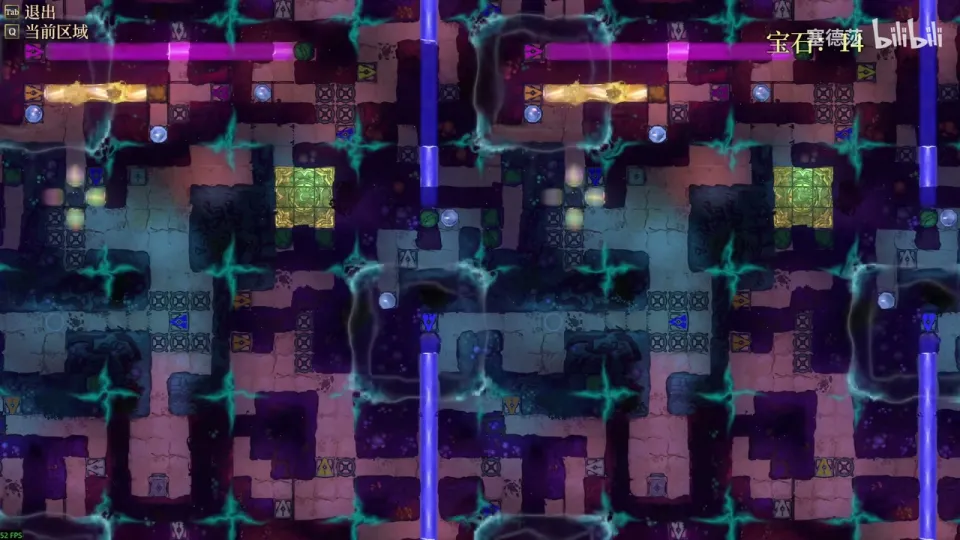
- Set it to orange, light it, and park the dragon far away in case it gets in the way. Jump in, set this to blue and light it to cross upward. (P38 24:38)
- You can’t set it straight to yellow or you can’t get out. Set it to blue, cross out, then set it to yellow and break the rock. (P38 24:59)
- The orange now blocks you, so jump out here, set it to blue, go in again and set it to blue. (P38 25:07)
- For later, pull the dragon up and walk it through the three fences here to break them. Collect the gems. (P38 25:19)
Puzzle 30
Key idea: the gem you reach from the purple above. Teleport to the end of the purple, then get down by breaking the fence with the dragon, because crossing it with plain blue would trap you. Leave the left gem for now; you still need that purple. (塞德莎 P38 25:38)
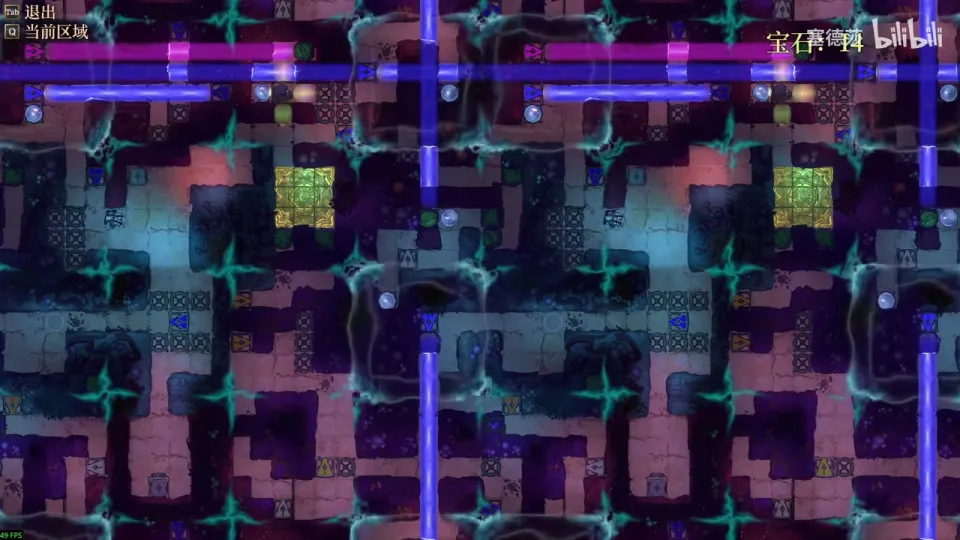
- With the purple above, you can end-teleport onto this. The obvious way down is the horizontal blue through the fence, but then you can’t get out. (P38 25:49)
- Park the dragon here, go left and end-teleport right along the purple. Go down through the fence to break it, then come over with the dragon, break this fence and take the gem. (P38 26:20)
Puzzle 31
Key idea: the upper of the two middle gems. Three rocks block the way in. Break the first with a two-tile orange reach (orange plus yellow), then blast the other two with the dragon, since they’re in the same block. (塞德莎 P38 26:54)
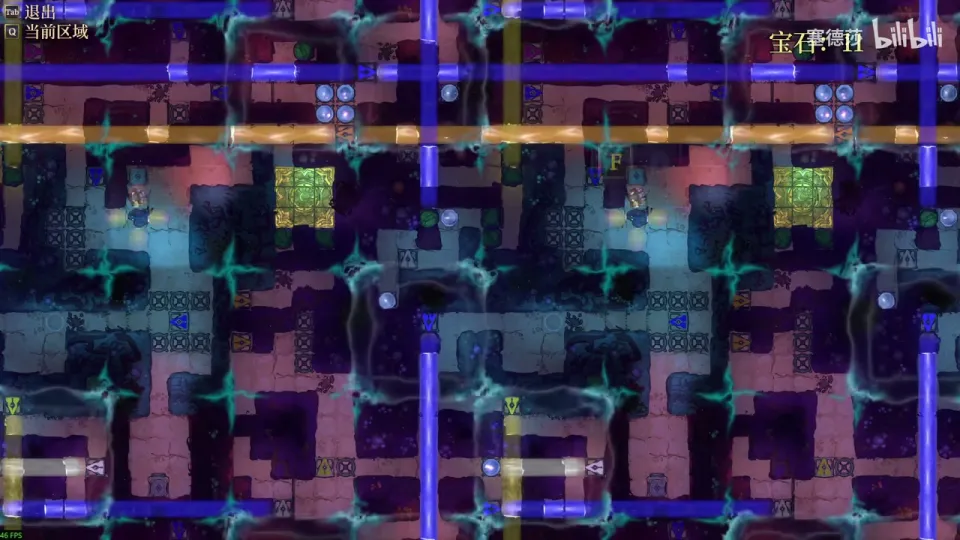
- The only beam that touches the first rock is the downward orange. Making it yellow doesn’t reach far enough. (P38 27:15)
- These two beams hit two tiles across from the rock. Set them to orange and they reach it. Park the dragon out of the way, light the orange and break the rock, then switch the orange off. (P38 27:46)
- The other two rocks are in the same block as the first, so blast them with the dragon’s multicoloured light and take the gem. (P38 28:20)
Puzzle 32
Key idea: the last gem on this floor looks easy and isn’t. You get in on the purple at the door, which a gem in its socket would block, so light it with white. To get out, turn an emitter you can’t reach from inside purple, by jumping in through another block first. (塞德莎 P38 28:41)
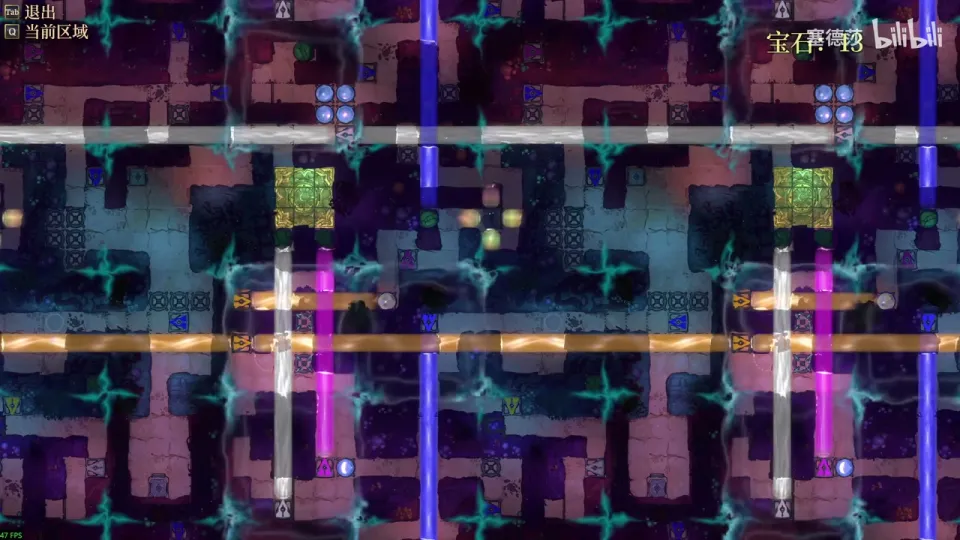
- Take this rock back first. To use the purple, light its socket with a white beam. The nearby white is useless because you’re not in the purple’s path; use this one: set it to white and light it. (P38 29:22)
- To get out, set the upper of these two horizontal emitters to purple. Inside (two layers deep) you can’t reach it, so do it from the block below: keep this white, set this to purple and light it. The white triggers the orange below; jump in, the orange goes off, set it to purple. (P38 30:10)
- Jump out on the right-hand purple and keep it. Go up, place three gems to light the purple, jump in, take the gem, jump across, change the colour and leave. (P38 30:57)
- Collect all the gems down here, bring the dragon out and go back up. (P38 31:29)
Puzzle 33
Key idea: four gems left on the upper floor; these two are the easy ones. Set the emitter to purple and use the dragon’s multicoloured light for midpoint jumps. (塞德莎 P38 31:53)
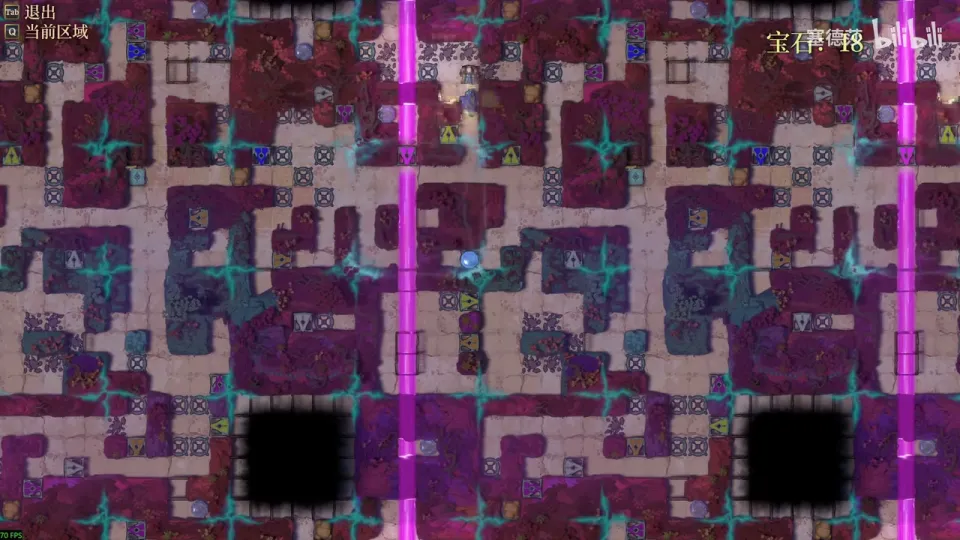
- Set this to purple and light it: this beam serves two gems. (P38 31:53)
- For the gem right above, midpoint-jump from here, then jump up. For the other one, midpoint-jump from this spot, which lands you inside; take it and come out. (P38 32:12)
Puzzle 34
Key idea: the gem at the very bottom of the map. Blue gets you through the fences, and blue plus the dragon breaks the one you need to get back out. To make this purple emitter blue you must face it from a tile you can only reach by jumping. (塞德莎 P38 32:43)
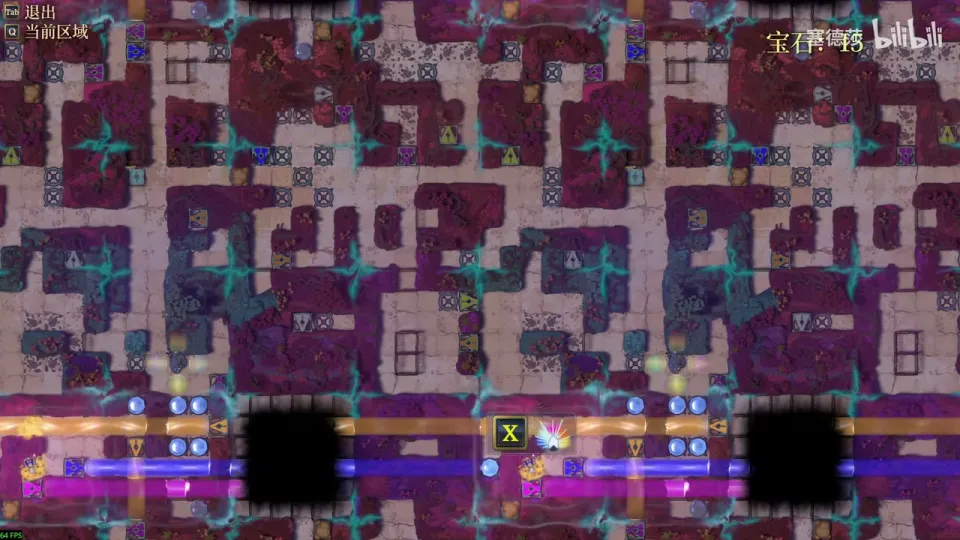
- Turn this blue and go in one layer; the multicoloured light breaks the fence on the way. (P38 32:57)
- The lower one also needs blue (orange gets you in but not out). You can’t turn this emitter from here, so make the one on the left orange, park the dragon away, light all five gems and jump over to here. (P38 33:23)
- Step down so you face down, turn the emitter blue, switch the orange off, bring the dragon down, break the fence and take the gem. (P38 33:40)
Puzzle 35
Key idea: the hardest gem of the level. Every tile of this area is fenced off, so every beam that touches the block has to be blue, and the column with the gem has a rock in the way that needs yellow first. (塞德莎 P38 34:02)
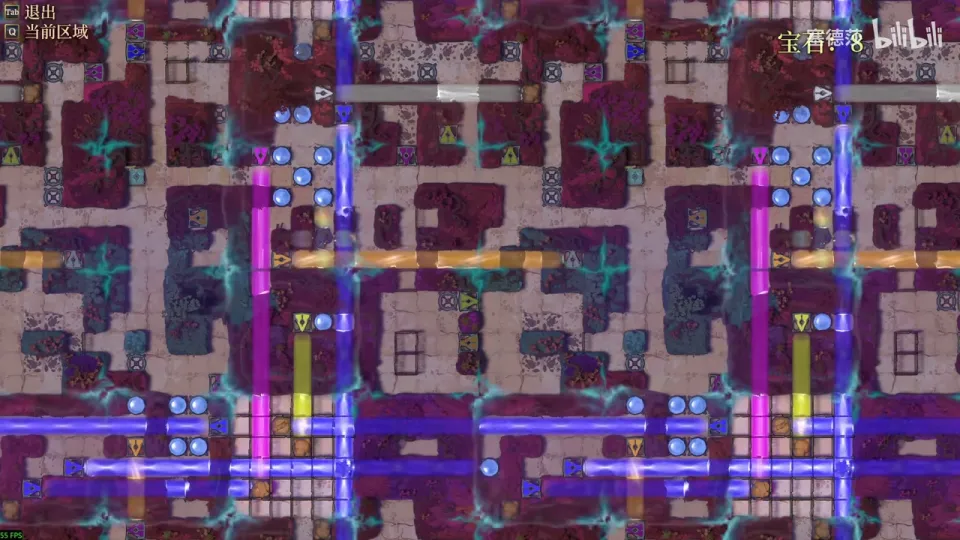
- Put five gems here and look inside: set this to yellow (break this rock while you’re at it), then to purple, and jump in to see the layout. (P38 34:19)
- Every tile is fenced, so turn every emitter that touches the block blue: here, here and here. The one in the gem’s column would reach the gem, but a rock below the other rock blocks it. (P38 34:42)
- To clear that rock: set it to yellow, light it, jump in from above (light the top purple first), set it to yellow, light it, come out. Then set this blue and that purple, and light the blue. (P38 35:30)
- Now there’s a route: jump in, cross sideways, up, and left into the yellow, which breaks the rock. Come back, set it to purple, jump down with the dragon’s three-tile reach and set it to blue. (P38 36:00)
- Go in again: now you pass straight down to the gem, take it and come out. (P38 36:35)
Puzzle 36
Key idea: finish the big level. Collect everything, take the dragon down to the bottom, put all 23 gems in, then use one last yellow-plus-multicoloured blast. (塞德莎 P38 36:46)
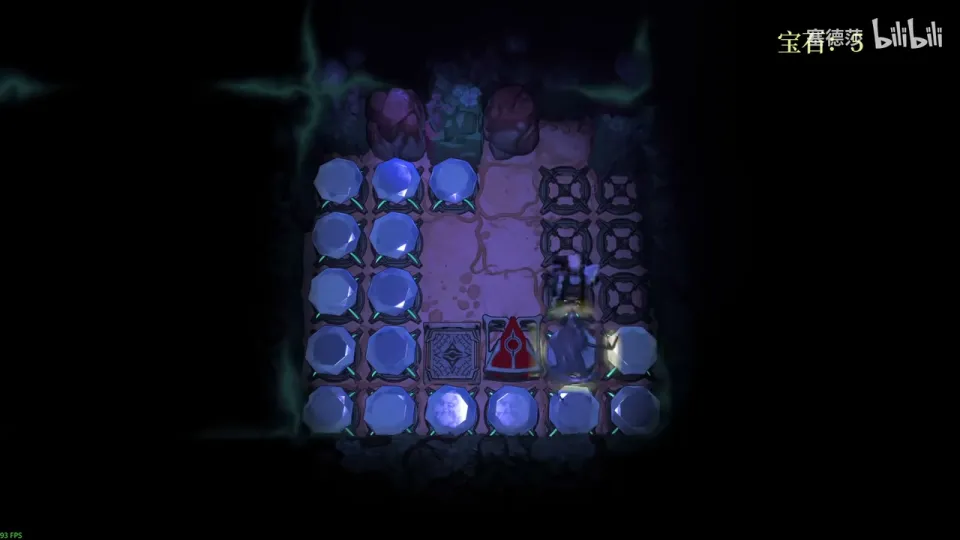
- Collect the gem inside the wall below (jump in and out), then everything else; take the dragon with you. (P38 36:46)
- Go down twice to the very bottom and place all 23 gems. (P38 37:15)
- The emitter here is red, which is no use: turn it yellow. Park the dragon so the blast works (without it you can’t clear this rock), break the rock, and blast the one next to it. That finishes the level. (P38 37:24)
Puzzle 37
Key idea: the crystals-and-white-light room, a short chain of screens on one theme: use the white glow to light several sockets at once. Crystals are alive, so they can sit in the white light too. On each screen, find the spots for the crystals and the beam so every socket is lit. (塞德莎 P38 38:03)
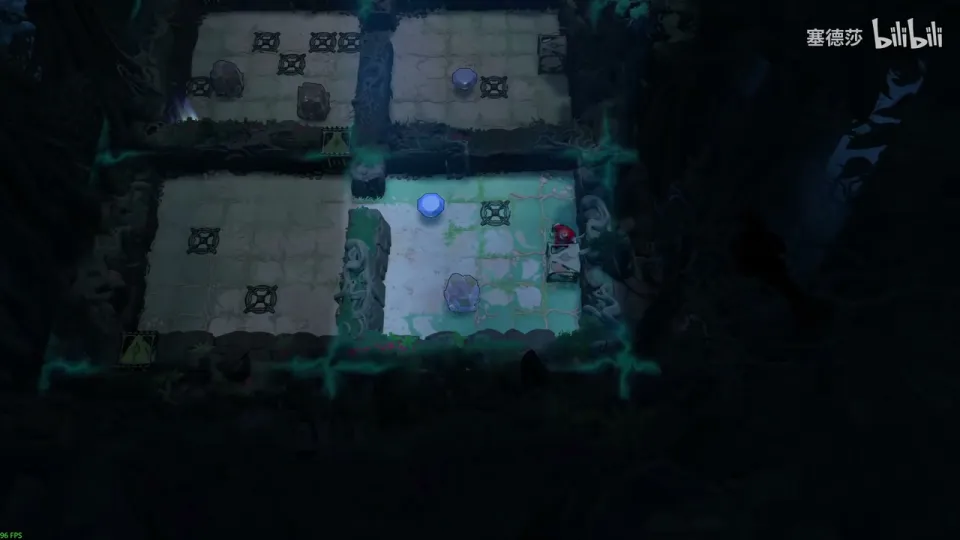
- Screen 1: push the gem to the right, put the white emitter here and push the crystal to this spot. Both sockets light, and the green takes you up. (P38 38:25)
- Screen 2: the emitter’s position means the beam can’t run along this row. Put both crystals and the emitter on the bottom row and use the spare gem to fill the last socket. (P38 39:06)
- Screen 3, a trap: the two obvious empty spots don’t work, because the gem in the cart then blocks the beam. Shift both crystals one tile right, and put the gem on the far left. (P38 39:56)
- Screen 4: two white beams. Put this white here, leave the top one, and place the two crystals and the gem as shown. (P38 40:40)
- Screen 5: the white is blocked by the gem wherever you put it. Instead, light the right socket with a crystal: light the gem first, put a crystal here, and take the gem out. The socket stays lit, so the gem can fill another socket without blocking the light. The four on the left light together, and the blue gem fills the last socket. (P38 41:22)
That completes the area’s levels. 塞德莎 unlocks the multicoloured beam here on his way out; the four Heroes and Light bonus rooms that need it are on Heroes and Light.