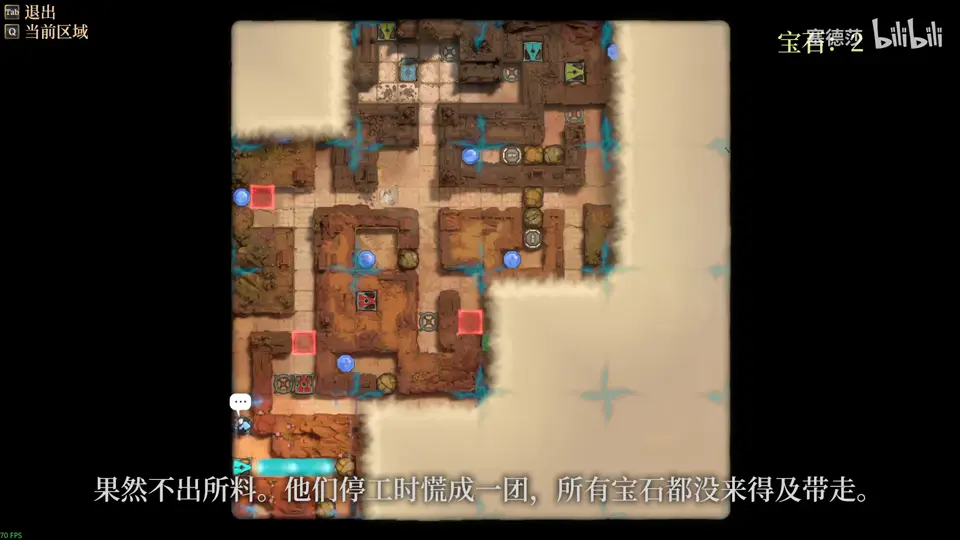
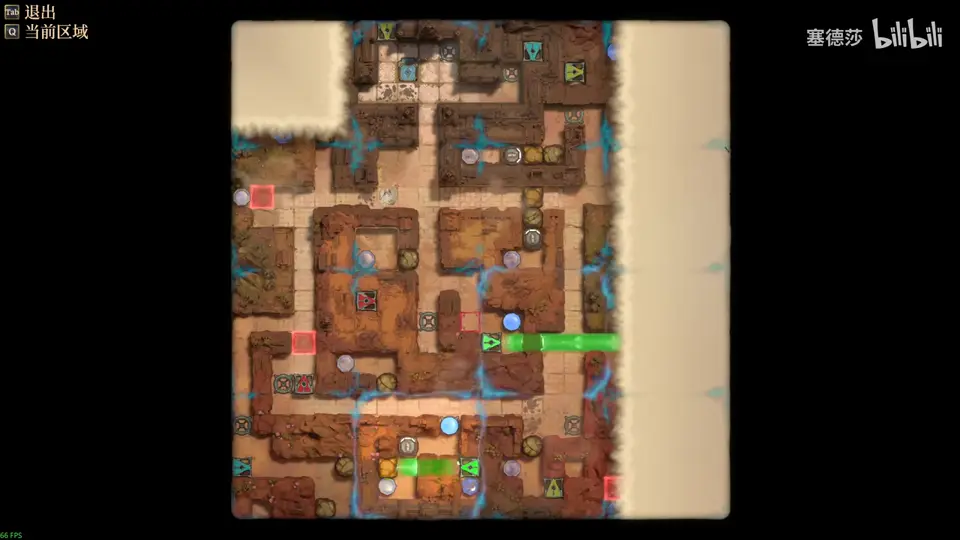
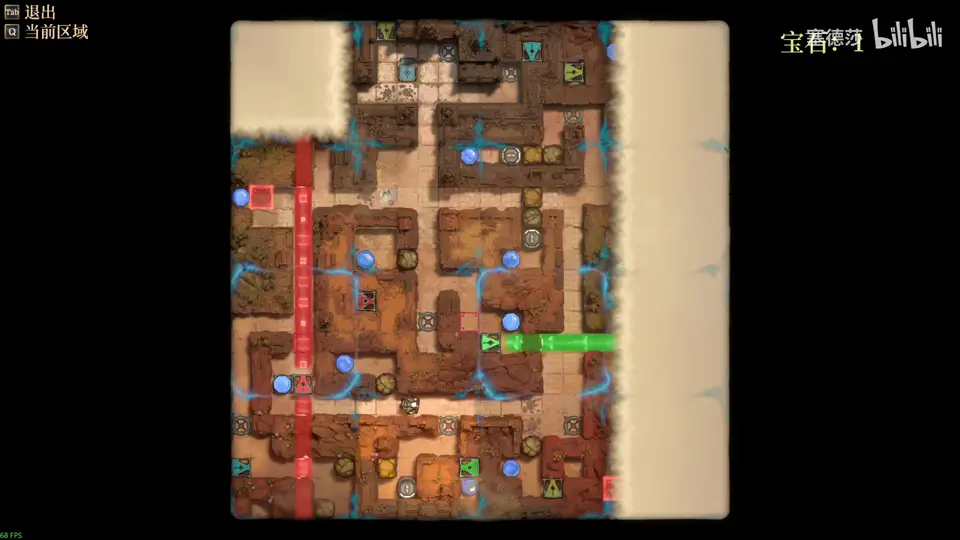
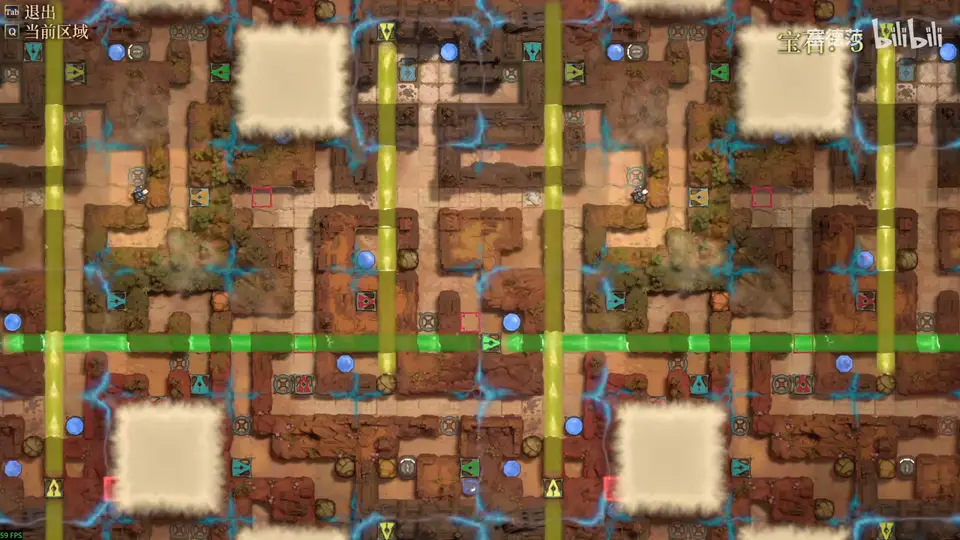
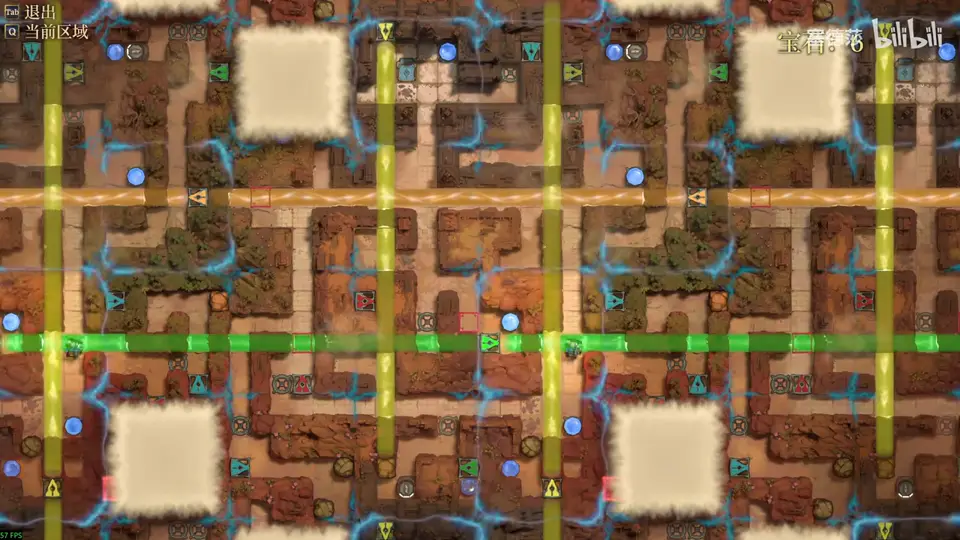
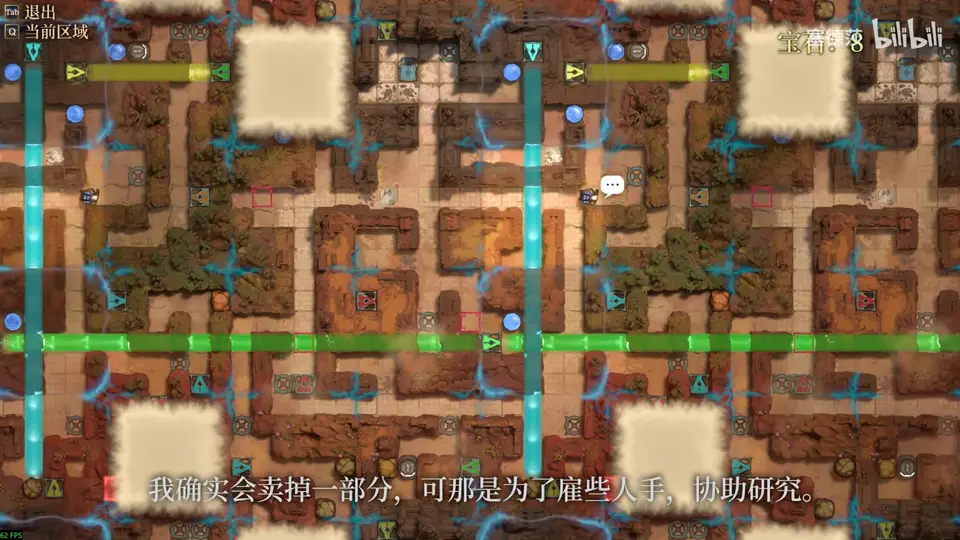
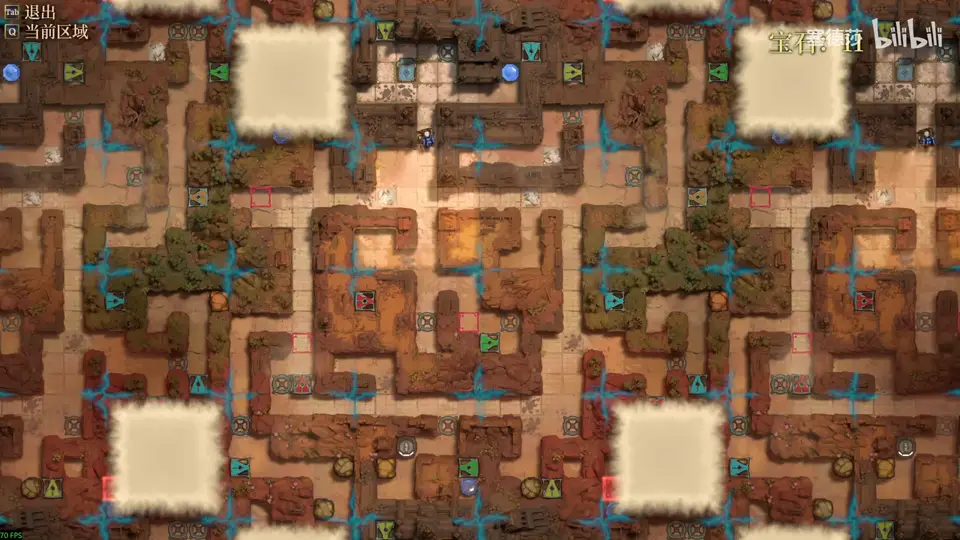
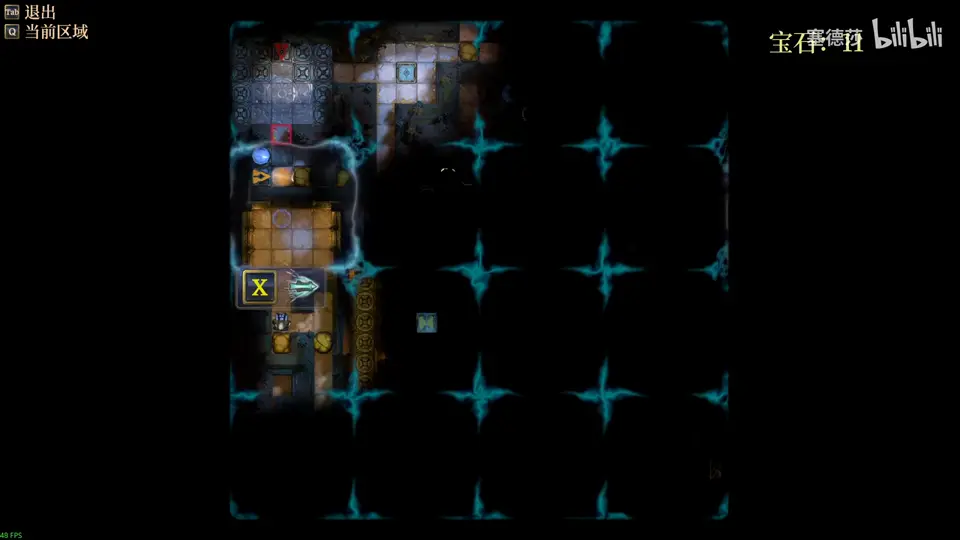
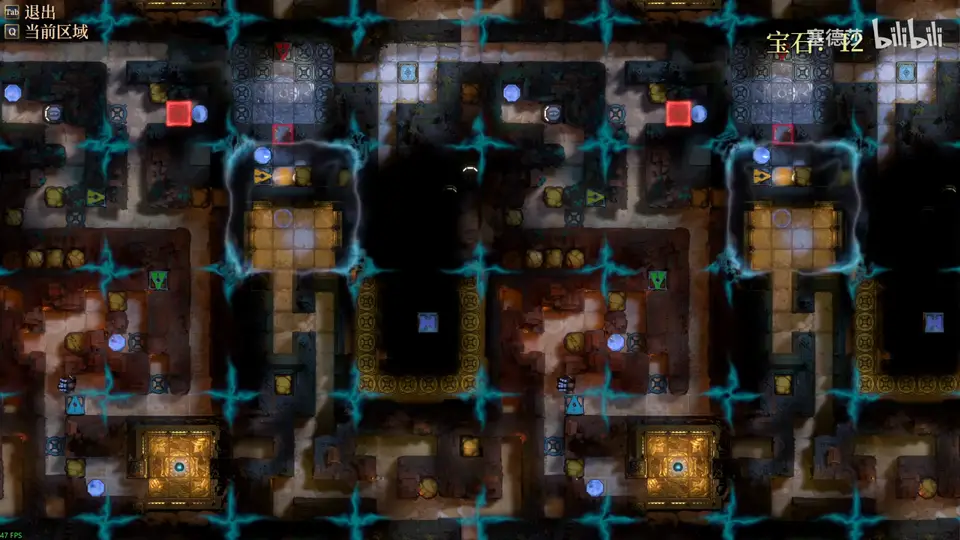
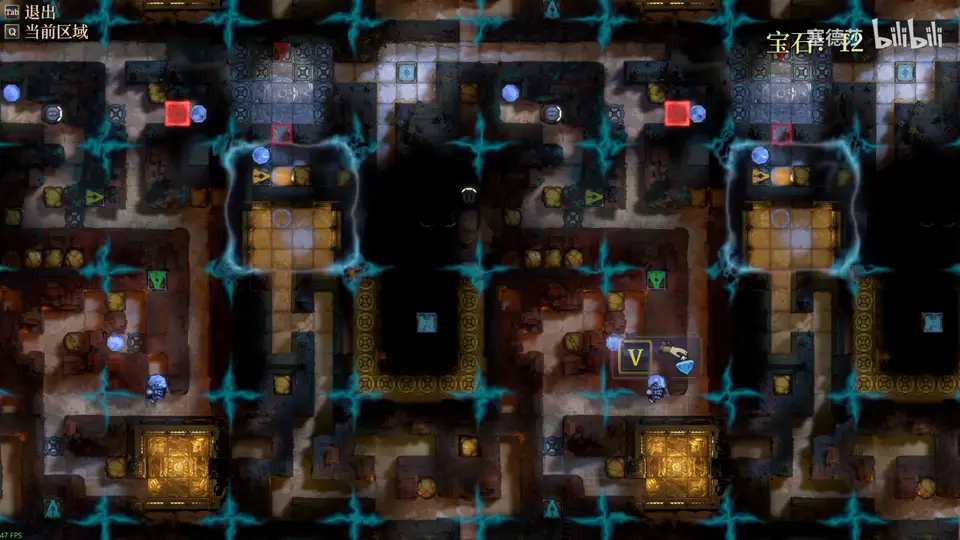
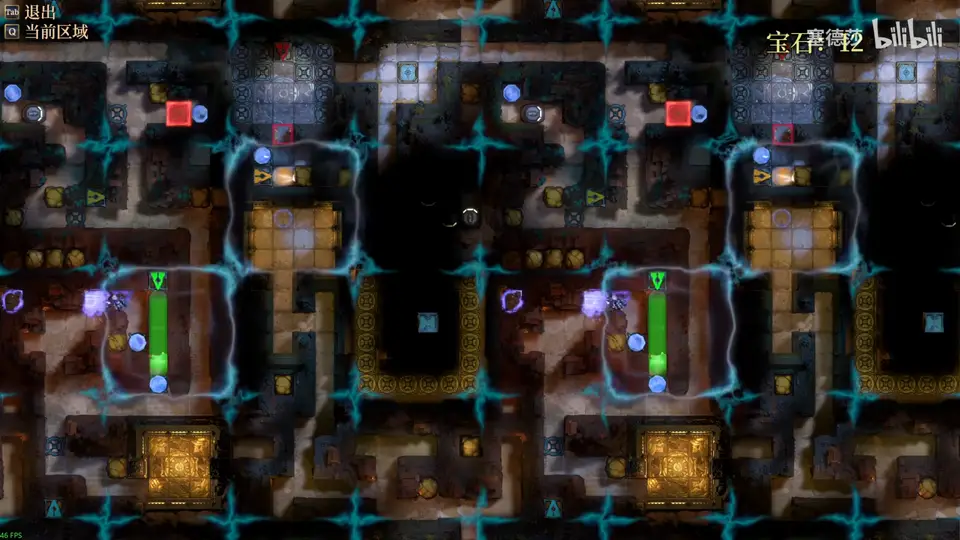
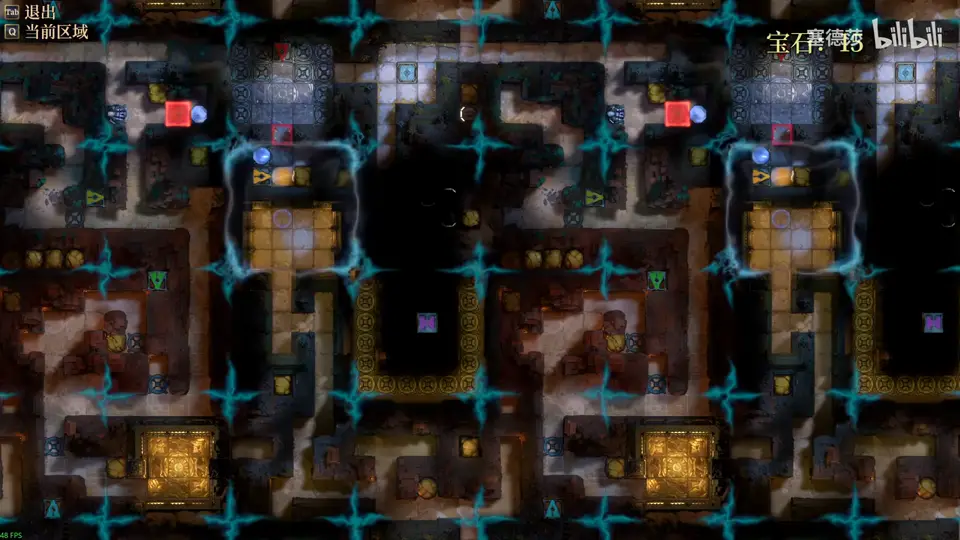
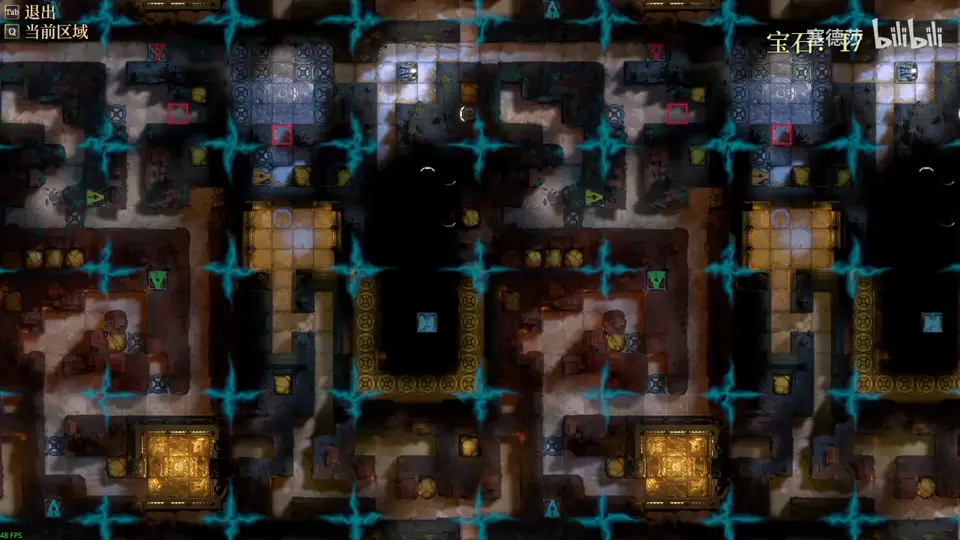
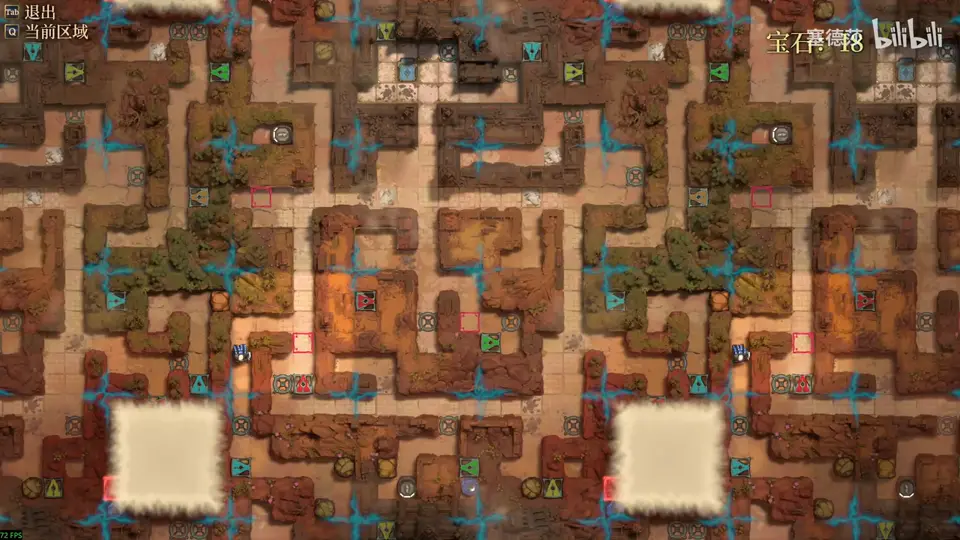
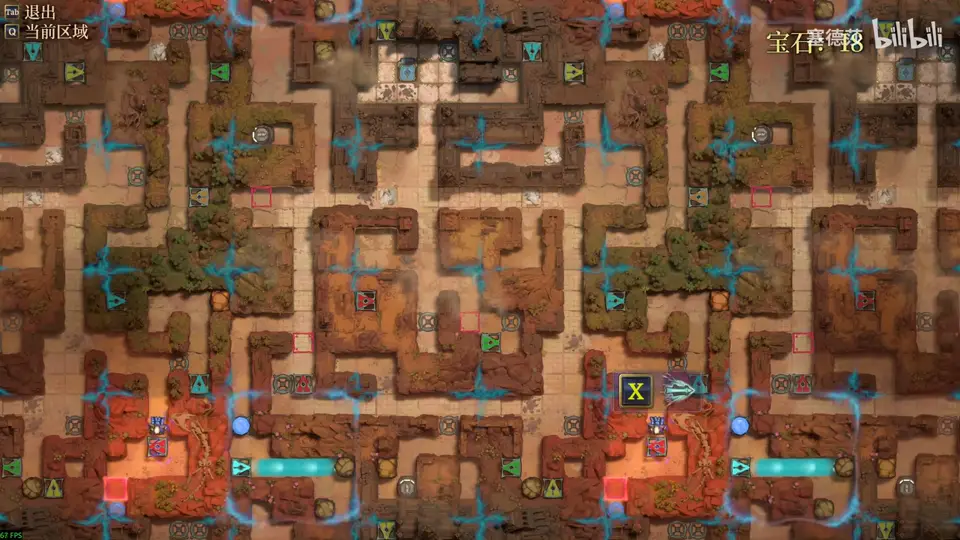
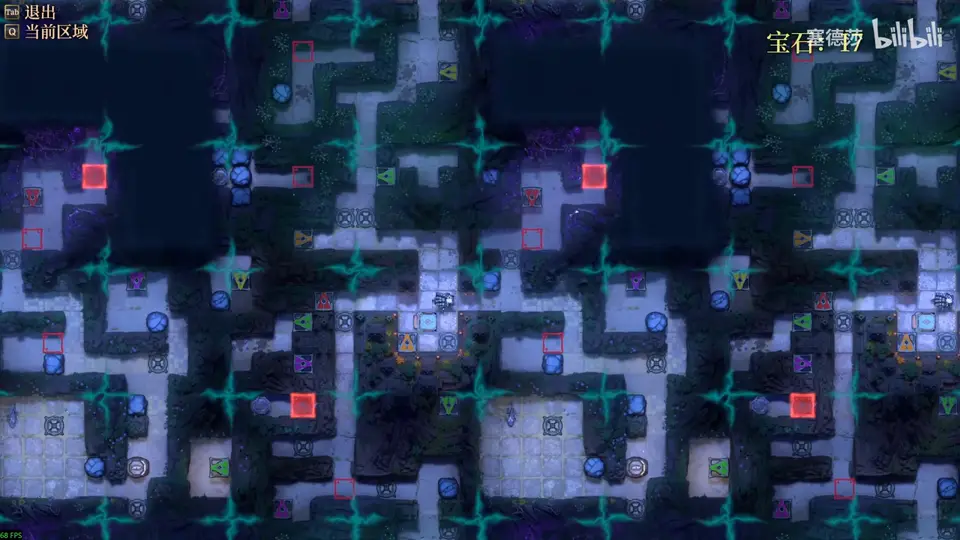
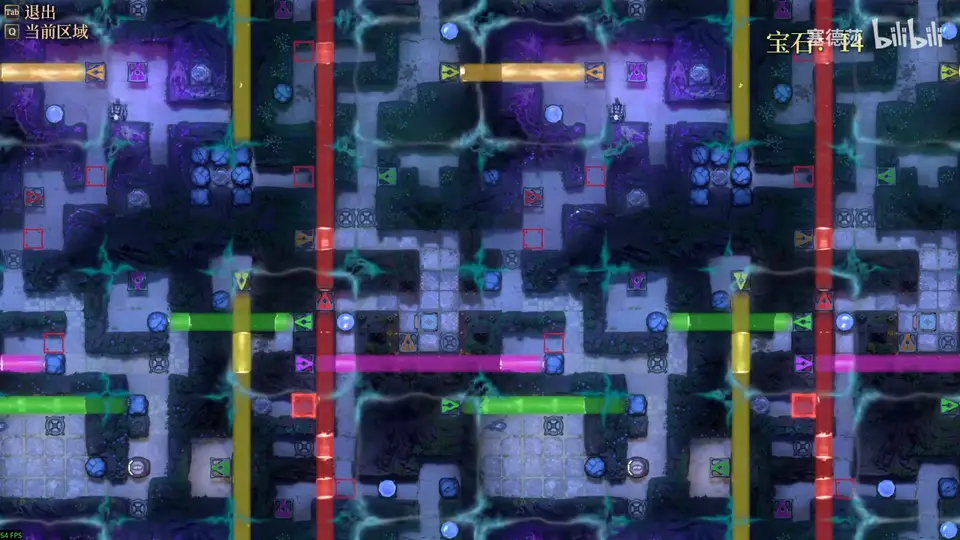
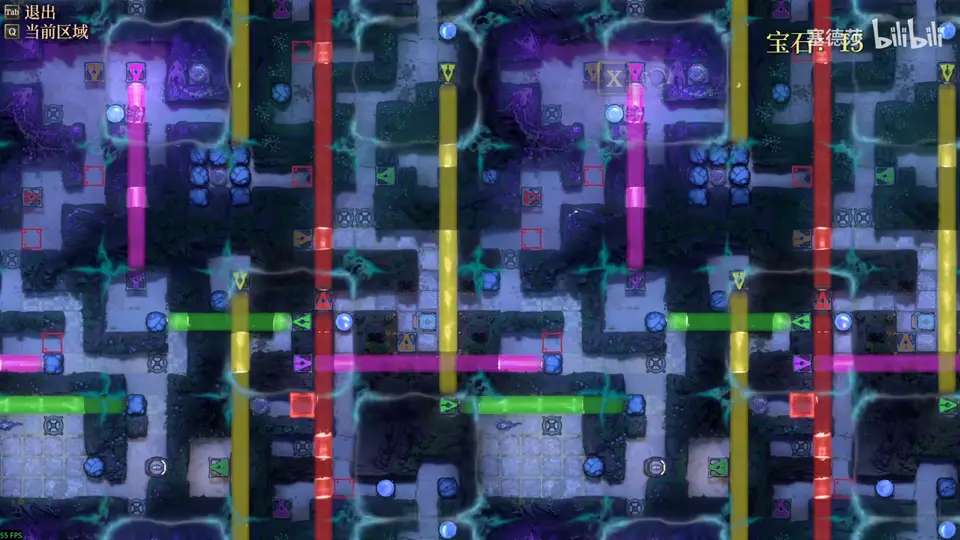
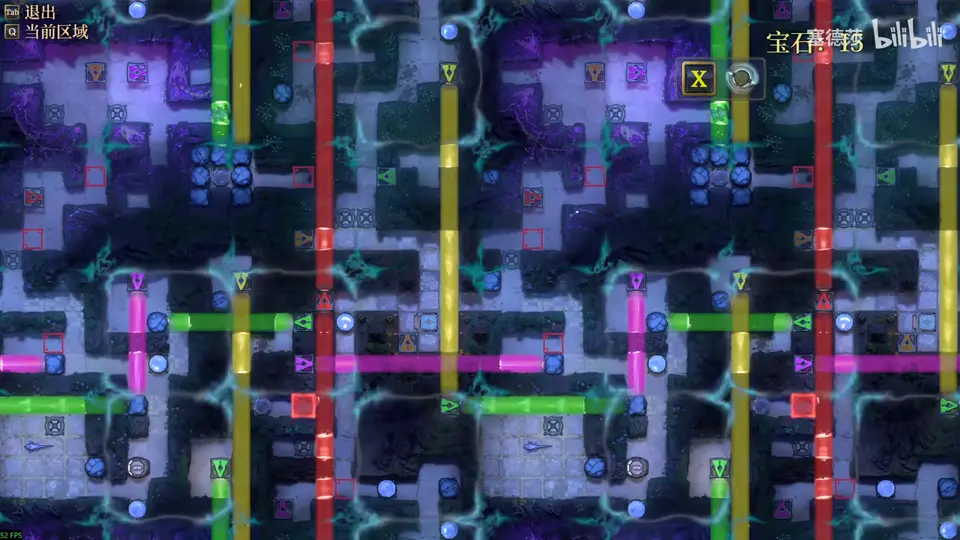
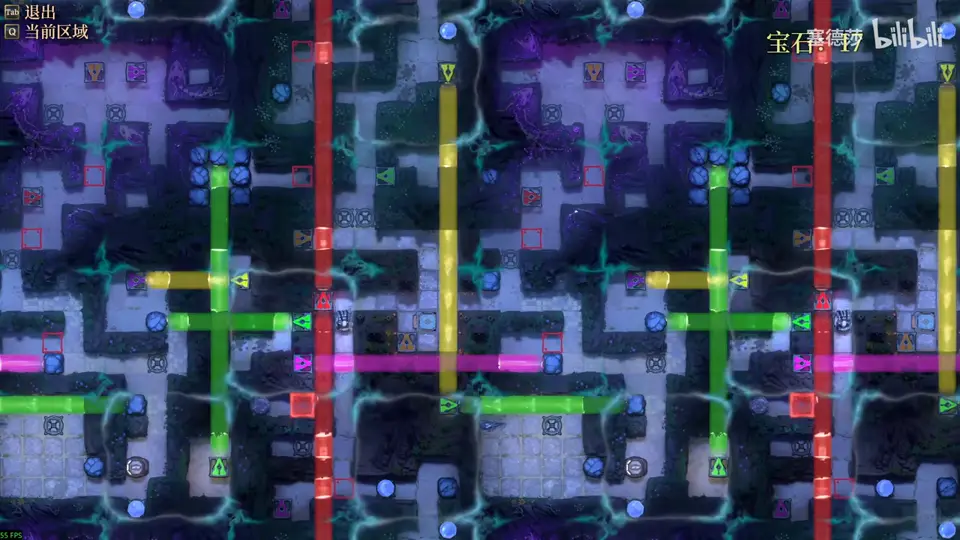
This page covers Vault of the Beamcasters, the West area of Order of the Sinking Star in the full release. It has two big sub-areas, West 1 and West 2. Both are open maps where you collect gems in almost any order. The puzzle numbers here are ours: each one is a gem, or a small group of gems, in the order the solution video collects them. Every step links to that moment in the video.
This is the renamed version of the demo’s West area, The Promise. If you played the demo, West 1 will look familiar; the demo gems are listed on the West gem reference.
Rules
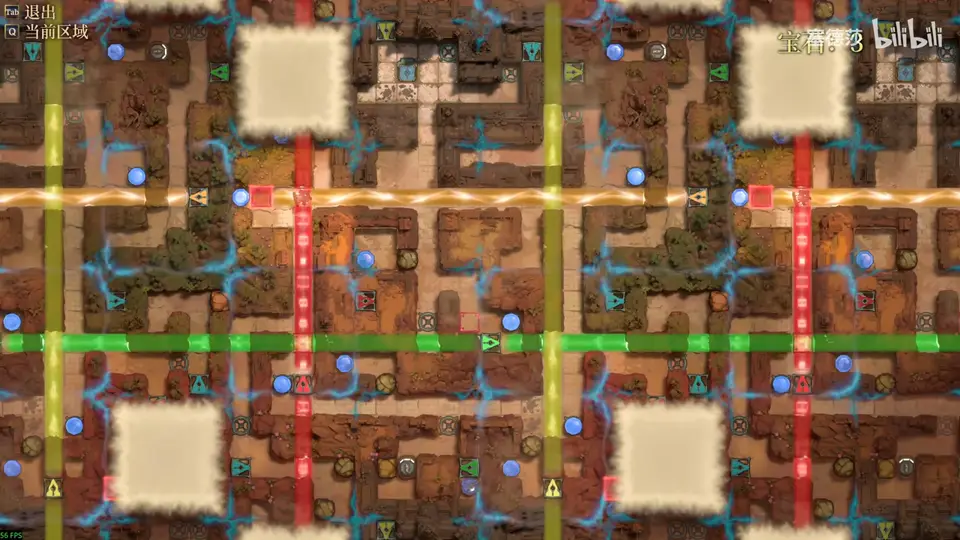
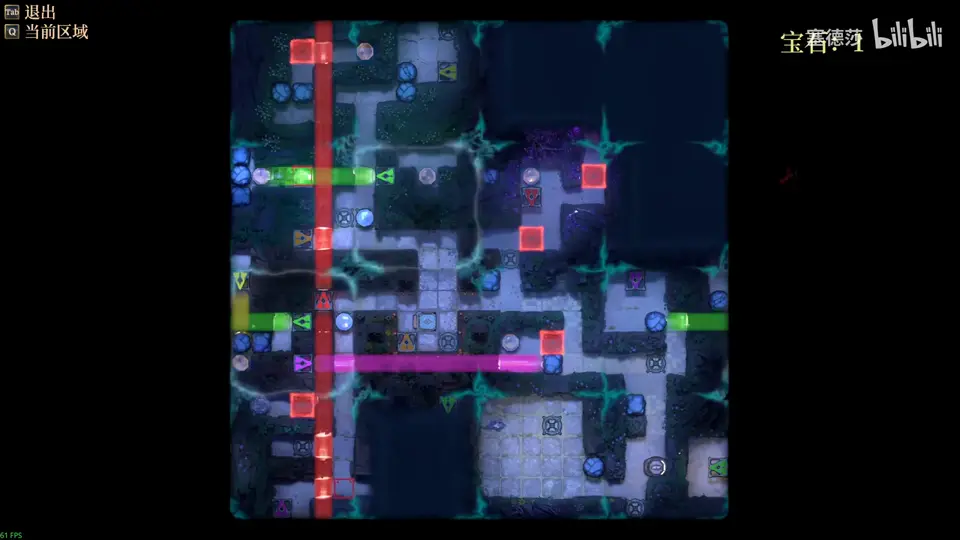
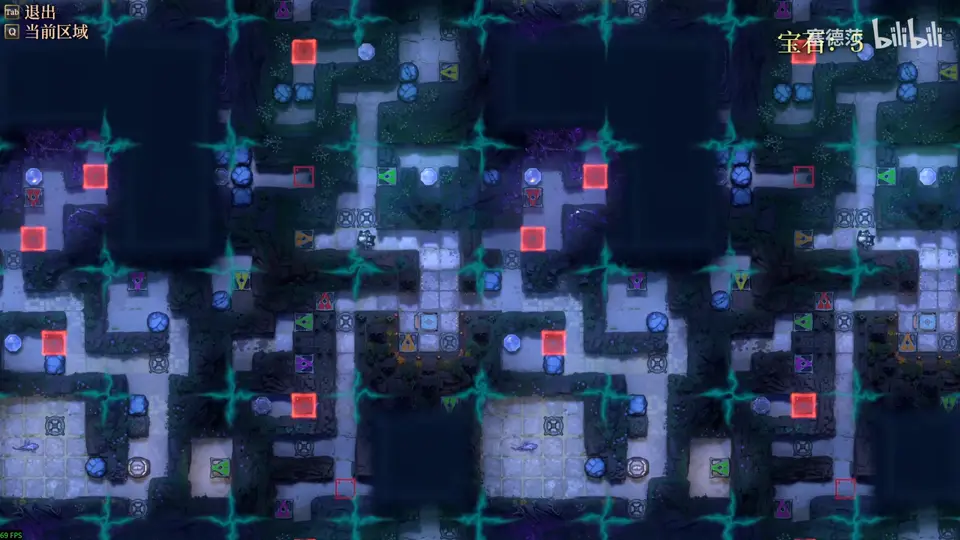
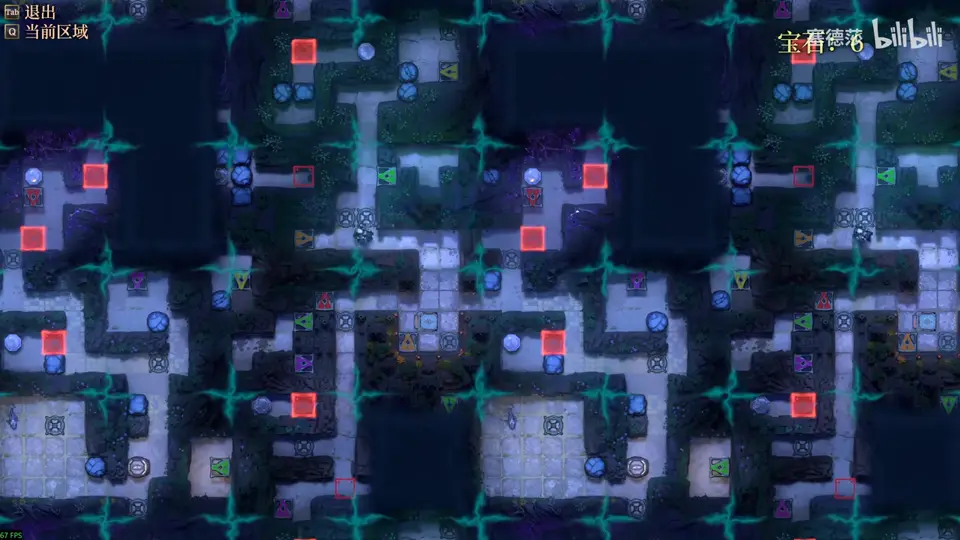
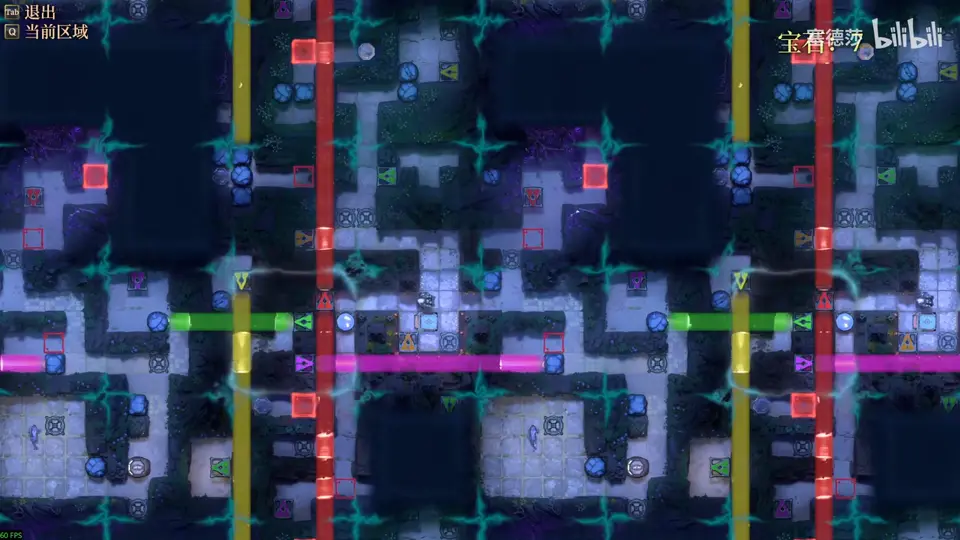
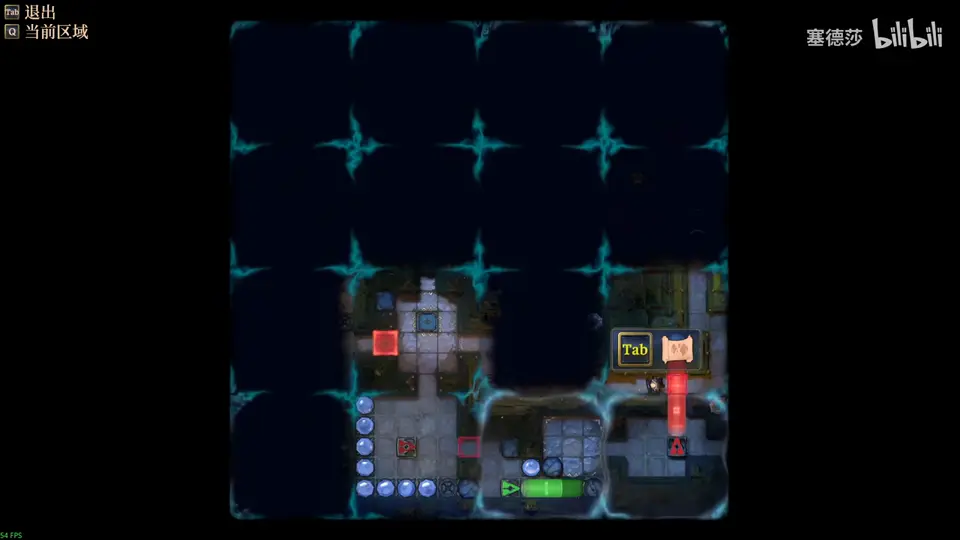
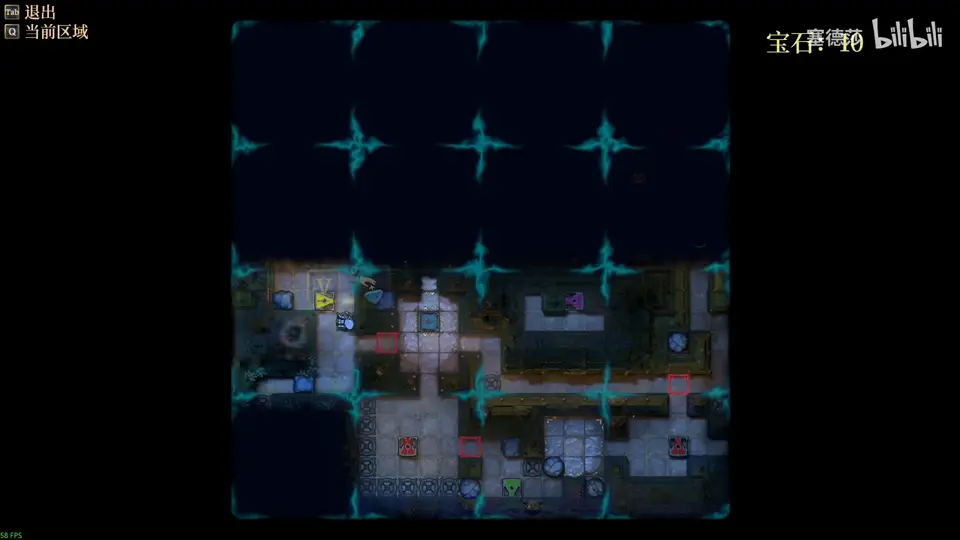
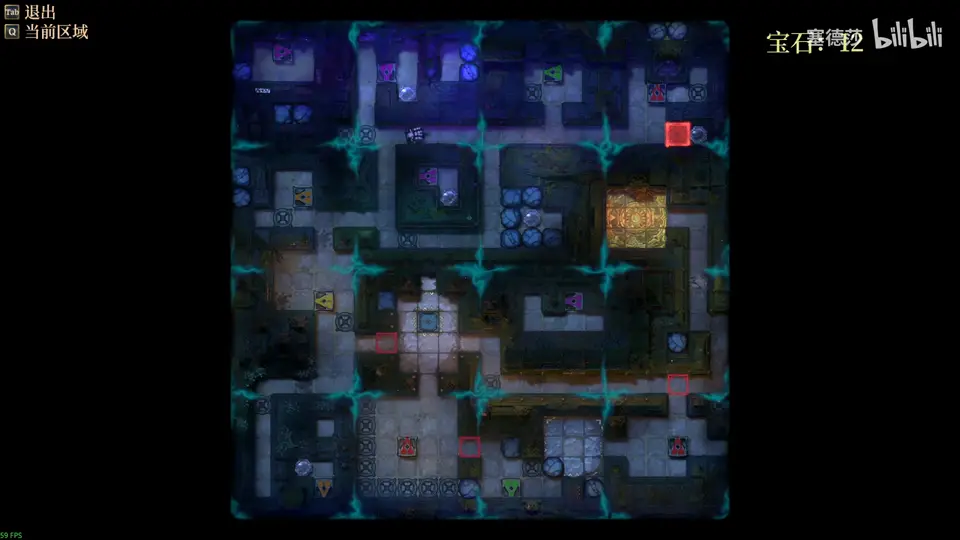
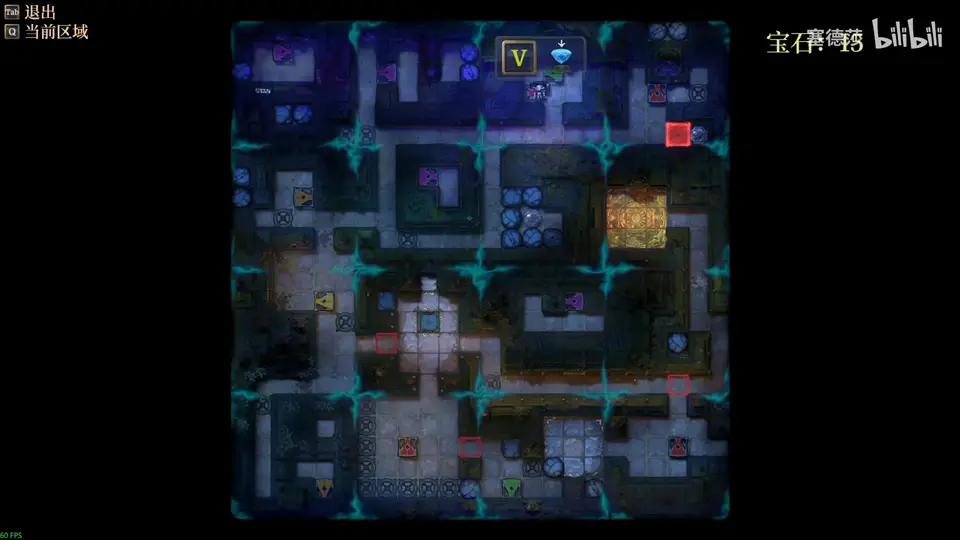
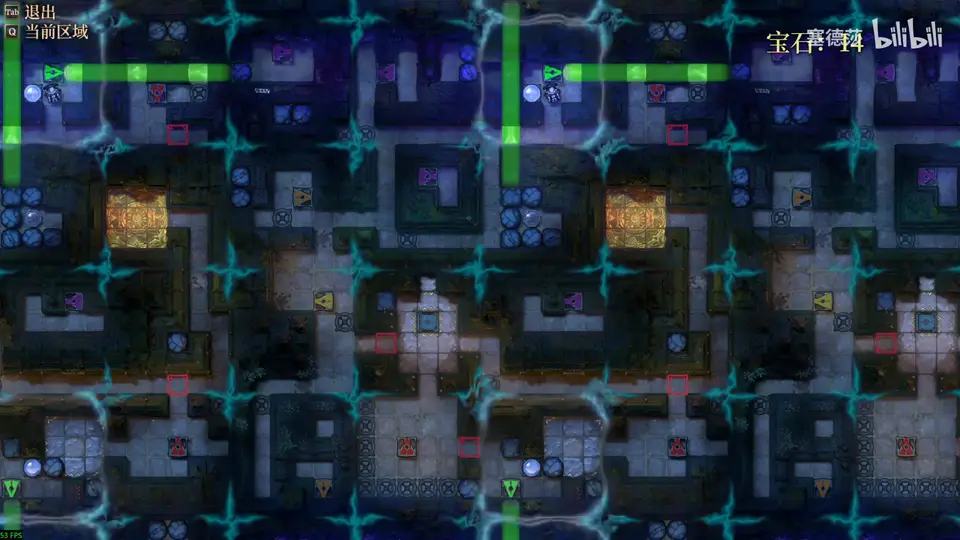
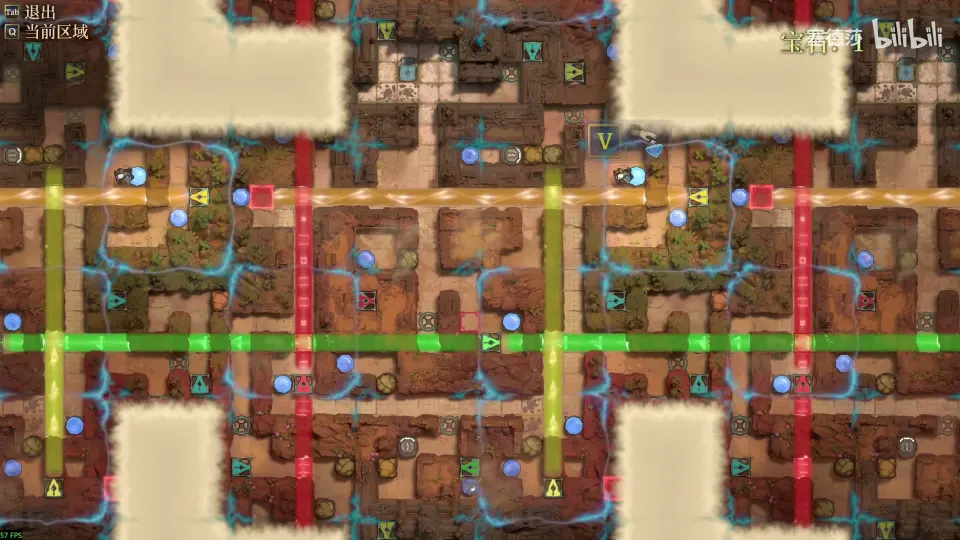
- Gems power beams. Put a gem in a socket and every beam emitter in that block lights up. Take the gem back and they go dark. The map (open it with Tab) is a 4×4 grid of blocks, and it wraps around on all four sides, so a beam can leave one edge and come back on the other.
- Standing in a beam gives you its power:
- Yellow: break boulders, rocks and moving robots.
- Cyan: push things. Without it you cannot push at all.
- Red: open red energy doors.
- Green: walk through walls.
- Orange: jump two tiles in any direction. You cannot jump onto a wall.
- Purple (West 2): step along the beam and you travel to its far end. If the end is a wall, you stop and cannot go further that way.
- Beams stack. Stand in two at once and you get both powers. Orange also extends what you can reach, so orange plus yellow breaks things two tiles away. Two orange beams together let you jump four tiles.
- Always leave a way out. Many gems are easy to walk in to and hard to leave. Light the beam you need for the exit first.
- Relics. In the West 1 depths you find a wand that moves the thing in front of you one tile forward. In the West 2 depths you find a necklace that turns a beam to face the way you are facing. Both are explained where you find them.
West 1
Puzzle 1
Starts at 0:54.
Key idea: the yellow beam breaks things.
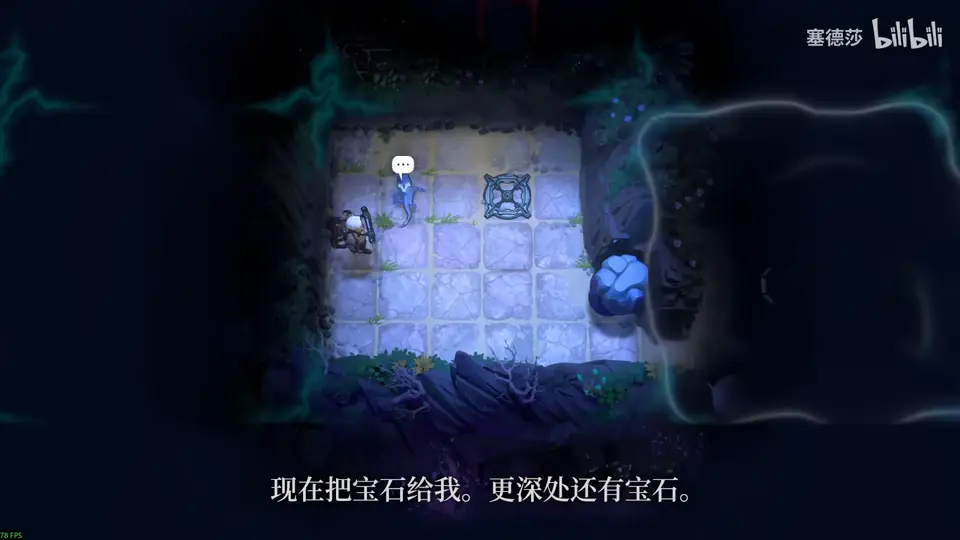
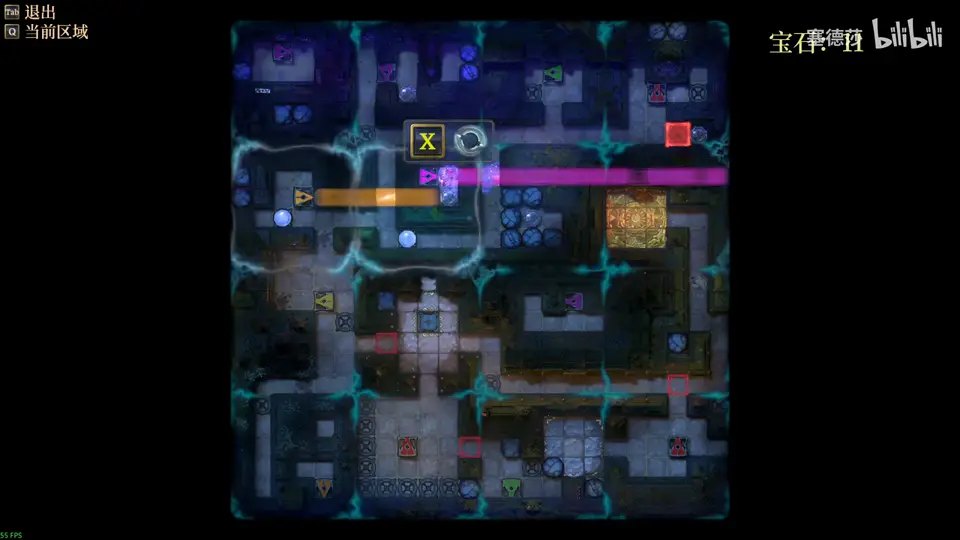
- Pick up the first gem and put it in the socket nearby. The yellow beam in that block lights up. (0:54)
- Stand in the yellow beam and walk into the boulders to break them. Robots can be broken the same way. (1:07)
- Take the map, then take the gem back out of the socket. (1:23)
Puzzle 2
Starts at 1:45.
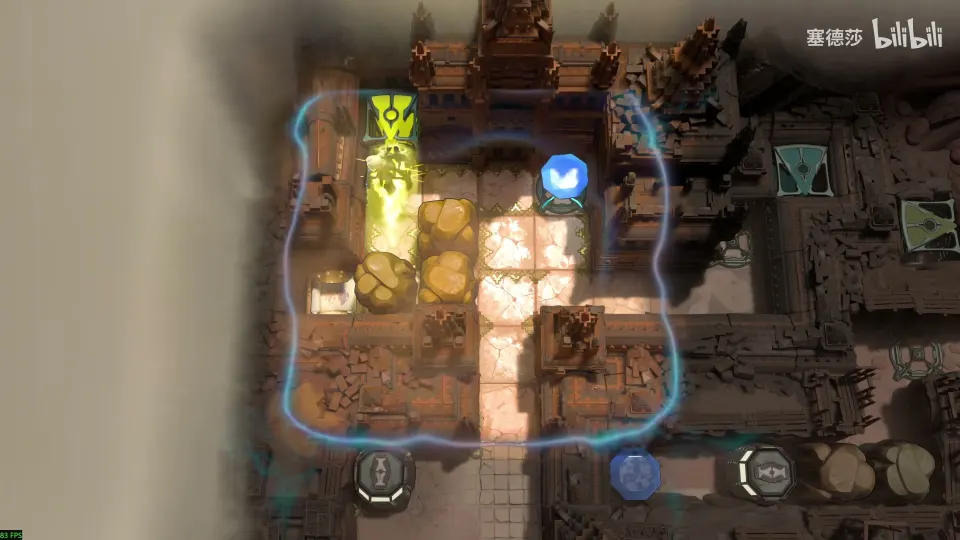
Key idea: the cyan beam lets you push.
- Go to the lower-left block and light the cyan beam. (1:45)
- Stand in it and push the boulder aside. Take the second gem. (1:59)
Puzzle 3
Starts at 2:13.
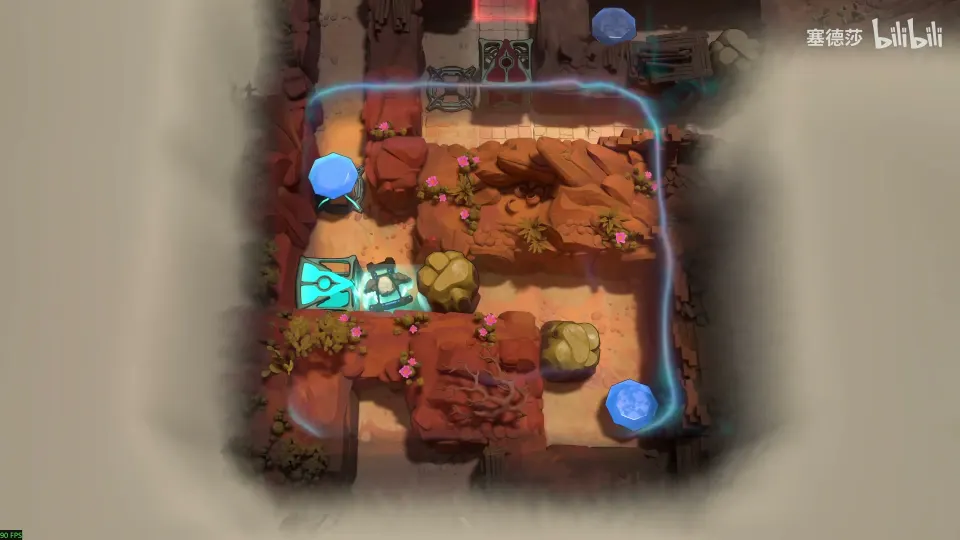
Key idea: red opens doors, green walks through walls.
- Light the red beam to open the red energy door. Once it is open, take the gem back. (2:13)
- Light the green beam and keep it on. Stand in it to walk through the wall to the right. (2:33)
- Come down, break all the boulders there and pick up the gem. (2:48)
Puzzle 4
Starts at 3:01.
Key idea: green lets you slip past a robot.
- With green, walk into the walled room, get past the robot and take the gem below. (3:01)
Puzzle 5
Starts at 3:18.
Key idea: set up the exit before you take the gem.
- Go left, light the red beam and open the door. Then go right, walking through the wall. (3:18)
- You could take the gem now, but you would be trapped. Put a gem in the socket here instead, and use the cyan beam to push the boulder up. That is your way out. (3:23)
- Take the gem, push the boulder right, and take the gem behind it. (3:45)
Puzzle 6
Starts at 3:57.
Key idea: the map wraps around.
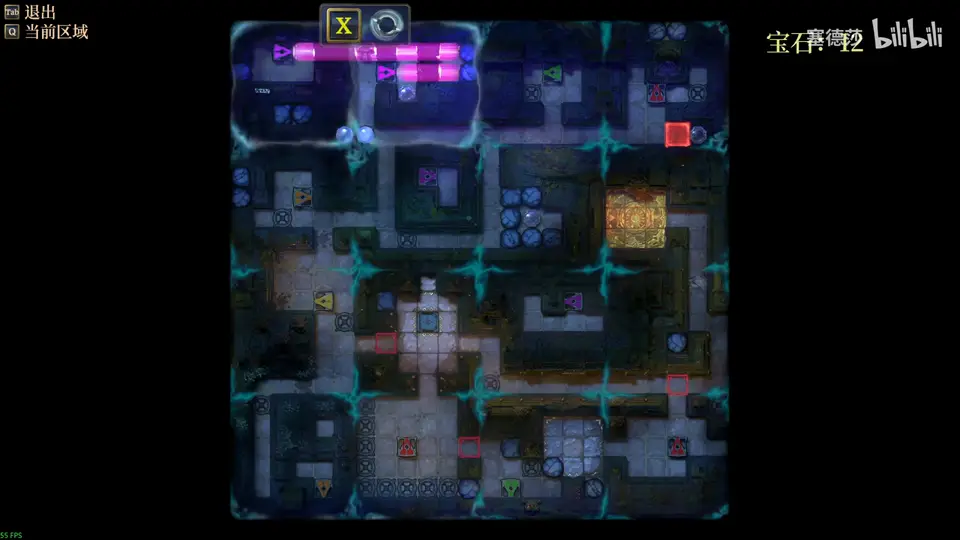
- Note that the green beam fired to the right comes back in from the left edge. This is why beams sometimes hit you from behind. (3:57)
- Light the yellow beam here, break all the boulders and take the gem. (4:16)
Puzzle 7
Starts at 4:27.
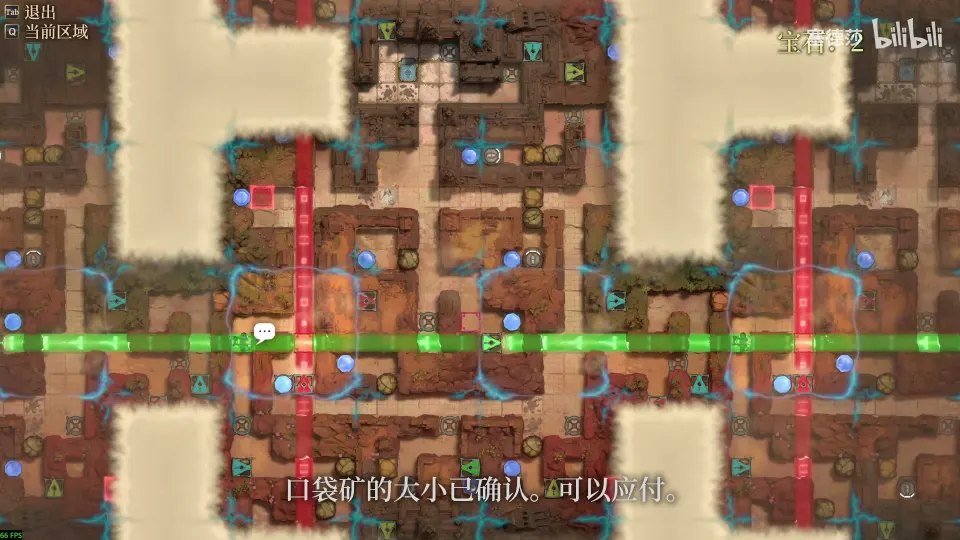
Key idea: orange jumps two tiles and extends your reach.
- Light the orange beam. In it you can jump two tiles in any direction. Jump down to grab the gem. (4:27)
- Stand where orange and yellow overlap. Yellow now reaches farther, so you can break the three things above and take the gem behind them. (5:01)
Puzzle 8
Starts at 5:22.
Key idea: red plus orange opens a door from a distance.
- Go left while standing in both red and orange, and the door opens. (5:22)
- You still cannot take the gem directly. Switch that beam off first, then take it. Red has no more use, so turn it off. (5:31)
Puzzle 9
Starts at 5:43.
Key idea: walk in on one beam, leave on yellow.
- Light the next emitter so its beam shines into the room. Light the yellow beam as well; that is how you get out. (5:43)
- Do the same with the green beam below: go through the wall, then light yellow to break the shell and get out. (5:52)
Puzzle 10
Starts at 6:03.
Puzzle 11
Starts at 6:23.
Key idea: green and yellow together.
- Use orange to get to the right, and light the two emitters there. The green and yellow beams now overlap. (6:23)
- Stand in both. Walk through the wall and break the robot to get the gem. (6:32)
- That is everything you can reach on the surface for now. Take all the gems back out of the sockets. You should be carrying 12. (6:42)
Puzzle 12
Starts at 6:52.
Key idea: the 12-socket array, then the wand.
- Take the lift down to the depths. (6:52)
- Put all 12 gems in the 12 sockets at the top left. The door opens. (7:04)
- Red has no more use in this room, so take the gems back. Put one gem in the socket here to light orange, then jump down and pick up the relic. (7:04)
- The relic is a wand. Use it while facing something and that thing moves one tile forward. (7:28)
Puzzle 13
Starts at 7:43.
Key idea: the wand teleports things, even through walls.
- The wand does not push; it teleports. If there is a wall in front of a boulder and an empty tile behind the wall, the boulder lands on the empty tile. Use this to send the boulder down past the wall. (7:43)
- You cannot turn on the spot. To face right, step left first and then right. (8:28)
- Keep moving the boulder right. The wand moves a whole row at once, so the gem in front of the boulder slides along too. Take it. (8:55)
Puzzle 14
Starts at 9:40.
Key idea: if you cannot turn, bring a cyan beam.
- There is no room here to turn and face the boulder. Push the cyan emitter into place and put a gem in its socket. (9:40)
- Now you can push the boulder away, then keep moving it with the wand. Take the gem. The orb in here is a story item; take it too. (9:53)
Puzzle 15
Starts at 10:04.
Key idea: use the wand to put a gem in a socket.
- This block needs gems in two sockets. For the upper one, stand where you can face the gem and use the wand to push it onto the socket. The green beam lights up. (10:04)
- Before you go up through the wall, go left and push the boulder out. That clears your way back. Then take the gem. (10:18)
Puzzle 16
Starts at 10:29.
Key idea: make a gap in the robots’ line.
- Light the yellow beam. Use the wand to move the boulder up into it, and break the obstacle with yellow. (10:40)
- On the left, three robots block the yellow beam and their timing is awkward. Push the boulder over to open a gap in the beam. (10:51)
- Use the wand to move a robot into the gap, then take the gem. (11:04)
Puzzle 17
Starts at 11:11.
Key idea: bring the first red emitter over.
- The top-right gem needs red. The only red emitter in the depths is the one from the very start. Push it into position here. (11:11)
- Move the boulder out of the way and take the last gem in the depths. Pick up the one you skipped, too. You should have 17. (11:22)
Puzzle 18
Starts at 11:42.
Key idea: back on the surface, the wand opens the last three gems.
- In the top-left block, push the boulder away. Then use a robot to push the gem out. (11:42)
- Put a gem in the bottom-left socket. You need it in Puzzle 20. (11:52)
Puzzle 19
Starts at 12:03.
Key idea: push the green emitter itself, but keep the next block powered.
- Put a gem in the socket here, and another in the block to the right. (12:03)
- Walk from left to right in the green beam and push the green emitter into the right-hand block. Take the gem. (12:16)
- Why the second gem? If the right-hand block has no gem, the green emitter goes dark when it moves in. You lose the power to walk through walls and are stuck inside. (12:33)
Puzzle 20
Starts at 12:54.
Key idea: move the red emitter into a block that has power.
- A red emitter is in the way. Push it aside. (12:54)
- This block has no socket, so the red emitter cannot light here. Push it right into the next block. The gem you placed in Puzzle 18 lights it and the door opens. (12:59)
- Take the gem, then go left and take back the gem from the socket. (13:10)
Finish West 1
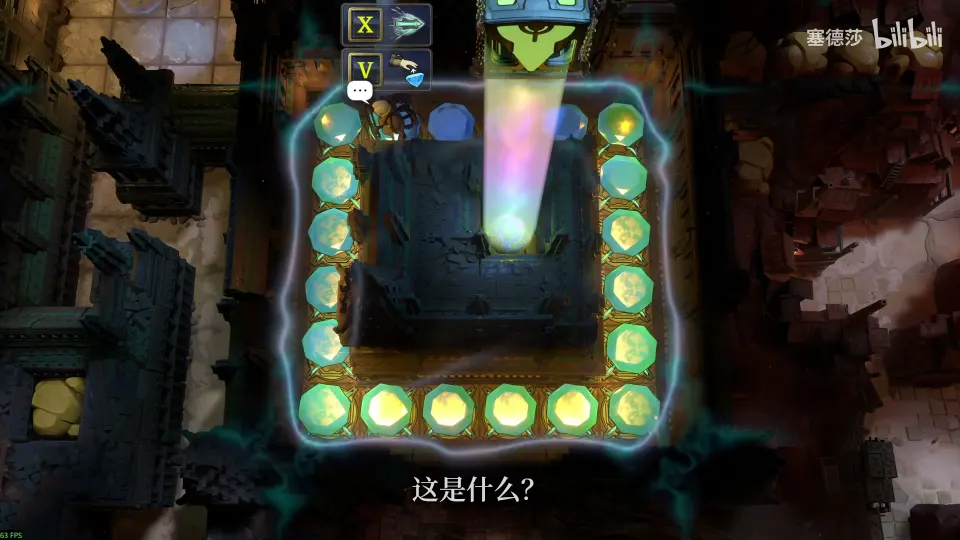
With all 20 gems, go back down to the depths. Place all 20 around the gold-framed room with the egg. A white beam lights up and the egg hatches. (13:21–13:51)
On the way to West 2, go left and push the boulder up, then cross over. (14:13–14:48)
West 2
The lizard that hatched wants to eat gems, so West 2 is another gem hunt: 22 gems by the end.
Puzzle 21
Starts at 14:48.
- Use the green beam at the start to go in, take the map, and take back the gem. That is your first gem. (14:59)
Puzzle 22
Starts at 15:06.
Key idea: the purple beam carries you to its end.
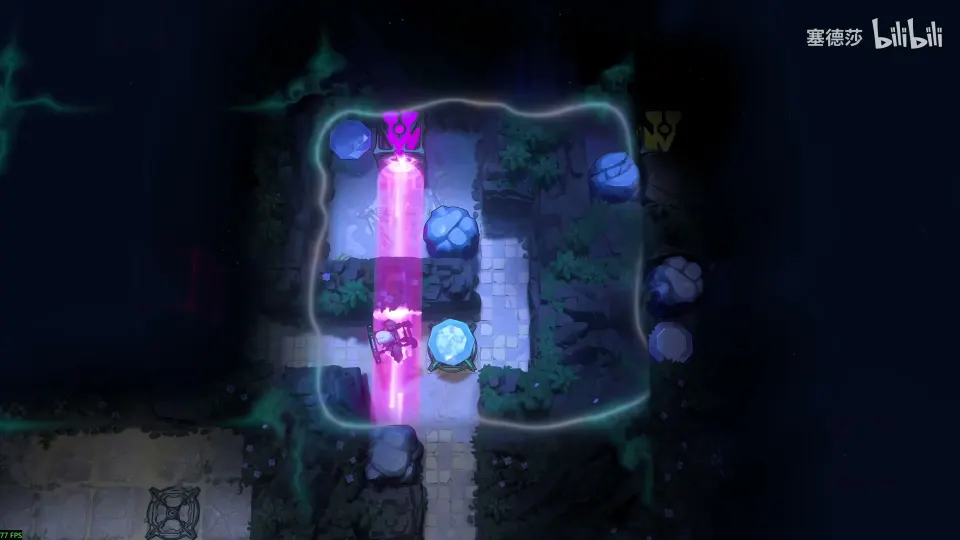
- In the purple beam, step along the beam’s direction (up or down here). You travel all the way to that end of the beam. If the end is blocked, you stop where you get stuck. (15:06–16:10)
- Light the two emitters here. Ride the purple beam down to its far end and take the gem. (16:21)
- The red beam then opens the door. (16:21)
Puzzle 23
Starts at 16:45.
- Use the gem from behind the red door to light the green beam. Walk through the wall, and red opens the door. Take the gem. (16:45)
- On the right, light the yellow beam. The green beam also reaches this spot, so standing in both you can break the boulder. Take the gem. (16:58–17:09)
Puzzle 24
Starts at 17:18.
Key idea: two orange beams stack.
- Two gems wait up here. For the first one, stand in two orange beams at once. You jump four tiles instead of two. (17:18)
- Take the gem. (18:00)
Puzzle 25
Starts at 18:00.
Key idea: keep red on so you can get back.
- For the gem above the red door on the right, first place a gem to light the red beam, or you cannot get back. Red still has a job; orange can be switched off for now. (18:00)
- Light the purple beam and ride it to the right. Red has opened the way there. (18:23)
- Without red you could not return: the purple beam’s left end is a wall, so you would get stuck. (18:34)
Puzzle 26
Starts at 18:53.
Key idea: four beams at once.
- The top-left gem needs four emitters on: a red one, the purple one at the bottom left, a yellow one, and another red one. (18:53–19:16)
- Go in from the starting point and take the gem. Red opens the door, and purple brings you back. (19:25)
- Take back the gems you used. That is everything on this level for now. (19:36)
Puzzle 27
Starts at 19:45.
Key idea: the necklace turns beams.
- Go down. Put gems in all nine sockets to open the door, then take back one and leave the rest in for now. (19:54)
- Light the green beam and pick up the second relic, a necklace. (20:05)
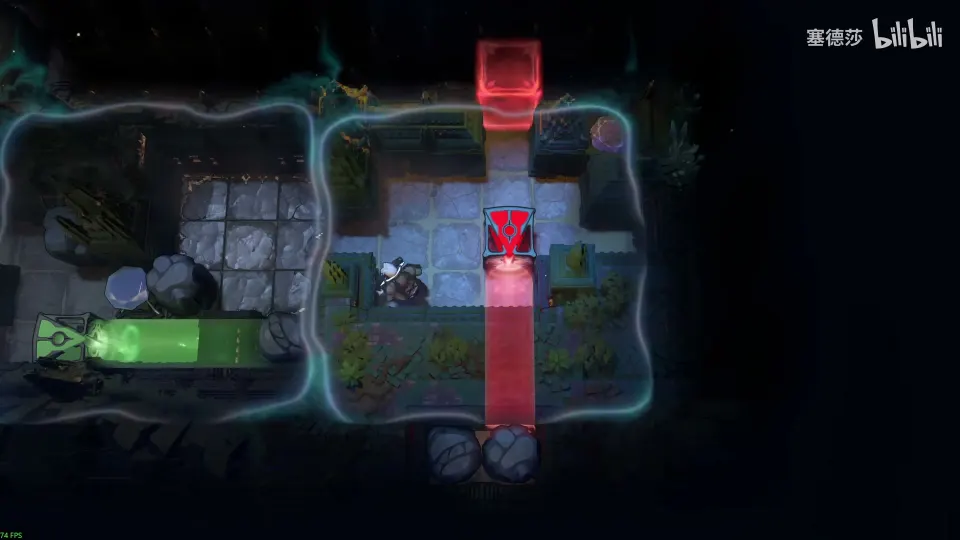
- Stand in a beam facing a direction and use the necklace. The emitter turns to fire that way. The red beam here points down. Face right and use it, and it fires right. (20:28)
- Turn it to face up the same way, and the door opens. (20:48)
Puzzle 28
Starts at 21:01.
Key idea: turn purple so its end is open.
- Light the purple beam. Its end is a wall, so you cannot ride it. Turn it to face down; now the end is open floor. Ride it there. (21:01)
- That end is a wall on the way back, so turn the beam left to get out. (21:23)
- Optional prep for Puzzle 33: turn the green beam here to face down. (21:23)
- Light the red beam and turn it up. This opens the path upward. Then take back all nine gems. (21:57)
Puzzle 29
Starts at 22:10.
- Light the yellow beam. Break the boulder below first. (22:10)
- Go up and break through to the upper half, then go left and break the boulder there. (22:10)
- On the right half, break the robot. Take the gem. (22:33)
Puzzle 30
Starts at 22:54.
Key idea: a second orange beam is your way out.
- The bottom-left gem needs an orange jump, but the beam points the wrong way. Turn it to face up. (22:54)
- If you jump in now, you cannot reach the gem: jumping two tiles left would land in a wall. And if you turn to reach it, you cannot get out.
- Light the other orange emitter, turn it right, then down. (23:10)
- Jump in, turn, step one tile left for the gem, and jump back out. (23:40)
Puzzle 31
Starts at 24:06.
Key idea: purple in, orange out.
- Turn the orange beam to fire right. Light the purple beam and turn it right too. (24:06)
- Ride purple to its end and take the gem. The orange beam reaches you there, so jump out. The purple beam’s right end is a wall, so without orange you would be stuck. (24:12)
Puzzle 32
Starts at 24:30.
Key idea: hop between two purple beams.
- Light both emitters in the top-left block. Turn the purple beam to fire right. (24:30)
- Ride the upper purple beam to its right end, step to the lower purple beam, and ride it to its right end. Take the gem. (24:36)
- To get out, turn the lower beam to fire left and ride it back. (24:42)
Puzzle 33
Starts at 24:54.
Key idea: turn the green beam in two steps.
- The top-right green beam has to face right, but from where you stand you can only turn it up. Turn it up. (24:54)
- Go the long way round and turn it right from the other side. Light the green beam when you need it. If you skipped step 3 of Puzzle 28, turn that green beam down now as well. (25:17–25:33)
- Go in and light the red beam. Do not turn red while you face left: you would turn the green beam too, and be stuck. (25:33)
- Step out first. Then go right, turn red to fire right, go down through the wall, and turn red to fire down. The door opens. (25:48)
- Take the gem, then take back the gem in the socket. (25:59)
Puzzle 34
Starts at 26:10.
Key idea: change your facing inside a wall.
- Now the green beam has to point down. Walk through the wall in green and turn it left. (26:10)
- This is why you turned the other green beam down earlier: the two cross inside the wall. At the crossing, step up and then down, so you face down while still inside the wall. (26:31)
- Use the necklace. The vertical beam already points down and stays put; the other one turns down. Take the gem. That clears the depths. (26:42)
Puzzle 35
Starts at 27:02.
Key idea: back on the surface, five gems left.
- Go up. Light the red beam and turn it right. This opens all the remaining paths. (27:02)
- Take back the gems you no longer need. Light the yellow beam and turn it right (you need it in a moment). Light the red beam at the bottom left. (27:11–27:25)
- Light the green beam and turn it right. (27:34)
- At the top right, turn the orange beam left. Jump into the spot among the boulders and take the gem. The yellow beam you aimed earlier breaks the boulder, so you can get out. (27:45–27:54)
Puzzle 36
Starts at 28:06.
Key idea: orange in, purple out.
- Right where you come out, turn the orange beam down. Light the purple beam here and turn it down too. (28:06)
- Jump in with orange, take the gem, and ride purple out. Orange is not needed again. (28:15)
Puzzle 37
Starts at 28:27.
Key idea: aim green right beside the gem.
- Turn the other purple beam to fire right. That is your exit for this gem. (28:27)
- Go down and light the two emitters there. (28:27–28:40)
- Fired down, the green beam passes just right of the top-right gem. Walk in through the wall, take it, and ride the purple beam out. (28:50)
Puzzle 38
Starts at 29:03.
Key idea: turn yellow from inside a wall, then ride purple to break the boulder.
- You will need the green beam pointing up, so turn it up now and go up. (29:03)
- The boulder on the left must go, but you are standing in a wall with no green, so you cannot break it from here. (29:14)
- Use green to go through the wall, face left, and turn the yellow beam left. (29:24–29:33)
- Get into the purple beam, turn to face right, and ride it to the end. With the yellow beam you just turned, you break the boulder there. (29:40)
- The green beam you turned up now reaches the gem. Take it. (29:53)
Puzzle 39
Starts at 30:05.
- Take back the gems you used. The green emitter turned at the very start was never turned back; it is not needed, so just take its gem back. (30:05–30:18)
- Walk through the wall with red on to open the last door, and take the gem. Collect every gem. (30:27)
Finish West 2
Bring all 22 gems back to the starting block and feed them to the lizard. Place one at a time and wait for it to finish eating before you place the next. After the last gem it grows into a big dragon and the sub-area is done. (30:36–31:15)
After this, new paths open to the left and down, leading on to the rest of the West. Those smaller levels are not part of West 1 and West 2.