Cart, Rod is a small West area of Order of the Sinking Star, played as the Explorer. It sits just north of the big West hub. It brings in two new things: the cart, a robot that rolls along a line, and the Rod, a tool that shoves things one tile forward. There are six puzzles. Five are on the North 1 West 2 map tile and one is on North 1 West 1. Puzzle numbers follow the order of the solution video, and every timestamp jumps to that moment.
The other small West area in the same video, south of the hub and built around a beam-turning necklace, is on the Torc page. Beam colours and gems are covered on the West gem reference.
Rules
- Gems power beams. A gem in a socket lights every emitter in its block (the area inside the glowing outline). Take the gem back and they go dark.
- Beam powers: purple carries you to the far end of the beam, orange makes every step two tiles long, green lets you walk through walls, cyan lets you push, yellow breaks stones and robots, and red opens red doors.
- A purple beam with no end is deadly. If nothing stops the beam, riding it sends you off the map and you vanish (shown at 12:33). Undo if it happens.
- The cart rolls back and forth along its line by itself, pushing what is in front of it. While it sits in a beam, the beam stops there. Being pushed by it does not change which way you face.
- The Rod shoves the object in front of you one tile in the direction you face, even into or through a wall.
- You cannot turn on the spot. You face the way you last moved. Each solution below says how to end up facing the right way.
Before you start
On the North 1 West 1 tile, push the gem on the right into place to light a purple beam. You will ride it down to Puzzle 6 later. (0:25)
North 1 West 2
Puzzle 1
Starts at 0:36. A dark level with several rooms that teaches the cart.
Key idea: the cart blocks a beam for a moment. While it does, the beam ends at the cart.
- First room: wait until the cart rolls into the purple beam and blocks it, then run across. If you step in while the beam is clear, it carries you to its end. (0:40)
- Next room: use the same trick on the gem to the right. At the moment the cart blocks the beam, the cart becomes the new end of the beam, so you can ride over and take the gem. (1:00)
- Light the cyan beam here. Then push the cart over first, and after it the purple emitter. Go take the gem and come back. (1:11)
- To reach the bottom-right, the beam has to run along the bottom row. Push the cart to the right at the right moment and it pushes the emitter down into that row. Ride across. (1:41)
- Use the spare gem to light this block and clear all the stones. (1:51)
- The way out is up, and only your column has a gap in the top edge. Push the cart down. When it reaches the far right, push the green emitter down into your column. (2:11)
- The green emitter must not be pushed all the way to the left. Once it is in place, destroy the cart, then walk through. (2:33)
- The cart below now starts moving. Let it push the gem onto the socket. The beam it lights opens the door outside. (2:50)
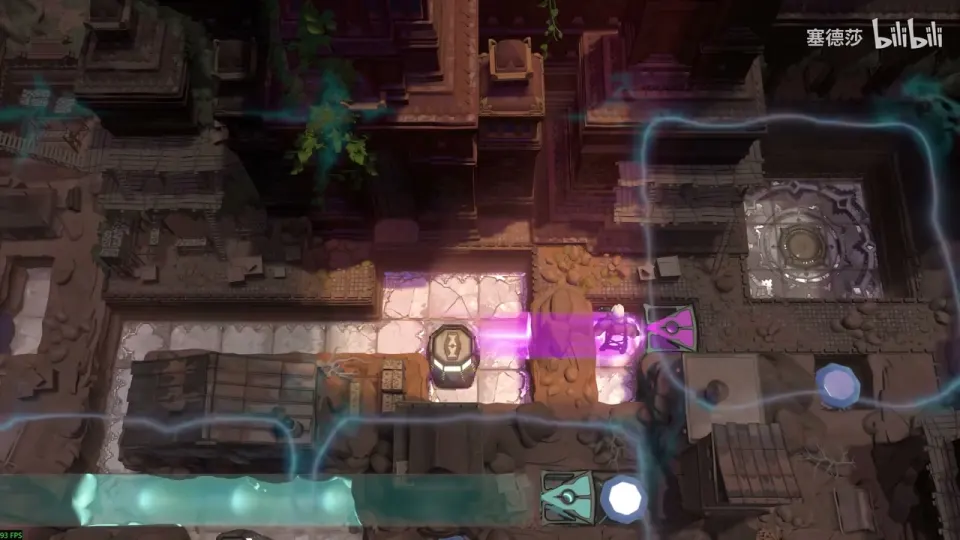
After the door opens, step into the shrine behind it. You come out holding the Rod. (3:01)
Puzzle 2
Starts at 3:15.
Key idea: being pushed by the cart keeps your facing. Face up, ride the cart, and use the Rod at the end.
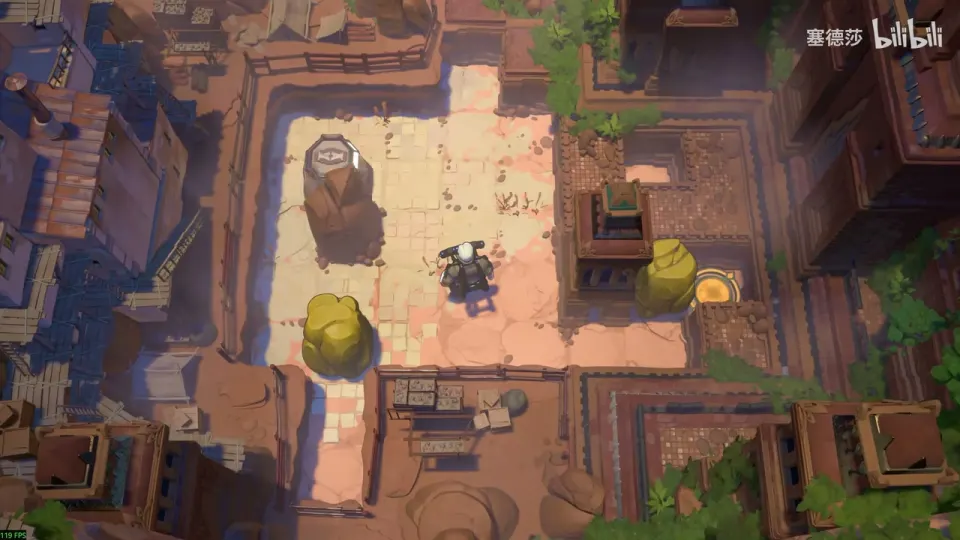
- The target stone can only be cleared with the Rod, shoved from below. This map does not wrap around. (3:20)
- You can’t face up where you need to, so you need the cart. Face up in that row and let the cart push you all the way right. Then use the Rod to shove the stone in. (4:09)
- To face up in that row, walk into the notch in the column below, then step up out of it. A stone sits in the way, so clear it first, with the cart’s help. (4:33)
- Bring the cart down, then push the stone down. Stand in the way with your body so the stone doesn’t block the path. (4:41)
- Push the cart back up first. If you don’t, the stone gets crushed the moment it is pushed. (4:54)
- Get that stone out of the row: stand there facing up, wait for the cart to push the stone to you, and shove it up with the Rod. There is plenty of time. (5:15)
- Face up in the row and let the cart push you right until the Rod sends the target stone in. (5:36)
Puzzle 3
Starts at 5:45.
Key idea: a spare stone stops the cart one row short.
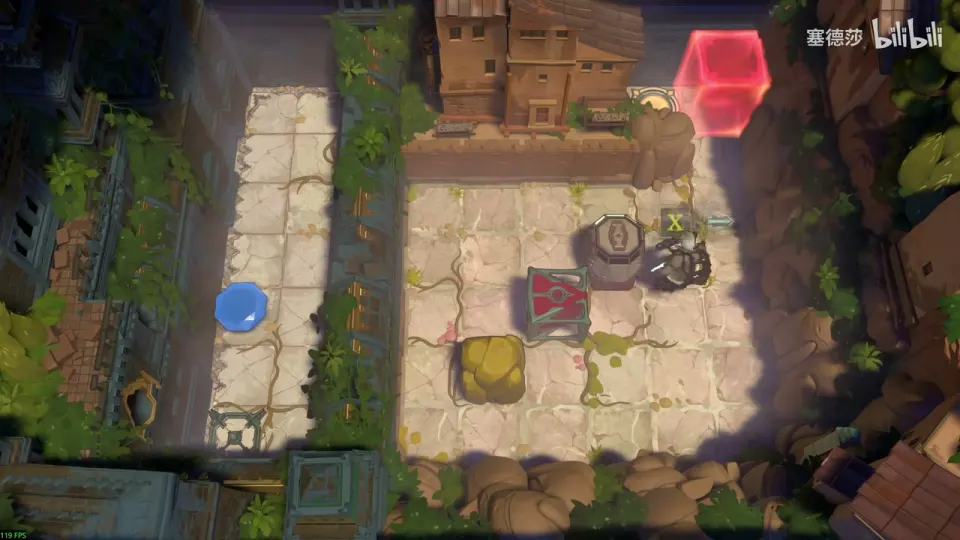
- You need two things. The gem goes onto the socket in the bottom-left to light the red emitter. And the red emitter must sit in the left-hand channel, second row from the top, so its beam crosses that row. (5:55)
- Only the cart can push the emitter there. Left alone, it pushes the emitter all the way to the top row. (6:25)
- To stop it a row early: while the cart is pushing a stone up, put the emitter in position, then shove the stone left with the Rod into the cart’s column. The cart then stops there. (6:41)
- You can’t turn on the spot to take the stone out of its corner, so get the cart to help. Push the cart over so it pushes the stone up, then push the emitter in. (7:12)
- When the emitter is in place, shove the stone over quickly, then wait. The cart finishes the job and the red beam lights up. (7:31)
Before Puzzle 4
Back outside, push the red emitter to the top with the cart’s help to open the upper door. (7:57)
- Shove the cart in by going left from here. You can also move left into it from inside. You can bring the stone along on the way. (8:08)
- Push the cart in from the very bottom, or it ends up going the wrong way. Out here you can turn on the spot, so just move left and wait. The narrator holds Alt to speed up the wait. (8:27)
Puzzle 4
Starts at 8:39. The hardest one here. Work backward from the goal.
Key idea: the orange emitter has to end up next to the exit on the left. Move it with the Rod, and use the cyan beam to push it the last bit.
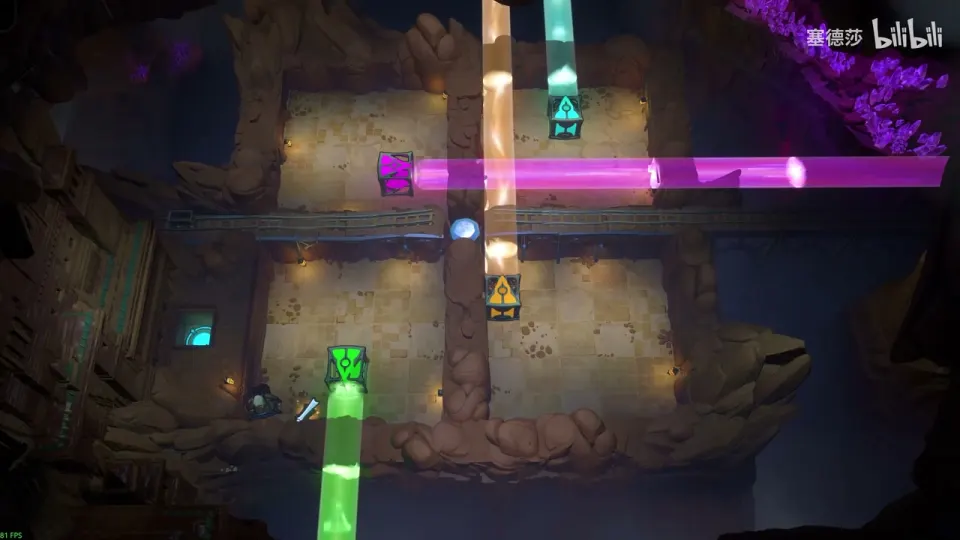
- The plan. The exit on the left is reached by bringing the orange emitter across. Shove it through the wall with the Rod. Once it is stuck against the edge, bring the cyan emitter down next to it. In the cyan beam you can push the orange emitter one more tile, then push it left, then keep shoving it left with the Rod. (9:12)
- To reach the top right at the start, the purple beam needs an end, so something has to block it. Move the purple emitter up into the spot where its beam gets blocked. Then you can ride it to the top right. (12:06)
- You can’t face up there, so push from below. Stand in the green beam, step into the wall and back out, and you are facing up. Then shove the green emitter up the fourth column with the Rod until the purple emitter is in place. (12:12)
- Before you leave, put the green emitter at the top right. The orange emitter will be gone later, so green wall-walking is your way there and back. (12:56)
- Walk through the wall and back, then go to the top right. Shove the orange emitter down two tiles and come back. Before you deal with the cyan emitter, shove one more thing left. (13:27, 13:37)
- Bring the cyan emitter down. It can’t go through walls by itself, so first shove it down with the Rod. Then, using green wall-walking and the cyan push power, push it all the way down, and shove it left. (13:45)
- Go back the way you came: shove the green emitter back, then ride the purple beam home. That finishes the puzzle. (14:14)
Puzzle 5
Starts at 14:40.
Key idea: three stones shoved into the gem’s room nudge the gem one tile right.
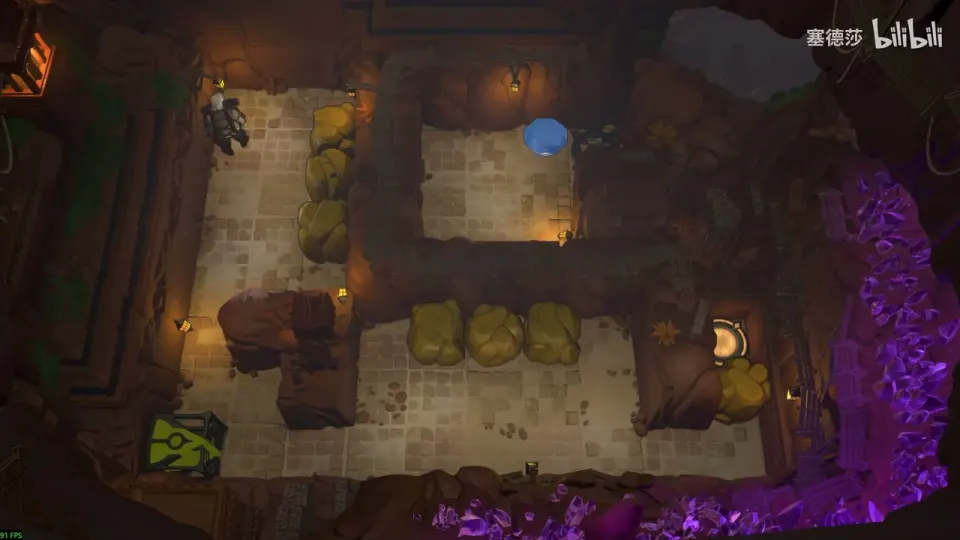
- The goal is to move the gem at the top right one tile to the right. That lights the yellow beam. (14:46)
- Two stones are easy: push one straight across, then walk up and shove another one over. (14:56)
- The third comes from the row of three stones at the bottom. Shove one across, then left, then up. (15:06)
- Shove it up once more and the gem moves. (15:26)
North 1 West 1
The top-right corner of this tile is a dead end. Go down through the purple beam you lit at the start. (15:48)
Puzzle 6
Starts at 16:00. Three rooms, all about turning the orange beam on and off at the right moment.
Key idea: in an orange beam every step is two tiles. Jump with it, then switch it off so you can take a single step.
- Room 1. Take the gem first. Light the orange beam and jump across. You then need a one-tile step to the right, which you can’t do in orange light. (16:05)
- Use the spare cart on the left to switch the beam off by pushing the gem off its socket. Push the cart into that row, jump across quickly, and wait for the beam to go out. Then walk down. (16:26)
- Room 2. Place the gem to light the beam. Same plan, but this gem is against a wall and can’t be pushed off. (16:46)
- Push the orange emitter out of the gem’s block instead and it stops firing. Push the cart all the way up, cross quickly, and wait for the emitter to be pushed out. Then take one step left and go down. (17:18)
- Room 3. Take the gem. This time it’s the other way round. Take a normal step first, then the orange beam has to come on for one jump, then go off again so you can walk to the goal. (17:49)
- There are two sockets here. Let the cart push the gem onto a socket and then off again. Light this block, push the cart up, then take the gem back. (18:18)
- When the cart reaches the far right, put the gem down and go wait at the jump spot. The beam flashes on for a moment. Jump across, then go up. (18:41)
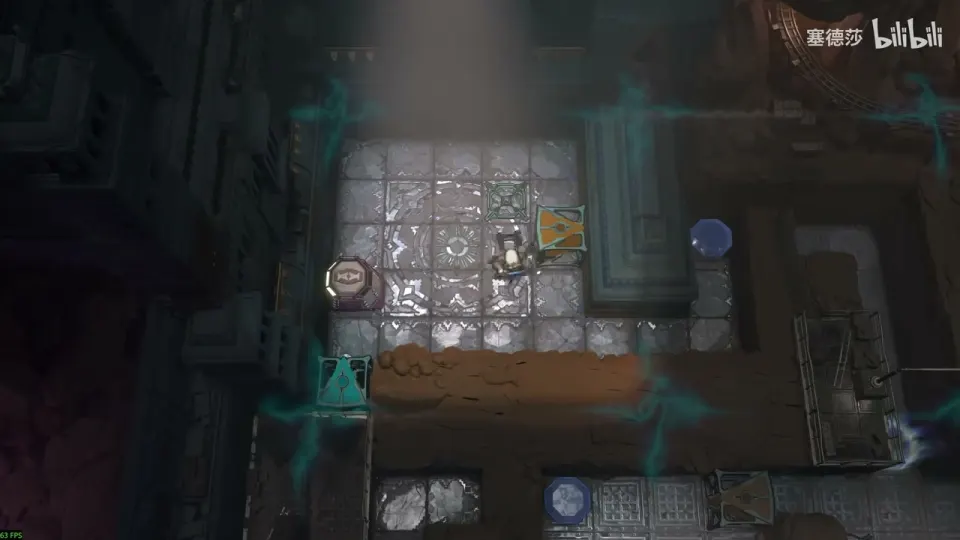
This opens the path down to the energy gate in the North. The gold block nearby needs things from later in the game. (19:03)