This page covers all 27 Mirror Isles (East) puzzles in the full release of Order of the Sinking Star. Each puzzle gets the key idea first, then the steps, with links that jump to that moment in the solution video. Puzzle numbers follow the video.
If you played the demo, most of this will look familiar. 23 of the 27 puzzles are demo levels. The four new puzzles are 17 to 20. Each section says which demo level it matches.
Quick rules: a mirror sends out two beams at a right angle. Stand on one beam and your ghost shows up on the other beam, the same distance from the mirror. Use the mirror and you swap places with it. Boulders, crystals and bushes swap the same way. Anything that drops into water sinks and becomes a tile you can walk on. If a beam is red, the landing tile is blocked.
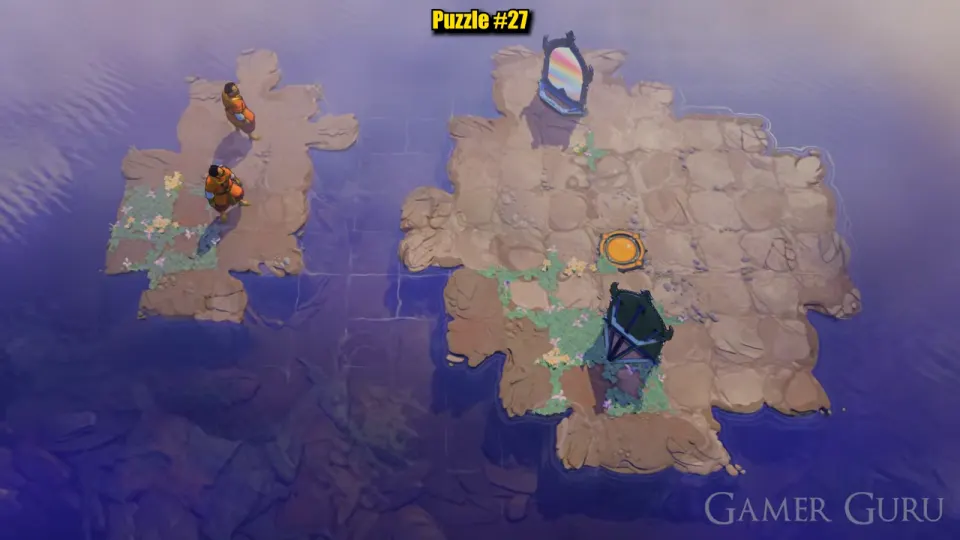
Puzzle 1
Same as demo level 1. Starts at 0:16.
Key idea: two hops with one mirror.
- Walk up into the mirror’s south beam. Your ghost appears on the small top-left islet. Swap. (0:22)
- From the islet, use the mirror again. This time the ghost lands at the bottom of the south beam on the big island. Swap. (0:26)
- Walk to the exit. (0:28)
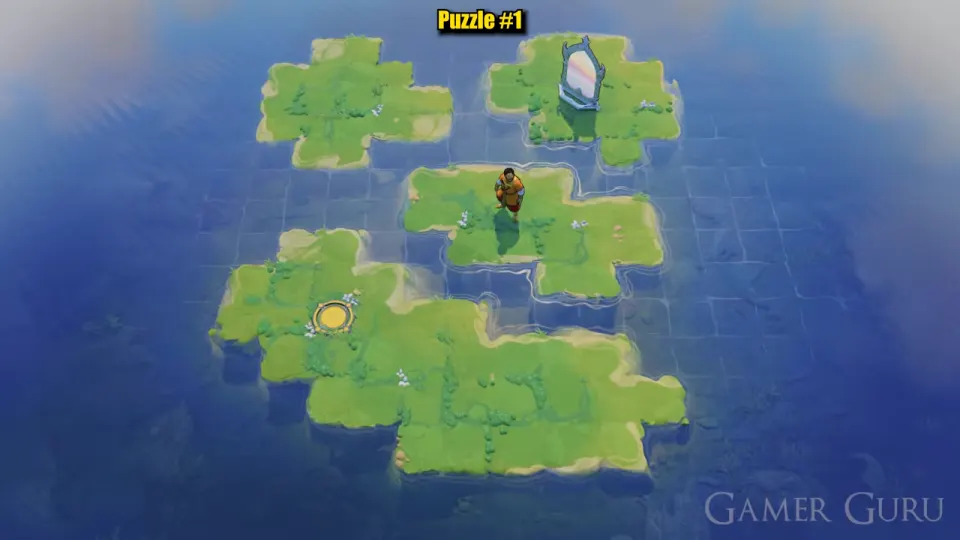
Puzzle 2
Same as demo level 2. Starts at 0:32.
Key idea: push a mirror to aim its beam.
- On the top islet, stand on the mirror’s side beam so your ghost appears just above the big left island. Swap down. (0:38)
- Push the big island’s mirror up until its side beam lines up with the goal island. (0:44)
- Walk down the other beam until your ghost reaches the goal island, then swap. (0:46)
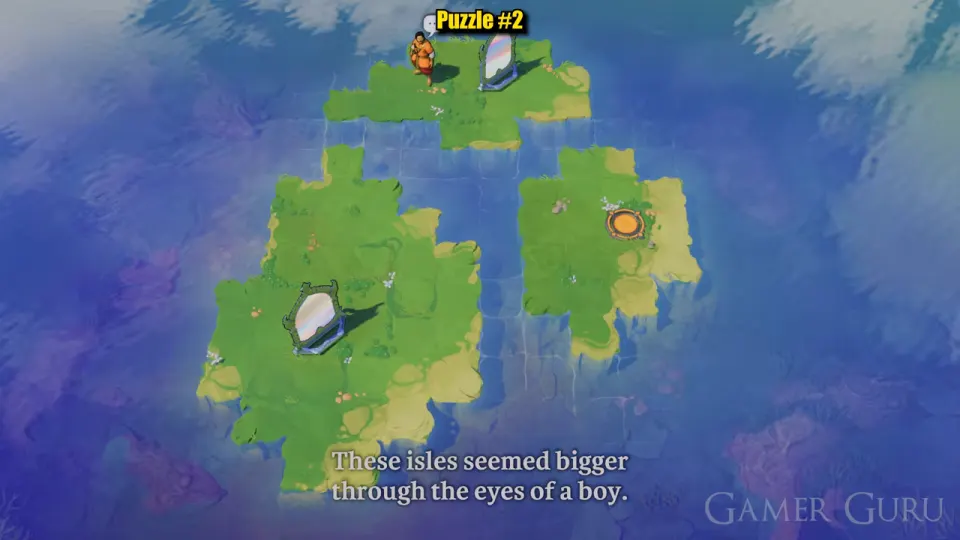
Puzzle 3
Same as demo level 3. Starts at 0:51.
Key idea: boulders pushed into the water become bridges.
- Push the bottom island’s boulder north into the gap. It sinks, and you can walk over it to the middle island. (0:58)
- Stand on the left mirror’s east beam and swap onto the long left strip. (1:02)
- Push the mirror up the strip, then use its beams to swap onto the top island. (1:06, 1:14)
- Push the top island’s boulders south into the water. Then push one across the middle island and into the gap between the middle island and the left strip. (1:22–1:36)
- Swap back to the strip. Push the mirror down and over that new bridge onto the middle island. (1:42)
- Stand below the mirror on the bottom island. When your ghost reaches the goal island, swap. (1:54)
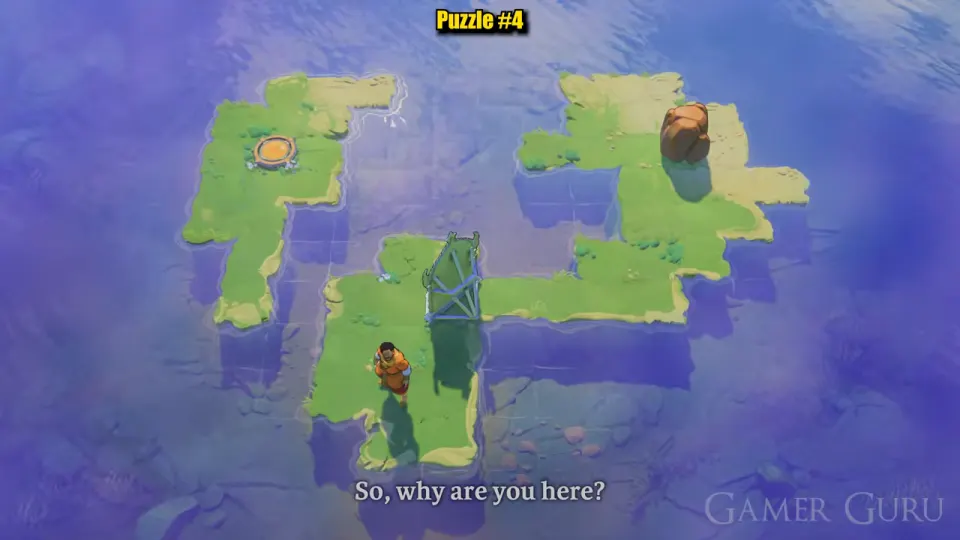
Puzzle 4
Same as demo level 4. Starts at 1:58.
Key idea: clear the boulder off the spot you need to stand on.
- Stand on the mirror’s west beam and swap onto the right island. (2:04)
- A boulder sits on the far end of the north beam. Push it into the water. (2:12)
- Stand where the boulder was. The ghost is now on the tip of the goal island. Swap. (2:18)
Puzzle 5
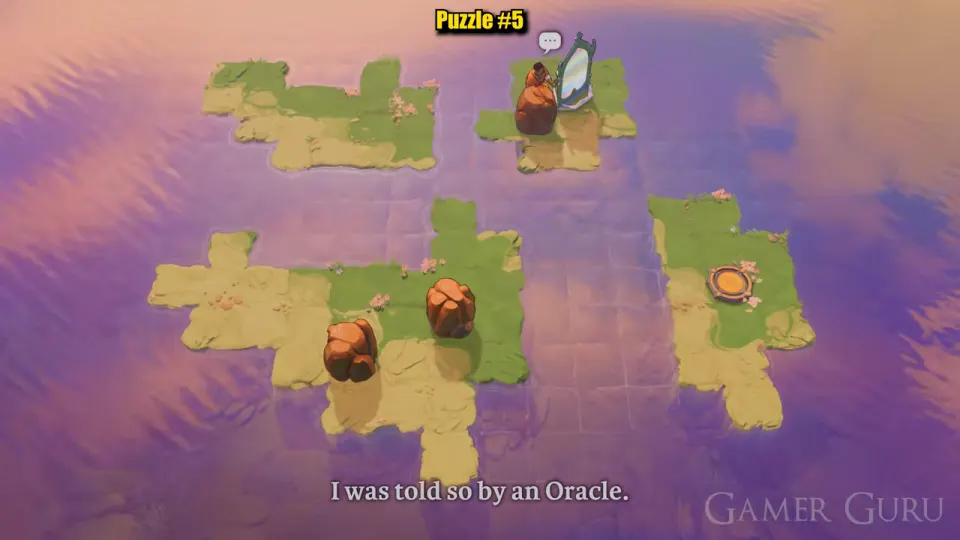
Same as demo level 5. Starts at 2:46.
Key idea: build a path for the mirror out of sunken boulders.
- Push the top-right boulder west into the water, then push the mirror across it onto the top-left island. (2:54)
- Use the mirror to swap down onto the big lower island. (3:04)
- Push both lower boulders north into the gap. You now have a column of sunken boulders between the top islands and the green strip. (3:08)
- Walk back up, push the mirror to the top of that column, then push it down the column onto the strip. (3:18)
- Walk down the south beam until the ghost on the side beam reaches the goal island. Swap. (3:30)
Puzzle 6
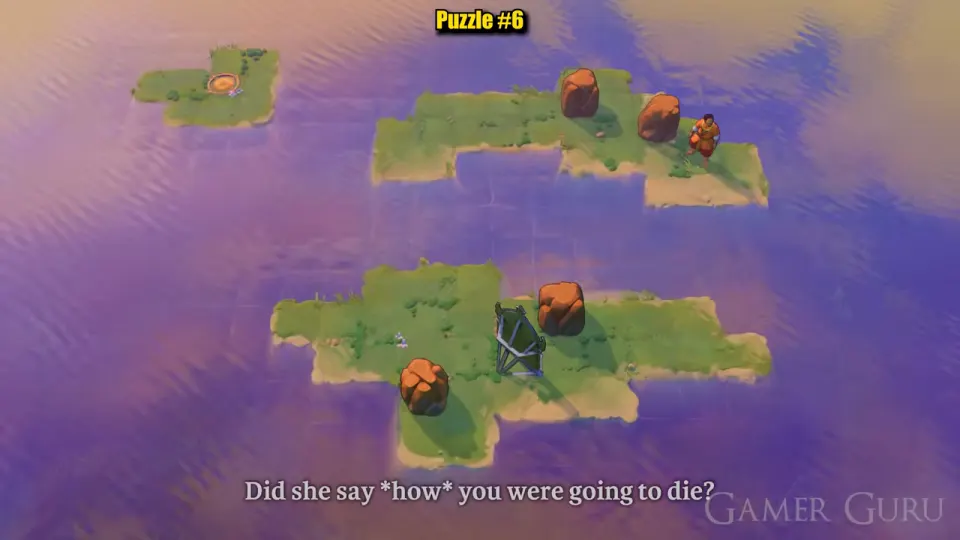
Same as demo level 6. Starts at 3:35.
Key idea: make a tile in line with the mirror, then extend the lower island.
- Push the upper island’s boulders off its south edge. One of them has to sink directly in line with the mirror’s north beam. (3:42)
- Stand on that sunken boulder. Your ghost appears at the east end of the lower island. Swap. (3:54)
- Push both lower-island boulders off the west end. They sink into a short causeway. (3:58)
- Push the mirror out to the end of the causeway. (4:10)
- Walk along the east beam until the ghost sits on the goal islet, then swap. (4:14)
Puzzle 7
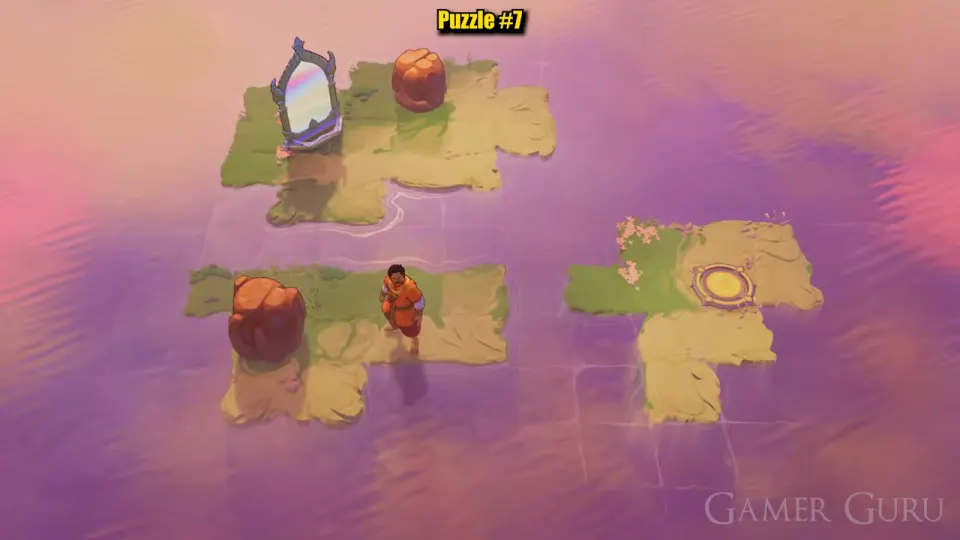
Same as demo level 7. Starts at 4:41.
Key idea: swap in behind a boulder so you can push it toward the goal.
- Push the lower island’s boulder north into the water. (4:47)
- Stand on the mirror’s south beam and swap onto the upper island. (4:51)
- Move the upper boulder west past the mirror. In the video it ends up on the west end of the lower island. (4:57–5:05)
- Line up on the east beam so your ghost sits just west of that boulder, then swap. (5:07)
- Push the boulder east into the gap. It sinks into a bridge to the goal. (5:11)
Puzzle 8
Same as demo level 8. Starts at 5:14.
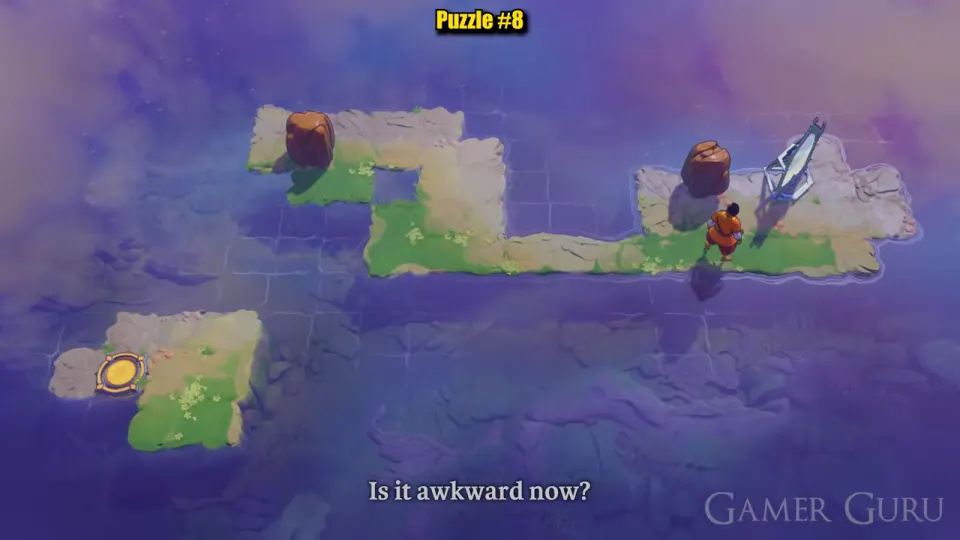
Key idea: clear the ridge, then push the mirror around the zigzag.
- Sink the boulder near the mirror at the right end. (5:18)
- Push the top-left boulder back along the ridge and off its south edge. (5:30)
- Push the mirror along the zigzag to the top-left corner. (5:44)
- Walk along the east beam until the ghost on the south beam lands on the goal island. Swap. (5:54)
Puzzle 9
Same as demo level 9. Starts at 6:28.
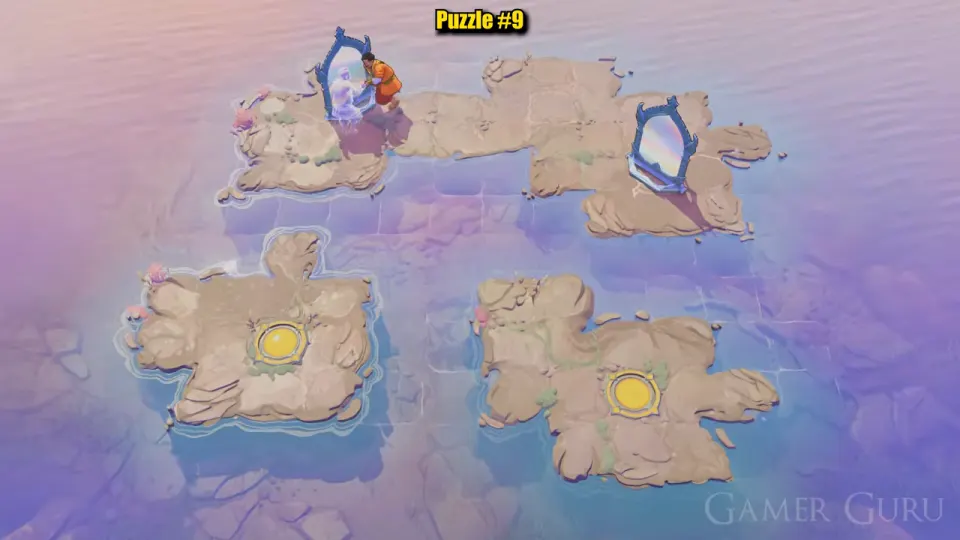
Key idea: stand between two facing mirrors to split into two Traders.
- Push the left mirror west along the top strip. (6:32)
- Stand between the mirrors and use one. You split, and one copy lands on the lower-left plate island. (6:36)
- Send the other copy down to the right island with the other mirror. Then walk both copies onto their plates. (6:46)
Puzzle 10
Same as demo level 10. Starts at 6:55.
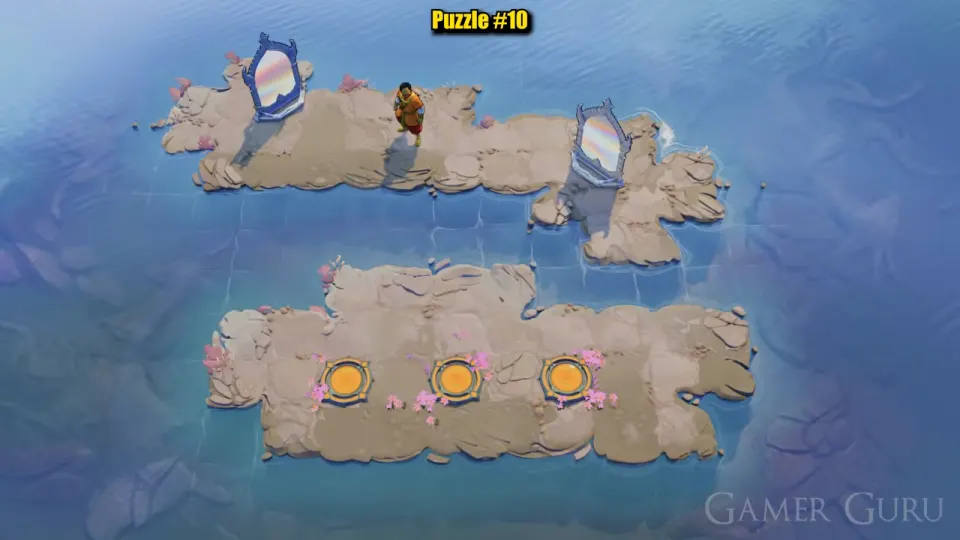
Key idea: three Traders, three plates, and they all move together.
- Use the mirrors at both ends of the top strip to send copies down to the plate island. (7:04)
- Keep splitting until you have three Traders. (7:16)
- They all move at the same time, so use the island edges to shift them into line, then step all three onto the plates. (7:22–7:32)
Puzzle 11
Same as demo level 13. Starts at 7:55 (the puzzle itself appears at about 8:06).
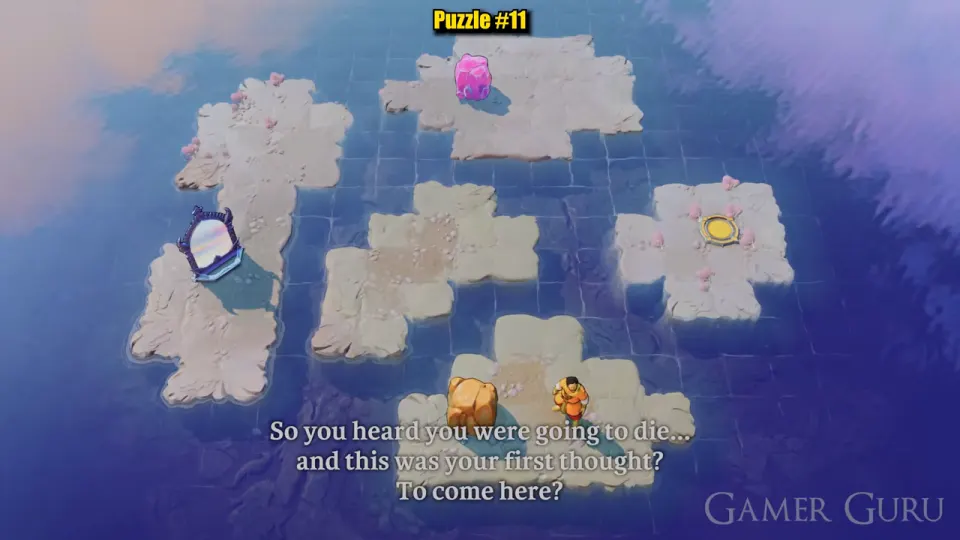
Key idea: use the mirror to move the crystal, then sink it as a bridge.
- Push the boulder north into the water, cross to the middle island, and swap onto the left strip. (8:10, 8:14)
- Swap up onto the crystal’s island. Push the crystal onto the mirror’s east beam, then reflect it onto the left strip. If the beam turns red, something is blocking the landing tile. (8:18–8:26)
- Follow the crystal back down. Push it east into the gap between the strip and the middle island. (8:28)
- Push the mirror down the strip and over the sunken crystal onto the middle island. (8:32)
- Stand below it on the bottom island and swap when the ghost reaches the goal. (8:42)
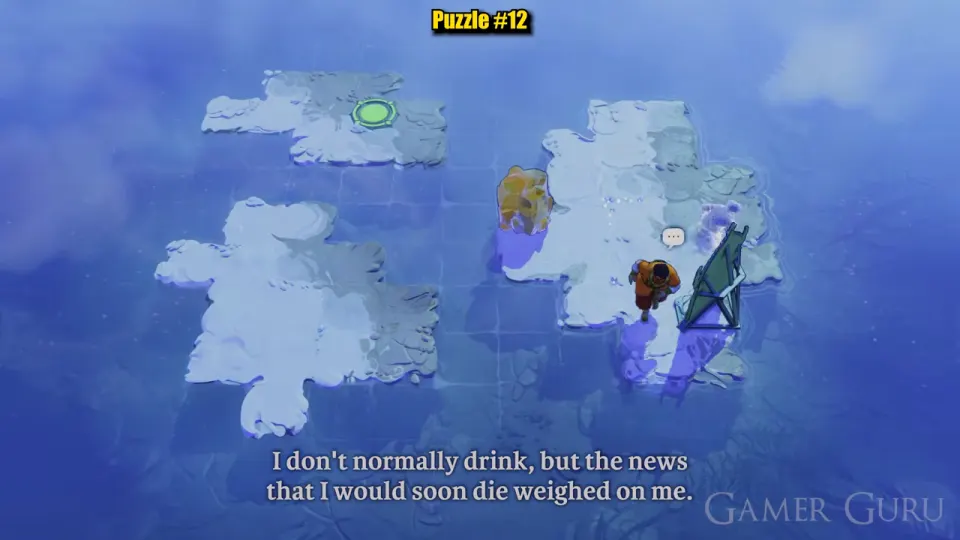
Puzzle 12
Same as demo level 14. Starts at 8:46.
Key idea: ferry the crystal across first, then use it as a bridge.
- Use the mirror to swap onto the right island. (8:48)
- Push the crystal onto the mirror’s north beam. (8:52)
- Reflect the crystal to the left island, then swap yourself across too. (9:02, 9:06)
- Push the crystal north into the water and walk over it to the green target. (9:10)
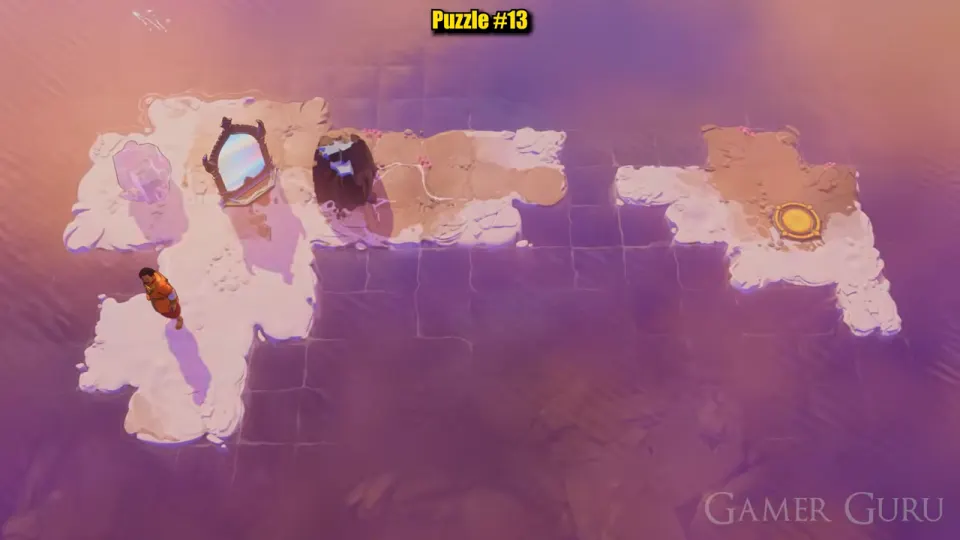
Puzzle 13
Same as demo level 15. Starts at 9:13.
Key idea: the dark pillar blocks the beam (red), so get the crystal past it first.
- At the start the east beam is red because the pillar is in the way. (9:21)
- Push the crystal onto the mirror’s south beam and reflect it to the far side of the pillar. (9:23–9:27)
- Swap yourself over the same way. Then push the mirror east past the pillar. (9:29, 9:31)
- Push the crystal into the gap and walk to the plate. (9:35)
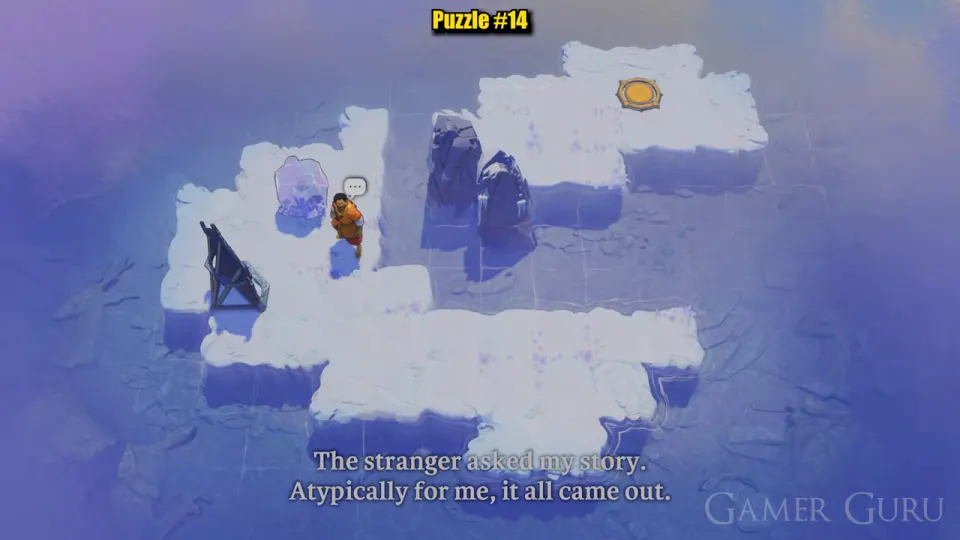
Puzzle 14
Same as demo level 18. Starts at 10:13.
Key idea: reflect the crystal past the dark pillars into the gap by the goal.
- Reflect the crystal from the upper-left area down to the long south row. (10:24)
- Push it east to the far end of that row. (10:32)
- Stand at the mirror and reflect again. The crystal drops into the water at the top, beside the pillars, and sinks. (10:36)
- Walk over it to the goal. (10:40)
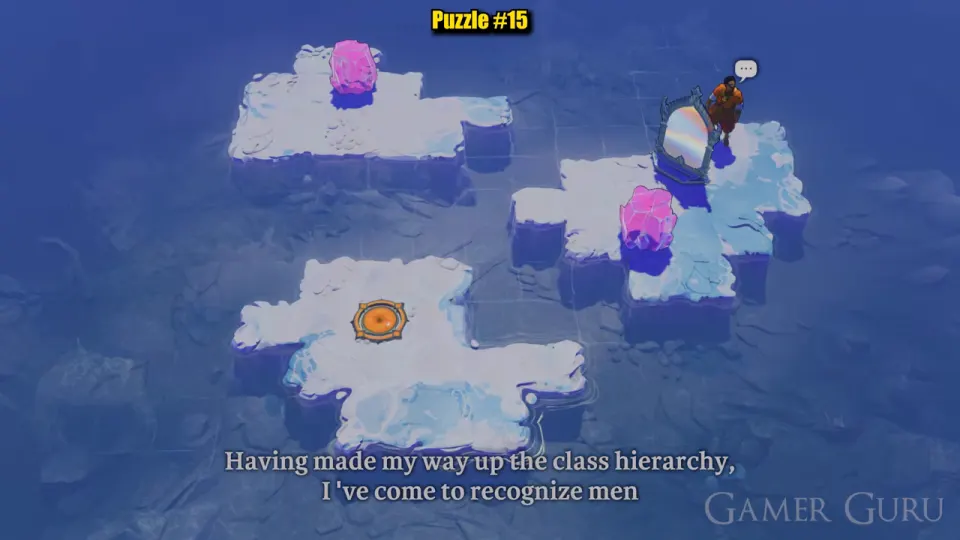
Puzzle 15
Same as demo level 17. Starts at 10:42.
Key idea: sink one crystal so the mirror can stand on it, and reflect the other into a landing step.
- Push the right island’s crystal into the water west of the mirror. (10:46)
- Push the mirror onto it, then swap to the upper-left island. (10:54)
- Push the second crystal to the island’s west end, in line with the mirror. Reflect it into the water beside the goal island. (10:58–11:06)
- Reflect yourself onto it and walk to the goal. (11:08)
Common mistakes
- Looking for a plate. There isn’t one; every object in this puzzle ends up in the water.
- Second crystal one tile short. If the ghost lands on land or in the wrong gap, push the crystal further west before reflecting.
- Standing on the beam when you reflect the crystal. Step off first, or you swap yourself instead.
Puzzle 16
Same as demo level 16. Starts at 11:10.
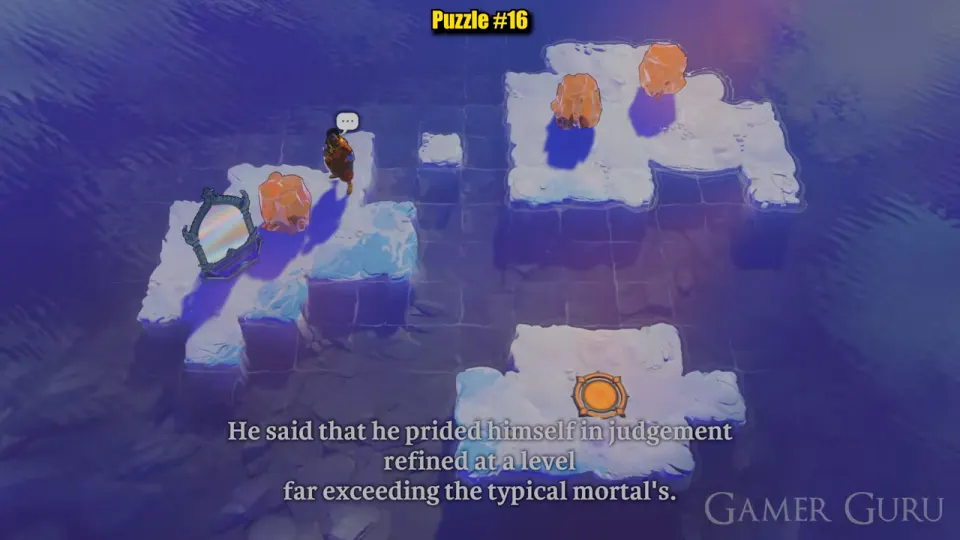
Key idea: pave the water row between the two upper islands, then push the mirror across.
- Push and reflect boulders into the water row between the left island and the upper-right island until the row is fully paved. (11:36–11:56)
- Push the mirror across the row onto the right island. (11:58)
- Walk along its east beam until the ghost on the south beam lands on the plate island. Swap. (12:04)
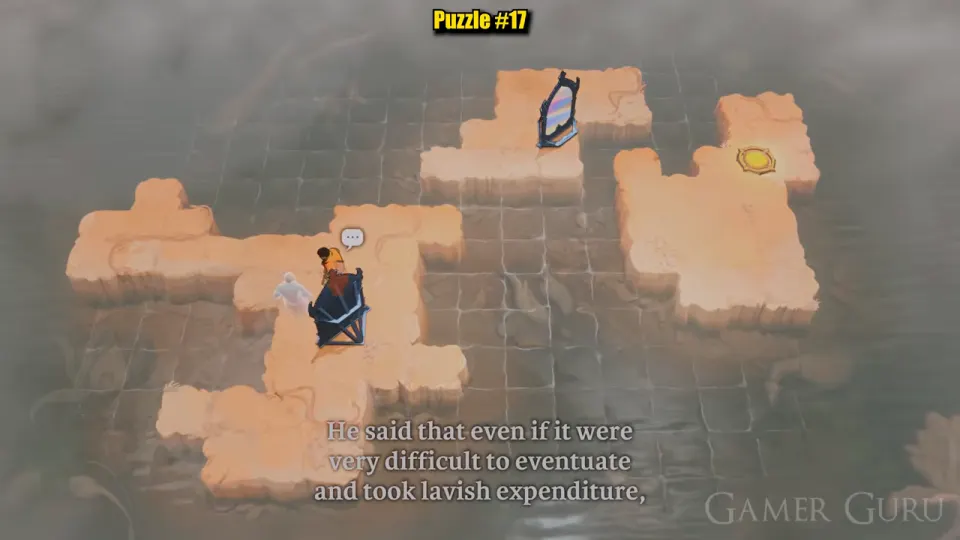
Puzzle 17 (new)
Not in the demo. Starts at 12:39.
Key idea: stack two mirrors so one swap bends through both of them to the goal island.
- Push the dark-framed mirror east to the edge of the big island. (12:44)
- Stand on its west beam and swap north onto the upper island. (12:54)
- Push the upper island’s mirror west and down until it stands directly above the first mirror. (13:00–13:06)
- Go back to the first mirror’s west beam and walk west. The beam now runs up into the second mirror and then east, so your ghost moves across the goal island. Swap when it is on the goal. (13:10–13:14)
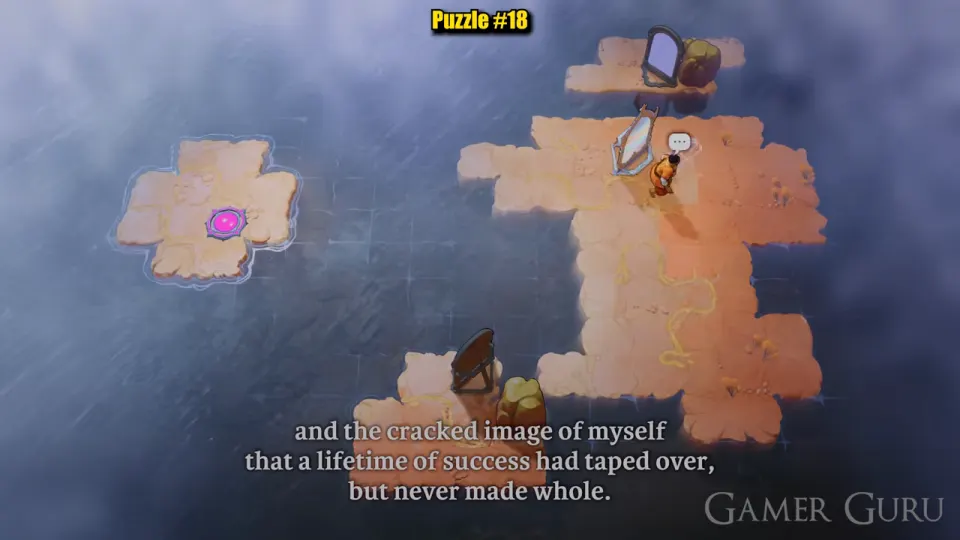
Puzzle 18 (new)
Not in the demo. Starts at 13:29. This one takes a lot of mirror shuffling, so watch the video alongside the steps.
Key idea: three mirrors. Collect them on the main island, then set one at the west edge in line with the pink goal islet.
- Use the first mirror at the island’s west edge to swap down to the lower-left island. (13:39)
- Push the lower-left mirror up onto the main island. Then bring the mirror on the small top islet down too. (13:45, 14:00)
- Rearrange the mirrors along the top-left of the main island. The video does this from 14:12 to 14:33.
- Stand on the lower-left island under the west-edge mirror. The beam goes north and then west to the goal islet. Swap. (14:36)
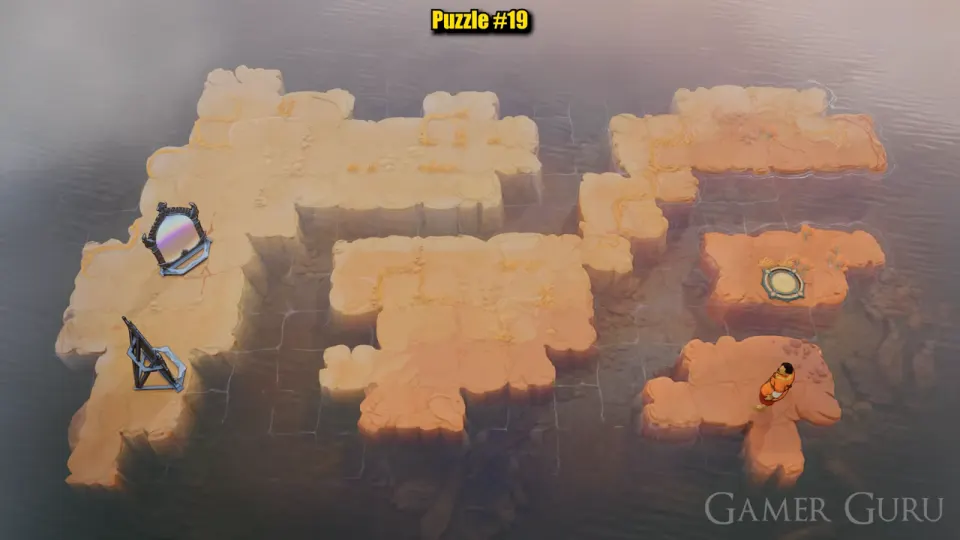
Puzzle 19 (new)
Not in the demo. Starts at 14:39.
Key idea: set the two west mirrors one above the other so a swap from the top strip comes out on the goal island’s row.
- Swap from the start island onto the middle island. (14:42)
- Push the upper mirror to the top-left corner, then adjust the lower mirror so the two face each other in one column. (14:46, 14:58)
- Walk east along the upper mirror’s beam on the top strip. The beam comes back out of the lower mirror heading east toward the goal island. Swap when the ghost is on the goal. (15:06–15:12)
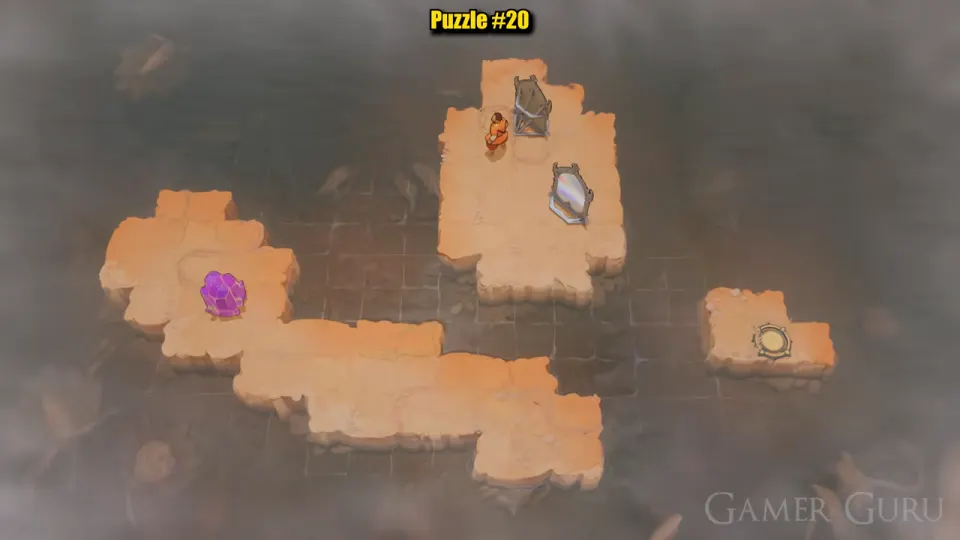
Puzzle 20 (new)
Not in the demo. Starts at 15:15. Several moves here are quick, so watch the video for the exact order.
Key idea: send the purple crystal through the mirrors so it sinks beside the goal islet, then follow it.
- On the top island, set the two mirrors side by side. (15:16–15:26)
- Swap down to the long lower strip and push the crystal into place. (15:28, 15:32)
- Adjust the mirrors again, then reflect the crystal. It ends up in the water next to the goal islet. (15:38–15:54)
- Swap yourself across and step onto the goal. (15:58)
Puzzle 21
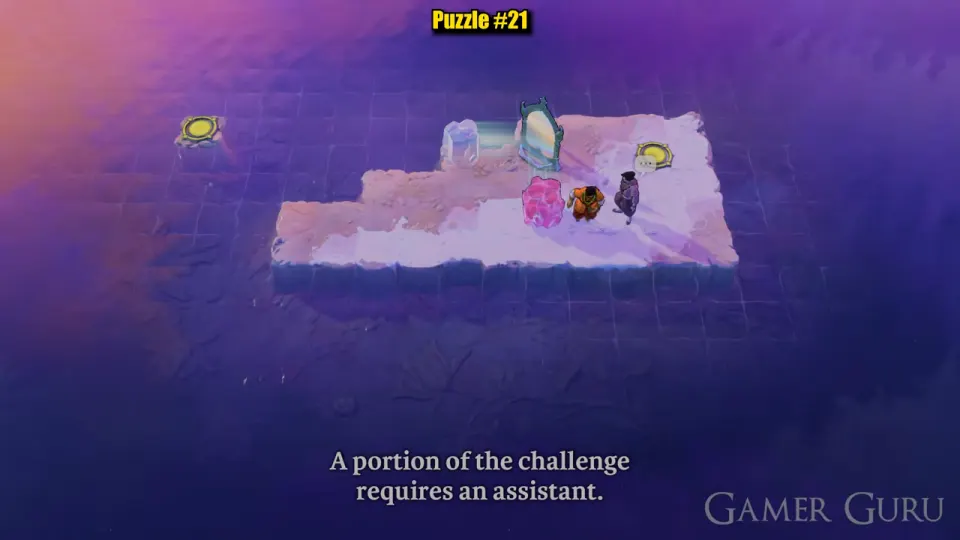
Same as demo level 22. Starts at 16:54.
Key idea: park one Trader out on the water, then move the mirror and swap that Trader onto the far exit.
- Push the crystal off the south beam so it sinks into the water. (17:08)
- Reflect one Trader onto the sunken crystal. (17:12)
- Push the mirror up next to the near exit. (17:16)
- Stand on the near exit and use the mirror. The parked Trader lands on the far exit. (17:18)
Puzzle 22
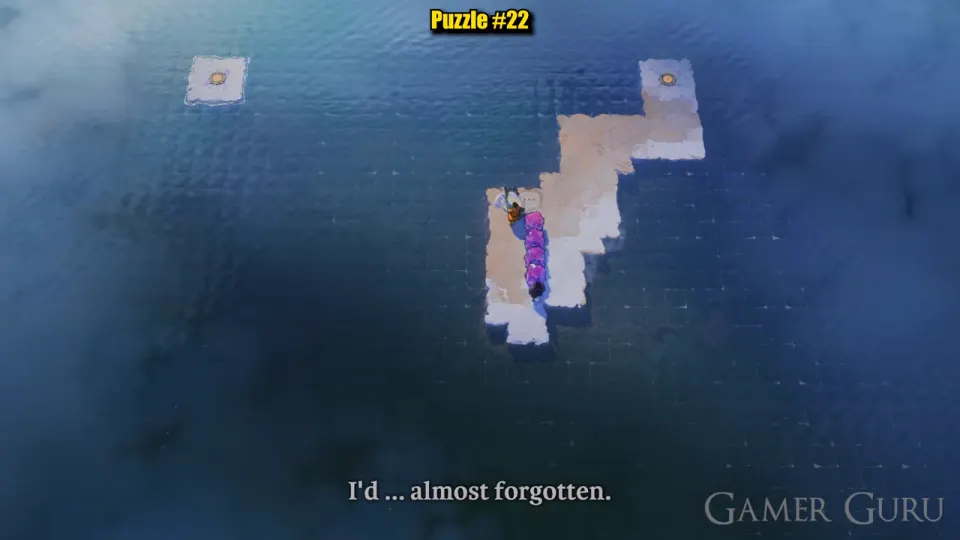
Same as demo level 23. Starts at 17:22. This is the longest puzzle in the video.
Key idea: sink the four crystals as stepping pads. Then move the mirror between spots to change how far each swap goes, and pass one Trader from pad to pad.
- Reflect the crystals one by one out into the water to the west and south, where they sink into pads. (17:30–18:16)
- One Trader stays on the main island and pushes the mirror. The other is swapped from pad to pad toward the far north-west islet. (18:18–19:20)
- The final swap puts one Trader on each exit. (19:22)
Common mistakes
- Sending the travelling Trader out too early. Sink all four pads first; the Trader only leaves the main island once every pad is in place.
- Standing on a beam when you reflect. Whoever pushes the mirror must step off both beams before using it, or they are swapped too.
- Sending the other Trader along as well. The mirror-pusher never leaves the main island; its exit is reachable on foot.
Puzzle 23
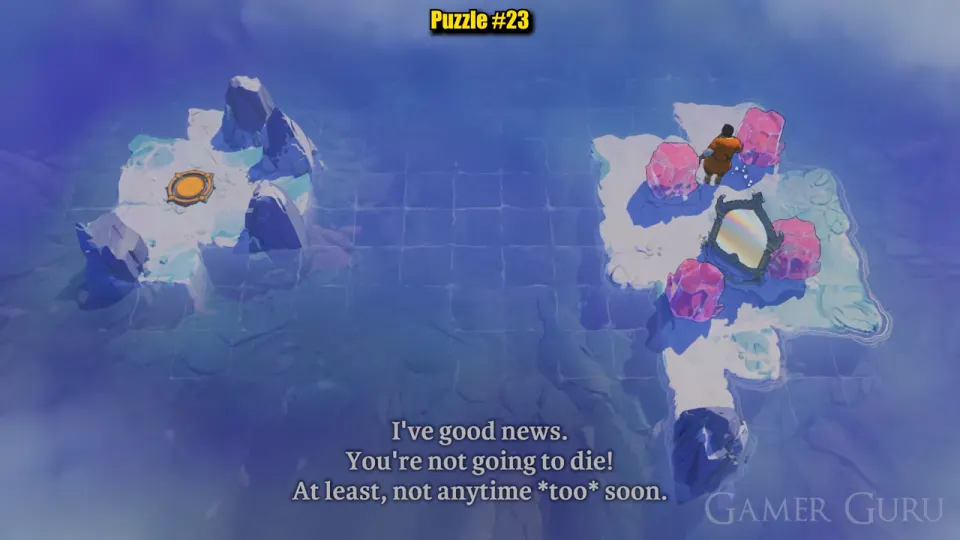
Same as demo level 20. Starts at 19:41.
Key idea: a crystal reflected from further down the south beam lands further out along the west beam.
- Push the crystals onto the mirror’s south beam one at a time and reflect them. Each one sinks in the water to the west, and together they build a row toward the goal island. (19:52–20:28)
- Walk across the row to the goal. (20:30)
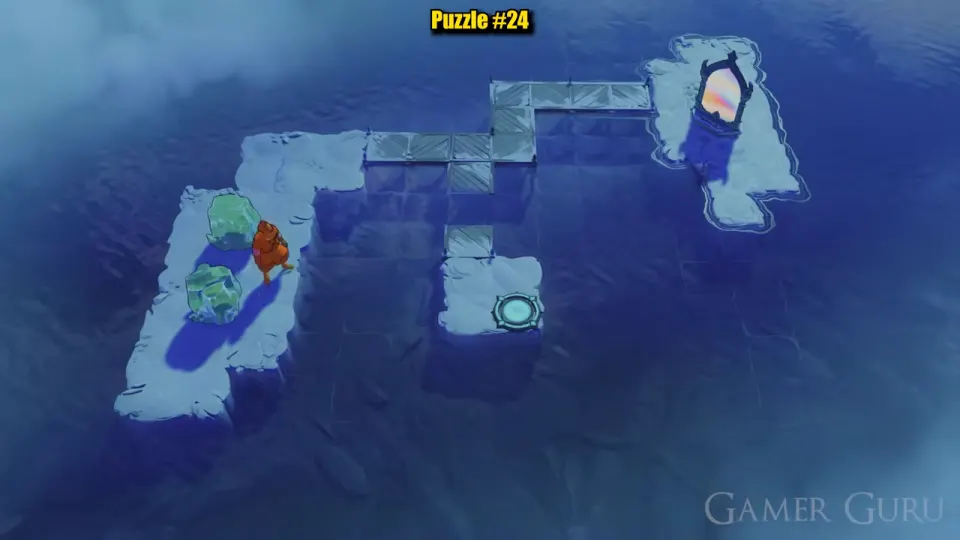
Puzzle 24
Same as demo level 21. Starts at 20:41.
Key idea: a bush floating in the water works as a stepping stone.
- Push a bush onto the mirror’s west beam and reflect it out into the water. (20:58)
- Do the same with the second bush. (21:08)
- Reflect again until a bush lands in the gap between the walkway and the exit island. (21:14)
- Walk across it to the exit. (21:20)
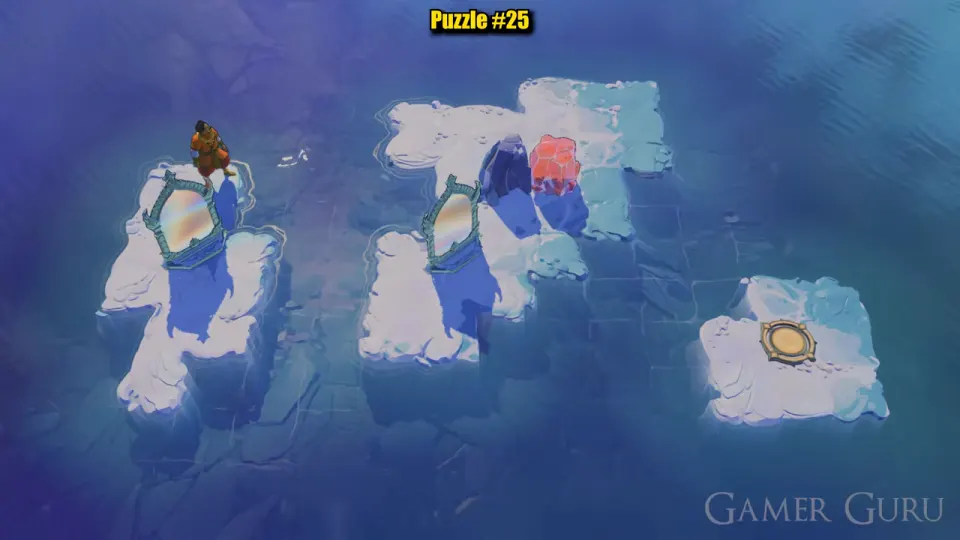
Puzzle 25
Same as demo level 19. Starts at 21:40.
Key idea: move the red crystals one by one and sink them into a bridge to the exit.
- Use the first mirror to swap onto the middle island. (21:46)
- Push the crystals into the channel toward the exit island. Use the mirrors to move crystals that are in the way. (21:56–22:30)
- After four crystals have sunk, the bridge is complete. Walk to the exit. (22:32)
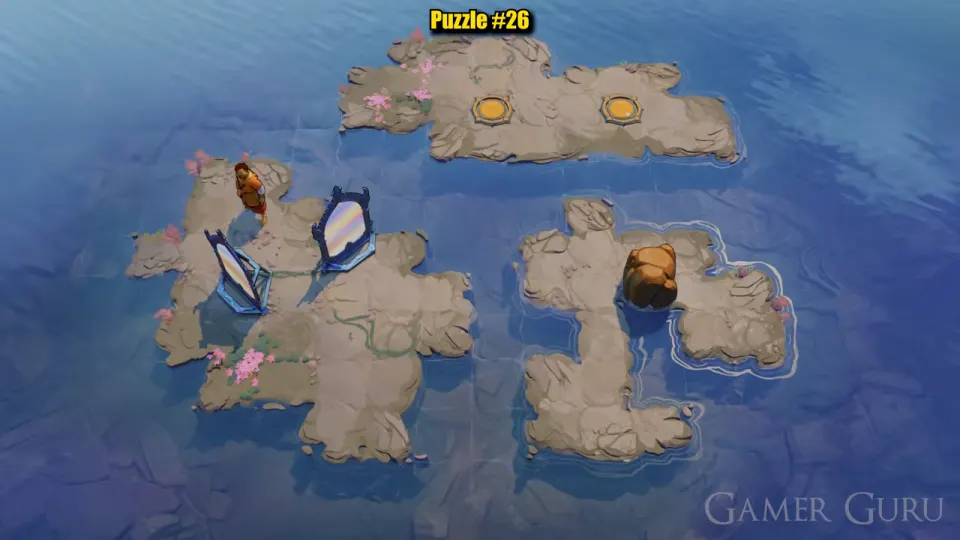
Puzzle 26
Same as demo level 11. Starts at 22:50.
Key idea: split, cross with both copies, then sink the boulder.
- Stand between the two facing mirrors and use one to split into two Traders. (22:58)
- Use the mirrors to send both copies to the boulder island. (23:02–23:10)
- Push the boulder north into the water to make a bridge. (23:18)
- Walk both copies onto the two plates. (23:22)
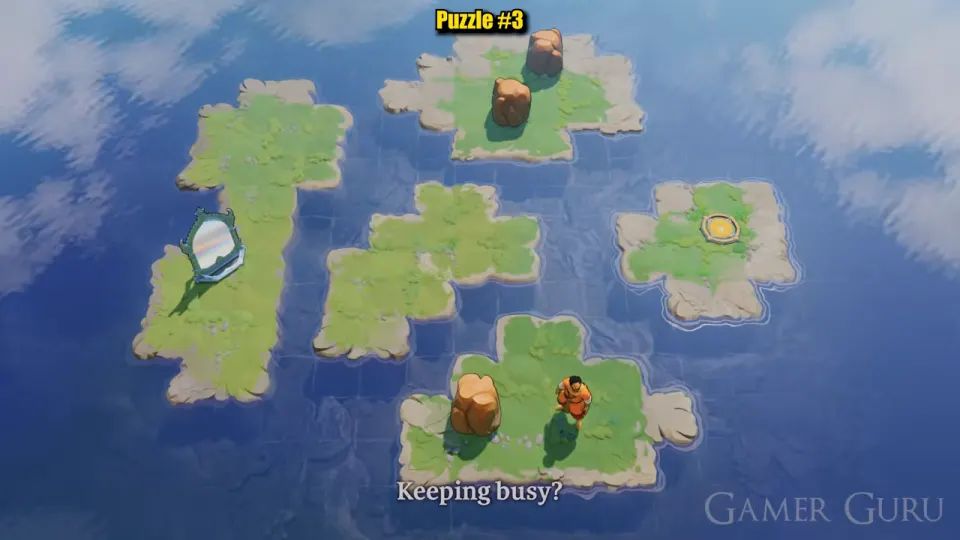
Puzzle 27
Same as demo level 12. Starts at 23:34.
Key idea: there is one plate and two Traders, so merge them.
- Use the mirror’s beams to bring one Trader into line with the other. (23:42)
- Swap one copy onto the other. When the ghost lands on your other self, the two merge into one. (23:54)
- Walk the single Trader onto the plate. (23:56)