Spoilers: this page covers the third stage, after the second ending. It sticks to puzzle solutions and leaves out the story, but the area itself gives away late-game content. If you haven’t finished Endgame High yet, you may want to stop here.
Low Mirrors is our name for the Mirrors part of Antipode Low, the Low counterpart of the Mirror Isles and of High Mirrors. There is no new mechanic down here: the Trader’s mirrors and crystal mirrors meet the heroes, wrapping rooms, the West relics and stacked orange beams. This page solves all 38 puzzles and the 11 overworld puzzles between them.
Where it is: after the second ending, go down to Crossroads Low (see How to Descend) and head east. 塞德莎 labels his tiles E1, N1E1, N2E1, N1E2 and N1E3 (Mirrors in the Way), N2E2, N3E2, N4E2, N3E1 and N4E1 (Mirrors in Mirrors: Collection), E2, S1E2, S1E3 and E3 (Wraparound Mirrors), E4, E5, N1E4 and N2E4 (Mirrors and Artifacts), N3E4 (Double Beams) and N5E4 (All Three Together).
How to use this page: we found no English video of this area, so the numbers follow 塞德莎’s narrated walkthrough (parts 48, 49 and 50) in the order he plays the rooms. He comes back to Mirrors in the Way at the start of part 49, so that zone has two runs of numbers. Each heading has the key idea and a link to the moment the room starts, and the numbered steps link to the matching second. Short walks on the area map are folded into a Getting there line.
Zone names: the Chinese names below are what 塞德莎’s game shows. The English names are our translations and may differ from the official English text.
| Zone (our English name) | In 塞德莎’s game | Puzzles | Overworld puzzles | Part |
|---|---|---|---|---|
| Mirrors in the Way | 魔镜挡道 | 1–5, 21–25 | 1–2, 8 | P48, P49 |
| Mirrors in Mirrors: Collection | 镜中之镜:集锦 | 6–20 | 3–7 | P48 |
| Wraparound Mirrors | 环绕镜子 | 26–30 | – | P49 |
| Mirrors and Artifacts | 魔镜与神器 | 31–36 | 9–11 | P49 |
| Double Beams | 双倍光束 | 37 | – | P50 |
| All Three Together | 三者齐上阵 | 38 | – | P50 |
Rules that matter here
- Draw the diagonal. As always with mirrors, whatever you reflect lands on the same diagonal through the mirror. 塞德莎 starts most rooms by drawing it backwards from the exit (P49 1:07, P49 14:32).
- Crystal mirrors count as alive. The Druid can turn one into a crystal (and back) like any living thing, and the Bard can steer one with his song. A crystal mirror that is reflected while it is a crystal still turns (P48 21:18, P48 23:13, P48 24:47).
- A hero turned into crystal is safe. As a crystal they sink into water without dying, and a crystal teammate doesn’t have to reach an exit, so a stray clone can be left as crystal (P48 18:43, P48 19:52).
- Wrapping rooms. Many rooms here wrap around top to bottom and left to right. A crystal mirror with nothing in the way sees itself across the edge and reflects itself, to the nearer side, and you can reflect from behind a mirror to come out at the other end (P48 26:26, P48 26:45, P49 11:53).
- Clones and merges. Two mirrors on one thing make a clone, and copies sent to the same spot at the same moment merge. In 3D there are six directions, so one reflection can make at most six copies, or merge six into one (P49 16:43, P49 30:23).
- One X, several actions. X reflects, but it also uses a relic you carry and triggers the overworld reset. That can kill you (puzzles 31 and 34) or be the solution (overworld puzzle 7, P48 48:00, P49 28:02, P49 33:23).
- Orange beams multiply. One orange beam jumps you 2 tiles, and every extra beam on the same spot doubles it: 4, 8, 16, 32, 64. A multicoloured beam on the spot makes each beam count 3 instead of 2. Energy blocks that push you while you stand in a beam add the jump in their direction (P50 1:48, P50 7:21, P50 18:36).
- Ctrl and Q. 塞德莎 holds Ctrl to slow down timed moves and presses Q for a clearer view of where a reflection will land (P49 3:57, P49 4:58).
Puzzle 1
Mirrors in the Way
Key idea: a paving room with one bottleneck. At some point you have to push a stone up from below to lay the path, and that stone can never be put there by a mirror, so first get a stone onto the tile below it. (塞德莎 P48 0:35)
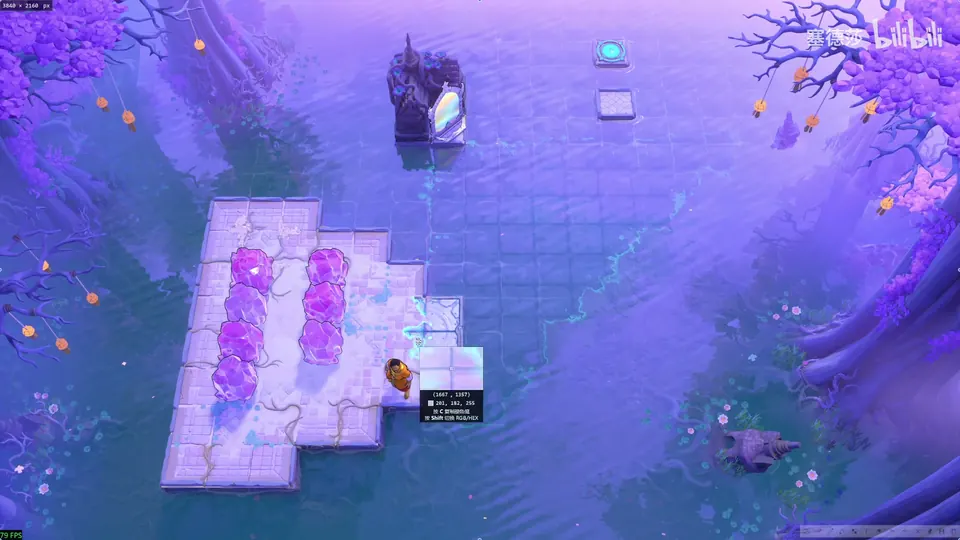
Getting there: from Crossroads Low head east. The first stretch has only four stones; push them into the water one by one to make a path. (0:12)
- Start by reflecting to the spot shown and laying a stone there. You also need a second stone below it, or you can never push a stone up from there. (0:55)
- Work that out backwards: stand on the spot first, reflect a stone onto it and push it down to fill the gap, then stand on the other spot and reflect another stone over to push up. (1:06)
- With this many stones the order is free. 塞德莎 pushes the first one down, reflects one, paves the two tiles above and reflects one more. (1:32)
- Put a stone on the marked tile, reflect from the upper spot to get ready, reflect back and push the stone across. That is the first half of the plan. (1:48)
- Put another stone in place, reflect over ahead of time, stand on the spot and reflect again: you’re through. (2:00)
Overworld puzzle 1
Key idea: the path up. The farthest reflection falls exactly one tile short of the edge, so pave the water with stones and push up from the end. (塞德莎 P48 2:17)
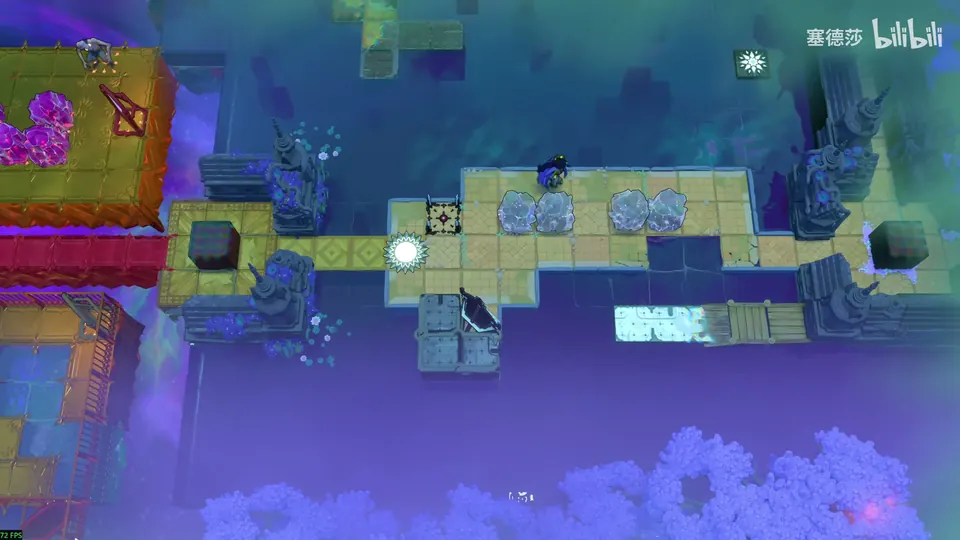
- The room you just solved opens the way right. For the way up, reset first. (2:11 · 2:17)
- Lay two tiles of floor on the water, reflect the farthest stone over, then reflect to the nearer end and push up. That is three stones for the path. (2:34)
- The fourth stone goes on the tile nearest the bottom-right platform: your stone has to pass that tile too, and once it has, you can’t. (2:48)
- Stand there, push this stone to the far end and reflect one to the farthest end. Push the other stone up, take it out, push it to the second-to-last tile and another to the far end. (3:02 · 3:08)
- 塞德莎 corrects his order: reflect the stone over first, come back and reflect, then go to the second-to-last tile, reflect and push up once. (3:20 · 3:25)
Puzzle 2
Key idea: a dragon watches the narrow passage in the middle, so you may never cross it. You need both mirrors on your side: the one facing down-left takes you to the lower platform, the one facing down-right to the exit. Move them across with a “piston”: two stones in the narrow passage shove a mirror through. (塞德莎 P48 3:35)
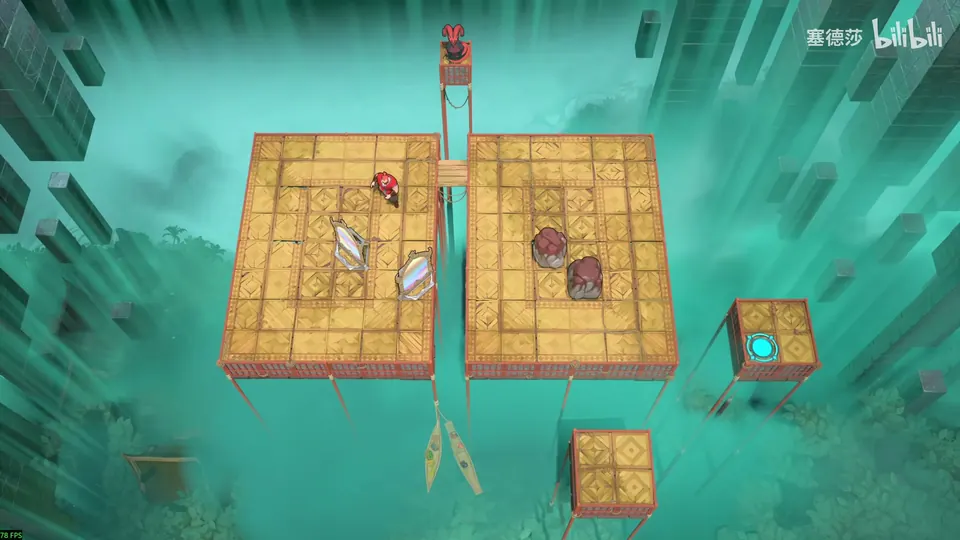
- Slide a stone across first. (4:12)
- Use the two-stone structure to shove the down-left mirror over: push it into the middle, then push from the right with the stone you just brought. It sticks at the edge; put it on the spot shown and come back. (4:24 · 4:33 · 4:42)
- On the way he pushes the left mirror up one tile, and that is needed: otherwise your reflection later can only use the nearest spot, and the mirror above blocks it. (4:48)
- Push it right: this mirror is across, and now you can use it to go back and forth. (5:04 · 5:09)
- Place this mirror, push the stone over to take the other mirror off the edge, swap the stone and mirror and push through, then swap and push once more: both are out. (5:11 · 5:21 · 5:26)
- Put the two mirrors where he shows, reflect across and go to the exit. (5:38)
Puzzle 3
Key idea: a Tower of Hanoi. Three goblins wait in a line on the left, and each can be reflected up into the sky or, while you hold the pink-purple button, down onto the buttons below. Only the nearest goblin can be moved, and moving it uncovers the next. The sky is the spare peg: seven moves. (塞德莎 P48 5:55)
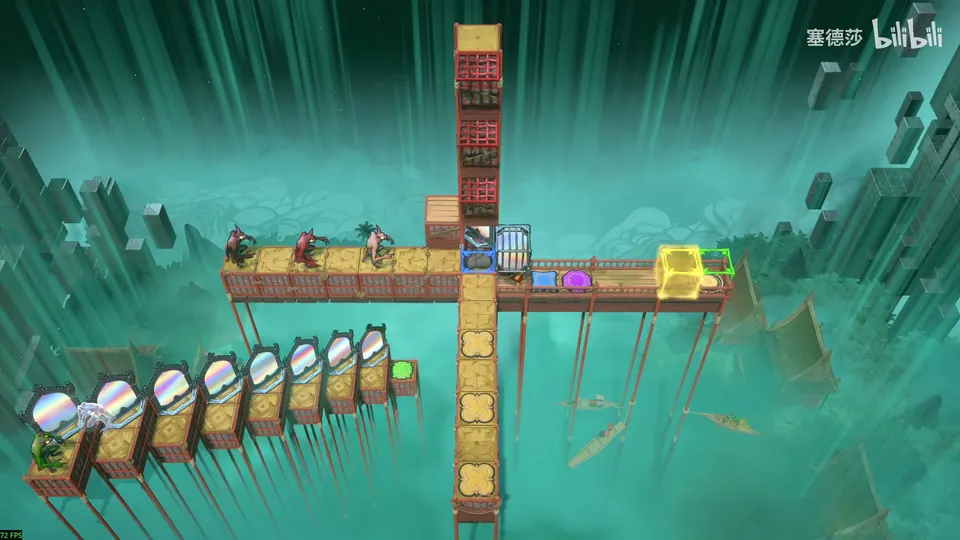
Getting there: go up, push the mirror aside and reflect up. (5:49)
- Ignore the mirror array at the bottom left for now. Each goblin can go to the sky or, with the button held (it pushes out a mirror that points down), down to the buttons; from below you can also send one to the sky. (6:02 · 6:11 · 6:17)
- The order is forced: the far goblin has to reach its button first, then the middle one, then the near one, as in the puzzle 塞德莎 names. (6:32 · 6:59)
- Move the first goblin down, the second into the sky with the mirror over your head, then the first into the sky as well. Now the third reflects straight onto its button. (7:30 · 7:37 · 7:43)
- Then the first back to the left, the second onto its button and the first onto its button: seven moves. (7:46 · 7:52)
Puzzle 4
Key idea: a Chinese rings puzzle, cut down to four rings. 塞德莎 says the route is almost unique: you go back and forth pulling rings up and down until the fourth is free. The moves are easier to follow on video than in words. (塞德莎 P48 8:02)
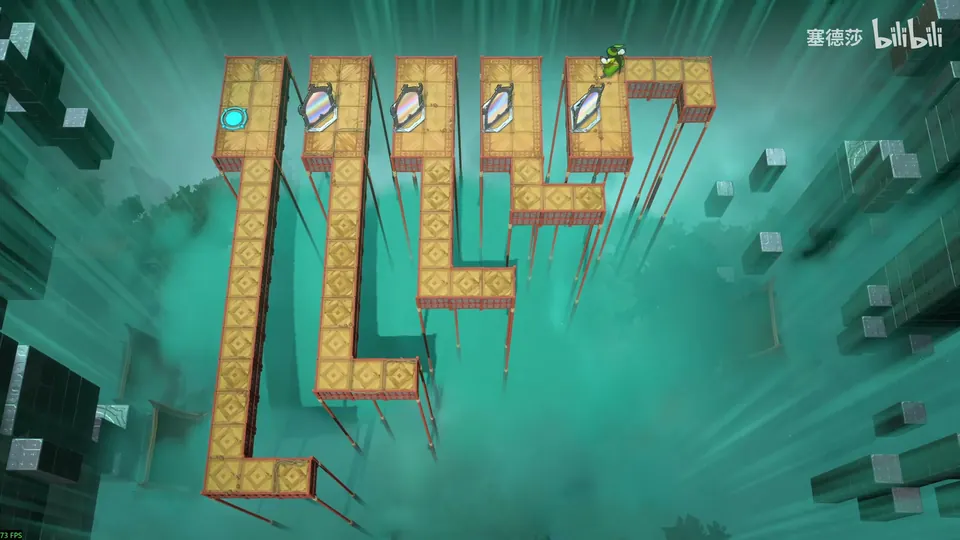
- Up on this side, back, pull this one up and over, pull the second down, back, pull the first down: now you can reach the fourth ring. (8:28 · 8:34)
- Pull that one up and come back. To pull the third down you first pull the first up, the second up and the first down again. (8:40 · 8:45)
- Go to the third and pull it down, back to the second, pull the first up and the second down. Done. (8:56 · 9:01)
Overworld puzzle 2
Key idea: the zone name Mirrors in the Way appears here. You want to stand on one spot and reflect left off the mirror you pushed down below, so you must not push the bottom-left mirror down. Its reflection was one tile short, and a stone fills that tile. (塞德莎 P48 9:15)
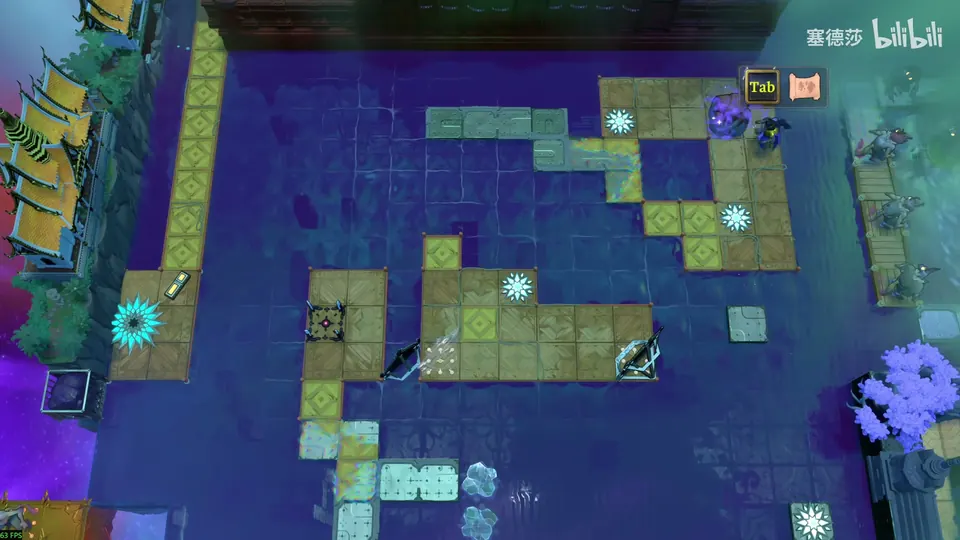
- Push the newly opened stone to the spot shown; the zone name appears. (9:15 · 9:19)
- Reset. The goal is to stand here and use the mirror below to reflect to the left, so avoid pushing the bottom-left mirror down. (9:28 · 9:35)
- The reflection to the top right was one tile short: fill that tile with the stone and you can reflect up without pushing the mirror down. (9:43 · 9:48)
- Reset again and reflect here, here and here to reach the left. (9:52 · 9:54)
Puzzle 5
Key idea: a Wizard maze through a field of mirrors, in three sections with a save point after each. The Wizard swaps places with what he sees, and mirrors bounce his line of sight. Work back from each target before you move, because a wrong turn leaves you stuck. (塞德莎 P48 10:02)
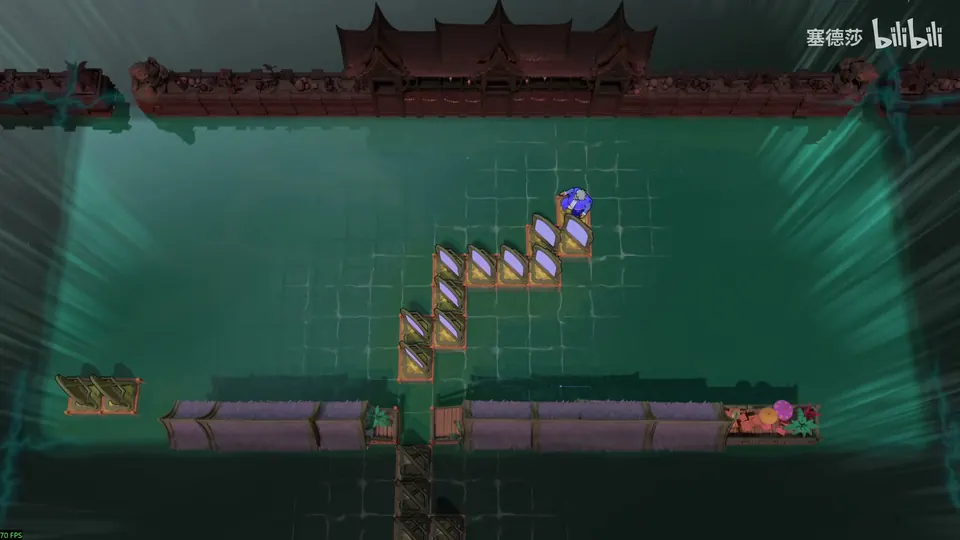
- The start is forced: come over and down, then follow along. The mirror faces bounce the Wizard’s line of sight, which sends you straight down here. (10:13 · 10:20 · 10:33)
- First target: swap onto the mirror at the bottom left. At the fork, don’t go down (you can’t get back up); go left, which brings you up here. (10:43 · 10:55)
- 塞德莎 plans the end of the section: reach this spot, then the mirrors here and here… but the last one can’t be reached. Instead go straight down from here, left, and use this mirror. So when you get there, don’t keep going left: go straight up and cut in. (11:06 · 11:40 · 11:55)
- Play it: down, left; up is blocked, so down; then right, left, left; then straight up, and you’re through. (12:07 · 12:18)
- Second section: reach the tile to the left of the save point. Only the upper mirror gets you there, and you then walk straight down, which needs the three mirrors below out of the way. (12:24 · 12:37 · 12:48)
- Each of them can be moved one tile left: when you swap onto it, step one tile left and swap back right. The last one first needs the three mirrors to its left moved up (one up, one up, one up and left). (12:59 · 13:15)
- In practice: left and down, swap left here, down, swap left again; come back and move the others up starting from the outermost, and finally bring this one over. (13:35 · 13:49 · 13:53)
- Third section, the trickiest: you finally need a line of sight from right to left into the goal, and only this mirror gives that. There is a gap at the top right, so the mirror you need is far, far above. (14:10 · 14:26 · 14:40)
- Down, left, left, down, right, down, left, down, left; at this spot go up, all the way up to the very first face, where a mirror was hidden above. Then right, right, right back to the bottom tile, and left, left, left. (15:23 · 15:31 · 15:42 · 15:48)
Overworld puzzle 3
Key idea: to reach the two rooms in the middle, drop through a small gap in the high grid floor and reflect while falling. There is nothing to land on, so the crystal must follow the same route first: onto the high ground and down through the gap. (塞德莎 P48 16:00)
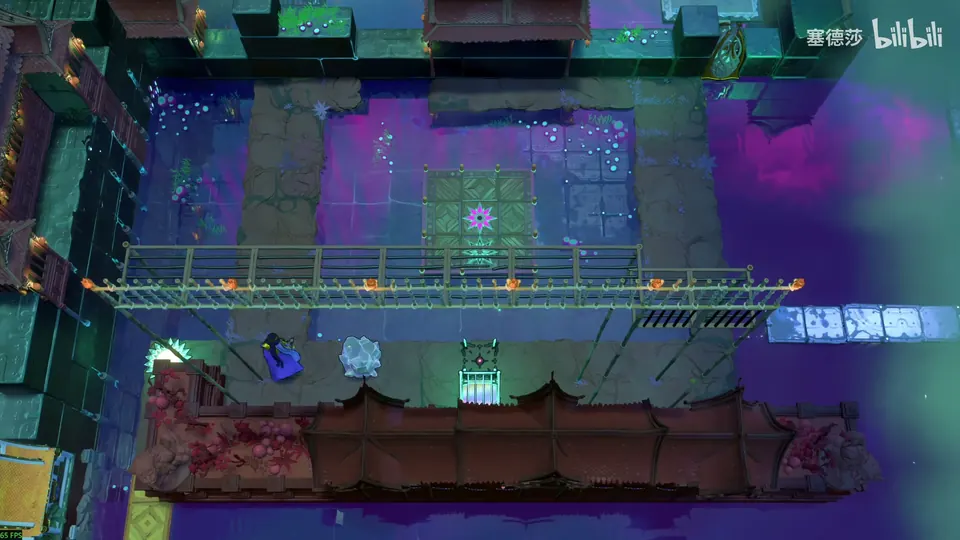
- You can fall to the middle platform, but straight down the high grid floor catches you. This column has a small gap up high: fall through it and reflect on the way down. (16:06 · 16:13 · 16:26 · 16:34)
- There is no landing spot, so pave it with the crystal. You can’t push it up from the right; it has to take your route: up onto the high ground, then pushed down through the gap. (16:40 · 16:50)
- The only way up: push it up from the left to here, reflect it up and follow it, then push it right so it drops. (17:02 · 17:09)
- Bring the mirror to here, go up to the high ground and push left, reflecting at the right moment. Follow down and reflect: you reach the two rooms. (17:16 · 17:20 · 17:28)
Puzzle 6
Mirrors in Mirrors: Collection
Key idea: the Trader and the Druid at the top reach the exits easily; the problem is the Cleric below. He can get no further than one row out over the water, and the mirror can only be pushed into the water there. Have a Druid turn him into a crystal: he sinks without dying, you reflect him over, and the other Druid turns him back. (塞德莎 P48 17:36)
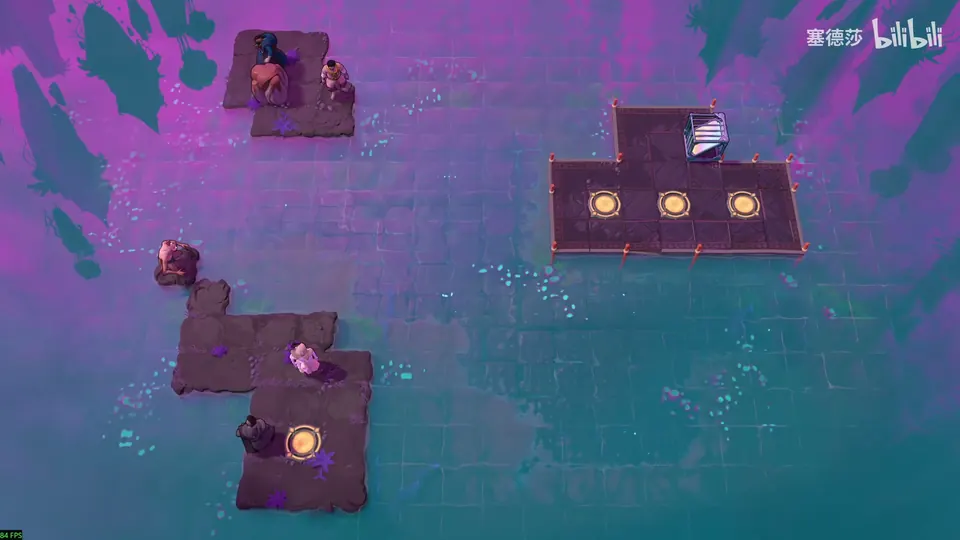
- Push the stone into the water: it lines up with the mirror, so the Trader and the upper Druid both come over. (17:51 · 17:57)
- Only one hero has to cross from below, the Cleric. The farthest he gets is this spot, floating; the row to the right is all water, with nothing to stand on, so he can only reflect from this row, and the mirror can only go into the water. (18:04 · 18:17 · 18:27)
- Use the two Druids: one turns the Cleric into a crystal, which sinks without dying. Reflect it over, and the Druid on the right brings him back. (18:40 · 18:50 · 18:54)
Puzzle 7
Key idea: the same idea again: a teammate turned into crystal fills a gap in the water. (塞德莎 P48 19:06)
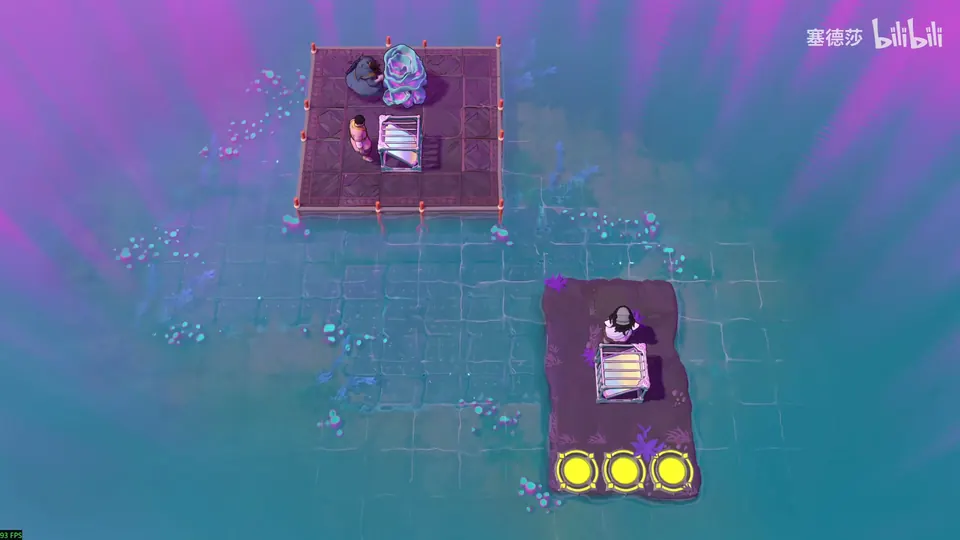
- Fill this tile with the crystal from the plant and throw the two mirrors here and here: the middle is one tile short. (19:20 · 19:25)
- That tile is a teammate: put the Trader here, turn him into a crystal and he is reflected right into the gap. Cross. (19:34 · 19:39)
- Reflecting back makes a clone. That’s fine: a teammate as crystal doesn’t count as dead and doesn’t need an exit, so leave it and bring the rest to the exits. (19:42 · 19:53 · 20:06)
Overworld puzzle 4
Key idea: the top-right path is a dead end for now. To go right, get a stone into the water on the right; you can’t push it there directly, so move it through the water by reflecting. (塞德莎 P48 20:12)
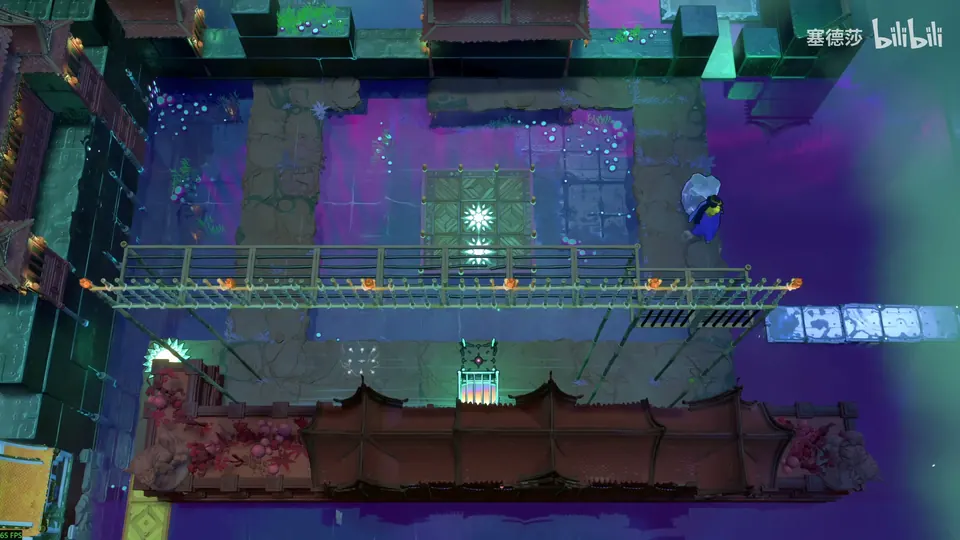
- Reset and lay a path of stones to the top right to have a look: a dead end for now. (20:17 · 20:27)
- Head right instead. You need a stone in the water on the right, but you can’t push it right from here: move it in the water by reflecting, onto this tile. (20:32 · 20:43 · 20:49)
- Then reflect the crystal mirror over and come back up. (20:59 · 21:05)
Puzzle 8
Key idea: the Druid turns anything living into crystal, and a crystal mirror counts as living. Crystal mirrors become stepping stones, and a mirror that would make an unwanted clone can be switched off the same way. (塞德莎 P48 21:11)
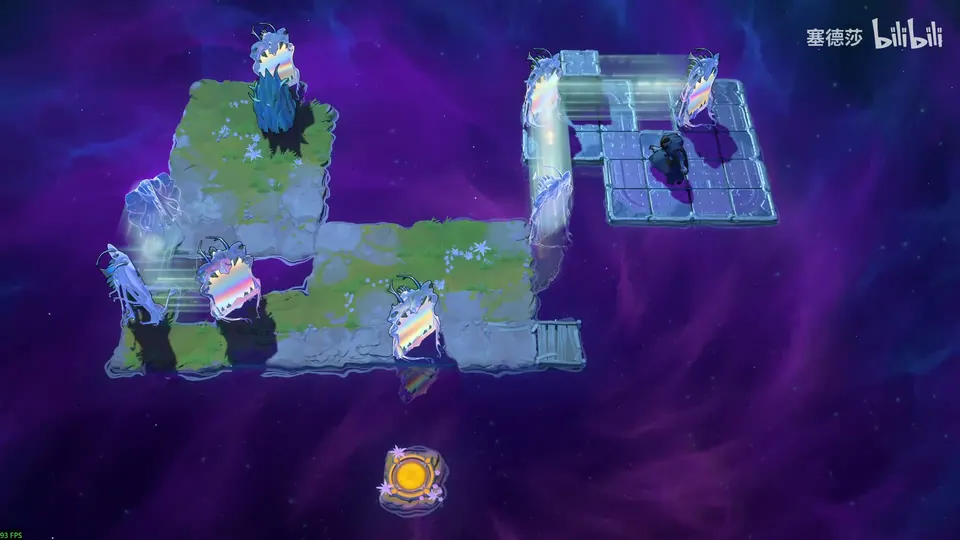
- Turn the upper crystal mirror into crystal to pave the way, and cross. (21:30 · 21:36)
- Next you only need to reflect across here, but the mirror above would make a clone of you. Remove it by standing on the water tile behind it and turning it into crystal. (21:41 · 21:51 · 21:56)
- To get behind it, reflect over with the mirror above. That reflection needs something to land on: the mirror below. Turn it into crystal, reflect it over and follow. (22:05 · 22:16 · 22:20)
- One reflection is blocked: turn that mirror into crystal too and go through. Turn the last one into crystal and the room is done. (22:26 · 22:30)
Puzzle 9
Key idea: reflect the crystal mirror once so it faces down-left, then turn the plant into crystal and reflect it out. Done directly, the mirror gets stuck on the bottom edge; turn it into crystal first and it still changes direction when reflected, from a spot where it doesn’t stick. (塞德莎 P48 22:36)
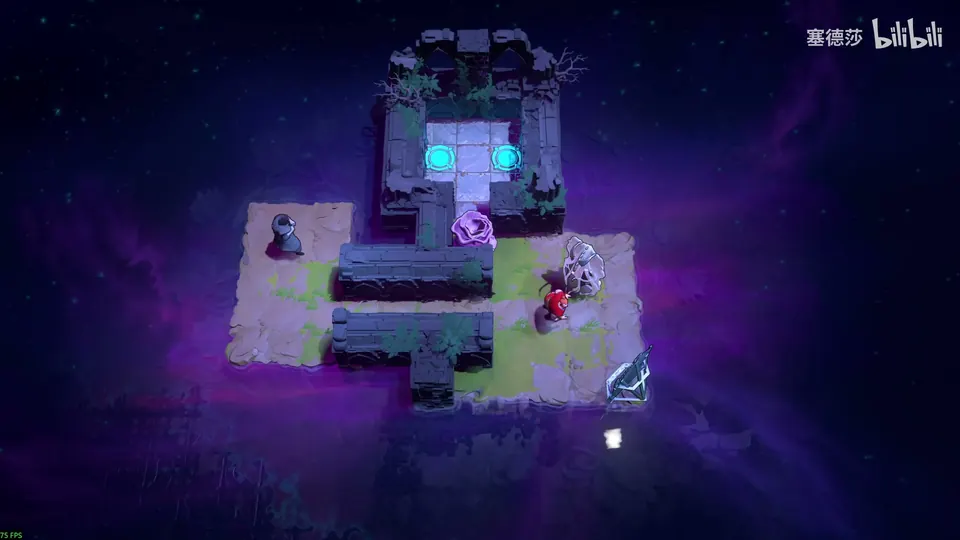
- Plan: reflect the crystal mirror to face down-left, turn the plant into crystal and reflect it out. (22:37 · 22:46)
- Directly, you can only reflect it from one spot, and it ends up stuck on the bottom edge. (22:51 · 22:59)
- Test: turn it into crystal, reflect, turn it back. Its direction did change. (23:06 · 23:13 · 23:19)
- So put the crystal lower, a little further from the mirror, and reflect: it turns and no longer sticks at the edge. (23:22 · 23:27 · 23:30)
- Push this mirror aside, as it blocks the reflection; turn this one into crystal, move it away and you’re through. (23:38 · 23:42)
Puzzle 10
Key idea: the Bard with crystal mirrors. His song can steer a crystal mirror, so you drag it along and still reflect with it, platform by platform. (塞德莎 P48 24:19)
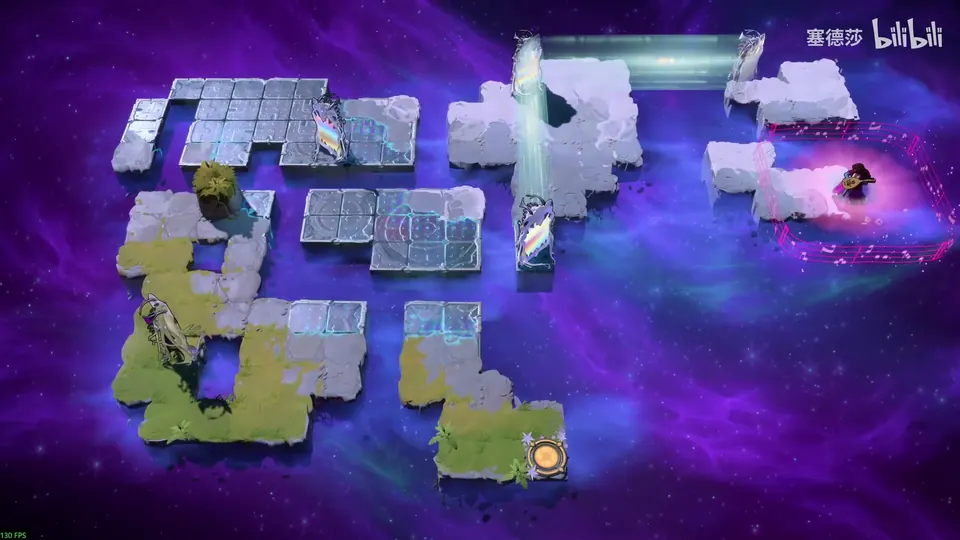
Getting there: from here come over and go up: from this spot you can reflect up, and from this one to the bottom right. (23:55 · 24:09 · 24:13)
- You can only reflect to here at first. Next use the left mirror to reach the second platform: move that mirror aside and come up. (24:25 · 24:34 · 24:37)
- To move this mirror and reflect to the next platform, steer it from below, straight up: you drag the mirror and can reflect at the same time, then steer it again. (24:42 · 24:47 · 24:55)
- Same for the next mirror: steer it from below, move it and reflect; then reflect here, here and down here to reach the second-to-last platform. (25:04 · 25:14 · 25:18)
- On the last platform, reflect over here, steer the mirror over, reflect from below and once more here. (25:21 · 25:29)
Puzzle 11
Key idea: a room that wraps around on all four sides. The last reflection must come from the exit’s row or column. A crystal mirror with nothing in the way sees itself across the edge and reflects itself to the nearer side, which here is a spot in the exit’s column. (塞德莎 P48 25:44)
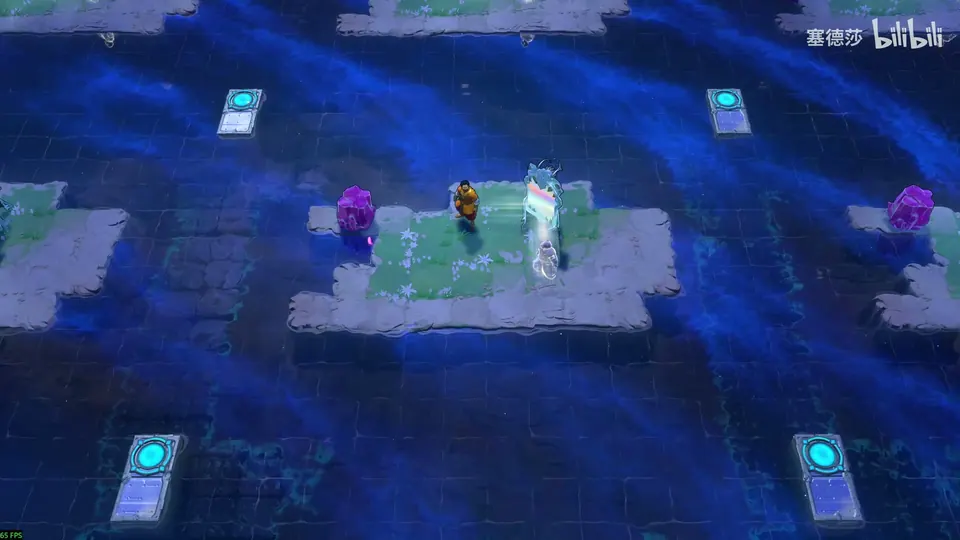
- The goal is to reflect to the exit, so the mirror has to reach the exit’s column (or row). (26:02 · 26:09)
- In a wrapping room the crystal mirror can reflect itself. The vertical distance is shorter, so it lands to the left, in the exit’s column. (26:26 · 26:45 · 26:49)
- So put a stone in that column on the left, then move the mirror over. (27:05)
- Take the stone out and bring the mirror down. Push the stone right above the mirror: it wraps from top to bottom and is sent far away. Find the spot where it lands in the exit’s column. (27:17 · 27:30 · 27:42)
- Push the mirror all the way right so it lands on the crystal, and reflect from here. (27:52 · 27:57)
Overworld puzzle 5
Key idea: the zone name Mirrors in Mirrors: Collection appears here; 塞德莎 says every room up here belongs to it. Move the crystal mirror step by step to the bottom left so you can reflect up. (塞德莎 P48 28:14)
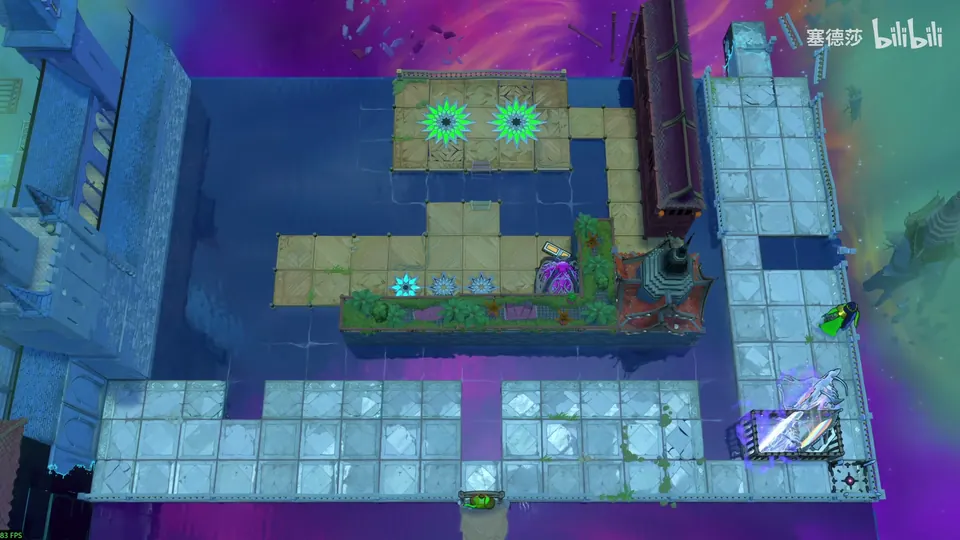
- Move it up, go below and move it left, reflect up and move it up. (28:30 · 28:35)
- From the bottom left go left: now you can reflect up. (28:40)
Puzzle 12
Key idea: two mirrors stand on pairs of same-coloured buttons and move only by reflecting. A lone mirror doesn’t move; a second mirror next to it does. Set two mirrors back to back and the pair walks down a row on every reflection, looping through all the colours. (塞德莎 P48 29:09)
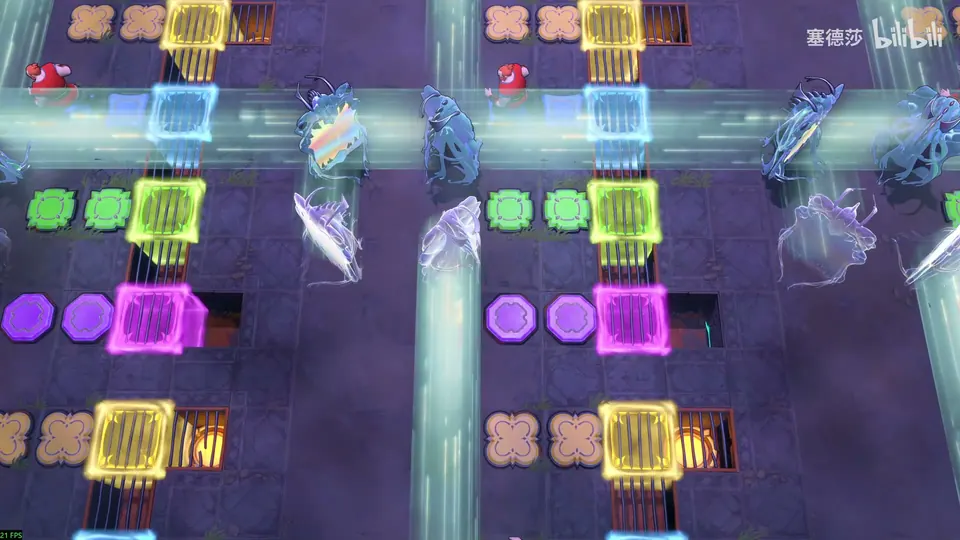
- 塞德莎 notes that these three rooms ran at only about 20 frames per second on his PC. The goal is clear: keep both mirrors on pairs of same-coloured buttons and move them by reflecting. (28:58 · 29:11)
- A single mirror reflecting on its own doesn’t move. Use the other mirror next to it: turn one to face down, and block the other’s direction by standing in it, so only one changes. (29:37 · 29:49 · 29:56)
- Put the two back to back: the whole pair shifts down and loops. (30:03 · 30:16)
- Put the two mirrors here, drop through this hole and keep reflecting. He set them down-left and down-right; up-left and up-right would loop more smoothly. (30:32 · 30:44)
Puzzle 13
Key idea: the same kind of loop. Turn one mirror, put one on the left and one on the right; this time the pair jumps far instead of one row, but it still cycles through the colours. (塞德莎 P48 30:55)
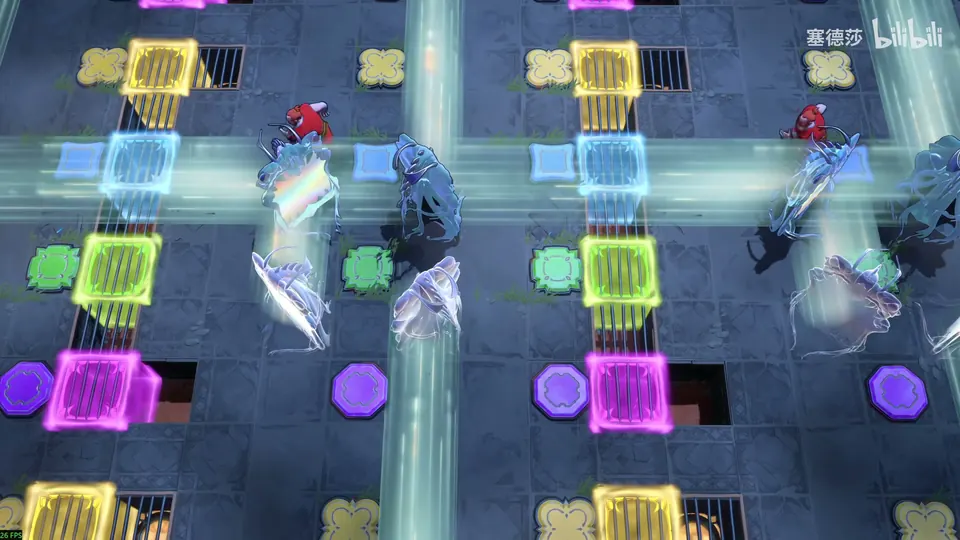
- Change this mirror’s direction, then put it on the left and the other on the right. (30:58 · 31:02 · 31:09)
- It moves a long way rather than one tile, but it still loops: green, blue, green, yellow. (31:16 · 31:21)
- Go down; reflect twice for green, twice for blue and twice for yellow. (31:30 · 31:33)
Puzzle 14
Key idea: 塞德莎 calls this the most chaotic room in the game, apart from the Wizard bonus room after the second ending. You need eight mirrors on the eight purple buttons, made by copying: four facing up-right and four facing down-right, alternating along a row, so that every reflection moves all of them to the next colour. (塞德莎 P48 31:41)
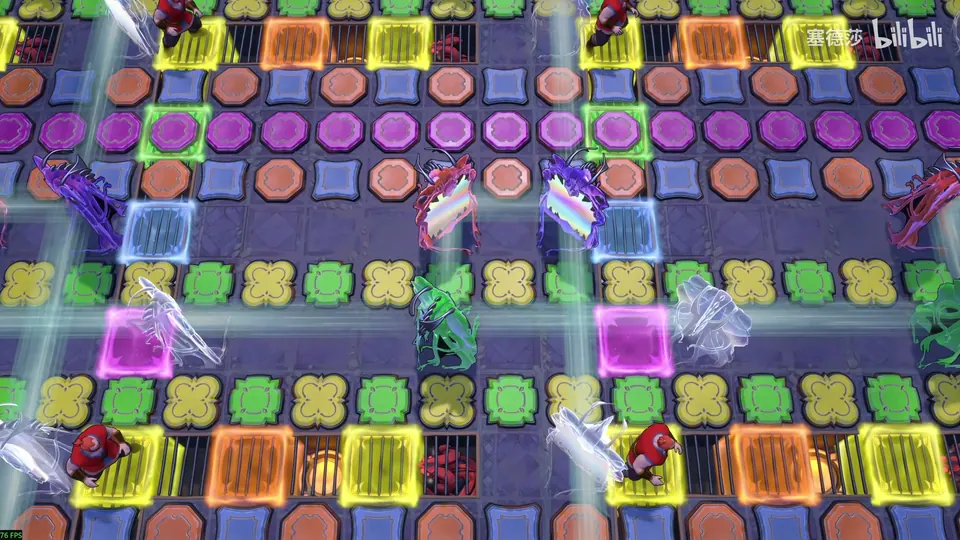
- The plan: the next colour after purple is blue, so put an up-right mirror here and a down-right mirror here. The up-right one reflects the down-right one onto a blue button, which reflects the next one on; up-right, down-right, four times, in one row. Four up-left and four down-left works too. (32:04 · 32:41 · 33:05 · 33:43)
- Copying eight at random leaves the facings a mess. Easier: make three up-right and three down-right first. Two up-right mirrors copy a single up-right one (the copy still faces up-right), and two down-right mirrors copy a single down-right one: four and four. (33:53 · 34:01 · 34:16 · 34:29)
- He copies the red mirror, reflecting, and copies it again; move the spare aside and block the reflection you don’t need. Now there are two down-right and one up-left, and the up-left one turns down-right on the next reflection. Keep it for now: it is needed to copy the remaining mirror. (34:55 · 35:02 · 35:06 · 35:18 · 35:27)
- Bring the purple mirror over, move the green one and the spare out, bring this one up a little, reflect and block the unneeded reflection: three up-right, two down-right and one up-left. (35:33 · 35:40 · 35:45 · 35:55)
- Turn the up-left one into a down-right one with a single reflection off one mirror (the green one, for example). Set the rest on a diagonal so they don’t interfere, block one reflection point and reflect: three and three. (36:02 · 36:10 · 36:16 · 36:25)
- Now lay out the plan. Placed carelessly, one reflection is blocked because a mirror tries to reflect another one across the wrap. Standing on the crossing would stop it but makes a clone of you; instead he places them so the two reflection points fall on the same tile at the bottom left. Reflect: four up-right and four down-right. (36:52 · 37:16 · 37:27 · 37:43 · 37:55)
- Lay them out up-right, down-right, up-right, down-right, go down and reflect: everything moves to blue, then green, yellow and orange, and the room is done. Reflecting on keeps looping round. (38:19 · 38:39 · 38:48 · 38:50)
Overworld puzzle 6
Key idea: the way into the two big star rooms. You can’t fill the water tile on the left, so reflect in instead: put a stone in this pool with a mirror on top, and reflect from it. (塞德莎 P48 39:06)
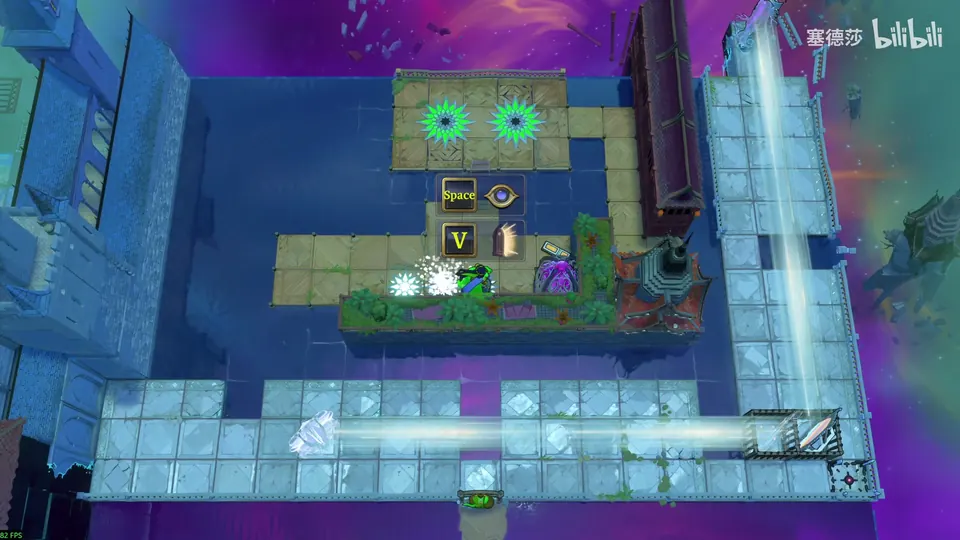
- Pull this stone out and reflect it down, then follow. He corrects himself: move the stone up first so it reflects far, and reflect yourself to the nearer spot. (39:10 · 39:17 · 39:23)
- You need to reflect into the two big star rooms. Filling the water tile on the left won’t work: you can’t pull the stone into it, and no mirror reflects to it. (39:30 · 39:39 · 39:44)
- So reflect in: get the stone into this pool and the mirror on top of it. The stone can only get there by reflection: push it right, reflect up, push it down. That makes a reflection point here. (39:50 · 40:02 · 40:10)
- Put the stone into the water, bring the upper mirror down and reflect to the two big star rooms. (40:15 · 40:16)
Puzzle 15
Key idea: a big star room with switches. 塞德莎’s advice is not to overthink it: set the mirrors where your instinct says and watch what each reflection does. (塞德莎 P48 40:25)
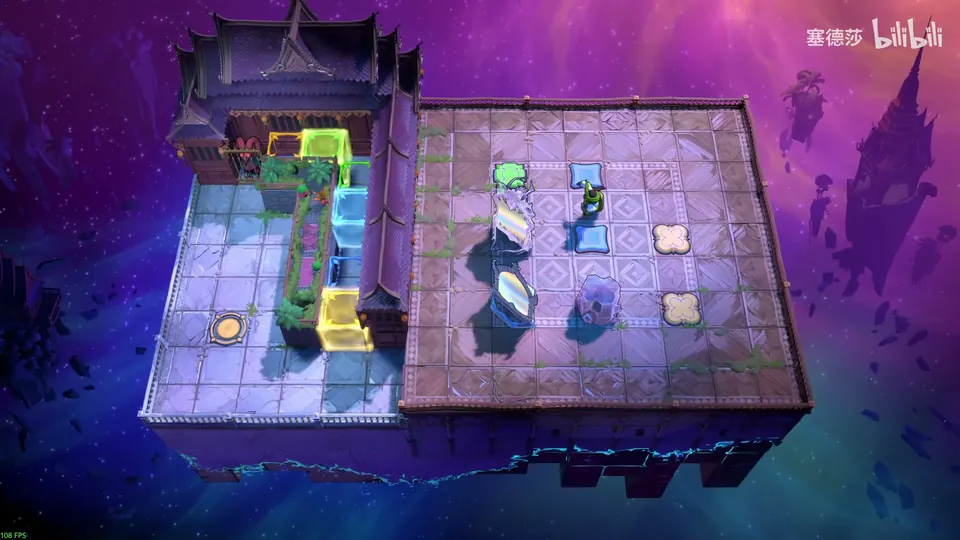
- Put the normal mirror here and the crystal mirror here. This spot holds the yellow button, so you can walk through the first door. (40:34 · 40:39 · 40:41)
- Now reflect and look: blue is held but green isn’t, so stand here and reflect again: green is held, yellow not fully, blue not. Pull the dragon out. (40:54 · 41:00 · 41:05)
- Five reflections bring you back to two blues held and green not, five more back to the very start. It is a loop; 塞德莎 doesn’t analyse why, and doesn’t say which state lets you out, so watch the video from here. (41:06 · 41:18 · 41:31)
Puzzle 16
Key idea: the second big star room. The normal mirror holds the button at the top, and one reflection throws a whole row of crystal mirrors down onto the yellow platforms, but you are one mirror short. The only hard part is realising you have to copy one. (塞德莎 P48 41:40)
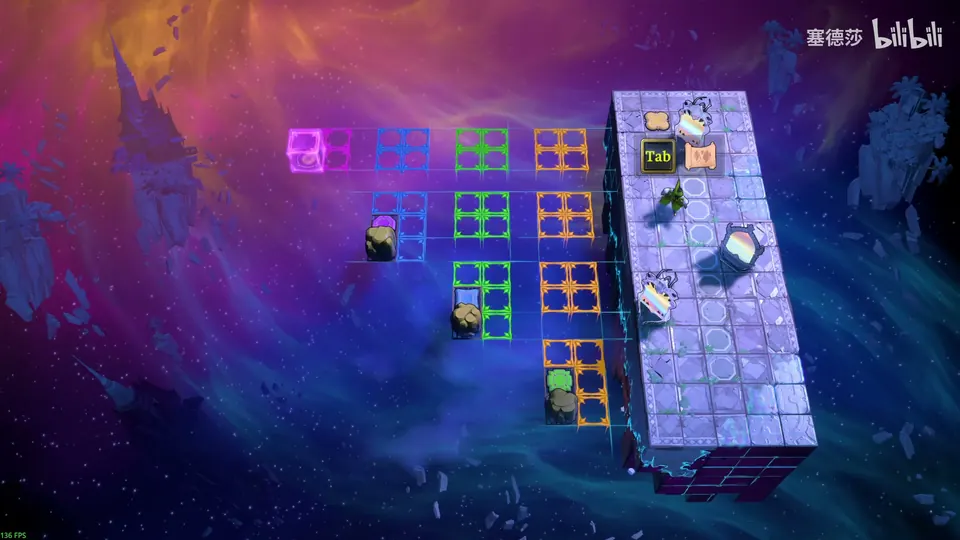
- Put the normal mirror at the top, on the button. (41:48)
- A reflection like this sends two crystal mirrors to the first and second yellow platforms; a third crystal mirror here would reach the third. Press the button and move on to the second part. (41:58 · 42:09 · 42:22)
- You’re one mirror short, so copy one. (42:28 · 42:34)
- Place the first, second and third mirror; the whole row goes down. Press the button, then pull one row across, and another. (42:39 · 42:49 · 42:54)
- Trap: don’t reflect from here, or an extra Thief appears at the bottom right and you can’t finish. Reflect from here instead. (43:00 · 43:06)
Puzzle 17
Key idea: a wrapping room with a vertical crystal mirror. It can reflect itself up into the sky, which lets you slip things underneath it. Build a stack four high so the mirror can reach the Explorer and bring him down. (塞德莎 P48 44:06)
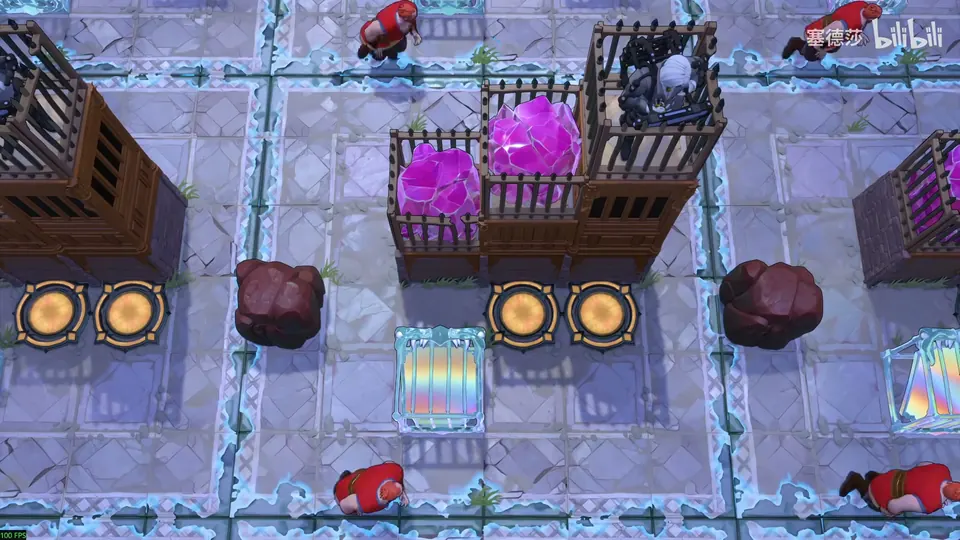
Getting there: further up there is only a lookout. Back on this map the door is now open (its lock was the room at the top right). Reflect over, put the mirror here and reflect up to the upper platform. (43:17 · 43:48 · 43:58)
- The vertical crystal mirror reflects itself up into the sky. The goal is to get the Explorer down, so stack the mirror high enough to reflect him. (44:12 · 44:27)
- First bring the crystal down. To raise it, let the mirror throw itself into the sky and quickly push a stone under it, then take the crystal out. (44:36 · 44:42 · 44:51)
- To separate them, send the mirror up and push the stone away by two tiles. Push only one and you’ll be crushed. (44:56 · 45:04)
- For two high, tuck the crystal behind the vertical mirror for the highest reflection, and push a stone under as soon as you reflect. (45:07 · 45:13 · 45:26)
- Again, the mirror reflects itself and you push left: three high. Take the crystal out and repeat: separate, reflect the crystal high, stack three, let the mirror reflect itself to stack four, and bring the Explorer down. (45:28 · 45:35 · 45:38 · 45:48)
Overworld puzzle 7
Key idea: to get over the high platform you need a two-high step here, the crystal and a mirror. To reach the lift, a vertical mirror in the water with the crystal on top reflects the crystal into the water on the right as a path. The catch is a mirror stuck at the water’s edge, and the answer is a key clash: on this row X both reflects you and triggers the reset. 塞德莎 says the game means you to do this, and it seems to be the only place you must. (塞德莎 P48 46:01)
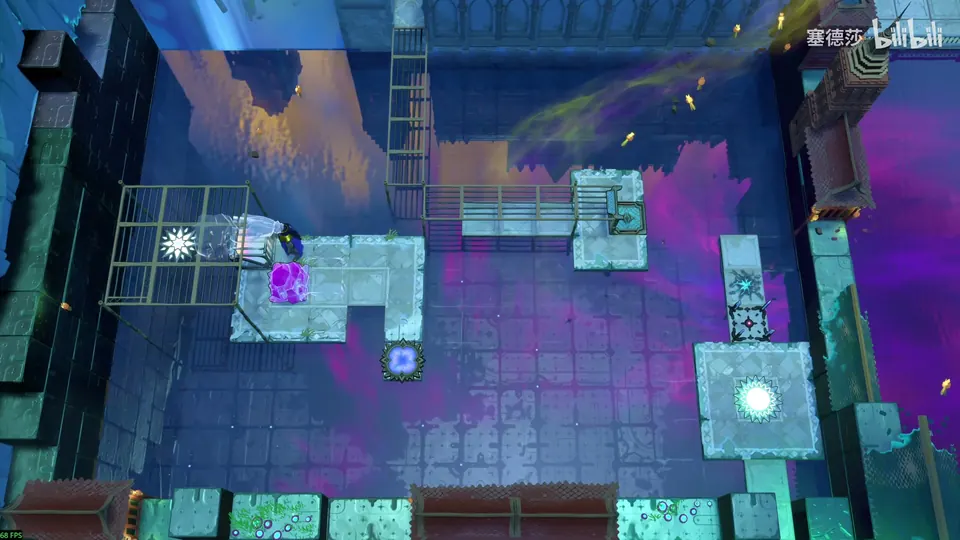
- You’ve just got the crystal down. The goal is to walk over the high platform from the lift, and that needs a two-high step here: the crystal and a mirror both pushed here. (46:03 · 46:17 · 46:23 · 46:33)
- To reach the lift, put the vertical mirror in the water in front of you and the crystal on top, then reflect the crystal into the water on the right: a two-tile path. (46:41 · 46:45 · 46:53)
- The problem: the mirror at the water’s edge can’t come out except by using the crystal you just brought down, one for one. And you have to put the mirror at the edge to get up there at all. (47:06 · 47:16 · 47:29 · 47:38)
- The trick: put the mirror in this row. On the right, this row’s reflection point also has the reset, and both are on X. Press X there: you are reflected into the sky and the mirror is reset, so as you land it is back where it started. (47:55 · 48:00 · 48:12 · 48:21)
- Take the stone down, push the mirror down, put the stone here and reflect to the lift; reflect up again: two high, and you’re over. (48:47 · 48:50 · 48:56 · 49:00)
Puzzle 18
Key idea: reach the low spot on the left. A net covers the whole ceiling, so a normal reflection always lands on it. Reflect while you are in the air, from a lower point: set up two mirrors that fall in the same vertical line, so you can reflect again below. (塞德莎 P48 49:12)
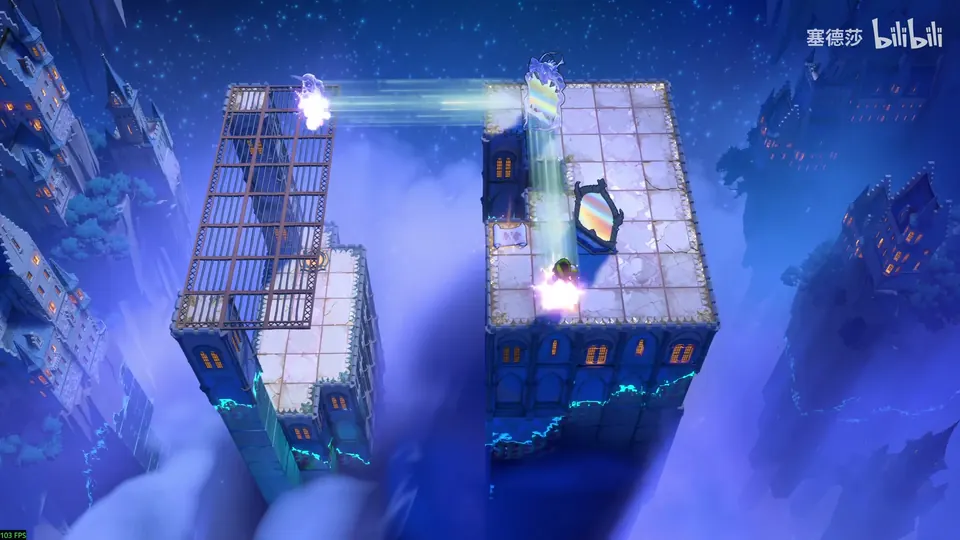
Getting there: climb to this high ground, drop and reflect: the height brings you up. (49:02 · 49:06)
- Move the crystal mirror down and bring the normal mirror over. After the reflection both are in the same vertical line and fall together, so you can reflect again below. (49:46 · 49:51 · 49:57)
- But it’s one tile off. Shift the structure: this mirror here, that one there, reflect here, then move this mirror here. Everything moves one tile left; reflect, and reflect again onto the lower platform. (50:09 · 50:17 · 50:24 · 50:28)
Puzzle 19
Key idea: reach the far left with two vertical mirrors on lily pads. Put a right-firing one on a pad near the middle, reflect into the sky from the far right, and reflect left when the left-firing one drifts under you. Both start facing the same way, so turn one with a lily pad: a pad turns with the current at each bend, and half a lap turns the mirror right round. (塞德莎 P48 50:47)
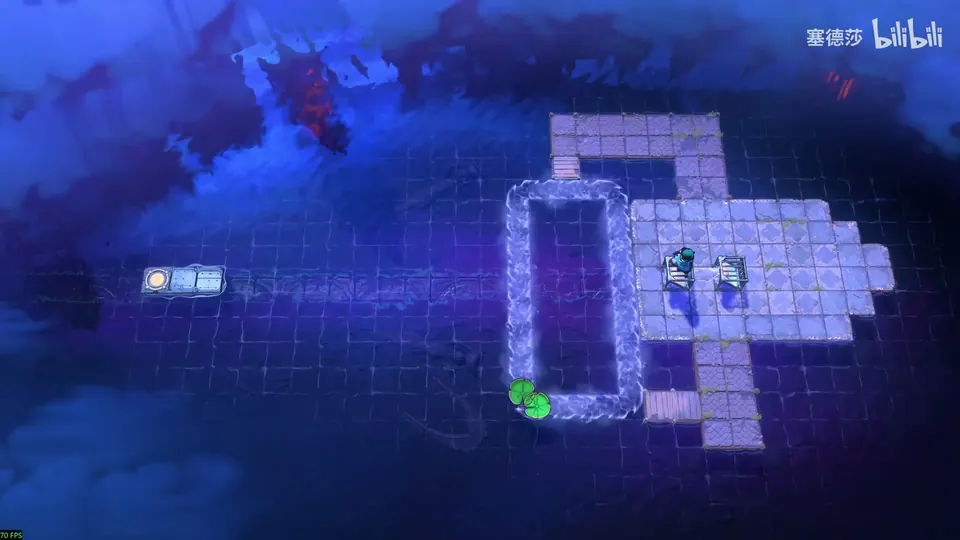
Getting there: once it opens, drop from here and reflect onto the upper platform. (50:38 · 50:42)
- The plan: a right-firing vertical mirror on a pad near the middle, reflect into the sky from the far right, then wait until the left-firing one is under you and reflect left. (50:55 · 51:04 · 51:12)
- The two mirrors face the same way. 塞德莎 says the turning trick is taught in the Low South: push something onto a lily pad, and at each bend the pad turns with the current (counter-clockwise here). (51:29 · 51:35 · 51:44 · 51:51)
- Get ready above and wait for the pad; push this mirror onto its front and step on its back. After half a lap it has turned 180°; push it off here. Now you have two mirrors facing opposite ways. (52:01 · 52:08 · 52:13 · 52:17)
- When you set up, remember that anything pushed on from the right turns 180°, so push the left-firing one first, then the right-firing one. (52:21 · 52:33 · 52:37)
- Wait here and reflect up when the time comes. The fall is made very slow in this room, so the timing is easy. (52:39 · 52:44)
Puzzle 20
Key idea: a big star room with an idea close to puzzle 18: land on the upper platform with a relay in mid-air off a crystal mirror reflected into the air. Set it up so the Thief and the crystal mirror are reflected to the same height. (塞德莎 P48 53:03)
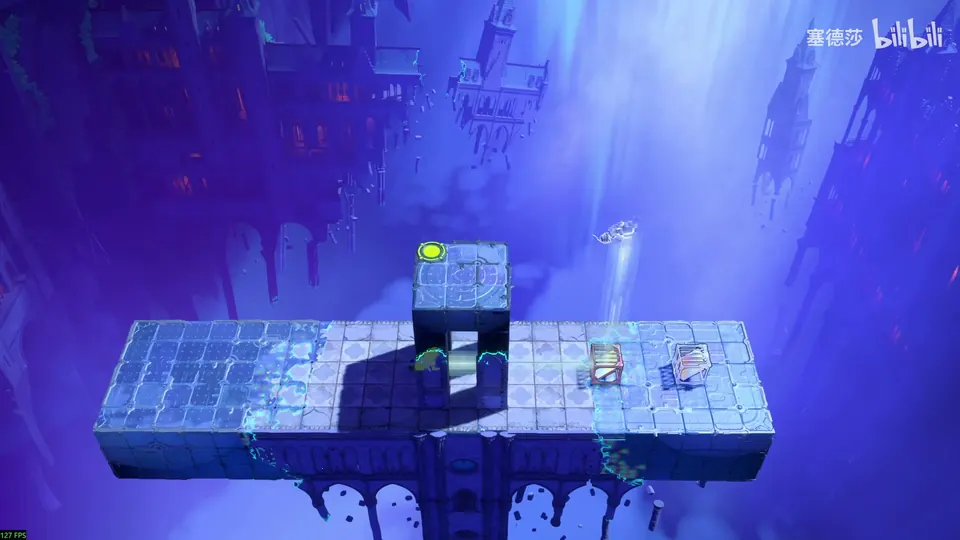
Getting there: drop from here and reflect into the big star room above. (52:55 · 52:58)
- Build the structure shown: the distance from the Thief to the crystal mirror must equal the distance from the crystal mirror to the normal mirror on the right. (53:21 · 53:26 · 53:33)
- Reflect, then reflect again at once. The lower mirror has landed and stays put while the Thief keeps moving, so the gap between them shrinks. Reflect at the right moment and you land on the platform. (53:39 · 53:46 · 53:50)
- He plays it again slowly to show why. (53:53 · 54:01 · 54:08)
That clears Mirrors in Mirrors: Collection; 塞德莎 then returns to the start of the east. (54:26 · 54:38)
Puzzle 21
Mirrors in the Way
Key idea: draw the diagonal from the exit at the top right: the Cleric has to float on one spot over the water and reflect from there. He floats only while a goblin is next to him. The two lily pads move with different parity, so with a goblin parked on each, one of them is always beside him. (塞德莎 P49 1:04)
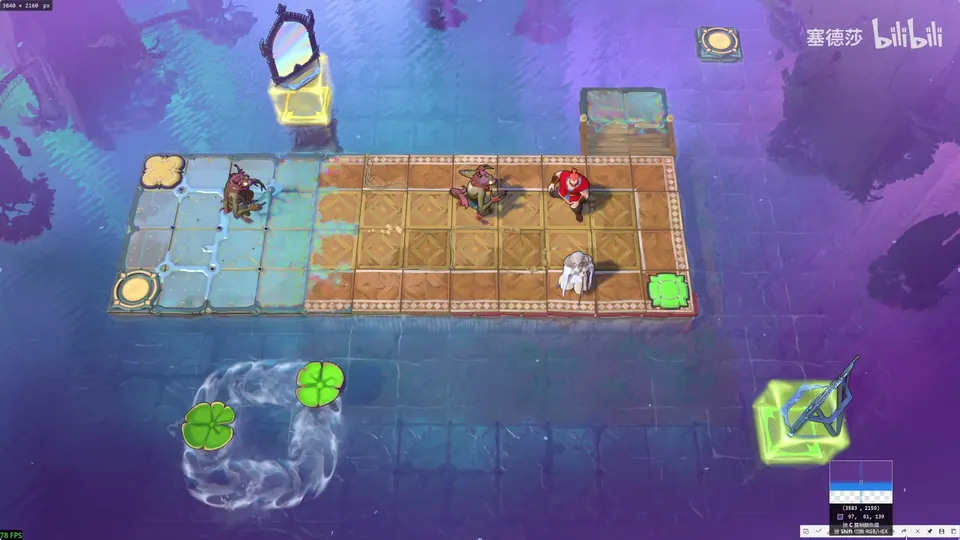
Getting there: from the start of the east go right (the room across the water comes later) and up. The teleporter on the right is already unlocked, so you could skip the walk; 塞德莎 walks it anyway, waiting for the lily pad and the turning board. (0:10 · 0:18 · 0:41)
- Draw the diagonal from the top right: the Cleric must float on this spot and reflect from there. He gets there with this mirror. (1:07 · 1:23 · 1:36)
- To keep him afloat a goblin must always be next to him. The two pads have different parity, so park a goblin on each. (1:44 · 1:49 · 1:53)
- Fly this goblin here, lower the left mirror and reflect it onto one pad; the other the same way. (2:02 · 2:09 · 2:17)
- Reflect the Cleric to the centre with the same mirror, then reflect at the bottom right: he reaches the exit. (2:23 · 2:29)
Puzzle 22
Key idea: a floating, falling room where the route is the puzzle. The Cleric can’t fall through two of the barriers, so go up first, loop round and drop from the far side, using the dragons’ fire to float across. (塞德莎 P49 2:55)
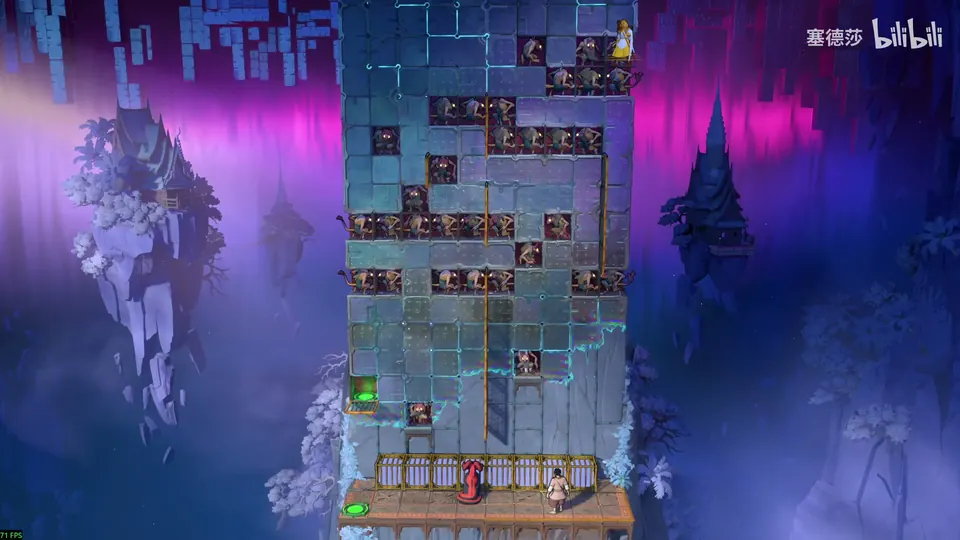
Getting there: the door opens; right is a dead end, but up has a path, and the fire happens to reach this far. (2:38 · 2:45 · 2:48)
- The route: up first, round, and drop from here, since the Cleric can’t pass straight through these two spots. (3:02 · 3:08 · 3:18)
- Bring the lower dragon here and walk over; let it fire here to drop to the left, catch yourself on its fire here and here, go right and push the dragon here to cross. (3:27 · 3:34 · 3:39 · 3:45)
- Drop straight down here; the dragon here takes you across. (3:49)
- His method for the end: hold Ctrl, switch to the Cleric and step left, then at once switch to the Trader and push left, so the fire drops two levels. Do it again and you are next to the exit. He doesn’t know an easier way. (3:57 · 4:05 · 4:13)
Overworld puzzle 8
Key idea: the way to the two big star rooms above. A goblin sits under the mirror right below you, and it has to face up first, or neither star can be reached. Then its facing decides which star you reach. (塞德莎 P49 4:23)
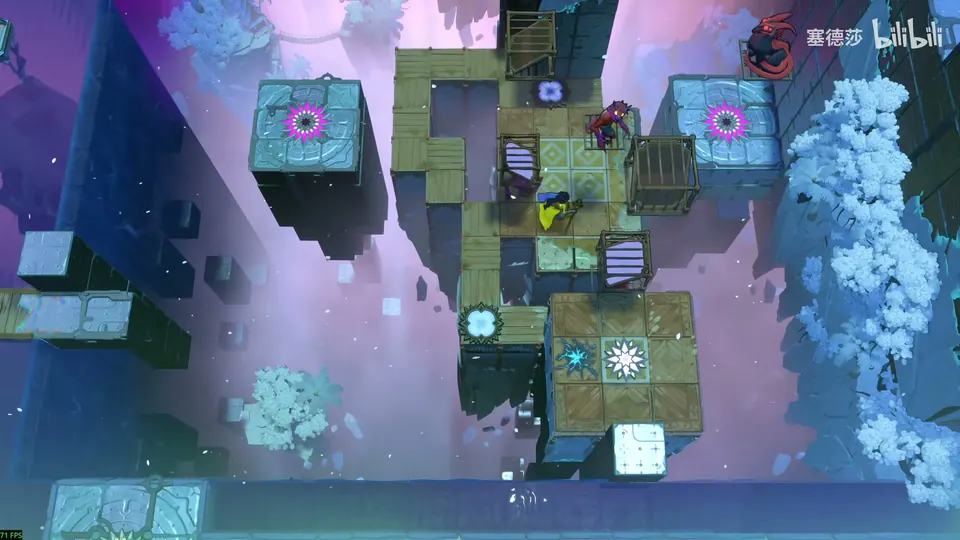
- Drop down here. Under the mirror below you is a goblin; make it face up first. (4:26 · 4:35 · 4:39)
- To reach a spot that turns it: come up and down past this dragon (press Q for a clearer view). From here go right onto the dragon’s fire line, down next to the goblin, and down again so it turns. That changes the upper dragon’s fire line. (4:50 · 4:58 · 5:01 · 5:10)
- Now a goblin facing right or left leads to the top right or top left. Facing right: land on the first dragon, switch to the second, drop and catch the fire line, go right to the goblin and right again onto the fire bounced back by the mirrors, into the big star room on the right. (5:19 · 5:26 · 5:35 · 5:39 · 5:46)
Puzzle 23
Key idea: a big star room. Step on the left button so the Warrior can come in, then come back, which is too far to walk. Use the hidden rule from Heroes, Doubled: when one Cleric clone is attacked, every copy gets the shield and floats. The attacked copy must not move, so build it a cage. (塞德莎 P49 5:50)
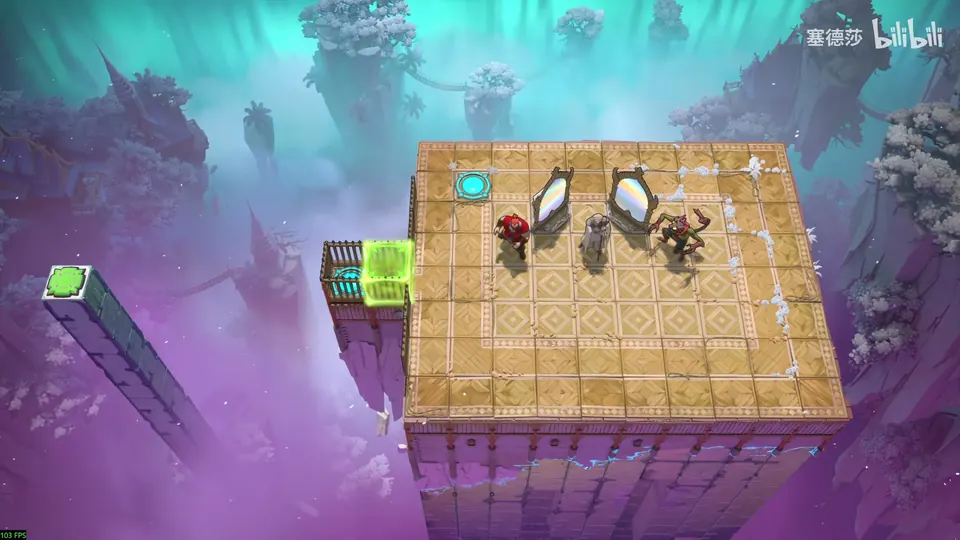
- Goal: press the left button to let the Warrior in, then return. (5:52 · 5:58)
- Use shared protection: one Cleric clone attacked by a goblin gives the other copy the shield, so it floats. (6:06 · 6:17 · 6:24)
- The attacked Cleric on the right must stay put, or the shield goes and the other one falls. Build a cage: put this mirror here and push this one up, then put this one here. (6:36 · 6:50 · 7:18 · 7:25)
- Split the Cleric here and wedge one copy inside; block its left with the Warrior. The caged Cleric stays still while attacked, and the other one floats over and presses the button; the Warrior comes over. (7:30 · 7:34 · 7:37 · 7:46)
- With the Warrior out of the way you can’t go left, but up, right and down are fine, so come back. Merge the two clones. (7:51 · 8:00)
Puzzle 24
Key idea: the second big star room: cross a huge gap by floating, with the goblin carried on a hero’s head. You can’t climb out straight away on the far side, so adjust the start first. (塞德莎 P49 8:51)
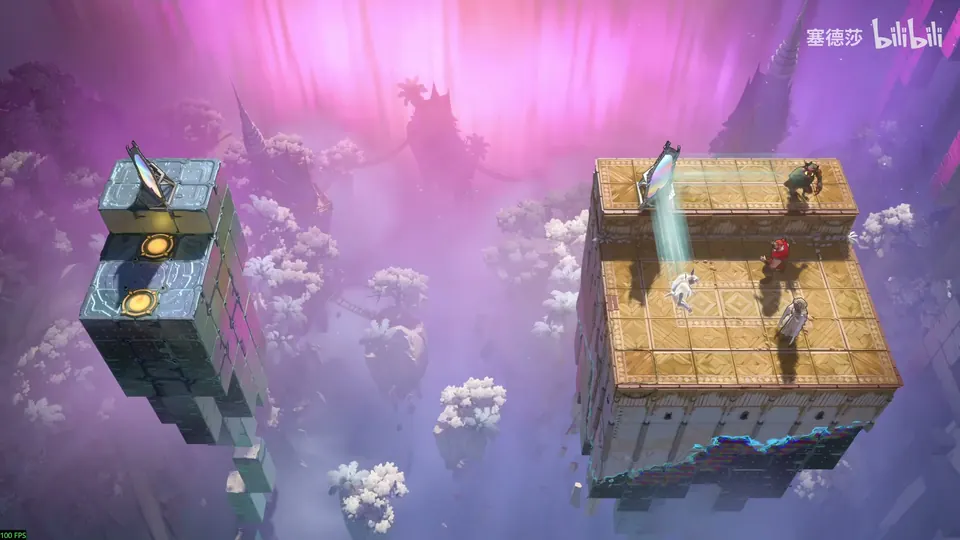
Getting there: there is no walking back from the first star, so 塞德莎 undoes (Z) to return, comes down, turns the goblin left and repeats the route: down to the lower dragon, down to the lower fire line, left to the goblin and left again. (8:13 · 8:21 · 8:27 · 8:36)
- The obvious idea is to float across with the goblin’s help: a goblin can ride on a hero’s head on the second level, so keep the Cleric beside it. (8:53 · 9:00 · 9:06)
- Going straight over fails: you can’t climb ashore there. Adjust first: the Cleric stands here, push up, reflect the monster back, and move the Cleric left. (9:08 · 9:14 · 9:20 · 9:26)
- Reflect over and walk the Warrior left all the way; this part is on the ground already. Throw the goblin that’s in the way down. (9:28 · 9:30 · 9:33)
Puzzle 25
Key idea: use three mirrors to make a caged dragon burn itself. The room wraps, so the fire can run down, right, down, right, round the edge and back down onto the dragon in a staircase. (塞德莎 P49 10:10)
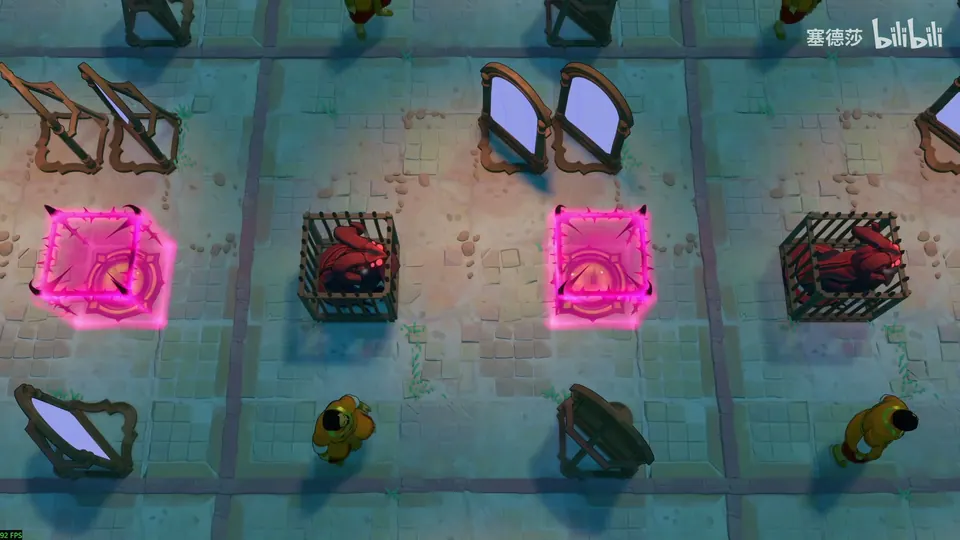
Getting there: undo back again, drop down here, turn the goblin left and take the dragon’s fire back to the left; then use the teleporter to go down to the room you passed at the start of the part. (9:45 · 9:54 · 10:03 · 10:06)
- The route: fire down onto a mirror, right, down, right, round the edge on the right and back down, hitting the dragon from above. (10:18 · 10:22 · 10:34 · 10:40)
- Put this mirror here, push one over to here, then push down: the staircase is complete and the dragon burns itself. (10:46 · 10:49 · 10:54)
Puzzle 26
Wraparound Mirrors
Key idea: another wrapping room. Reflect from behind a mirror to come out at the other end, which is how you get the mirror out of its corner and over to the spot that reflects to the exit. (塞德莎 P49 11:40)
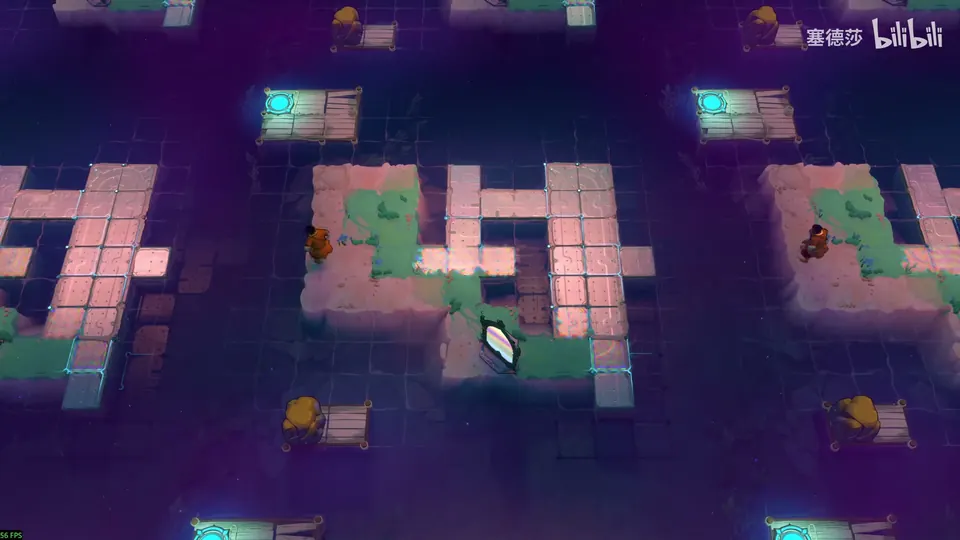
Getting there: with the cage open, teleport up. The room on the left can’t be entered from inside because of the diagonal rule, so aim from outside: put the mirror here and reflect from up here. (11:04 · 11:20 · 11:30 · 11:33)
- The mirror has to end here to reflect you out. First get it out: push it right and reflect up. (11:44 · 11:48 · 11:51)
- The room wraps, so reflect at the mirror’s back and you come out at the other end; push it out. Same again: reflect at its back, reflect once more and push it over. (11:54 · 11:56 · 12:01 · 12:05)
- A stone blocks the way below, so first reflect next to the stone: draw the diagonal up and right from it to find the spot. Come back. (12:07 · 12:13 · 12:20)
- Push it left: from here you reflect to the exit. (12:22 · 12:26)
Puzzle 27
Key idea: a big star room in a wrapping room. Get the stone back out, knock the left lily pad down (otherwise nothing reflects to beside the exit), and throw the stone onto the button at the top right. The positions all come from drawing diagonals. (塞德莎 P49 13:20)
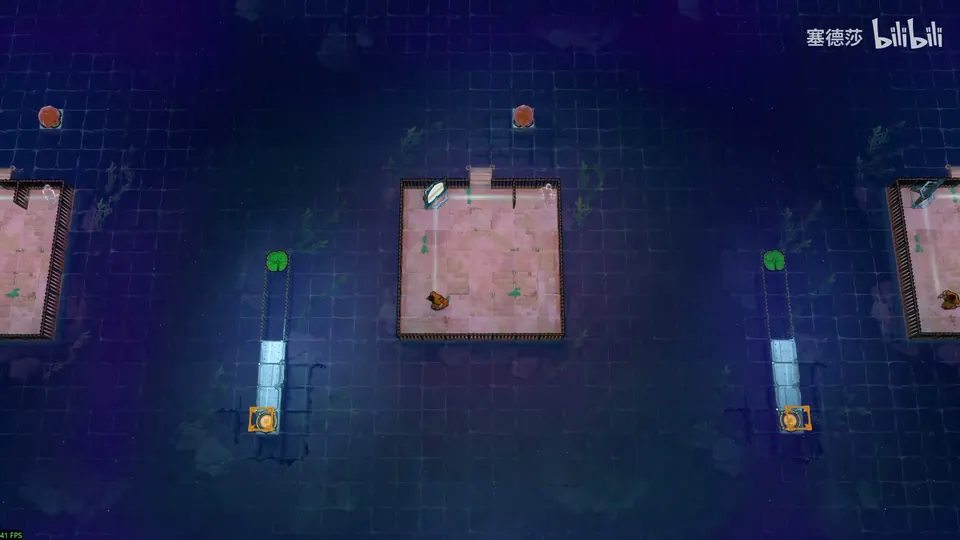
Getting there: the zone name Wraparound Mirrors appears here. Most reflections on this map just drop you in the water. Go right and clear the fog: there is a star. Press Q to see that from right under the mirror the longest reflection falls just short of the right platform; move the mirror here and you reach it. (12:33 · 12:37 · 12:46 · 12:51 · 12:59 · 13:08)
- Push the mirror out. The room wraps, so reflect at its back; reflect again to get the stone out; it’s at the edge, so reflect once more and push it a little right. Everything is out. (13:24 · 13:28 · 13:33 · 13:37 · 13:40)
- Two jobs: knock the leaf down and get the stone onto the button. Put this mirror here, push up from here and reflect to hit the leaf. To catch the stone, push the mirror a little right and reflect just as the stone comes by. (13:46 · 13:58 · 14:06 · 14:10)
- Put the mirror here: this reflection throws the stone onto the button. (14:16 · 14:19)
- The exit spot is here: mirror here, reflect here. (14:24 · 14:27)
Puzzle 28
Key idea: a big star room that looks frightening but isn’t. The Thief has to reflect here to the exit, but there is a hole where he would land; send the crystal over first to fill it, then the Thief. (塞德莎 P49 14:48)
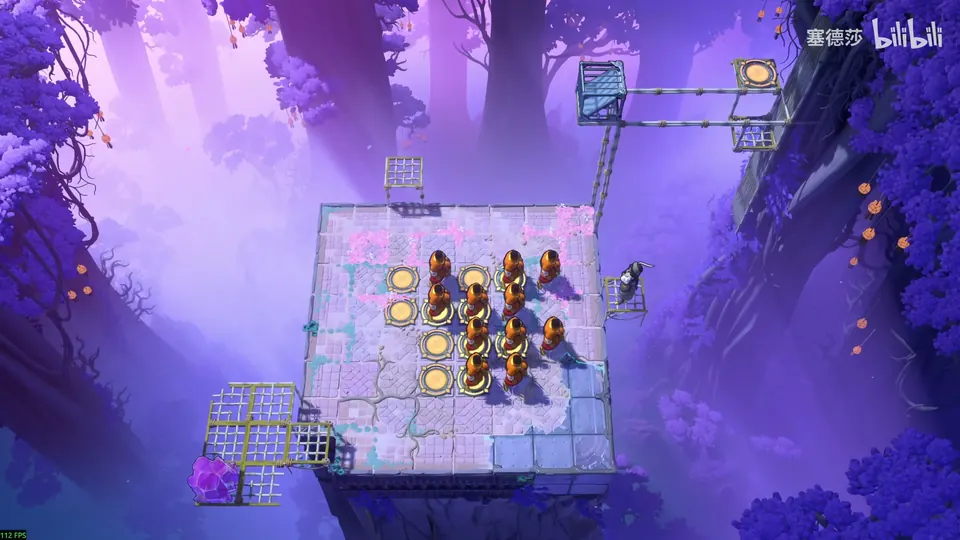
Getting there: only the teleporter takes you back; then carry on down. (14:36 · 14:42)
- Goal: the Thief reflects here to the exit, but after the reflection there is a hole. So bring the crystal from the bottom left and reflect it first. (14:54 · 14:59 · 15:02)
- Go to the bottom left and pull the crystal onto the Trader’s head. Pull the stone over here, loop round from above, pull it here, go round, pull it up, come back round, come up from here and pull once more. (15:07 · 15:12 · 15:18 · 15:28 · 15:36)
- Reflect the crystal here, then the Thief onto it. (15:44 · 15:46)
Puzzle 29
Key idea: the near mirror on the left works only once: after one reflection a stone drops and blocks it. With that one reflection you must reach six exits, so make six copies at once, one in each of the six directions of 3D space. (塞德莎 P49 15:57)
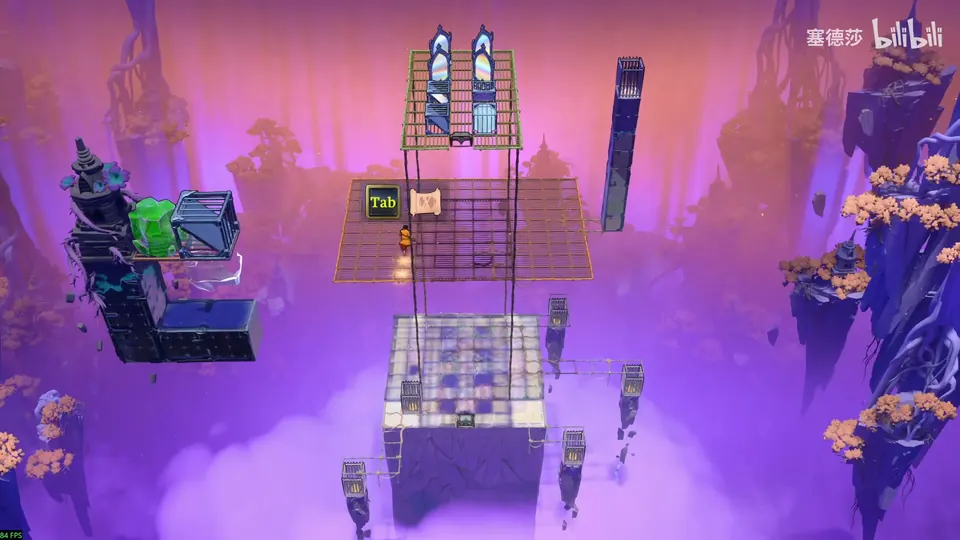
- It’s a one-shot structure: after the first reflection the stone falls and there are no more. Six exits means six copies in one go. (16:05 · 16:17 · 16:27)
- Two mirrors make two copies using two directions. In 3D there are six (left, right, forward, back, up and down), so six is the most you can make at once. (16:43 · 16:54 · 17:00 · 17:12)
- Plan each exit. The bottom-left one can only be reached from the orange middle platform with a mirror like this; this one with this mirror: that uses left and right. This exit: reflect upward, then a vertical mirror fires down. This one: a mirror right below, firing straight right, which uses straight down. (17:30 · 17:39 · 17:59 · 18:12)
- One more firing straight up hits this exit: five directions used. The sixth can’t reach its exit from nearby, but that exit can be walked into from the second level, so any downward copy will do. (18:50 · 19:08 · 19:14 · 19:21)
- Set up: come down, take the lift up and throw down every mirror except the two that go on top. (19:30 · 19:35 · 19:43)
- Below, place one here and one here; check that the mirror above your head lines up. Then fill in the rest: this one here, a down-firing one here (it reflects below the net and drops), the straight-down one, and the last anywhere; push it down to here. (20:10 · 20:21 · 20:30 · 20:36 · 20:48 · 20:55 · 21:00)
- Back to the middle and reflect: six copies at once, and all but one land on exits; walk that one in by hand. (21:10 · 21:15 · 21:23)
Puzzle 30
Key idea: the reverse of puzzle 29: again only one reflection, but now it must merge six Explorer copies into one, from six directions at once. Two copies stand on the ground at fixed distances; the other four are in the air, two at one height and two higher, and they must be at the right heights at the same moment. The holes above control the heights. (塞德莎 P49 21:35)
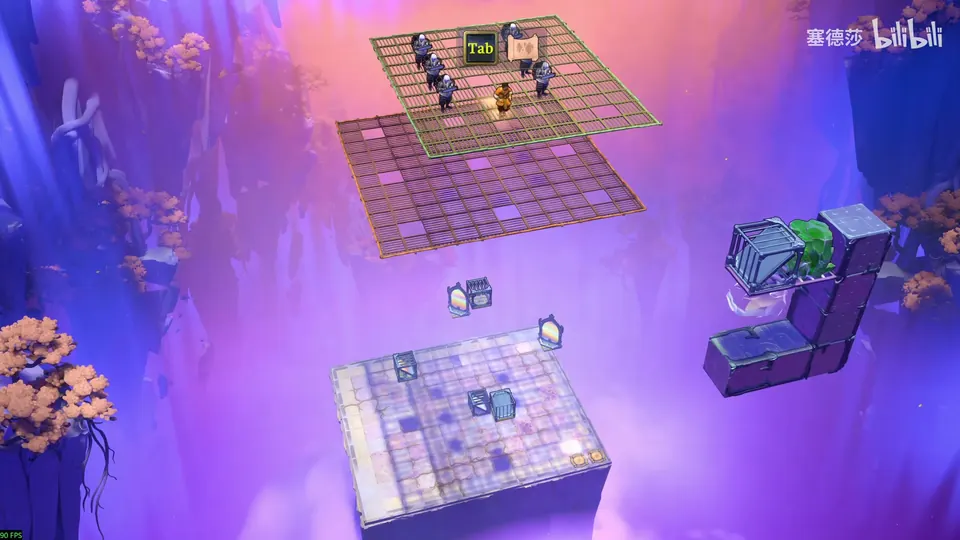
- He draws the layout: a mirror here means a copy must stand here, and this one here; the rest are in the air, two at this height and two higher (marked purple), one of them under the net. (22:02 · 22:11 · 22:28 · 22:43 · 23:03)
- Start with the bottom two, which can’t be pushed into place and have to walk. Push one down here; the other would break the mirror if pushed from here, so push it from this side. (23:33 · 23:42 · 23:49 · 23:53)
- Nudge the other copies so they don’t walk off, switch to the Explorer and walk up; one short, so push the copy near the edge down; push the last one down from here. (24:07 · 24:22 · 24:30 · 24:35)
- Everyone will jump into the holes later, so shift them all one tile right. (24:41)
- The top two: one falls to the left from here, the other on the right side of this hole (he corrects the mirror’s direction). (24:52 · 25:01 · 25:13 · 25:30)
- The last two are on the middle level: push them down and follow. One goes at the top left, reflected by the horizontal mirror; one at the bottom right. (25:38 · 25:45 · 25:51 · 25:58)
- Switch to the Explorer and walk left so all copies move in sync, then press X at the right moment: they merge into one. Bring the Trader down. (26:13 · 26:21 · 26:27 · 26:36)
Overworld puzzle 9
Mirrors and Artifacts
Key idea: the zone name appears at the bottom right. To reach the top right, take the mirror out with four stones, and the first stone you push across must be the crystal one: an ordinary stone next to the mirror would stack and jam, while a crystal stone can be reflected. (塞德莎 P49 26:48)
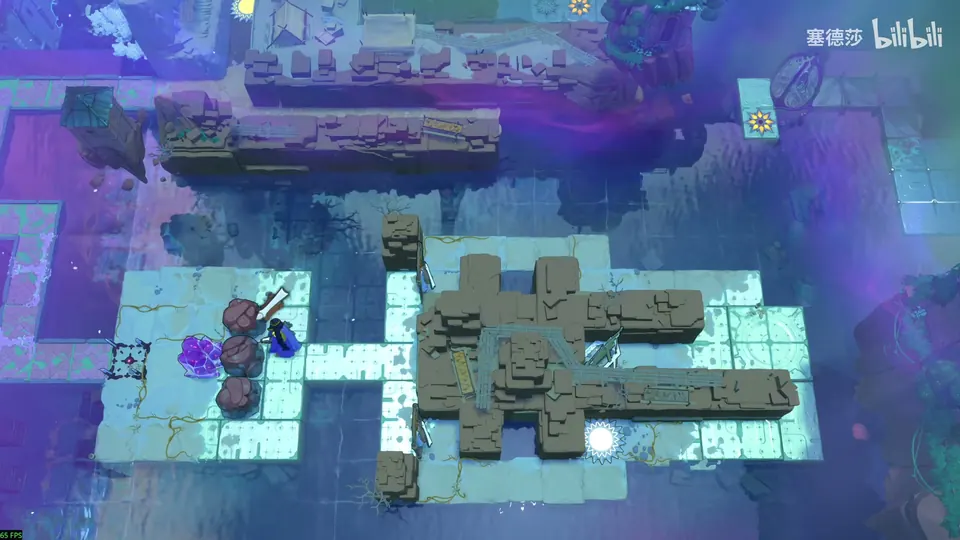
- Goal: the top right, which means taking the mirror out. (26:53 · 27:03)
- Of the four stones, the crystal one must go first; the stone next to the mirror would stack if it were ordinary. Then push the other three across. (27:08 · 27:12 · 27:29)
- Reflect to take the mirror out, push the stone here, loop round, push the mirror here and reflect up. (27:40 · 27:47 · 27:52)
Puzzle 31
Key idea: a mirror-lock room. Pressing X to use the wand also reflects you, and here a reflection kills you. Every step is about blocking the reflection while you use the wand. (塞德莎 P49 27:56)
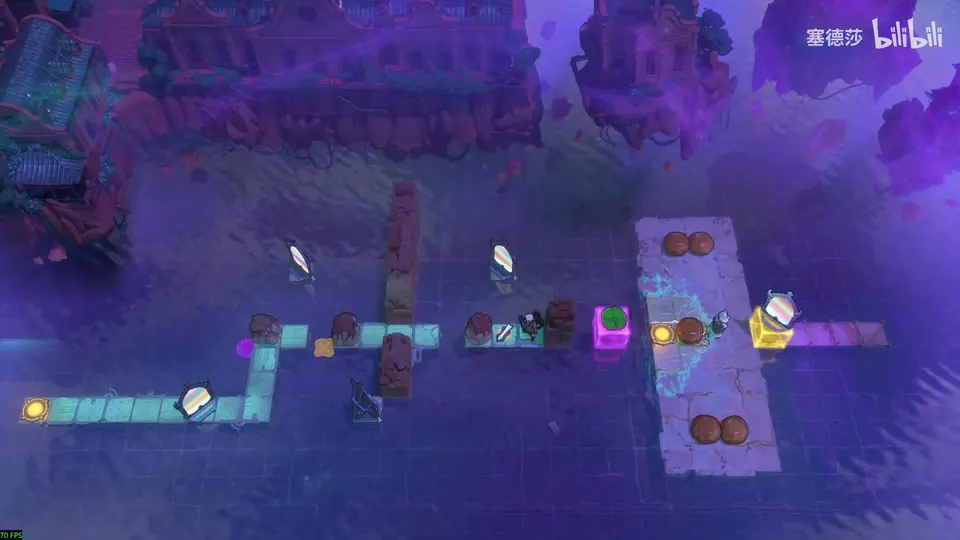
- The first one: block it with a stone. The second: a stone again, in another direction. (28:13 · 28:16)
- The third reflection point can’t be reached, but a new mirror is now unlocked. Mirrors are linked: if the right one can’t reflect, neither can the left. Push this mirror to the far end, carry a stone right, switch characters in slow motion, and when the right one is blocked, use the wand on the left. (28:23 · 28:33 · 28:42 · 28:48 · 28:55)
- The last mirror has to be pushed left again and again, with the lily pad’s help: push the pad down, push left along this row, wait for the pad to come alongside, and while the reflection is blocked push left seven times. (29:00 · 29:05 · 29:15 · 29:20)
Puzzle 32
Key idea: a big star room with three goblins. It looks like a triple kill, but the bottom-left goblin is stuck in the grass and that corner can’t be a purple beam’s end, so it can’t be done. Kill them in pairs instead, and make one of the pairs by merging: two goblins teleported to the same end at the same moment become one. (塞德莎 P49 29:33)
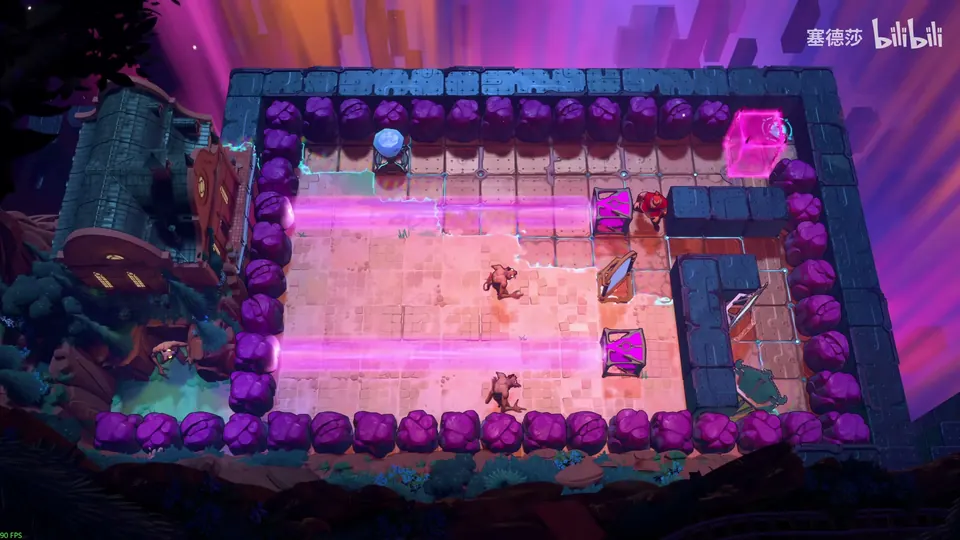
- Why not a triple kill: you’d have to push another goblin past the bottom-left one, and that corner can’t be an end point even with end-teleports. (29:45 · 29:54 · 30:03)
- So kill pairs. As with several purple beams before, copies teleported to the same point at the same time merge, so merge two goblins into one. (30:17 · 30:23 · 30:34 · 30:41)
- Set up the left: one purple beam here (push it left and it end-teleports), the same above (wedge this here), and give them the same end: this mirror here. (30:52 · 30:57 · 31:01 · 31:04)
- Push both at once: make a clone of yourself here, step out and push left in sync. The two goblins become one. Break the gem off, prop it on something and push left all the way: a double kill. Merge your clones again. (31:07 · 31:12 · 31:16 · 31:20 · 31:26)
Puzzle 33
Key idea: the necklace (the West relic that turns a beam to face the way you face). You need the purple beam to point right, but you can’t turn right in this column, and turning right on the beam now would teleport you to its end, infinitely far away. Point the mirror at the gem below so the gem is the end. (塞德莎 P49 32:04)
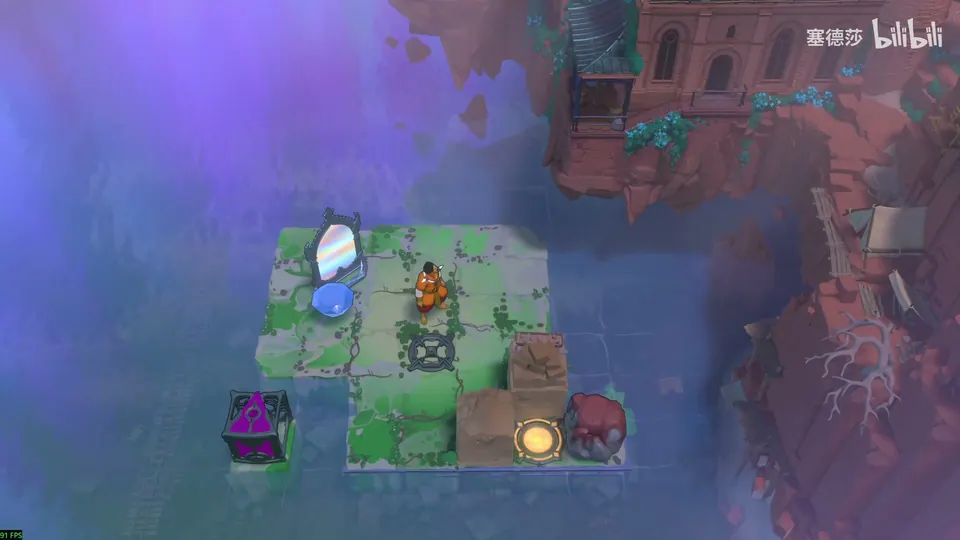
Getting there: the cage here opens from below, so go back and up. This is the necklace area, and at the start you have to turn right or fall in the water. (31:37 · 31:47 · 31:57 · 31:59)
- Pick up the necklace; you need the purple beam pointing right. Activate it. (32:06 · 32:10 · 32:16)
- You can’t turn right in this column, so use the mirror. But you can’t turn right on this beam yet either, or you teleport to its end at infinity and die. (32:18 · 32:27 · 32:36 · 32:40)
- Push the mirror to point at the gem below: the gem becomes the end. Turn right here, teleport to the end, and turn right. (32:45 · 32:48 · 32:55 · 32:59)
Puzzle 34
Key idea: the trap version. It looks like puzzle 33, but this mirror reflects, so turning with X also reflects you into the water. The answer is not to pick up the necklace at the start: reflect first to face right, and only then take it. (塞德莎 P49 33:04)
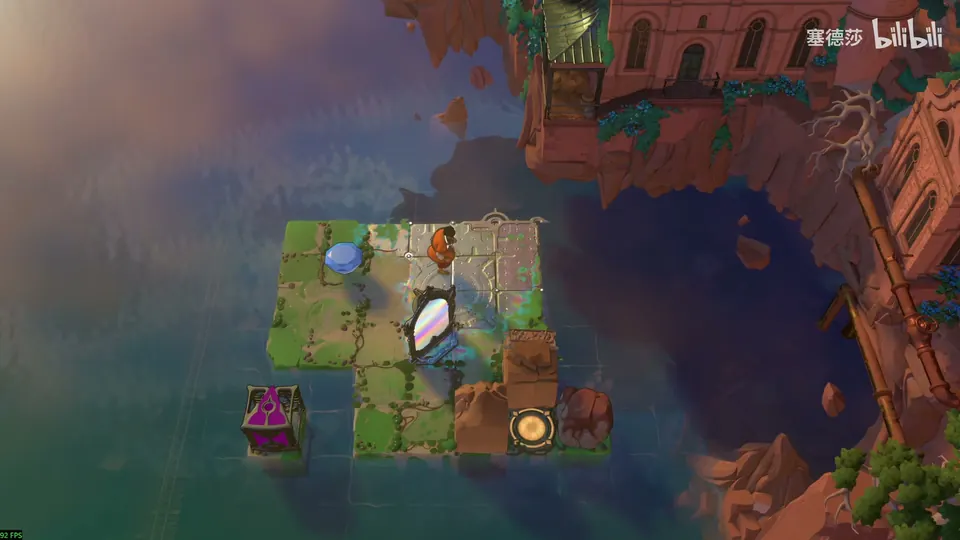
- Try puzzle 33’s way: gem here, mirror here, turn right. X also reflects you, into the water. (33:07 · 33:13 · 33:19 · 33:27)
- Turning by reflection instead: go down this mirror’s column and reflect to face right. But that turns the beam down too early, and you never get to turn it right. (33:36 · 33:46 · 33:59 · 34:06)
- Restart. Don’t take the necklace. Set up like this with the mirror here, keep the beam on, go down here and reflect: you face right, and with no necklace the beam doesn’t turn. Then pick up the necklace and turn. (34:16 · 34:28 · 34:34 · 34:38 · 34:50)
Overworld puzzle 10
Key idea: reaching the top right takes one reflection, but you would land in the water. Turn the beam to point up first, so you stay up. (塞德莎 P49 35:09)
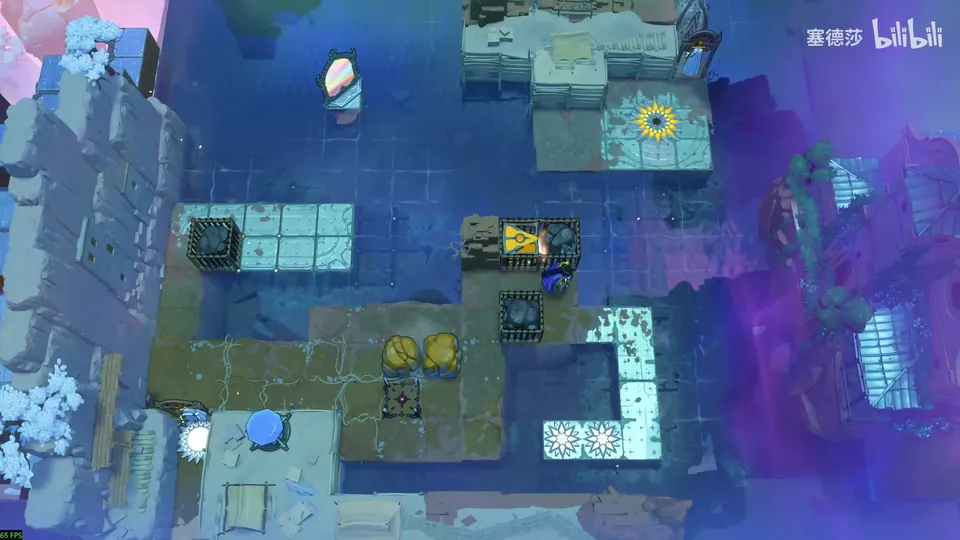
- A reflection takes you there, but it drops you in the water, so point the beam up. (35:13 · 35:15 · 35:20)
- Fill this with the stone to turn it left, then put the stone here and turn it up. The reflection now lands you safely. (35:28 · 35:30 · 35:34 · 35:38)
Puzzle 35
Key idea: three relics at once: the wand, the necklace and the prism. Don’t take them all: X would turn, push and recolour a beam in one go. Work out what each beam needs and pick the relics up in order. (塞德莎 P49 35:43)
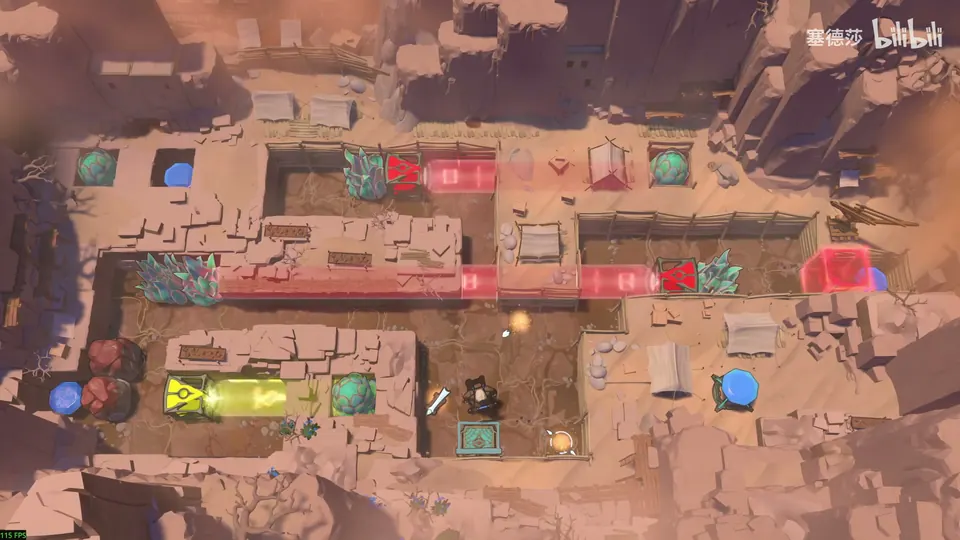
- The three relics: the wand on the left, the necklace that turns beams and the prism that changes their colour. (35:46 · 35:48 · 35:51)
- Take all three and X does everything at once, which is chaos. (35:56 · 36:01 · 36:06)
- Beam by beam: the bottom-left one only needs turning from right to left; the right one needs turning and a push through the grass with the wand; this one needs turning, pushing and a new colour. (36:18 · 36:27 · 36:37 · 36:40)
- So: take the necklace first and turn the bottom-left beam, take the gem; then the wand for the right one; last the prism, turning and recolouring this one. It comes out green; go in and take it. (36:46 · 36:52 · 36:59 · 37:06)
Overworld puzzle 11
Key idea: place the three gems to open the door, then push the emitter up to block the dragon and open the red door, without being burnt or reflected on the way. (塞德莎 P49 37:10)
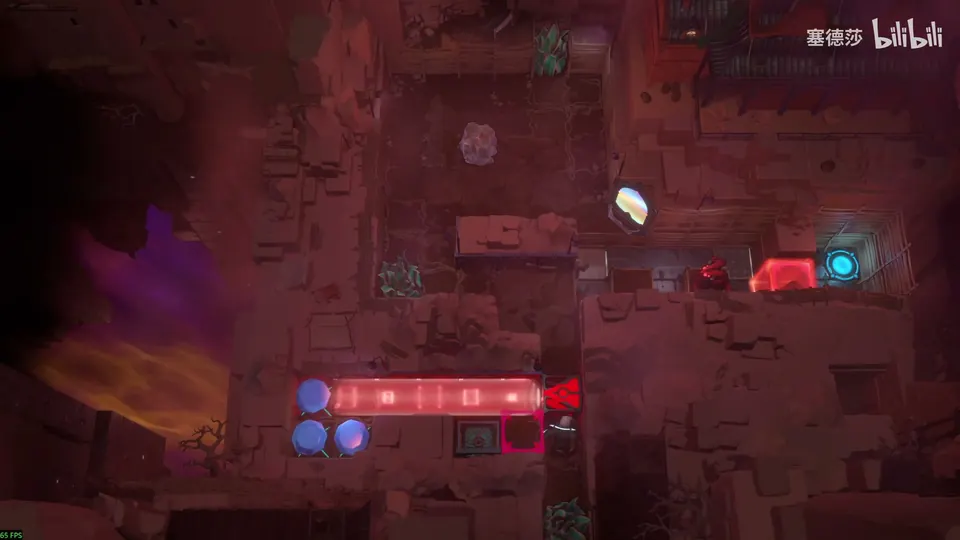
- Put the three gems here and the door opens. (37:12)
- Push this emitter up: it blocks the dragon (you can’t get up otherwise) and opens the red door. Change the beam to another colour first, which is easier to handle. (37:16 · 37:23 · 37:27)
- The beam has to point right, but turning it right there makes you reflect and die. (37:30 · 37:36)
- Block the dragon’s fire line: push the stone here and reflect it into the line. (37:41 · 37:44 · 37:49)
- Push the emitter down: it turns red, which is right. But pushing straight down reflects the stone back and you get burnt, so reflect first, then push right. Fire blocked; go down and open the door. (37:52 · 37:58 · 38:05 · 38:09)
Puzzle 36
Key idea: a small room. The dragon has to breathe left so you can float over the wide water, and the necklace can’t turn fire. Put the dragon on top of the red emitter instead: turn the emitter and the dragon turns with it. (塞德莎 P49 38:25)
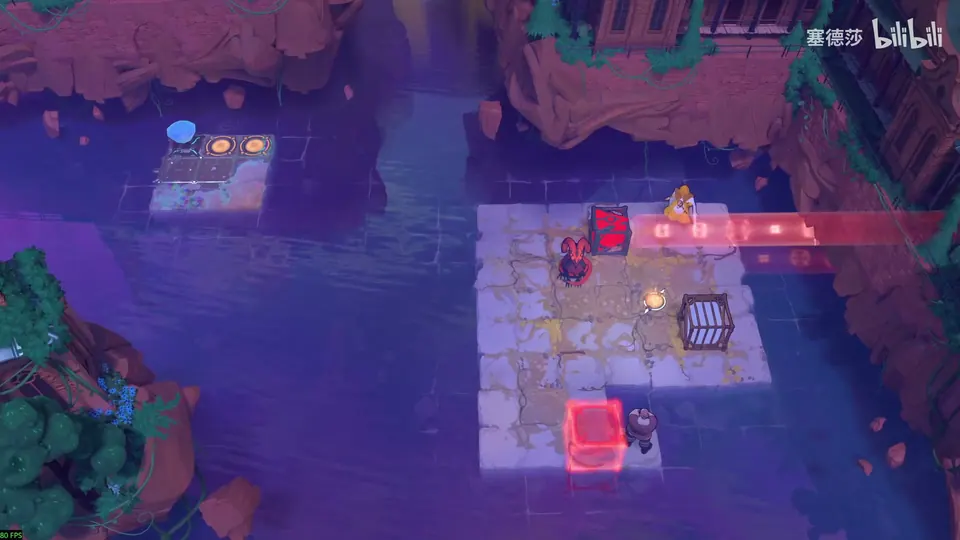
Getting there: this one is open now: go up here and round. (38:20 · 38:27 · 38:31)
- Goal: the dragon breathes left, because you can’t cross this much water without floating. (38:36 · 38:41 · 38:49)
- The necklace doesn’t turn fire. Put the dragon on the red emitter: turn the emitter and the dragon turns too. (38:53 · 39:01 · 39:08)
- The dragon can’t get onto the emitter on the ground, so the emitter goes into the water; the mirror brings the underwater beam back up where you can turn it. (39:26 · 39:33 · 39:42 · 39:44)
- Point the beam up, put the emitter in the suspicious sunken pit and the mirror here. Put the dragon on the emitter and bring the hero with the necklace to turn it right: the emitter turns 90° clockwise and the dragon now faces left. (39:49 · 39:54 · 39:58 · 40:02 · 40:08)
- Push the dragon up, drag it here and you’re through. 塞德莎 then leaves the next area, one huge level, for his next part. (40:21 · 40:25 · 40:43)
Puzzle 37
Double Beams
Key idea: one giant level with many faces, which 塞德莎 reckons is worth at least 30 ordinary rooms. Everything runs on stacked orange beams: one jumps you 2 tiles, each extra beam on the spot doubles it, and a multicoloured beam makes each one count 3. Energy blocks push you while you stand in a beam, adding their direction to the jump. (塞德莎 P50 0:13)
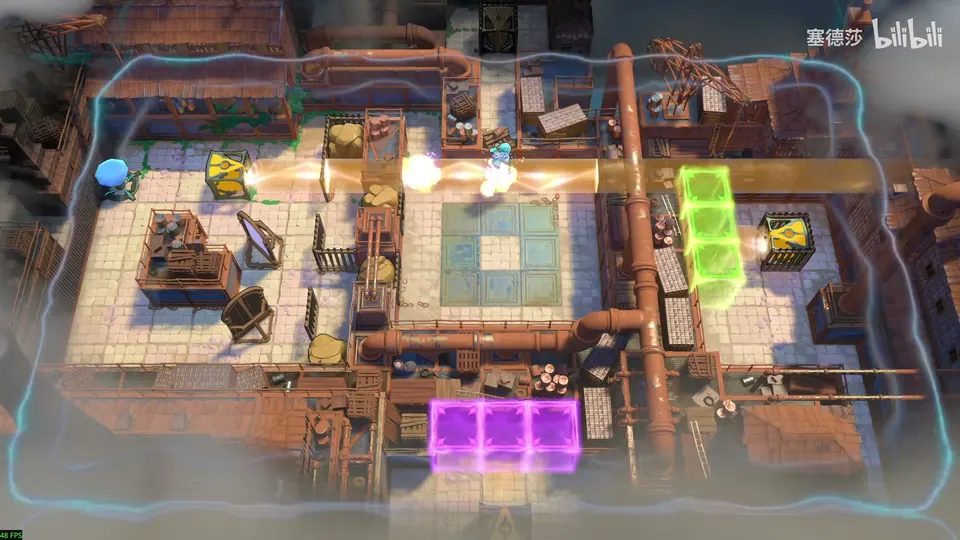
- Go left and activate the orange beam. To get up you must move it, so take it out with a U-shaped detour: the down-left mirror here, the up-left mirror here, jump up from below and push it out. Now it hits here; come up. (0:22 · 0:34 · 0:41 · 0:49 · 0:56)
- Next goal: up through the gap above the cyan energy gate, about four tiles. Press the button inside, then teleport onto the cyan energy block, which pushes up once the button is released. Land on it standing in two orange beams and you jump four, pushed up and through. (1:08 · 1:18 · 1:27 · 1:38 · 1:48 · 2:01)
- Before you press the button you can’t stand in a beam, so the beam here must fire left (a right-firing one would stop you reaching the button). Pressing lets it through and you jump two right. The other beam must fire up, from here. (2:33 · 2:41 · 2:48 · 2:55 · 3:00)
- With the right-firing beam left over: the yellow energy block points up too, so press, jump two left onto it and get pushed up two. Put the right-firing beam here. Then press, jump left, go up; jump right two, pushed up: four. (3:13 · 3:19 · 3:34 · 3:38 · 3:44)
- Kill this goblin by crushing. Push it normally and it shoves everything aside, but when the energy block pushes it left while it stands in two beams it teleports four left into a stone that’s against the wall, and is crushed. Stack two beams here. (3:49 · 4:00 · 4:06 · 4:15 · 4:24)
- You can’t jump this gap yet. Bring the down-firing beam over (watch the parity): a double point appears, so you can reach the spot below and jump four from the edge. Move the two mirrors and push the beam here, then go right and down. (4:34 · 4:40 · 4:47 · 4:52 · 4:59 · 5:03 · 5:13)
- Fill the water hole with the skipping stone. It’s a speed job: push it right and at once overtake it (double jumps are very fast) to stand in front of it. Jumping straight over doesn’t work; the gem is placed so the parity is always wrong. (5:20 · 5:28 · 5:40 · 5:48 · 5:56 · 5:59)
- Hold the bottom-left button: a wall is in the way, so use the orange energy block. Push the stone left past the downward block so it heads down, then jump over with the beam and push it left: the parity works, and it lands on the purple button. (6:08 · 6:22 · 6:28 · 6:38 · 6:48 · 6:58)
- The purple button opens this energy gate, so the beam here is doubled top to bottom: jump four, and back from the left. Now there is a triple crossing worth 8: move this beam to the middle and jump right eight tiles. (7:05 · 7:12 · 7:19 · 7:21 · 7:32 · 7:36)
- This area has the wand. Get the skipping stone onto the green button, one tile below the water line: push it down with the wand while it floats or hovers and it sinks. Set the right-hand mirrors here and here, break the beam line, and place these to make a spiral of light. Hover it here, come above it from the other beam, turn, push down. (7:44 · 7:49 · 8:11 · 8:22 · 8:27 · 8:37 · 8:48 · 8:56 · 9:02 · 9:10 · 9:18)
- That door opens too. Left to right is now doubled (four), and the centre point is quadruple: 16 tiles. Jump from here to the middle, then right. (9:23 · 9:29 · 9:31 · 9:39 · 9:43)
- A lift goes up; on the right is a long S-shaped corridor, skip it for now. Kill two goblins, one of them very high: make a double crossing on the lift, push the goblin onto it and send the lift up. It teleports up four, meets the high goblin and both die. (9:53 · 10:00 · 10:06 · 10:14 · 10:24)
- Push the goblin left a little, set the mirrors here, below and here in a loop, and keep the beam off this spot while you push the goblin. Push it left with the beam, then aim the beam here so the mirror loop fires down and pushes it onto the lift at the crossing. Send the lift up: done, the door opens. (10:34 · 10:41 · 10:47 · 10:58 · 11:08 · 11:17 · 11:26 · 11:32)
- Tip: put this beam here now, which saves a long walk later. (11:40 · 11:44)
- Dropping down here lands you right above the crossing, so it needs a beam firing down: push this mirror here; a button forces a mirror here; put another one here and switch the beam on. That’s five-fold, 32 tiles: jump right from here. (11:57 · 12:04 · 12:11 · 12:18 · 12:26 · 12:32 · 12:41)
- Underground: build a triple crossing in the middle and jump down eight. This mirror here and this one to the left (he pushes it from right to left); that’s double. Detour: push these down; the last is too low, so carry a stone down first. Triple: jump down eight to here and activate it. (12:56 · 13:09 · 13:31 · 13:38 · 13:43 · 13:57 · 14:00 · 14:08 · 14:12)
- That lights the five-fold point above: now six-fold, 64 tiles. Back at the start, jump right. (14:17 · 14:22 · 14:27)
- Knock this lily pad up: it drifts slowly to the block at the top, where a gem lights beams. The 64-tile point also jumps up to the top left, and with the beam pushed in step 14 you zip across the S corridor. From the top left you have to reach the lift below over a gap; the lily pad’s beam gives you one moment to jump it. 塞德莎 compares it to the timed laser puzzle at the treehouse in The Witness. (14:36 · 14:47 · 14:58 · 15:03 · 15:15 · 15:20 · 15:37 · 15:46 · 15:57 · 16:05 · 16:31)
- Jump up from here, wait for the beam and jump down to the second floor. Up there, activate the multicoloured beam: it hits the mirror right above the big crossing. Ride the lily pad back down, through a gap on the way. (16:41 · 16:45 · 16:52 · 16:59 · 17:11 · 17:25 · 17:31)
- Go back up (right, right, the lift, left) to here. Now you see why there was a mirror pointing down: push it aside and swap in this one. The point is five-fold (four sides and one from below) with the multicoloured beam from above, so each beam counts 3: 3⁵ = 243 tiles. Only right works. (17:42 · 17:56 · 18:14 · 18:17 · 18:29 · 18:36 · 18:48 · 18:59 · 19:03)
- A long run of lily pads and currents with beams begins. Two pads block the light at points where you need to stop for a single step: activate one, the next a little later; wait for the first, step once, jump, wait for the second, step back, step forward. (19:09 · 19:23 · 19:31 · 19:35 · 19:40 · 19:44)
- Next you jump left, but later you must turn up, and with the beam still on you’d jump into the water. Make it go away: this pad can be knocked right, out of this block into the previous one. Go back, push away the gem so the beam there stays off, push the beam onto the pad, activate it, cross while it’s on and wait for the pad to leave the block. (19:50 · 20:09 · 20:15 · 20:25 · 20:44 · 20:51 · 20:58 · 21:02)
- Fill this tile and push away the gem at the bottom left to reach the next face: knock the stone left with this pad, jump above it with the beam and push down, ride the pad left and come back. (21:09 · 21:19 · 21:26 · 21:32 · 21:39)
- Ride the leaf up: as it passes a beam you are teleported up without doing anything, the game teaching the next trick. On the next pad that would drop you in the water, so carry the stone on the pad and knock it left as a shield; activate both pads down and it blocks the light. (21:44 · 21:51 · 22:00 · 22:11 · 22:18)
- In this one-tile corridor you will be pushed up two whatever you do, so make sure something is there: set the two pads two tiles apart. Skipping stones here and here, push up, and at the right moment push one onto a pad: you’re pushed up onto the upper pad. (22:23 · 22:35 · 22:41 · 22:46 · 22:54 · 22:58)
- Send a skipping stone left. Pushed directly, the beam makes it ignore the water and stop on the ground beneath. Use the passive teleport instead: knock the pad down, then knock it left, and the stone, activated by the beam, floats off. (23:02 · 23:11 · 23:24 · 23:39 · 23:45)
- Here you get the necklace. Start from the bottom-left pad: the stone passes a beam, activates and knocks the next pad, and so on until it reaches the bottom-left button. Push the beam one tile left and turn it left (a gem below would block it otherwise), push the stone here and activate; as it passes, it floats up: turn the beam up, right, then down. Jump to the exit with the orange beam. (23:51 · 23:59 · 24:26 · 24:30 · 24:39 · 24:44 · 24:52 · 25:03)
- Two beams overlap here, so anything passing jumps four. A pad reaching the first tile teleports, but if you block the landing it hovers. All three tiles must end with a hovering pad, and the first pad must not stop on the first tile. Let it jump, push the stone onto it, let it drift to the second point and jump again, push it up, and block it on the third. Repeat twice more, then go down to the next face. (25:08 · 25:25 · 25:37 · 25:43 · 25:52 · 26:07 · 26:17 · 26:37 · 26:43)
- Three pads with ordinary stones, and a platform three high above them. Light the beam on the platform and keep that height all the way to the three-high platform at the bottom left, stepping over the pads. Gather the pads, set the beams above (the left-firing one over the current, the down-firing one here for the turn), activate the pads and come up. Jump left; it’s four tiles, so dropping four puts you on the ground below, which holds you. (26:51 · 27:00 · 27:18 · 27:36 · 27:44 · 27:49 · 28:05 · 28:11 · 28:21)
- You are back where you set off with the 243-tile jump. Two water holes are left before the exit and you have one skipping stone. Look up: something is hidden above, behind a wall. Push that stone back down: one fills each hole, and the level is done. (28:29 · 28:37 · 28:46 · 29:11 · 29:19 · 29:26 · 29:35 · 29:37)
Puzzle 38
All Three Together
Key idea: the only room in this zone, mixing three worlds. The Cleric has to float left, which needs a dragon breathing left; turn the dragon with a mirror, as a reflection turns it from facing up to facing left. (塞德莎 P50 30:00)
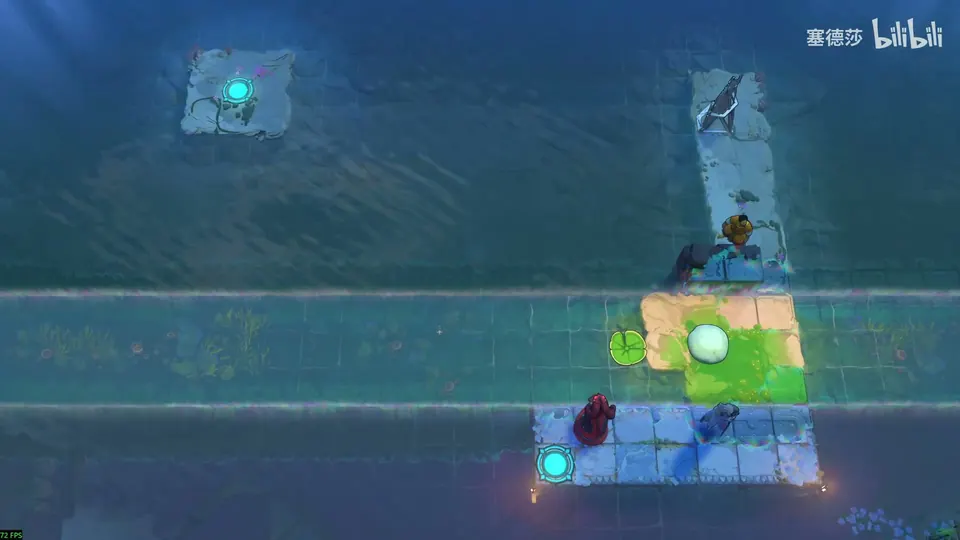
Getting there: push the stone away at the end of Double Beams and go up. (29:57 · 30:03)
- Move the mirror a little, push the skipping stone first, then push the dragon up onto the lily pad. (30:39 · 30:49 · 30:53)
- Before you start the pad, move the Cleric to the crossing where the reflection will happen, or you can’t get up there once the dragon is on the right. (30:57 · 31:04 · 31:10)
- Start the pad, wait for the dragon to reach the mirror and reflect: in the crossfire the Cleric floats over to the exit. (31:13 · 31:14 · 31:16 · 31:18)
That’s all of the east for now. 塞德莎 can’t go further up from here yet: the stone in the way has to be pushed from above, so this route stays unfinished in his series (P50 31:47). He heads back to the crossroads and moves on to the South in his next part.