Spoilers: this page covers the second stage of Order of the Sinking Star, after the first ending. It sticks to puzzle solutions, but the zone names and layouts give away second-stage content. If you haven’t finished The Antipode yet, you may want to stop here.
High Heroes is the Heroes part of Antipode High, the upper layer that opens after the first ending (see how to ascend). It is the High counterpart of the Hearty Heroes of Hauling: the same party of heroes, but now every room has height. Things stack, fall and land on each other, and each hero gets a new trick that only makes sense in three dimensions. This page solves all 66 puzzles and the 3 overworld puzzles between them. Reaching the area unlocks the Steam achievement High Heroes (“Reach the Heroes part of Antipode High”; see all achievements).
Where it is: from Crossroads High, the hub where the second stage begins, go through its North gate room and head north; 塞德莎 tackles the north first. 塞德莎 labels the map tiles N1, N2, N2W1 and N3W1 (his part 26), N1E1, N2E2 and N3E3 (part 27), N3E1, N3E2, N4E1, N5E1, N5E2 and N4E2 (part 28) and N3, N4, N4W1 and N5W1 (part 30).
How to use this page: there was no English solution video for these rooms yet when we wrote it, so the numbers follow 塞德莎’s narrated walkthrough, counted straight through his parts 26, 27, 28 and 30. The one exception is puzzle 65, the Protection and Support big star on his tile N4W1: it needs a skipping stone from the South part, so he skipped it in part 30 and solved it in part 35. We put it with the rest of its zone. Each heading has the key idea and a link to the moment the room starts; the numbered steps link to the second where he explains that move. Short walks on the area map between rooms are folded into a Getting there line.
Zones at a glance (Chinese names as shown in 塞德莎’s game; Heroes and Depth, Stacks and Water and Protection and Support are confirmed English names, the others are our translations and unconfirmed):
| Zone (塞德莎’s Chinese name) | Puzzles | 塞德莎 part |
|---|---|---|
| Heroes and Depth (英雄与第三维度) | 1–20, 31–41 | P26, P28 |
| Stacks and Water (堆叠与水) | 21–24 | P27 |
| Archways (拱门) | 25–28 | P27 |
| Mirrors and Buttons (魔镜与按钮) | 29–30 | P27 |
| Charm and Stacking (魅惑与堆叠) | 42–51 | P28 |
| Protection and Support (防护与支撑) | 52–65 | P30, P35 |
| Top of the World (世界之巅) | 66 | P30 |
| Path of Heroes (英雄之路) | Overworld puzzle 3 | P30 |
The name card for each zone appears when you walk into it, so the exact border between two neighbouring zones is approximate.
Rules that matter here
- Falling crushes. Anything that drops onto a hero from above kills them, whoever they are and however small the drop. 塞德莎 draws this out at P27 7:57. The same works on monsters: drop a stone or crystal onto a goblin or dragon to kill it (P26 23:47). A hero who falls onto a monster does not kill it.
- Strength decides what you can carry. Something placed level onto a hero’s head (no fall) is safe only if the hero is strong enough: the Warrior can hold a whole stack, the Sailor, the Trader and your overworld character hold one thing, and the “weak” heroes (Thief, Wizard, Cleric, Bard, Druid and the Explorer) hold nothing (P26 22:26, P27 7:57). A hero with no push can’t carry anyone, so the Thief can’t carry the Warrior, but the Warrior can carry the Thief.
- The Thief pulls any weight, even a whole stack (P26 7:16).
- Goblins in pits kill whatever stands on their heads, heroes included, and a crystal pushed onto a pit goblin can only be swapped out, not taken back (P26 12:51).
- The Druid in 3D. He can turn a crystal into a plant while it is falling, which leaves a plant (a platform) hanging at that height. Very tall plant roots let fire through, and a root can trap a goblin or a cart inside it (P26 29:48, P26 35:30, P26 42:48).
- The Wizard in 3D. He can swap with something while he is falling, but not in the same instant he steps off a ledge (P28 6:17, P28 9:32).
- The Bard in 3D. His song reaches a 5×5×5 cube around him, two tiles up and down as well (P28 23:17). When he moves a stack he controls, the bottom item moves one tile, the one on top of it two, the next three (P28 30:17). He can’t control a skipping crystal stone while it slides (P28 45:50).
- Cleric protection makes heroes float. A protected hero standing in a monster’s line floats, so two stacked heroes under protection have no weight on each other: the bottom one can walk out from under the top one, and a Cleric can ride on someone’s head (P30 6:37, P30 14:10).
- Arches and low ceilings knock the top of a stack off as it passes under (P27 7:18).
- Travel aids. Press V on a one-way teleporter to warp to the tile marked with a crack pattern; teleporting doesn’t reset the area map (P26 1:41, P30 1:31). Many rooms have a map you can pick up for an overhead view (Tab).
Puzzle 1
Heroes and Depth (英雄与第三维度)
Key idea: the first lesson in stacking. One hero stands as a step so the other can climb, and the stone moves in short back-and-forth pushes while your teammate rides along. (塞德莎 P26 0:21)
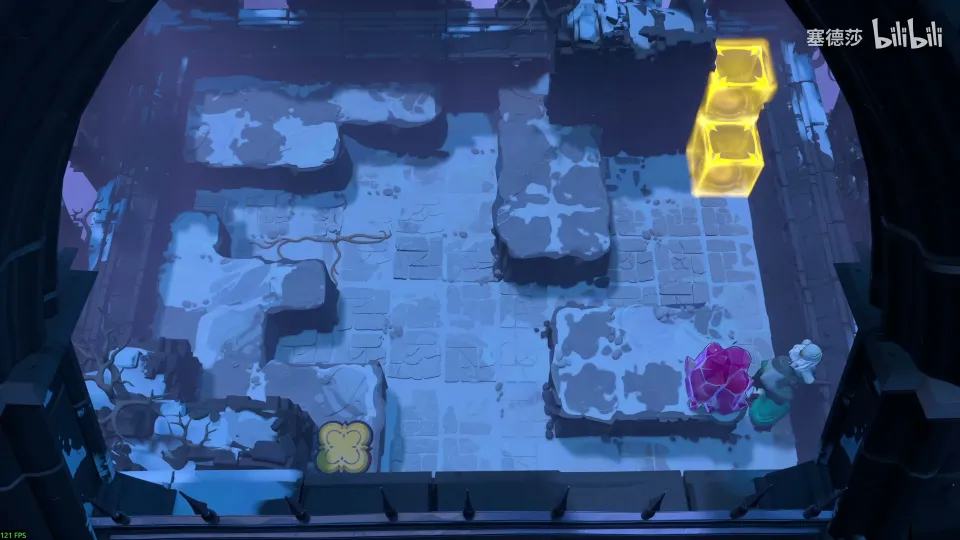
- Push the stone a little left, then up; one hero has to stand underneath as a step. (0:31)
- You could carry the stone off now, but your teammate is stuck on top, so push it up first and climb onto it. (0:41)
- Use the same back-and-forth to reach the top-left; here it no longer works, so move the crystal below instead and loop round. (1:00)
- Put the stone in its last spot, carry a teammate over on top, push the stone down and walk your teammate to the exit. (1:21)
Puzzle 2
Key idea: a planning room. Six stones go onto six buttons, so decide which stone goes where before moving anything. The top-right button only works after the last stone fills a small gap that lets you push from the left. (塞德莎 P26 2:12)
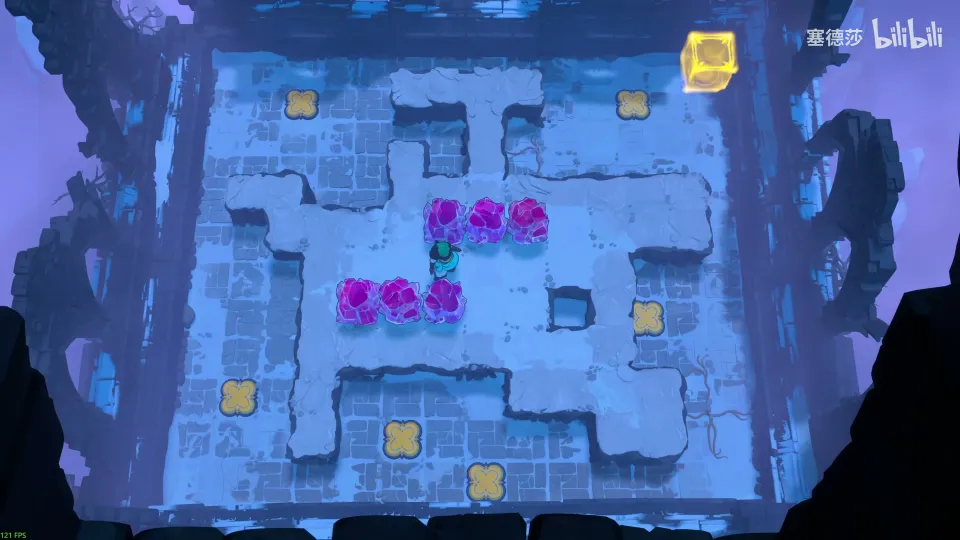
Getting there: this is the first one-way teleporter: stand on it and press V to warp to the tile with the crack pattern. Stack the three unlocked crystals to reach the room. (1:41)
- The bottom-left button is two tiles from the ledge, so it can only be reached by pushing stones off the ledge; that fixes where the edge stone goes. 塞德莎 marks every stone’s target before moving. (2:25)
- Place the bottom-left stone first, then one more and the bottom-right one. (4:18)
- Put a stone down as a step, go round over the top and push the rest anticlockwise. (4:37)
- Before stepping on the last button, push the one remaining stone; then take the last one out, right and up. (4:47)
Puzzle 3
Key idea: a short room: drop one stone and push it down onto the button with the Warrior. (塞德莎 P26 5:23)
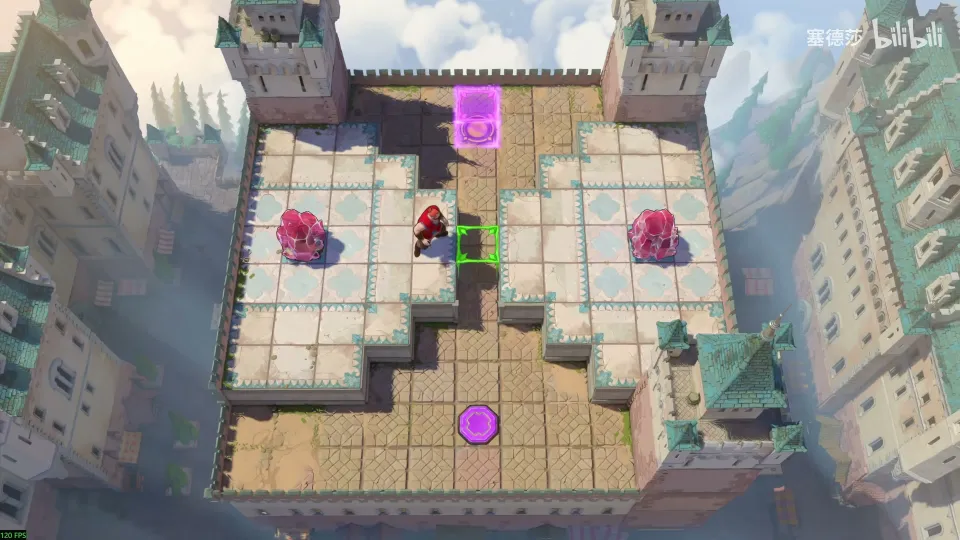
Getting there: move the three stones onto the three tiles in the middle to cross to the right, then head up. 塞德莎 points out a red sign on the way. (5:02)
Puzzle 4
Key idea: the same room with the Thief instead of the Warrior. Pull the stone onto the button and hold it there; the method is the same. (塞德莎 P26 5:58)
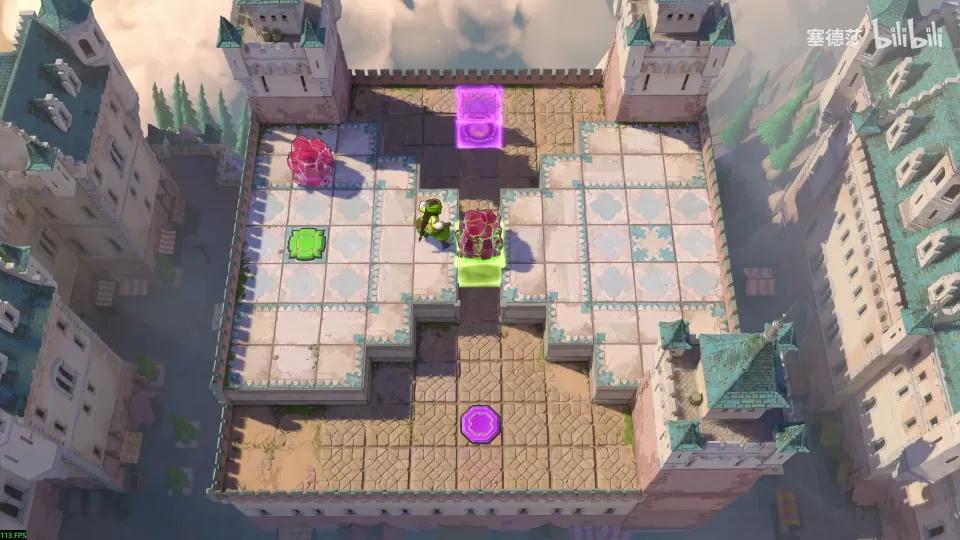
- Pull the stone onto the button and keep it pressed. (5:58)
- Finish exactly as in puzzle 3. After this room the name card “英雄与第三维度” (Heroes and Depth) appears. (6:29)
Puzzle 5
Key idea: the Explorer has to stay up high all the way, and the Thief can pull a whole stack, however heavy. Bring crystals in as a relay so the Explorer always has the next one to step onto. (塞德莎 P26 6:49)
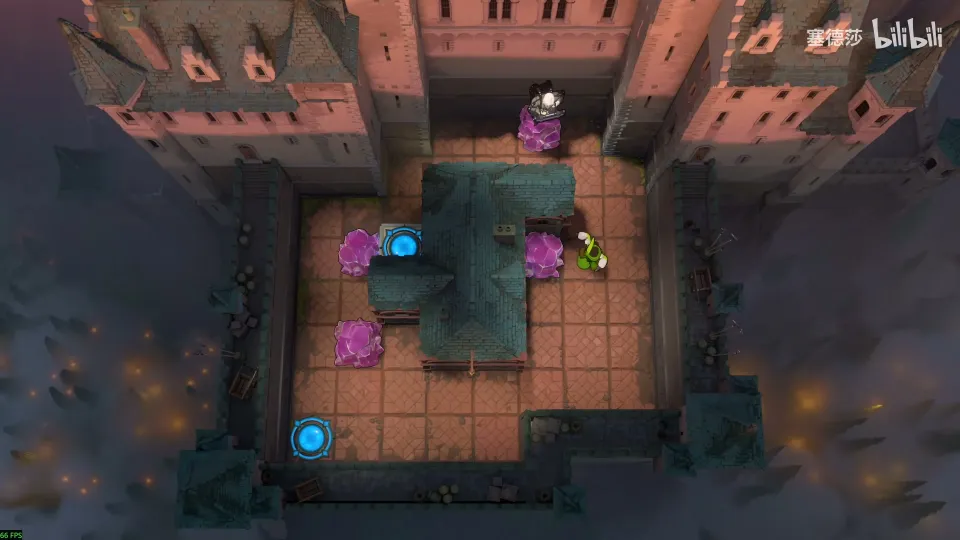
Getting there: put the stone on the button, change into the Thief costume, pull to the right so you step onto the rising energy block, then let go of the button to be lifted onto the right-hand platform. (6:39)
- The Thief can pull the two stacked objects together; 塞德莎 notes this hasn’t come up before. (7:16)
- Pull the Explorer’s stone to the marked spot, then pull another stone up beside it. (7:37)
- Swap shifts: the Explorer steps across, and you bring the next stone. Mind the order: this one first, then that one. (7:58)
- Drag the last one to the exit with the Explorer on it. (8:10)
Puzzle 6
Key idea: the goblin on the high purple energy block must fall onto the goblin at the exit, so you have to let go of its button. Only the bottom-left of the three goblins on the left can be brought out to do the holding. (塞德莎 P26 8:20)
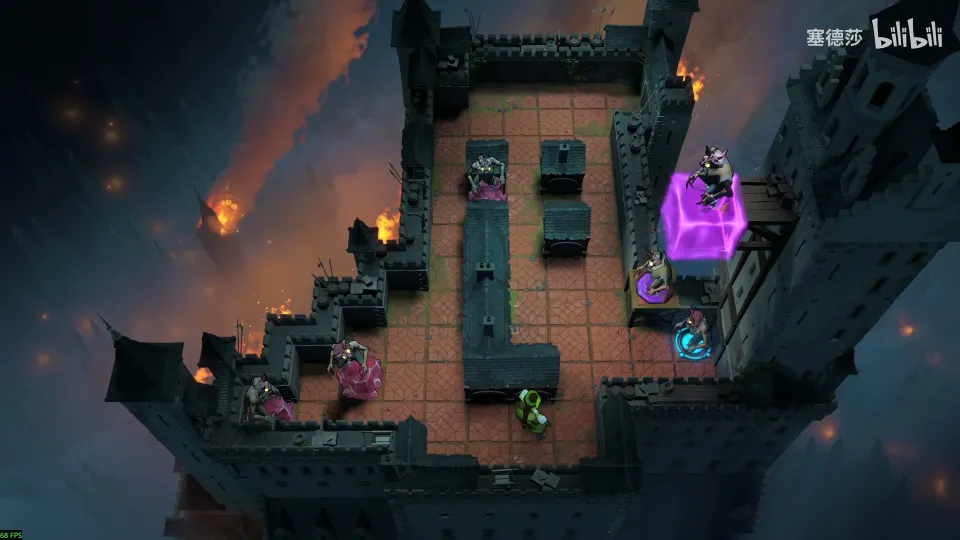
- The goblin right in front of you and the next one can’t leave their rows; only the bottom-left one can. Move the blocker away and bring it over. (8:40)
- Pull this one first or it causes trouble later, then pull it into the right-hand column and back. (9:11)
- Trap: when the goblin drops and kills the other, it then lands on you. A drop takes a moment, so walk off straight away after the kill. (9:33)
Puzzle 7
Key idea: two goblins at the same height have to meet. Neither tower can be dragged down a level, so park one at a corner and bring the other tower over, then pull its top half off with a single crystal. (塞德莎 P26 10:04)
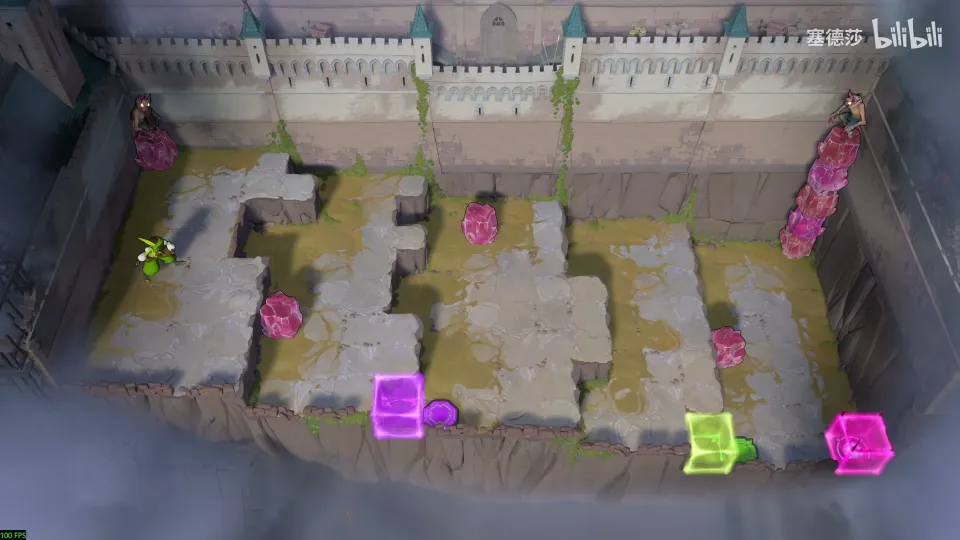
- Pull one crystal to this side, then go down and pull another to the edge. The button with a rising block next to it lifts you straight back up. (10:10)
- You can’t drag the crystal tower carrying a goblin down to the next level, so leave it on the tile that sticks out. (10:33)
- Bring the top-right tower over into the column just right of the lone crystal. (11:09)
- From the top, use that crystal to pull back the upper half of the tower, and the two goblins meet. (11:18)
Puzzle 8
Key idea: goblins standing in floor pits kill whatever lands on their heads, heroes included. Ferry the crystal with the big blue exit dot to the pit on the middle right, and remember a crystal on a pit goblin can only be swapped for another one. (塞德莎 P26 12:51)
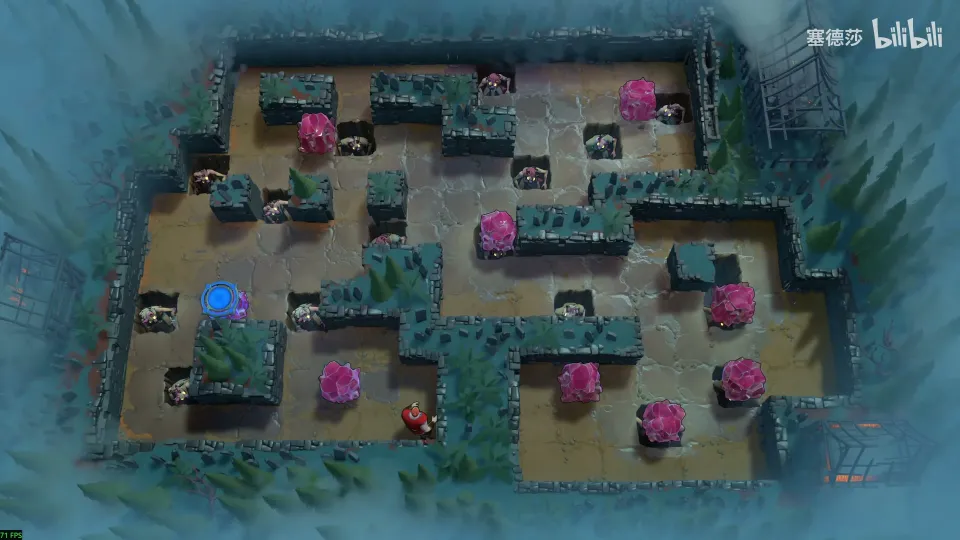
Getting there: on the area map, use the two freed goblins to reach the high platform on the left. Push the stone right, switch to the Thief, take the stone out, push the goblin up to the edge, then push from the left of the row with a stone behind it: the two goblins kill each other and the energy block rises. (11:50)
- First push the exit crystal back to here. (13:12)
- Once a crystal sits on a goblin’s head you can’t take it off, only swap it, so plan to trap as few crystals as possible. (13:27)
- Push a crystal onto this goblin early so you can push it back down later and keep going right. (13:54)
- Swap your way along. (14:21)
- At the bottom right, swap out the target crystal, then set stones so the Warrior can push up from below. Fetch the stone from the left by sliding another one in first. (14:41)
Puzzle 9
Key idea: five dragons and a crystal, and you need six objects to pave a path to the high platform: four to walk on and two to push from. Place the dragons so none of them burns another. (塞德莎 P26 15:40)
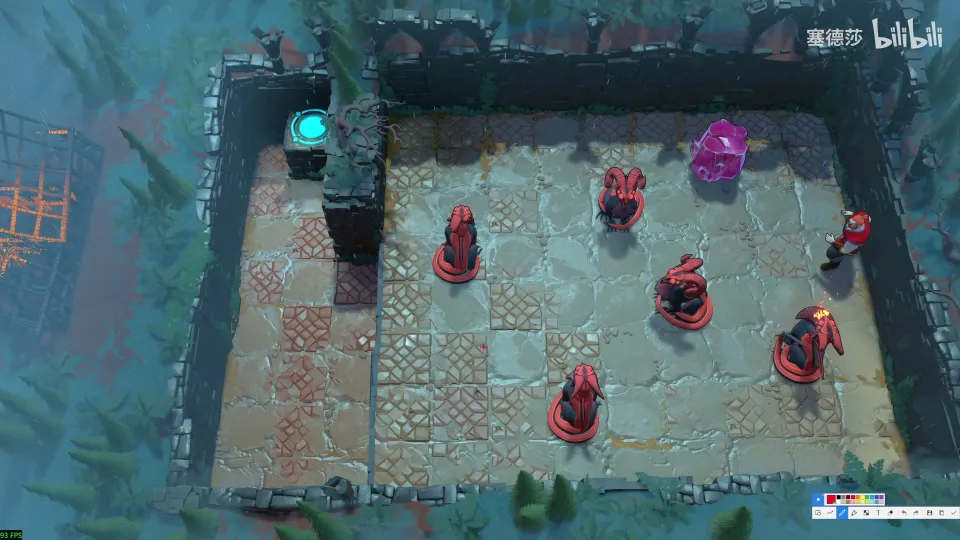
- Plan the six spots. Start with the three up-facing dragons: two of them fit where their fire just hits a wall; then fit the rest so no dragon’s fire reaches another. 塞德莎 shows two different layouts that both work. (15:43)
- Push the up-facing dragon up two tiles, then take the stone out and wedge it where it blocks the fire of the down- and left-facing dragons. (18:03)
- Push the leftmost dragon down, then the next. (18:22)
- Push the last ones in and walk up. (18:35)
Overworld puzzle 1
Key idea: of the three paths, the right and the top are caged for now. Go top-left and push the big red stone all the way left to pave a road to the three rooms there. (塞德莎 P26 18:56)
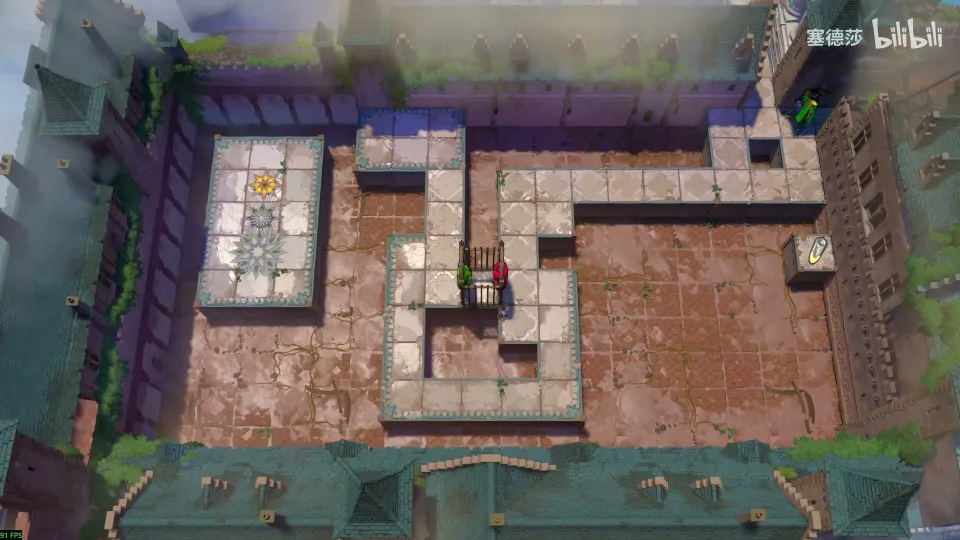
- Move the stone, switch to the Thief costume and pull it down, then the Warrior costume to push. Changing costumes is a long walk each time. (19:43)
- Optional: a detour pushes the stone so you can reach an audio log. (20:18)
- Without the log, push it left, then alternate Thief pulls and Warrior pushes down and left until it fills the gap. (20:39)
Puzzle 10
Key idea: carry the crystal from the high platform on the left to the button on the right. Only the Warrior can carry: if the Thief is underneath, anyone who climbs on is crushed, because a hero with no push can’t hold anything. (塞德莎 P26 21:25)
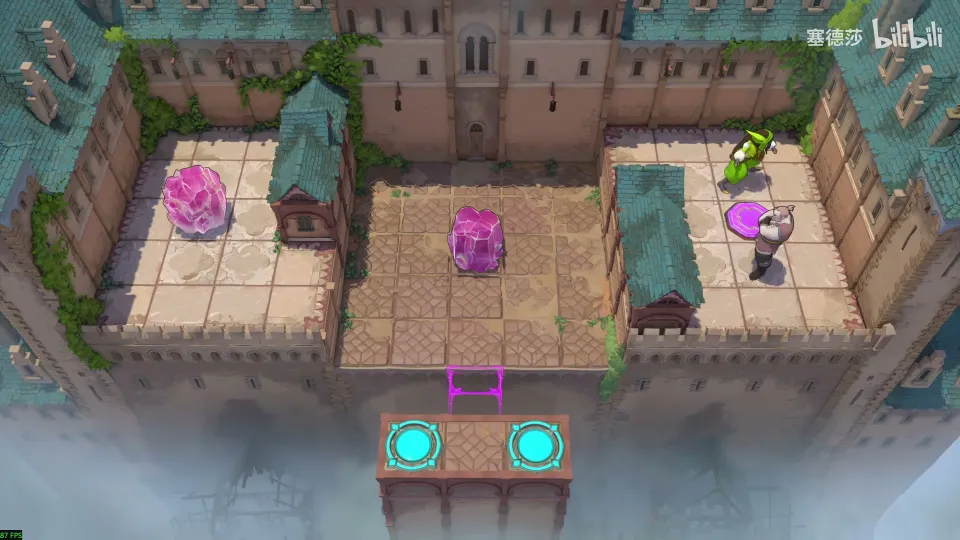
- Watch the demonstration: Warrior on top of the Thief dies; Thief on top of the Warrior works. (21:56)
- Park the Thief up top out of the way. (23:03)
- Put the crystal here, load it onto the Warrior’s head, push the stone the Thief stands on to the far right and pull it up. (23:25)
Puzzle 11
Key idea: a new way to kill: drop something on the monster. Learn it on the first monster, then use it on the remaining two. (塞德莎 P26 23:47)
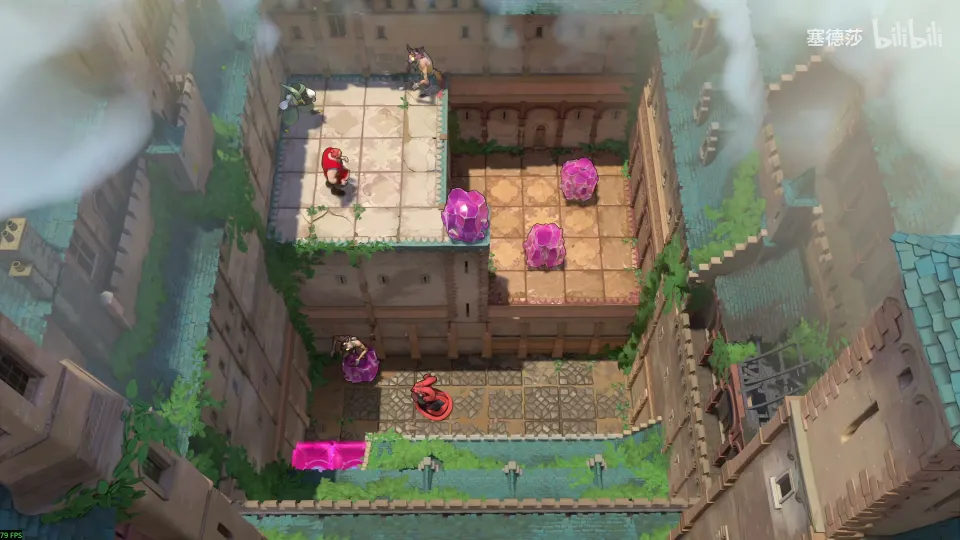
- Push the monster down with the crystal, then keep pushing the stone: it drops onto the monster. (23:59)
- Take the box off the edge, send the Thief down, pull the goblin over and drop a stone onto it. (24:09)
- For the dragon, pull it over, then push the last two stones down here: one as a step, one onto the dragon. (24:29)
Puzzle 12
Key idea: a big star puzzle in five stages, all about getting an object from high up down to the ground. Each stage gives you a different way to remove what’s underneath. (塞德莎 P26 24:49)
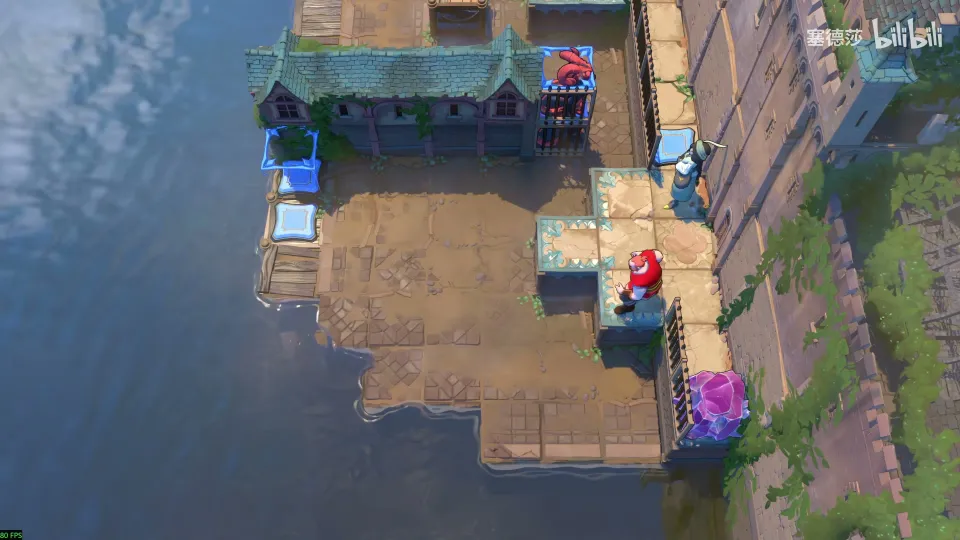
- Stage 1: the room is cramped. Shuffle the Thief and the Warrior so the Warrior can push the crystal down, then the Warrior presses the two lower buttons and the Thief the high third one. (24:55)
- Stage 2: let the Warrior stand as a step and pull the crystal onto his head. Then reflect the Warrior away with the mirror: the crystal doesn’t travel with him and drops. (25:45)
- Stage 3: pull the crystal onto a dragon’s head, then let the other dragon burn that dragon so the crystal drops. Push dragon and crystal onto the two top-left buttons. (26:45)
- Stage 4: the only place the crystal can drop through is the red gate. Bring the red beam over to open it under the crystal. (27:38)
- Stage 5: nothing can be pulled out from underneath, so sink it instead: pull the gem onto one of two stones and send both stones into the water. (28:20)
Puzzle 13
Key idea: five heroes and several monsters, and the only weapon is a falling object. Heroes falling on monsters do nothing, so the Druid turns a teammate into a crystal and you drop that. (塞德莎 P26 30:25)
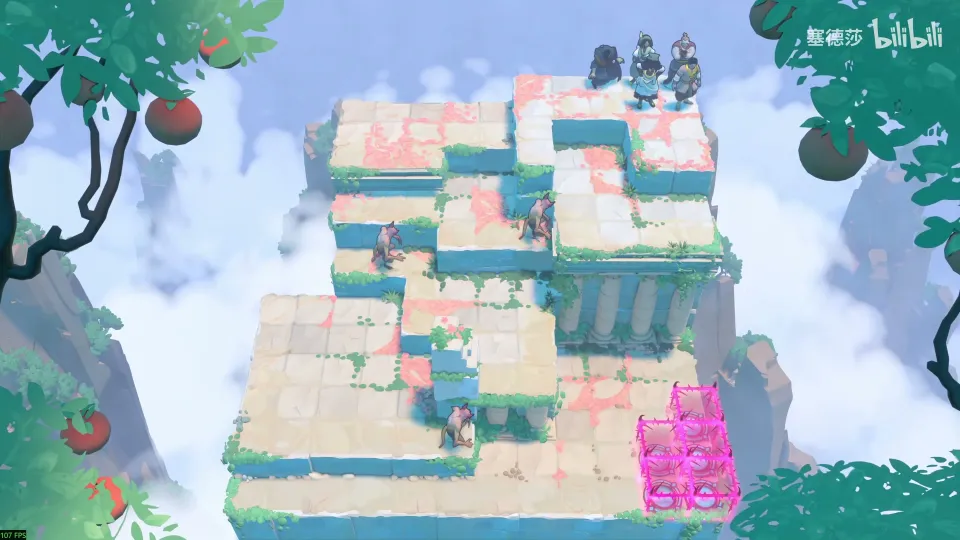
Getting there: in the single room on the area map, wait for the robot to block the dragon’s fire before you cross. Very tall plant roots let fire through, so turn this plant first to block it; there is a teleporter here too. (29:39)
- Falling heroes don’t stomp monsters, Mario-style. (30:45)
- Turn the least useful hero (the Thief) into a crystal and drop it. (31:25)
- The next one needs two crystals stacked, or simply a hero underneath. (31:47)
- The last monster: push it right to a lower spot with a crystal under it, keep a hero (the Sailor) waiting up top, then the Warrior pushes the stack and the Sailor drops the last one. (32:31)
Puzzle 14
Key idea: the two monsters can’t meet, so both die from falling objects, but there’s only one crystal. The odd little platform above is the answer: drop a teammate off it and have the Druid turn them into a crystal in mid-air. (塞德莎 P26 33:39)
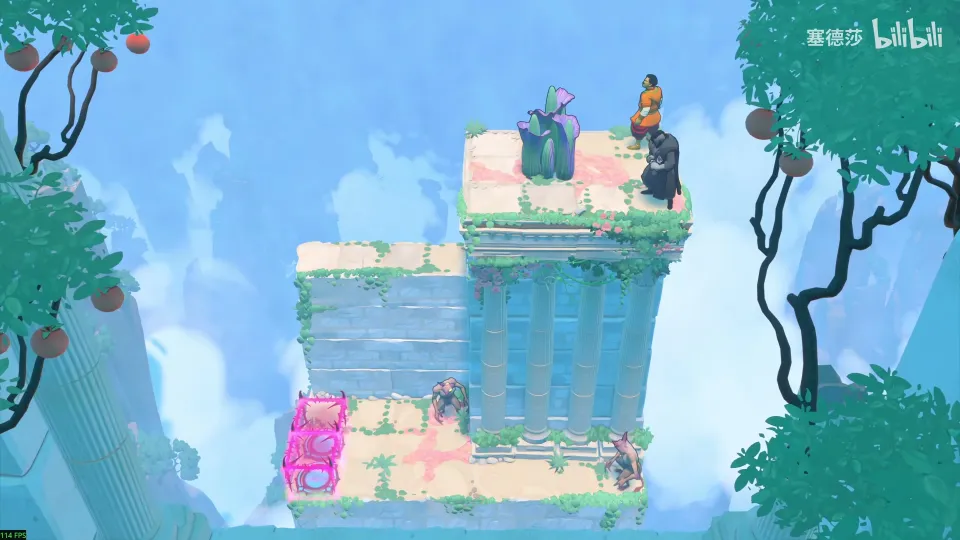
- The bottom-right monster can only be killed with the crystal that’s already there. Drop it. (33:50)
- For the other, step off the high platform, slow down, and switch to the Druid to turn your teammate into a crystal in mid-air. (34:41)
Puzzle 15
Key idea: the plant on top is not one crystal but two: a second crystal hides inside its roots. With the Druid on the second level, turn the top half of that two-high crystal into a plant to pin it on the button while the Thief lets go. (塞德莎 P26 35:51)
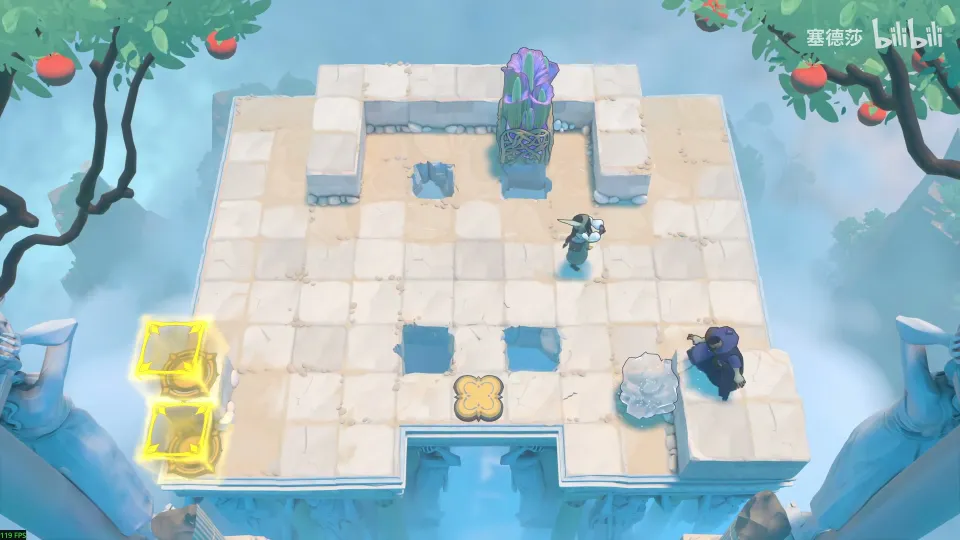
Getting there: the second floor has a dragon in the way. Reset, wait for the robot to block the fire, and use the new trick: the Druid can turn a falling object into a plant, which changes the plant’s height so it blocks the fire. (35:20)
- Look at the plant: its roots hide a crystal, so it is two crystals tall. (36:02)
- Pull the two-high crystal onto the button, then have the Druid on level two turn the top crystal into a plant so the Thief can’t drag it off. (36:34)
- Use the same trick to stop it in the middle on the way out. (37:03)
- Place the Druid, set it up, turn it into a plant, let go and turn it back. (37:34)
Puzzle 16
Key idea: a crystal turned into a plant in mid-air becomes a platform at that height. One gives you a step of height one; stack a second crystal first for a step of height two. (塞德莎 P26 38:10)
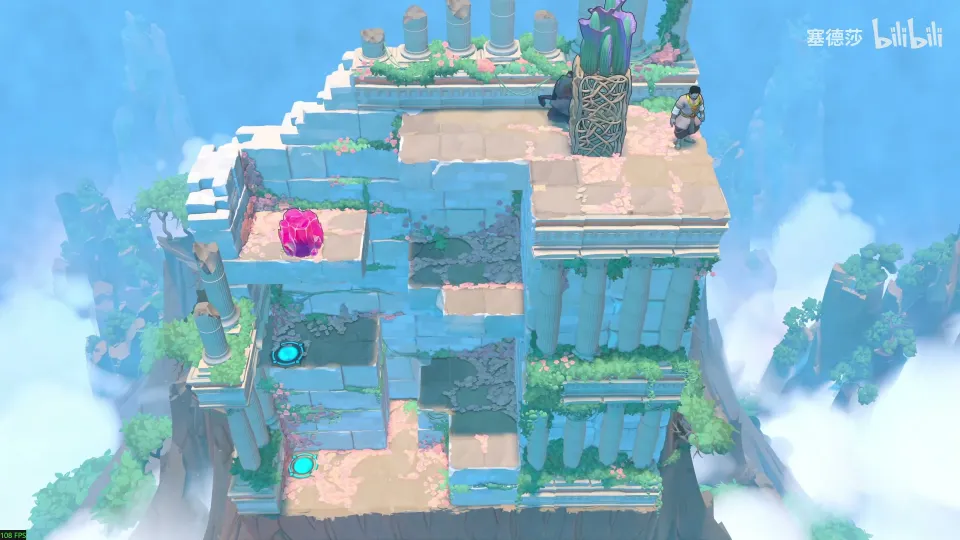
- The crystal at the top left will be useful, so send the Trader to it. (38:19)
- From the third level, drop the crystal and turn it into a plant in mid-air; walk across it. (38:26)
- The high exit is two above the bottom-right platform, so put a second crystal on top first, then drop and stop it in mid-air for a two-high step. (38:58)
Puzzle 17
Key idea: a big star puzzle with a purple end beam. The Warrior needs a path of six gaps; the last four are two deep, so fill them with crystals turned into plants in mid-air. The Druid triggers that from afar by touching the end of the purple beam. (塞德莎 P26 39:33)
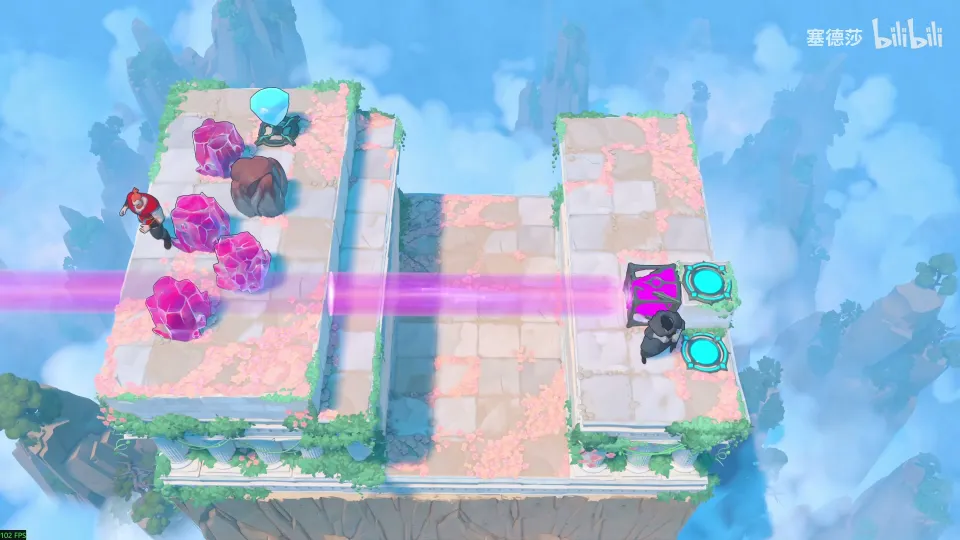
- The first gap takes any pushed stone; the next four are two deep. (39:53)
- Push a stone in to block the beam, so its end is no longer at infinity. (40:32)
- With the Druid in the beam, push a crystal down, and as it falls past, touch the end: it becomes a rooted plant. (40:41)
- Repeat for the next gaps. (41:02)
- The Druid can’t carry anyone, so for the last step push the gem from the top-left into place. (41:16)
Overworld puzzle 2
Key idea: three bonus rooms sit under the fence on the right, but a dragon guards the way in. Block both fire heights for good, using the passing cart and the unused plant. (塞德莎 P26 41:39)
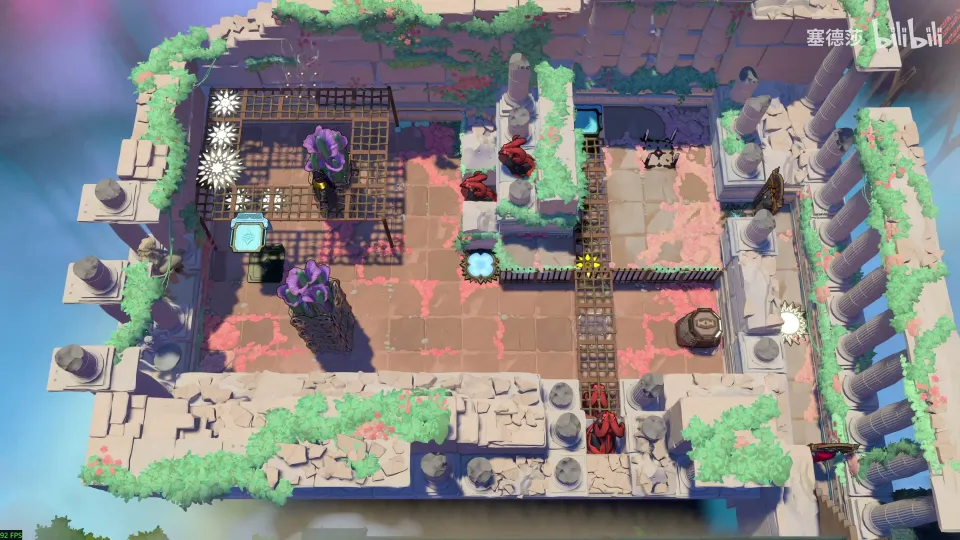
- As the cart reaches the plant’s tile, turn the plant into a crystal: the crystal lands on the cart and rides along, and the fence knocks it off at the second level, where it blocks that fire. (41:58)
- When the cart comes back, turn the crystal into a plant: its roots trap the cart, which now blocks the first level. (42:34)
Puzzle 18
Key idea: a bonus room. Several heroes can move the crystal to the top right; 塞德莎 uses the Thief and the Wizard and leaves the Bard out. (塞德莎 P26 43:10)
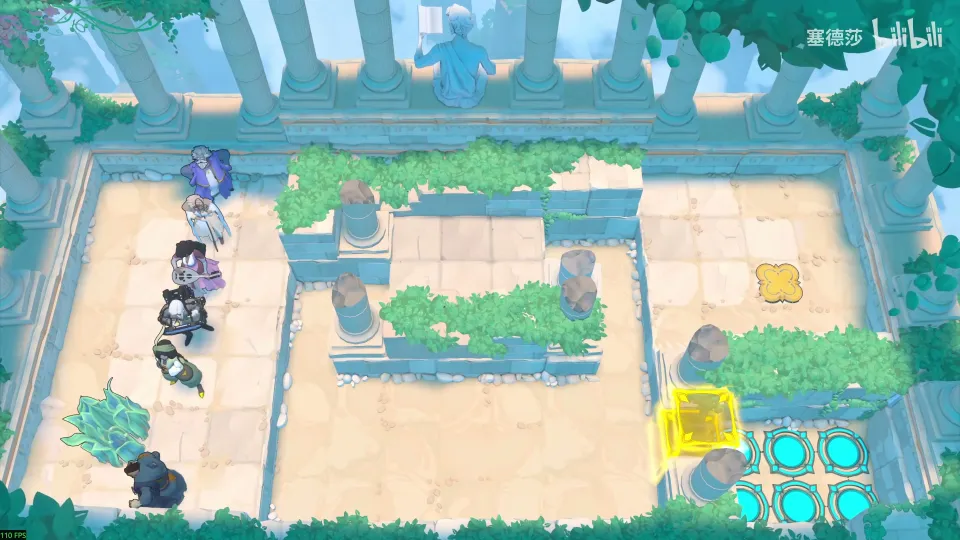
- The Wizard, the Thief and the Bard can all move the crystal; Thief plus Wizard is enough. (43:20)
- Send two weak heroes down as steps; since they can’t carry anyone, the Druid turns them into crystals. (43:50)
- Thief pulls the crystal, the Wizard swaps into place. (44:11)
- Bring the others back and walk everyone to the exit. (45:02)
Puzzle 19
Key idea: a bonus room. A plant’s roots can cover a goblin so it can’t attack. Cover the two goblins in the way (the red and the yellow one) and walk through. (塞德莎 P26 45:47)
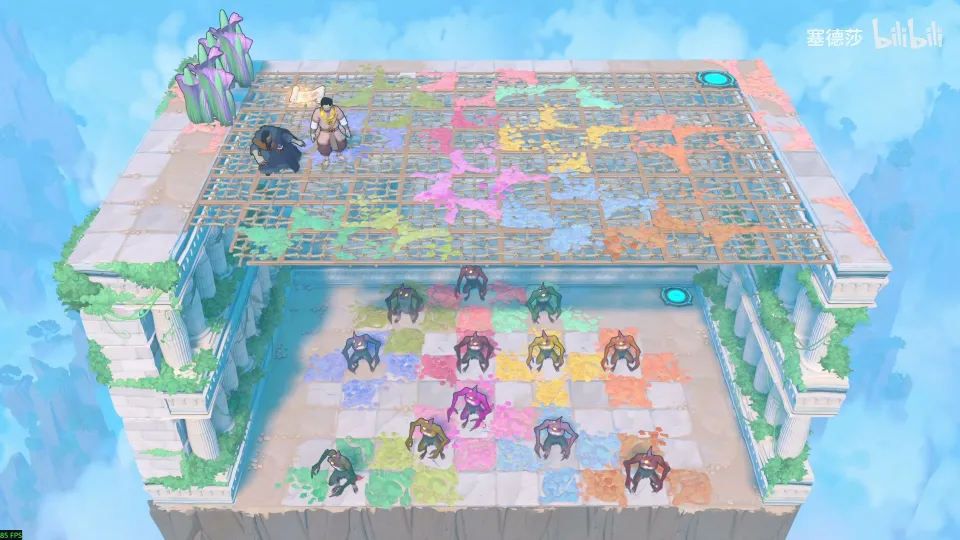
- The two that block the route are the red one and the yellow one. (46:06)
- Cover them with plants and walk round to the exit. (46:18)
Puzzle 20
Key idea: a bonus room. Use the root trick to hold a goblin still while the Warrior below takes a stone out, then line up three goblins. (塞德莎 P26 46:38)
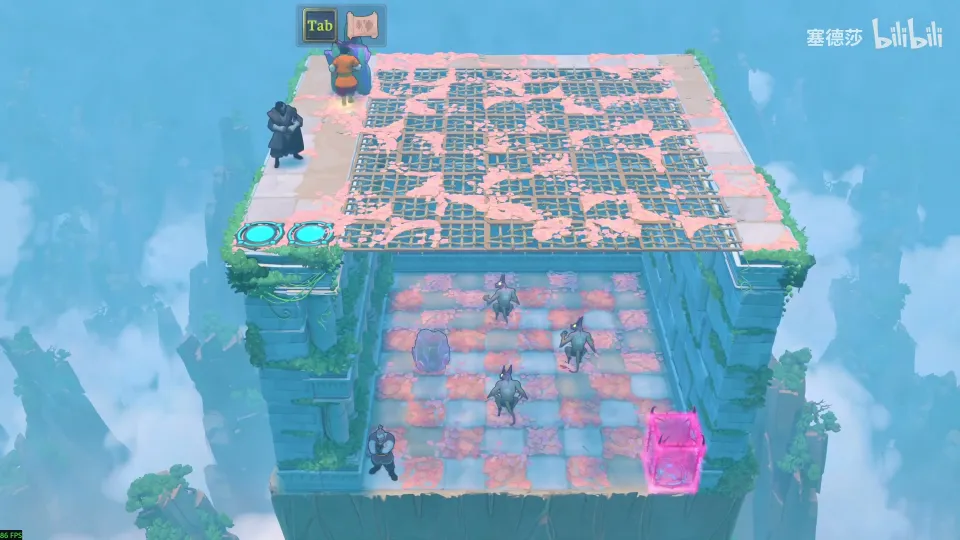
- Push the goblin up and cover it with a plant, so you can take the stone out from under it. (46:45)
- Release it, push it one more left, cover it again. (47:07)
- Release and push down: three goblins go at once. (47:19)
Puzzle 21
Stacks and Water (堆叠与水)
Key idea: the first stacking-and-pushing room. Both stones have to go down from one spot, so they end up stacked; then move the stack and push the stones into the water one by one. (塞德莎 P27 0:17)
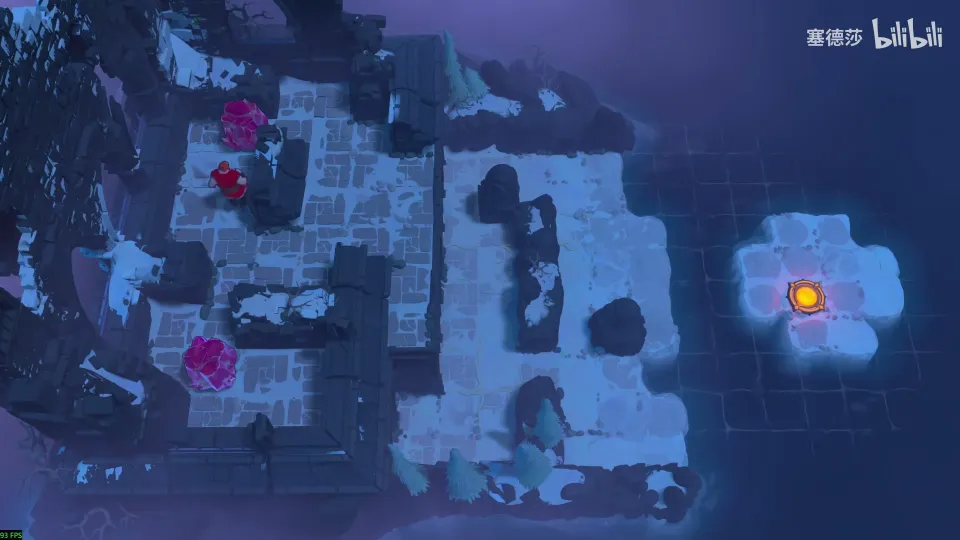
- There is only one place to push the two stones down. (0:17)
- Move the stack here, push it down and up, then right. (0:47)
- Push the stones into the water one at a time. (0:55)
Puzzle 22
Key idea: you need one stone on its own. Push the others off to pave the water and walk round behind to free it. (塞德莎 P27 1:31)
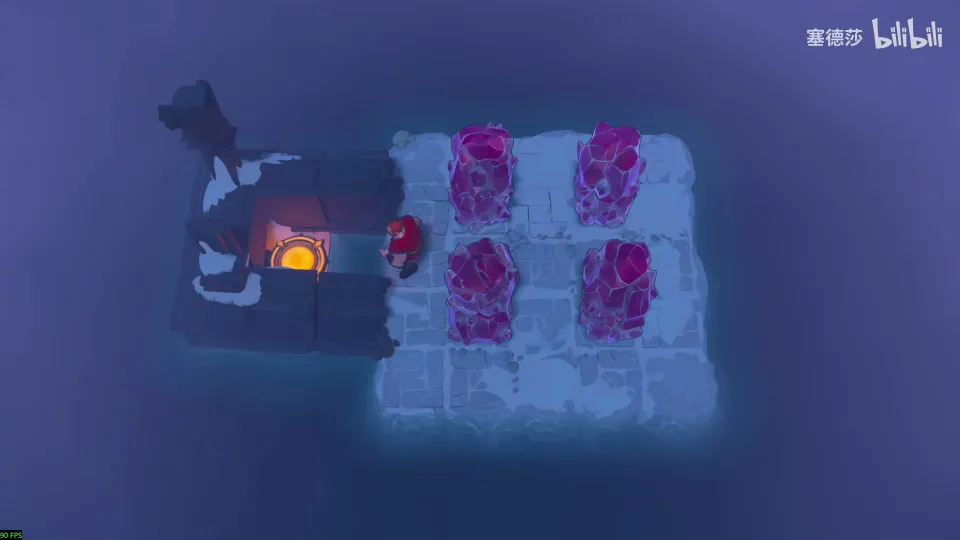
Getting there: the next stack is four high; use it to pave a path to the top right. (1:09)
- Push one stone down here and keep the one you need. (1:31)
- Push two stones down on this side and two on that side to pave a path. (1:40)
- Walk round behind it and take it out. (1:52)
Puzzle 23
Key idea: a six-stone stack, and you need to use up five and reach the top left with one. A stack you push only goes one way until something turns it, so use the island at the bottom right to loop round. (塞德莎 P27 3:02)
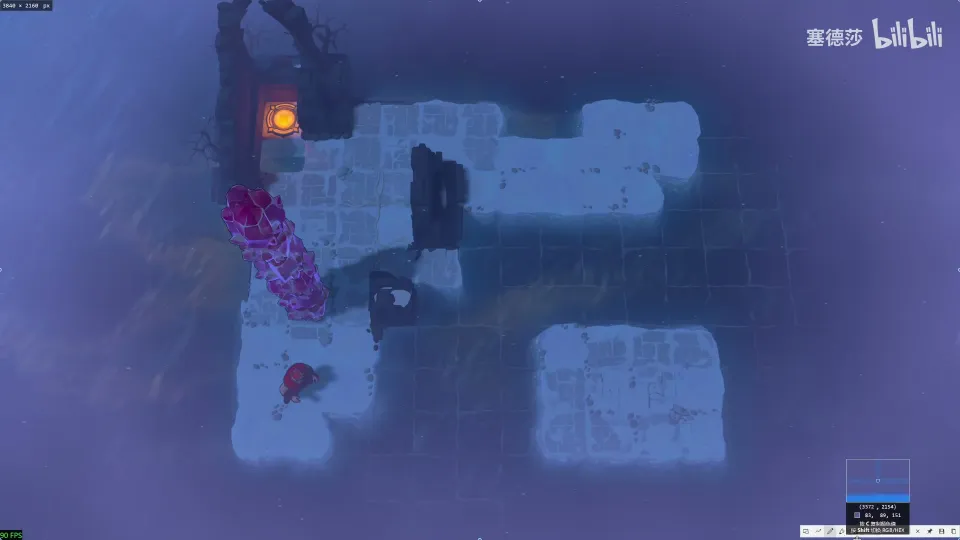
Getting there: on the area map, use up three stones and keep one to push into the water. You can’t push a stack back the way it came; push two tiles here using the small platform top-right, then down. (2:02)
- Push down here: three stones fill a column and you loop back via the lower island. (3:02)
- The other three: push right, use two, and loop again, then move the single stone to the top left. The whole route is shown in the clip. (3:02)
Puzzle 24
Key idea: a big star puzzle that looks scary but isn’t: the stones exactly fill every water tile. Use them up while always keeping a way to push again. (塞德莎 P27 5:03)
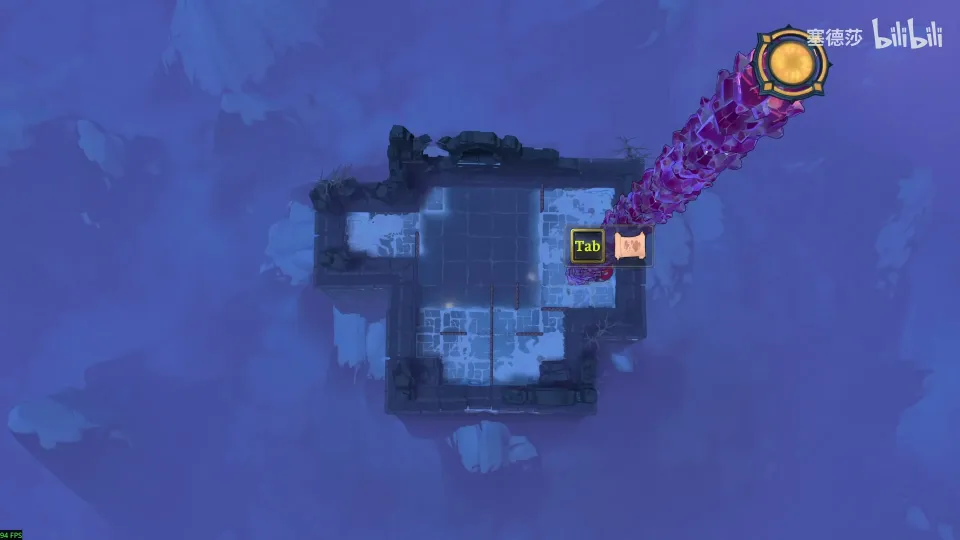
Getting there: on the area map, use up two stones using the terrain at the top right and loop back, then take the remaining two. (4:40)
- At first the only line is left along here, because only that one loops back. (5:22)
- Each new strip of path opens another loop: push here, turn down, loop back and retrieve. (5:33)
- Fill this side, then the rest; the last four go right. (6:05)
Puzzle 25
Archways (拱门)
Key idea: archways have a ceiling. A three-high stack passing under an arch two tiles high loses its top stone, and that stone falls onto the Warrior. Make sure it lands on a stone instead. (塞德莎 P27 7:18)
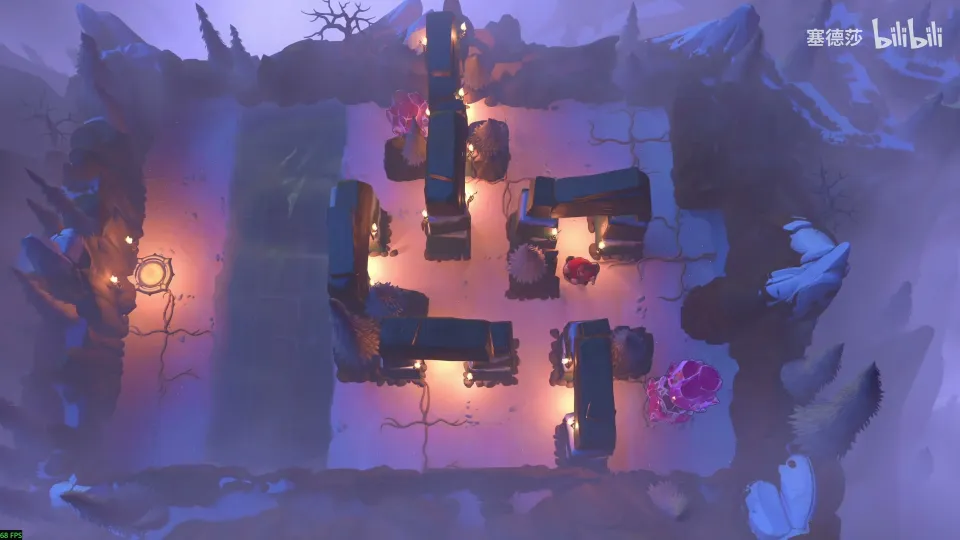
Getting there: back on the area map, reset and pave upwards with four stones. Activate the teleporter. Of the three paths, the left one needs the Cleric costume and the top one comes later; go right. (6:24)
- Push the three-high stone left through the arch: the top one is knocked off and crushes the Warrior. (7:28)
- So go round the top and push it through the arch from the other side. (10:23)
- Before the second arch, push the extra stone right first, so the knocked-off stone lands on it, not on you. (10:53)
Puzzle 26
Key idea: a stone pushed straight down ends up stuck against the wall. The Explorer’s displacement staff teleports only the row at its own height, so it can slide the Warrior out from under a stack and leave the stones behind. (塞德莎 P27 11:40)
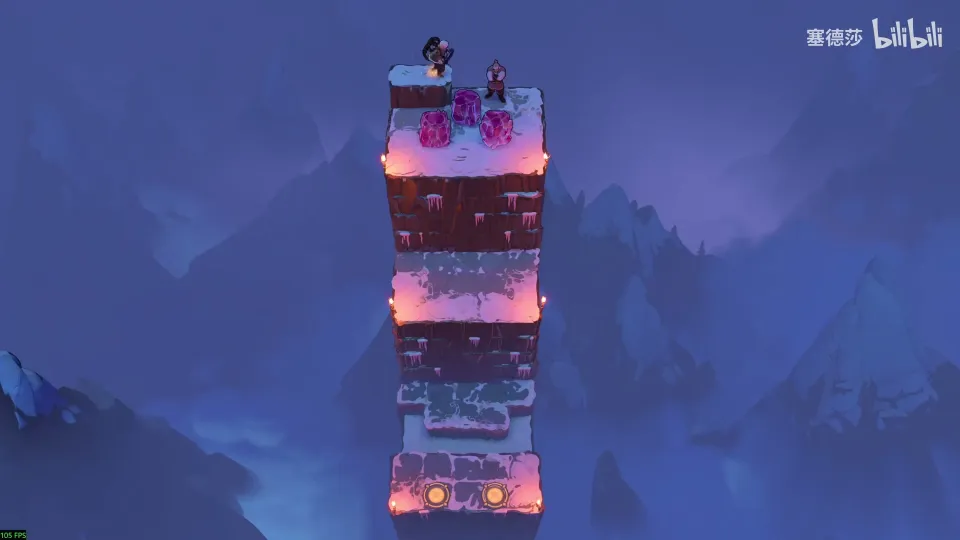
Getting there: at the top right you can crawl through a gap one tile high. This zone is called Archways. (11:17)
- The staff moves only what is level with it. (12:09)
- Stack three stones, go down, and have the Explorer zap the Warrior right: the Warrior and the bottom stone move, the two on top don’t, and the Warrior ends up under them. (12:31)
- That doesn’t kill him: he received them level, not by falling. Dropping a level with stones on your head does kill. (13:31)
- Repeat to bring the single stone down. (14:58)
- The Explorer can’t turn on the spot, so face him right first; when the Warrior pushes him left he keeps facing right. (15:26)
Puzzle 27
Key idea: these arches are one tile high, so a stone knocked off lands level on your head and you survive. Use the arches to take stones off your head one at a time; the four stones go one to each button. (塞德莎 P27 17:19)
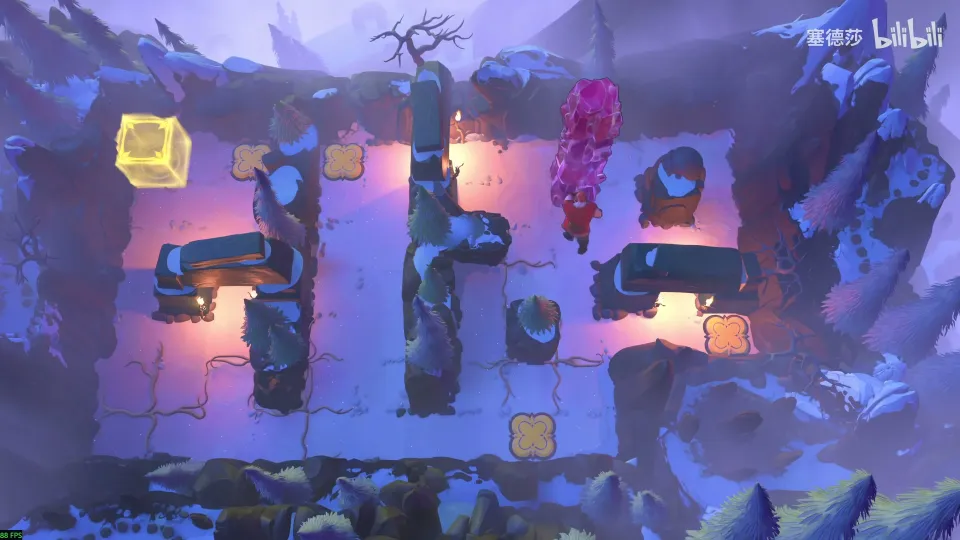
Getting there: the reset point puts a stone straight onto your character’s head, because it sits two tiles up. Use an arch on the area map to take it off; the sign nearby has a short line about arches. Another arch lets you into this small room. (16:13)
- Going under these arches puts the stones neatly on your head. (17:19)
- The top row needs only one stone, so leave one there and use the arches for the rest. (17:52)
- Bring them down one by one to the remaining buttons. (18:09)
Puzzle 28
Key idea: a big star puzzle. Two goblins must meet, but one can’t move and the other is against a wall. Build your own archway: leave a stone on the upper grate, push the stack through so the Warrior slides under the goblin, and carry it. (塞德莎 P27 18:59)
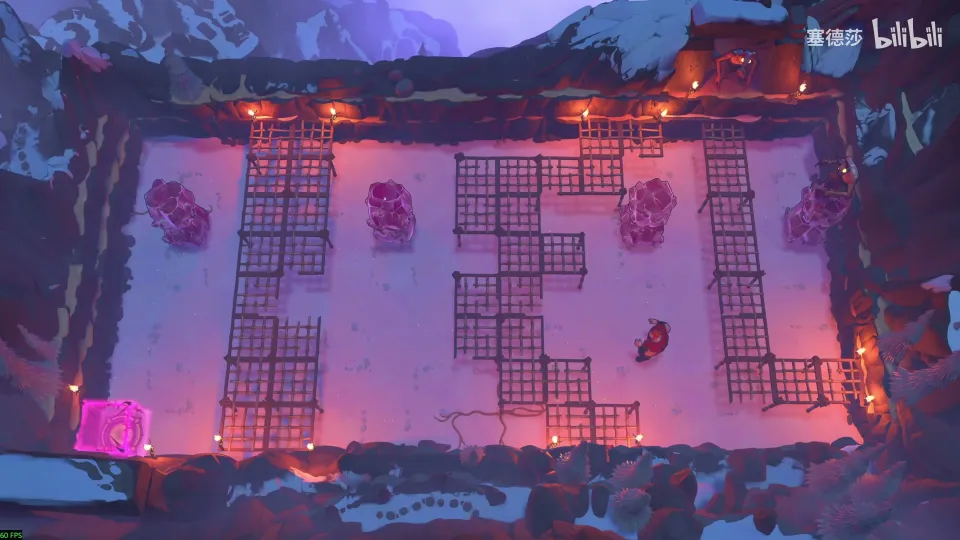
Getting there: finishing puzzle 27 opens the cage at the top right. Walk there with the stone on your head and use an arch to drop it. (18:38)
- The plan, worked backwards: a stone on the second-level grate acts as an arch, and pushing the stack under it leaves the upper part behind. (18:59)
- Push left: the second level stays, the Warrior slides under. Leave this stone here. (22:25)
- Push up so the next stone lands on your head, then take it over. (22:35)
- Push down so the crystal and the goblin end up on your head, and walk to the other goblin. (22:41)
Puzzle 29
Mirrors and Buttons (魔镜与按钮)
Key idea: get the mirror from the bottom-left onto the top-left platform, using the green energy door the same way the blue block works. (塞德莎 P27 23:12)
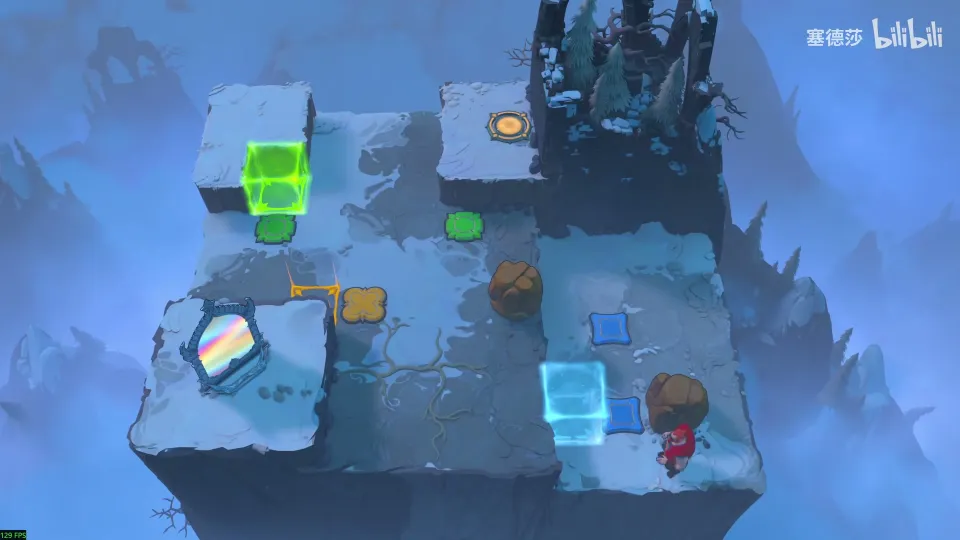
- Put the stone on the button so the blue block drops, then walk on to be lifted. (23:12)
- To take the stone back, leave it where the energy door rises. (23:22)
- Place the stone there and push right: it holds the button while you stand on the block and rise. Push the mirror down out of its corner. (24:03)
- Mirror on one button, stone on the other, push up, then reflect from the bottom-left platform to the top-right one. (24:12)
Puzzle 30
Key idea: build an elevator floor by floor. A mirror lets you work its button from a distance, and the trap is at the fourth floor: press reflect once before you push the crystal over, or you lock yourself out. (塞德莎 P27 25:26)
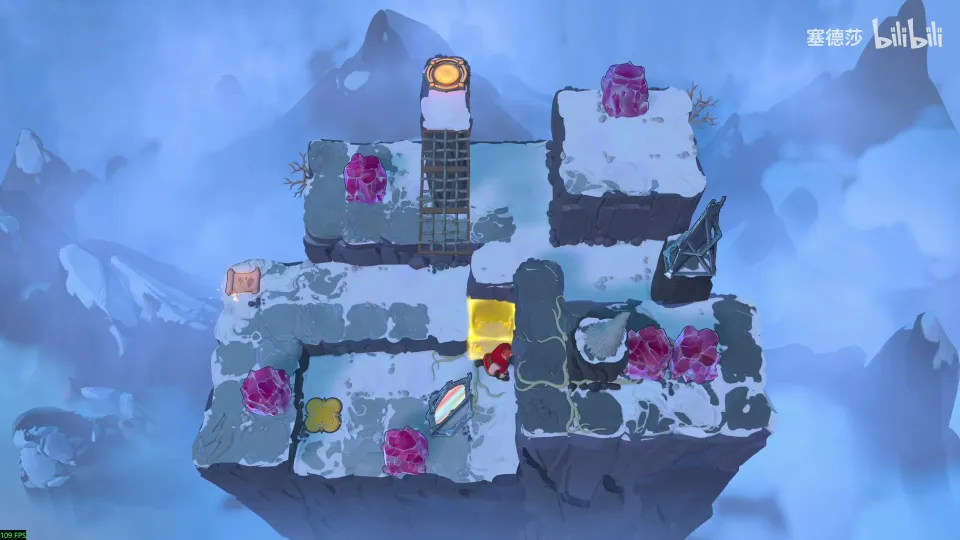
Getting there: on the area map, put the crystal on the rising energy block and press the button: the crystal is reflected onto your head, level, so it’s safe. Stand on the block and reflect again to go up. The zone name, Mirrors and Buttons, appears here. (24:44)
- Take out the bottom stone, put the mirror on the top-left button, and you can raise and lower the elevator from afar. (25:37)
- The map shows the floors 0 to 5; the exit is on 5. (25:56)
- Raise it a floor at a time by putting stones on it; at floor 3, wedge a stone on the right so you can push the next one left. (26:19)
- Trap at floor 4: don’t just put the crystal in place and reflect. Reflect first so the elevator goes up, then push the crystal over, then reflect again. (27:17)
Puzzle 31
Heroes and Depth (英雄与第三维度)
Key idea: the Wizard is trapped in a ring and can only go round it. The Thief pulls a two-high crystal in once to break the ring, then eight stones make a path up to the exit. (塞德莎 P28 2:27)
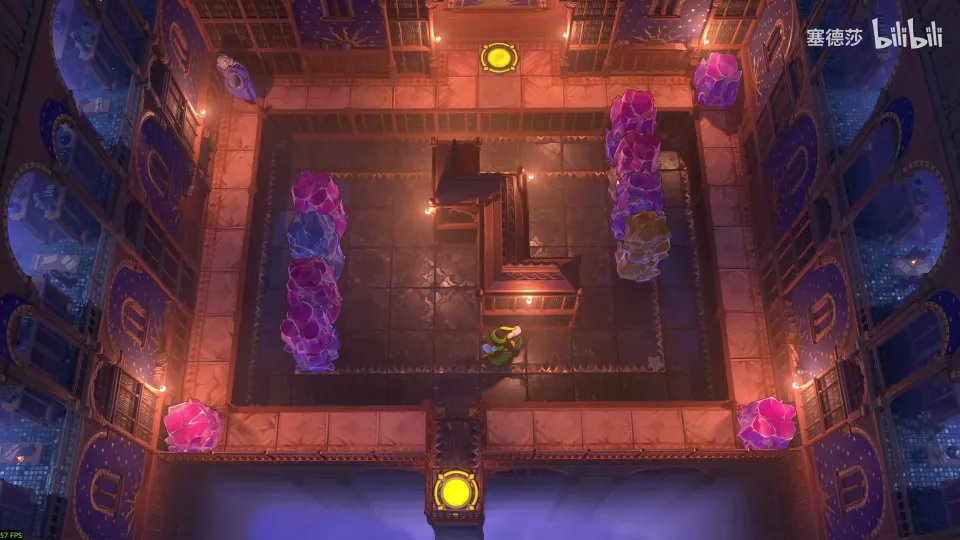
Getting there: this part of the area map has the Bard costume and, at the top left, the Wizard costume. Move the far-right stone first, or the Wizard swaps with it on arrival. The Bard can steer crystals but not plain stones, so use a stone to fix crystal positions and build a teleport path for the Wizard to the middle room. (1:06)
- Only one thing breaks the ring: the Thief pulls a two-high crystal in, after which he can’t get out, so it’s a one-shot. (2:37)
- Plan the eight stones: the top route is impossible, so come up on the right. (2:56)
- Pull them into place in order, then pull the one back the Thief needs to leave. (4:43)
Puzzle 32
Key idea: the Wizard can swap while he is falling. Getting the two stones down to the buttons only works by dropping from directly below each one and swapping upward. (塞德莎 P28 6:17)
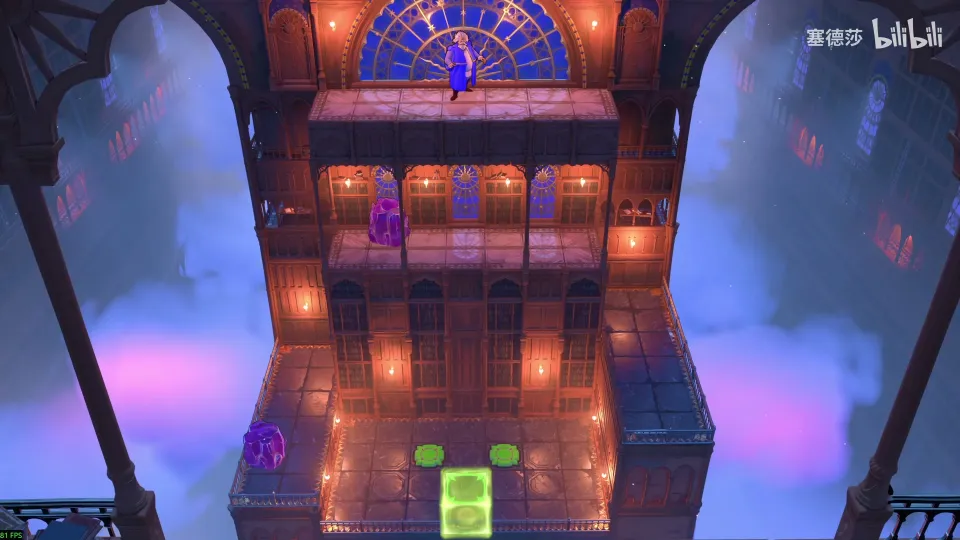
Getting there: reset, and use the Wizard and the Bard costumes again to place stones up to the high ground on the right. (5:25)
- Fall from a ledge and press the direction when you pass level with something. (6:28)
- Swapping from the side leaves the stone on its platform for good. Drop from directly below and swap upward, and the stone falls to the bottom. (7:53)
- Do the same for the two-high stone and push both onto the buttons. (8:02)
Puzzle 33
Key idea: the Wizard has to press the low button himself, then swap with the goblin as it sinks past him. A pillar blocks his view of the goblin, so put the mirror on the block beside it: mirror and goblin sink together, and he swaps through the mirror when they reach his level. (塞德莎 P28 8:24)
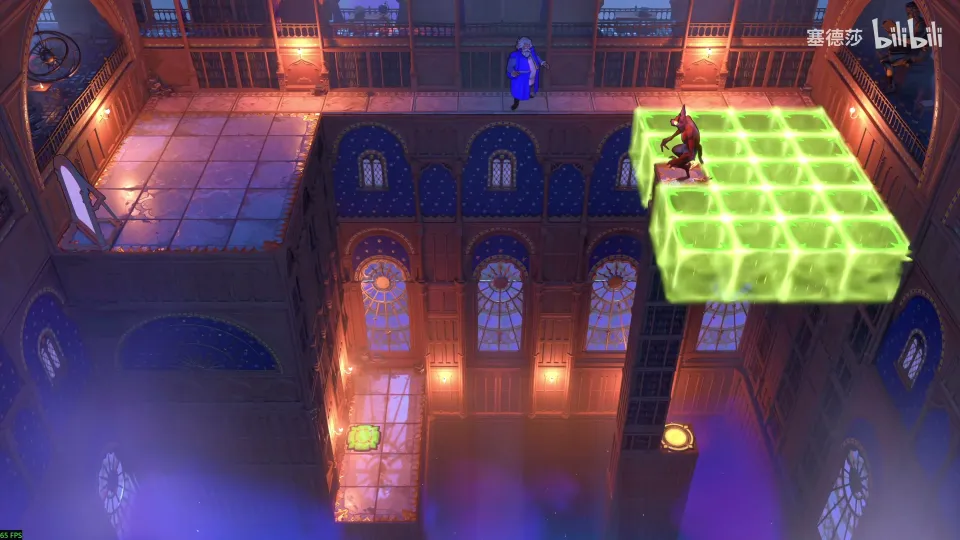
- You can’t swap the instant you step off a ledge, so no one else can press the button for you. (9:32)
- Only the goblin can be swapped onto the exit tile, and the pillar is in the way, so put the mirror right above or beside it. (10:02)
- Move goblin and mirror into place, press the button, step up one, and swap right when they reach your level. (11:47)
Puzzle 34
Key idea: three goblins have to die together. The one right below you can only be moved by dropping and swapping, and then it falls into a pit, so set the other two beside that pit first and drop it last. (塞德莎 P28 12:12)
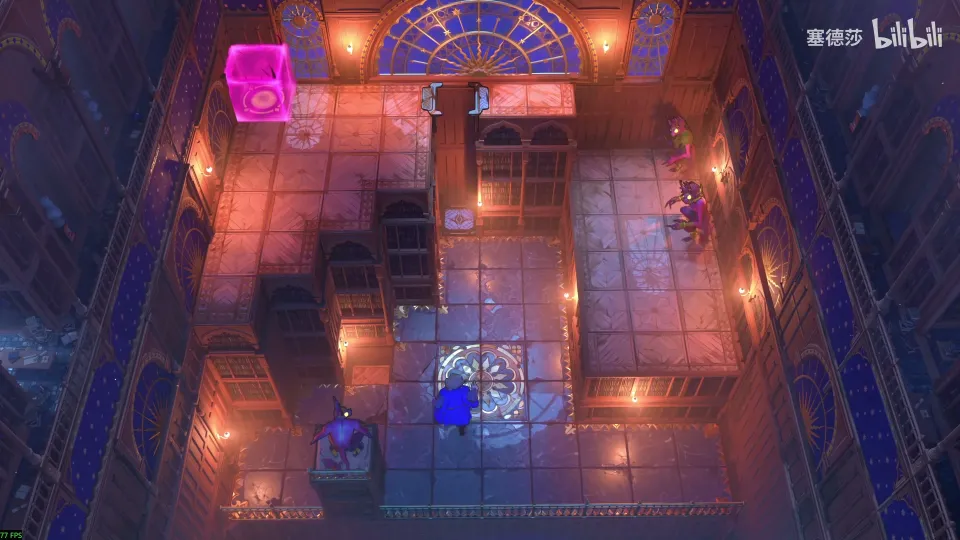
- The goblin below you only moves by a falling swap, and afterwards it can’t take part, so it goes last. (12:21)
- Place the other two beside the pit. (12:42)
- Touch the elevator from below to activate it, ride up with V, then swap a goblin into place in mid-air. (13:12)
- Drop down and swap with the one above: all three go at once. (13:41)
Puzzle 35
Key idea: the Wizard falls past three layers of dragons. Use two crystals as a shield you can swap from side to side during the fall, and leave one on top. (塞德莎 P28 14:10)
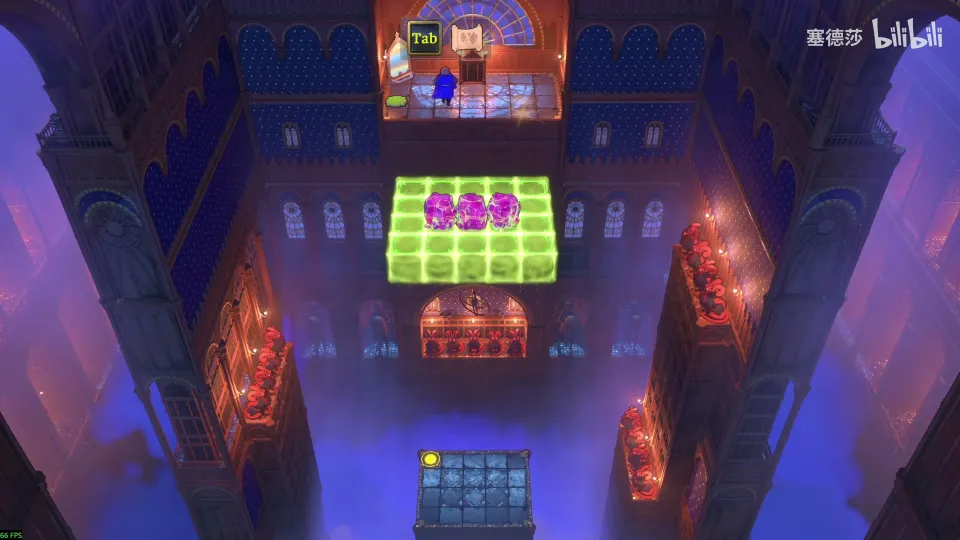
- The layers: right-facing dragons at the top, left-facing in the middle, both directions at the bottom. (14:27)
- Swap one crystal over to work the switch (the mirror controls it); the other two make the shield. (14:47)
- Start with a stone on your right; swap left as you pass the second layer, then back right. One stone left on top covers you from above. (15:05)
- Watch from the top, start with X, and time the two swaps in slow motion. (16:39)
Puzzle 36
Key idea: the yellow beam destroys crystals, which lowers whatever stands on them. Use that to drop goblins into place and kill them three at a time, twice. (塞德莎 P28 17:17)
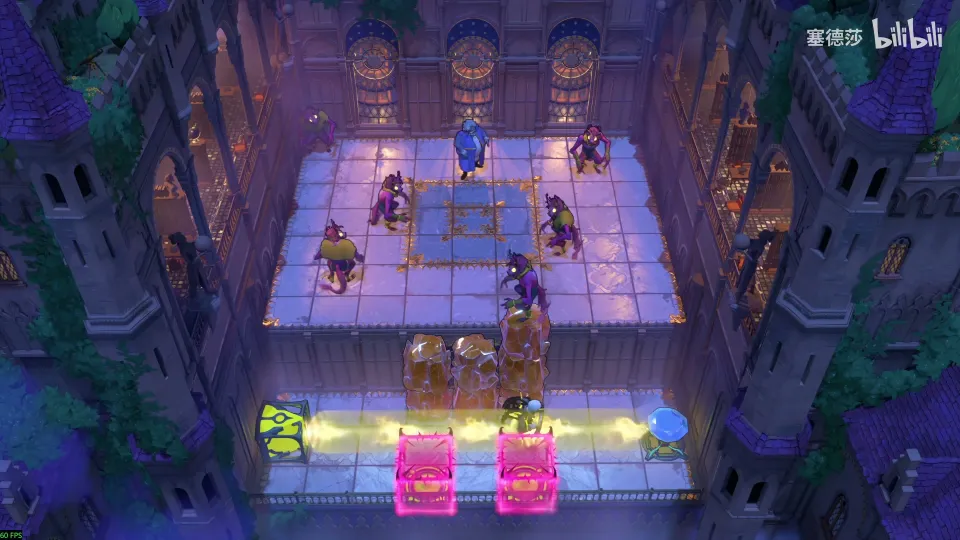
Getting there: use the unlocked stone and a mid-air swap to cross to the right. (17:00)
- Three pairs is unlikely; two triples works. (17:24)
- First triple: a goblin to the left and one above the raised goblin, then lower it a tile. (17:46)
- Second triple: swap goblins up one at a time and lower each. (18:59)
Puzzle 37
Key idea: a big star puzzle. Only the Wizard can reach the very high crystal, along a path of mirror reflections. The Wizard holds the bottom button, the Explorer the middle one, and it’s a one-time chance, because the gate wrecks the mirror when it closes. (塞德莎 P28 19:55)
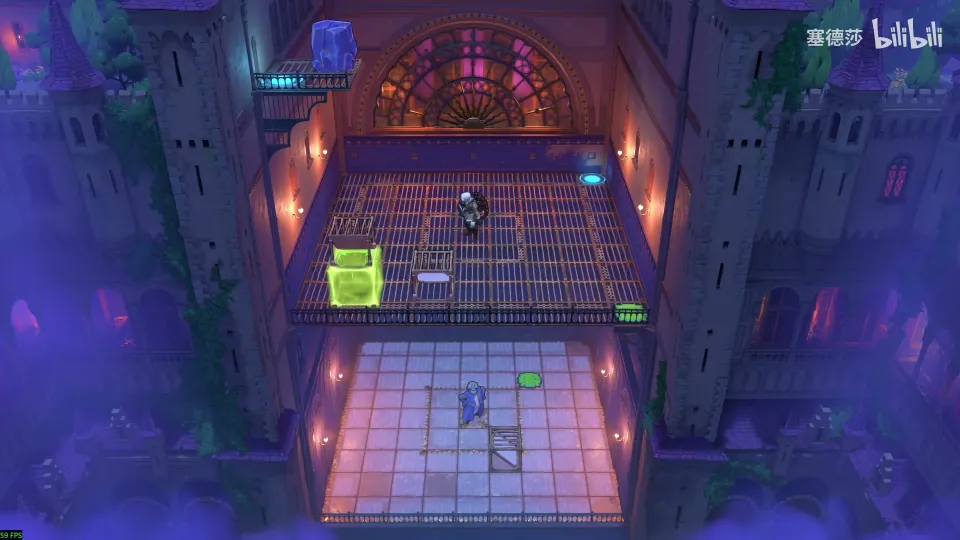
Getting there: the button you just unlocked frees a stone from the cage at the entrance; swap with it while it falls. (19:31)
- One mirror already points the right way; place the others to send the Wizard down, across and up. (20:16)
- Both buttons lower the gate; release them and the mirror is gone. (21:41)
- Move the lower mirror here, swap with the Explorer to move the upper one, then swap back. (22:02)
- With the Explorer in place, swap left and up. (22:30)
Puzzle 38
Key idea: the Bard’s song reaches a 5×5×5 cube, two tiles above and below too. Drop the stone so it is out of reach when it lands on the button. (塞德莎 P28 23:17)
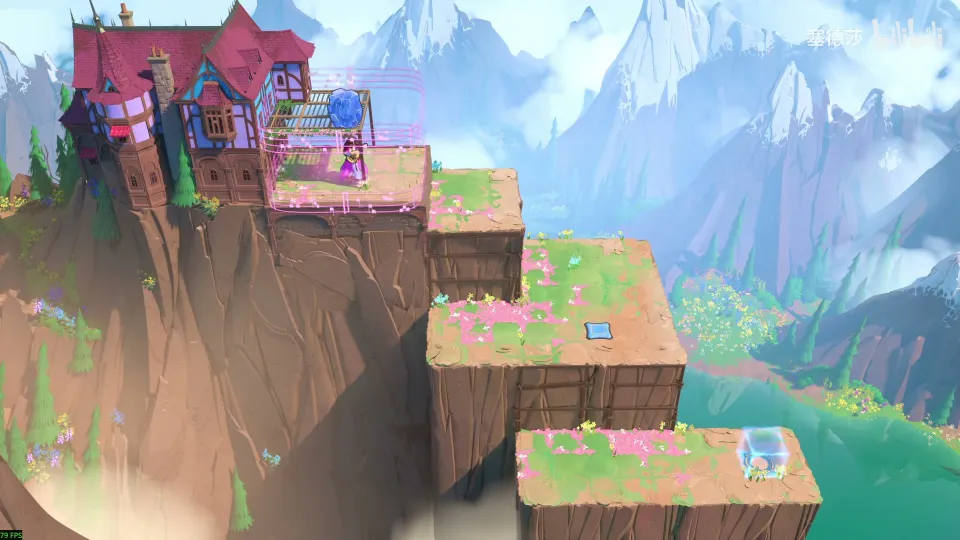
Getting there: the Wizard can’t go further, so change into the Bard costume here. (23:05)
- Break the stone over your head first, or stepping down crushes you. (23:37)
- Drop it: two tiles down is the limit, so it drops out of control. Keep it at your top-left corner so it lands on the button. (24:00)
Puzzle 39
Key idea: a big star puzzle. Use the 5×5×5 range to hook the top-left stone down, then rise on the green energy block to leave a stone behind on the button. (塞德莎 P28 24:35)
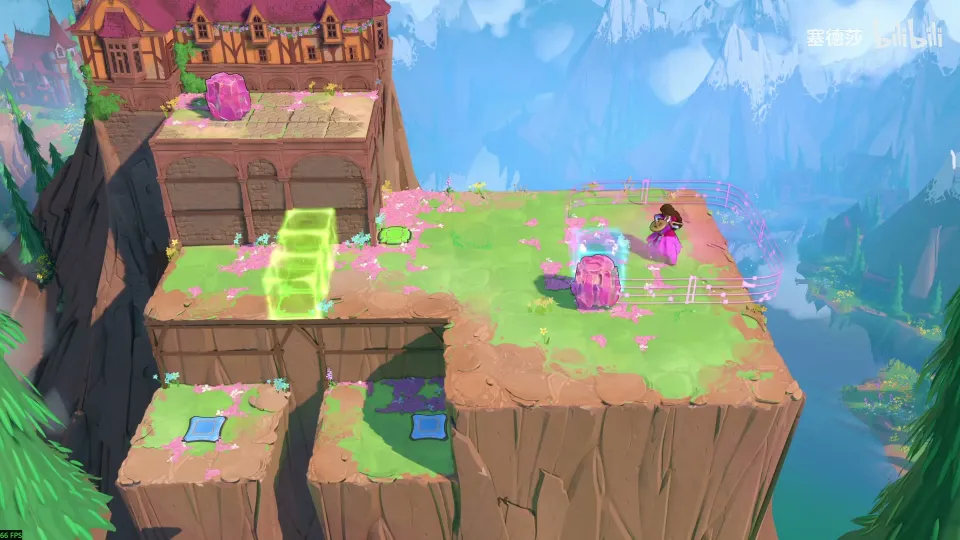
- Hold a stone two up and to the left, press the button and ride the energy block up. (24:46)
- From there your far corner reaches the high stone; pull it down, twice. (24:57)
- Rising on the green block puts the stone two or three below you, out of range, so it stays on the button. (25:27)
- Drop the last stone down. (25:57)
Puzzle 40
Key idea: hold four crystals two tiles above, right, below and left of the Bard and stand on the energy door. Not every crystal can go on every side, so some trial is needed. (塞德莎 P28 26:18)
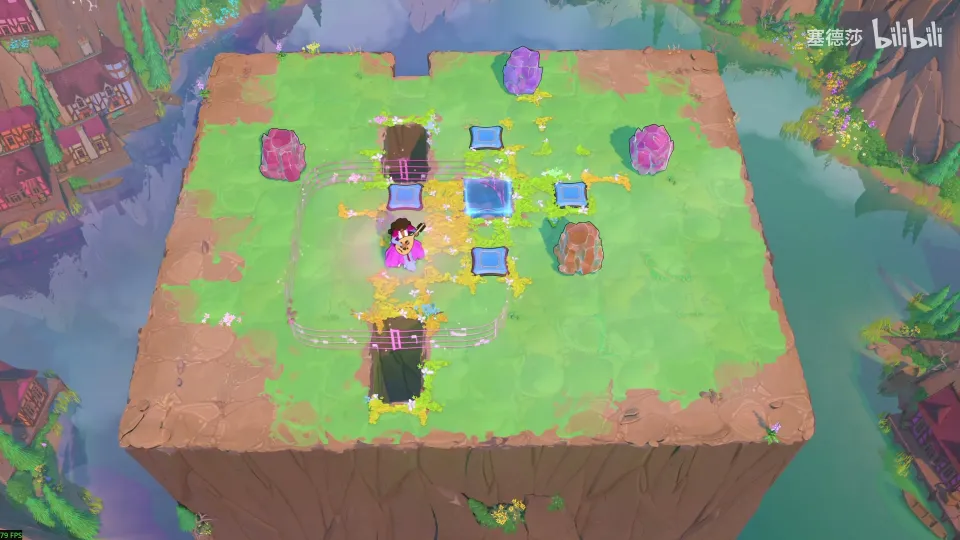
- Some sides are impossible: a crystal entering from the left always lands at a corner first. (26:35)
- 塞德莎’s order: one to the right, one to the left, one on top, one below. (27:36)
Puzzle 41
Key idea: a long walking puzzle on floating sky platforms. Keep the stone out of range until you need it, then catch it at your far bottom-right corner so it lands on the button. (塞德莎 P28 28:11)
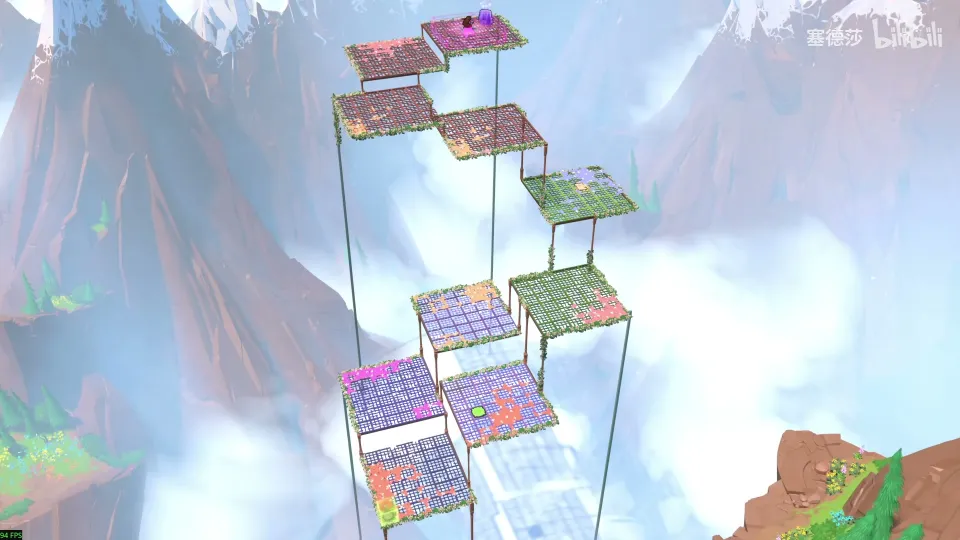
- Walk down to the bottom and right; drop the stone here. (28:22)
- Grab the map and press Tab for the overhead view; drop the stone from above it. (28:28)
- Drop from the far left so you don’t catch the stone early, then walk right so it stops on the button. (28:48)
Puzzle 42
Charm and Stacking (魅惑与堆叠)
Key idea: a teaching room in four stages. When the Bard moves a stack he controls, the bottom moves one tile and the piece on top moves two. Standing on a controlled crystal does the same to you. (塞德莎 P28 29:24)
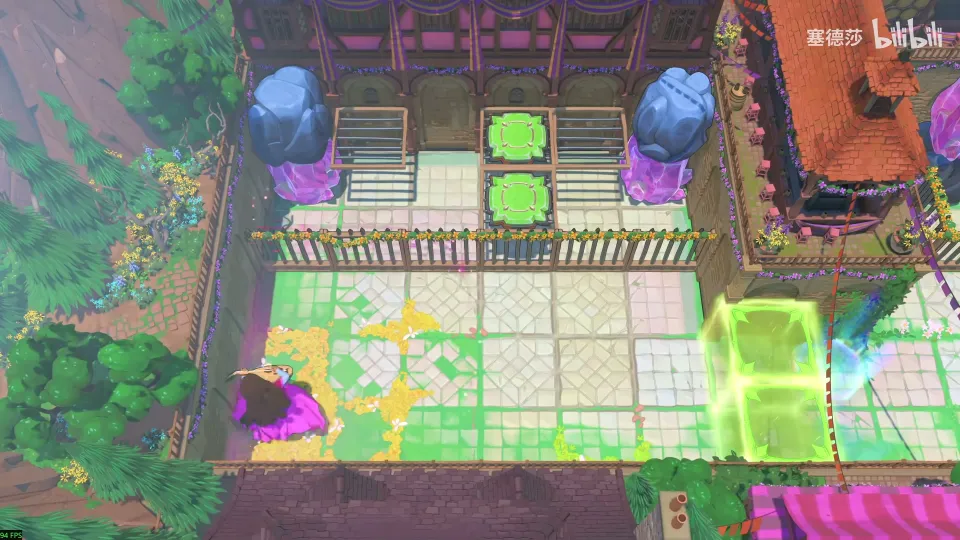
- Stage 1: a stone on a crystal: just carry it. (29:24)
- Stage 2: a crystal on a stone: move the upper-left one down, then bring the right one over. (29:35)
- Stage 3: two crystals stacked. Move them and the top one goes two tiles; 塞德莎 explains it with relative speed (bottom 1, second 2, third 3). (30:17)
- Stage 4: stand on a crystal you control and move right: you go two tiles at once, onto the floor. (34:30)
Puzzle 43
Key idea: the stone must stay on the button when you leave. Find the one spot where you can move the other stone without controlling the one on the button. (塞德莎 P28 36:14)
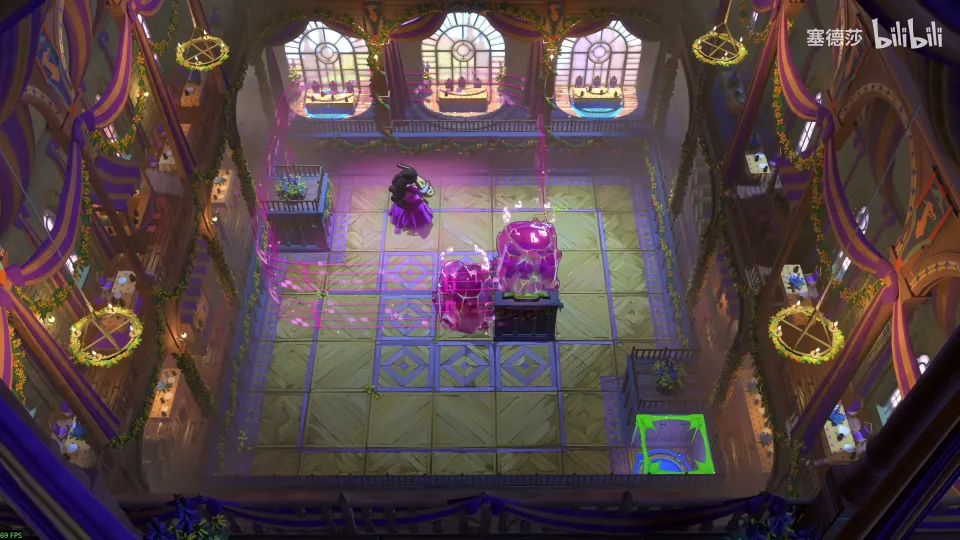
Getting there: on the area map, put the top-left stone on the yellow button. Lift only the top one first, then move down so they stack; moving right then sends the top one two tiles onto the button. (35:41)
- Moving straight away pulls the stone off the button. (36:30)
- Go round to the bottom-left corner and move right from there: that tile is out of range of the button. (36:50)
Puzzle 44
Key idea: don’t press any of the four buttons. Entering puts the stack under your control, so break it first: when the bottom stone is held by a railing, only the top one moves, and only one tile. (塞德莎 P28 38:02)
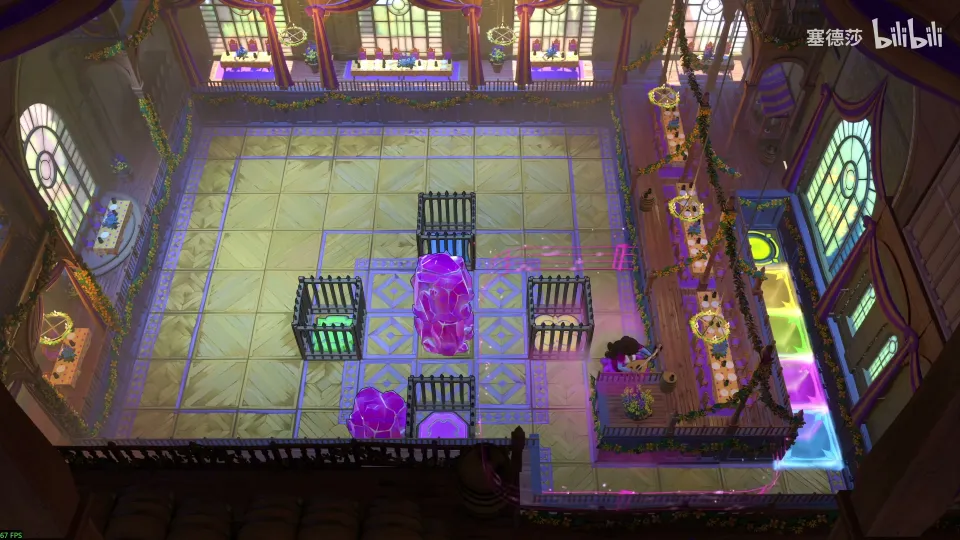
Getting there: on the area map, bring both stones down and work them over to the blue button. (37:21)
- Put the single stone next to the stack and come in from this side. (38:35)
- Move left: the bottom stone is stuck on the railing (speed zero), so the top moves only one and the stack breaks. (38:46)
Puzzle 45
Key idea: the stone has to go into the pit at the bottom right, but it always stays level with you. Stack it so the top piece moves two tiles and gains a step on you. (塞德莎 P28 39:52)
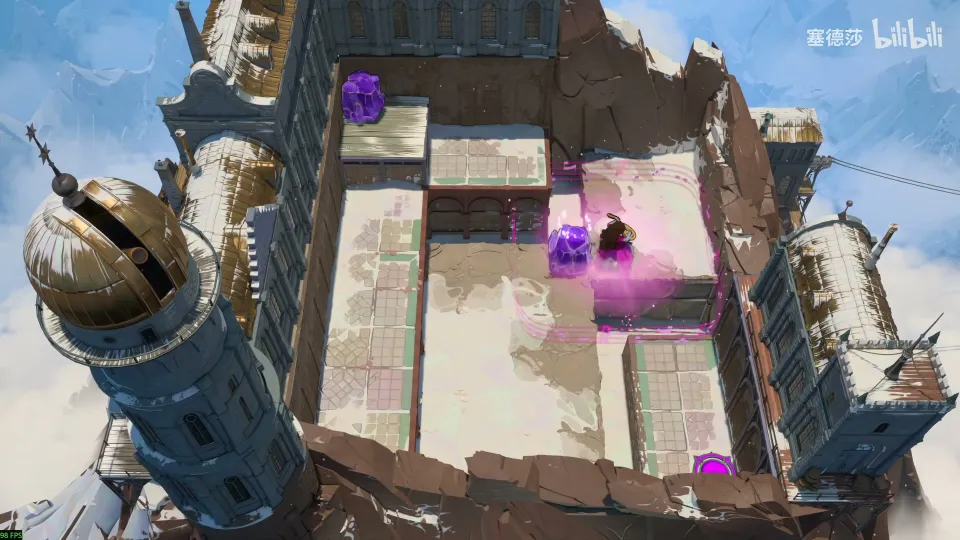
Getting there: fill the three water tiles with three stones. The zone name, Charm and Stacking, appears here. (39:16)
- The first move is forced: drop the stone here, the only spot that reaches the top-left one. (39:52)
- Align it against the wall so it’s level with you. (40:35)
- Pull the left stone over, stack this one on it and move down: the top moves two, opening the gap, and you can drop it in. (41:05)
Puzzle 46
Key idea: a big star puzzle in two stages. The Explorer must stay high all the way, so build crystal towers and walk him across, using walls to align them. (塞德莎 P28 41:48)
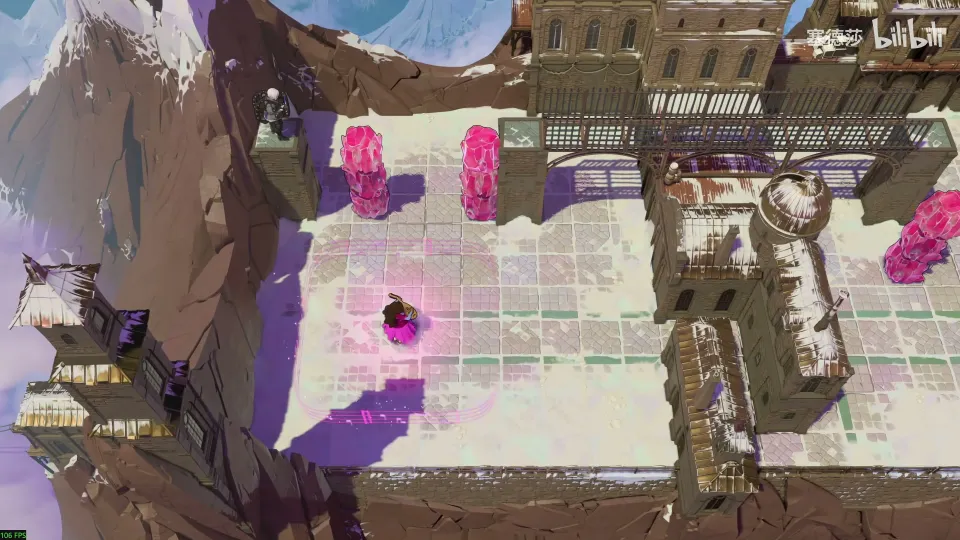
- Stage 1: push the pieces left one at a time to make a stepped tower, align it on the wall, bring the Explorer up and pull right. Don’t step straight down, or you’re crushed. (42:36)
- Align the next structure against the wall first, then pull a tower left, climb and move right. (43:10)
- Stage 2: build the same structure, align it left, park the Explorer. (44:00)
- Turn it from horizontal to vertical: take the single piece out, stack it beside the two-high one, align on the existing two-high wall and move up. Then bring the Explorer over. (44:22)
Puzzle 47
Key idea: the Bard can’t control a skipping crystal stone while it slides. Step onto it as it passes, ride along, and use the two-tile stacked move to land on the Sailor’s head. (塞德莎 P28 45:50)
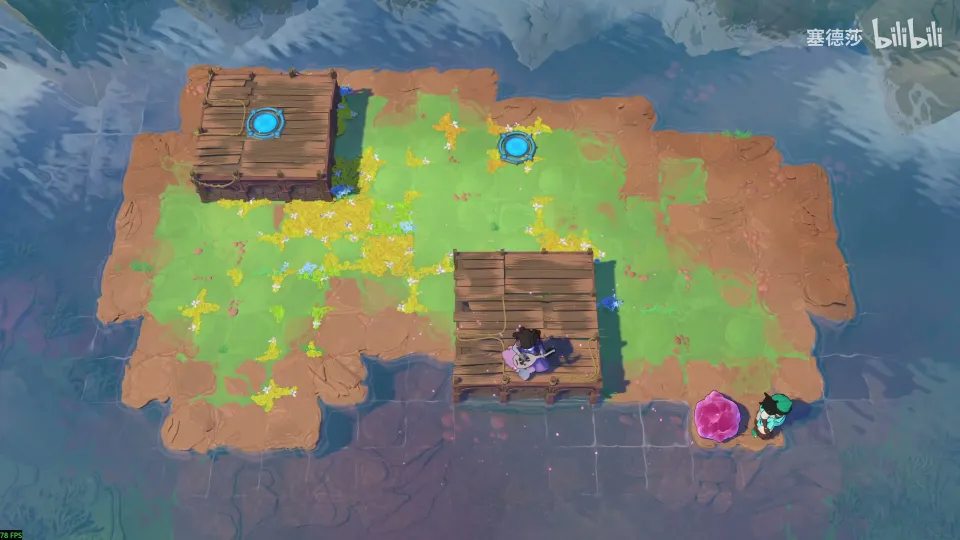
Getting there: on the area map, put a crystal under the goblin (reset the goblin so it sits on top), then use the two-tile stacked move to shift the goblin onto the right button without controlling it. (45:22)
- You can’t walk onto the Sailor’s head directly: whatever is underneath moves too. (45:50)
- Step onto the skipping stone while it slides and ride it round. (46:54)
- Standing on it, a move takes you two tiles: put the Sailor beside you and move onto his head. (46:54)
Puzzle 48
Key idea: the Bard must ride a skipping stone to the top right. The finished setup is a skipping stone at the edge of the right-hand platform with the Bard standing on two of them; the hard part is the parity of your two-tile moves. (塞德莎 P28 48:40)
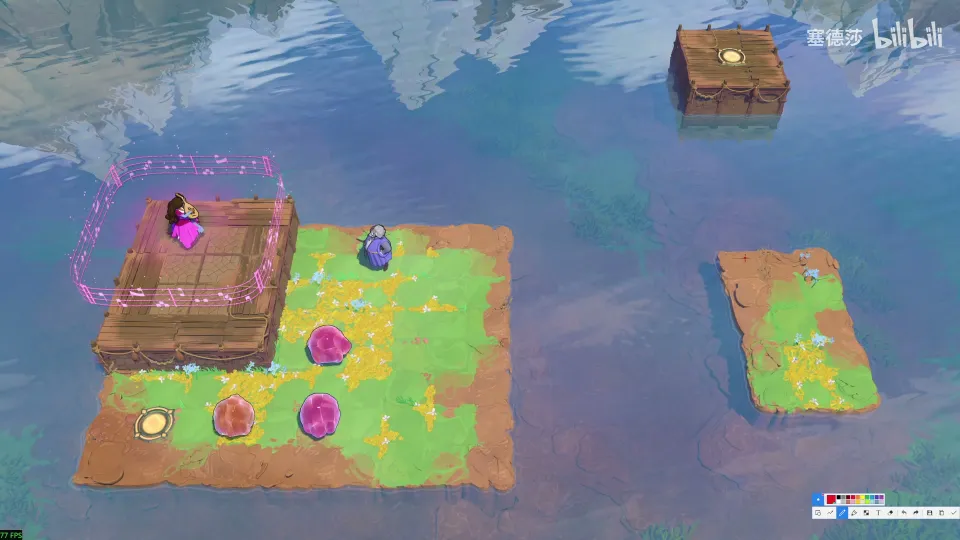
Getting there: unlocking the top-right skipping stone needs exact timing: right after moving down, move down again (holding Ctrl and the direction helps), then hold Ctrl or Shift and run left. (47:52)
- The final state and why it works. (48:43)
- The whole sequence (a three-stone structure you can climb, a one-tile move to fix the odd/even count, the Wizard as a step) runs as one long clip; follow it from here. (48:43)
- At the end, move up before the stone sinks. (48:43)
Puzzle 49
Key idea: get both heroes to the right. The Wizard can do it if one crystal reaches the right platform, which the two-tiles-for-the-top rule handles. (塞德莎 P28 53:24)
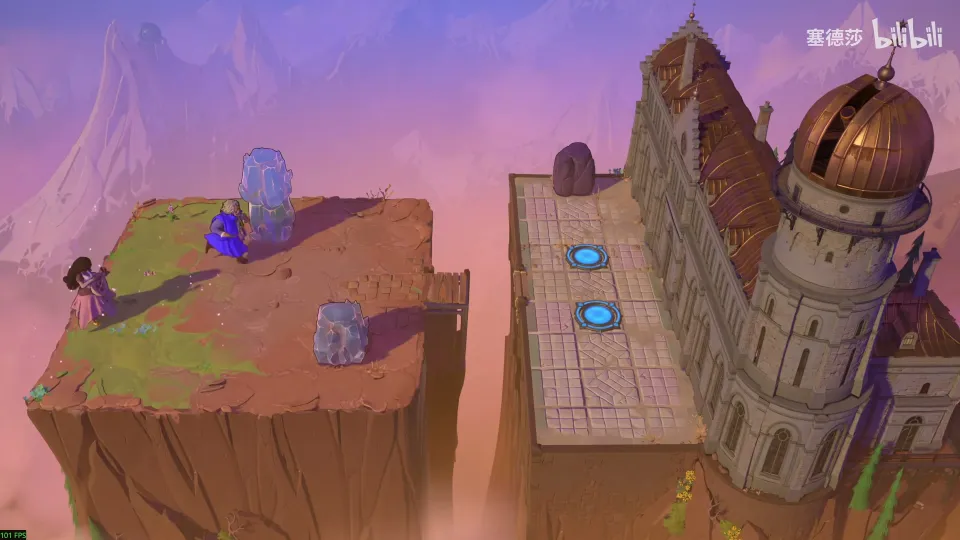
- Put the crystal under the two-high stone, move down to this row. (53:40)
- Keep the parity right: use the Wizard to fix the Bard’s position so both stones move together. (54:06)
- Move right: the top one goes two and lands across the gap. Then swap the heroes over. (54:28)
Puzzle 50
Key idea: twelve stones in four three-high towers plus the Bard make thirteen, which matches the thirteen yellow buttons. Build a hollow frame of stones around you and walk the Explorer onto the bottom-left exit. (塞德莎 P28 55:00)
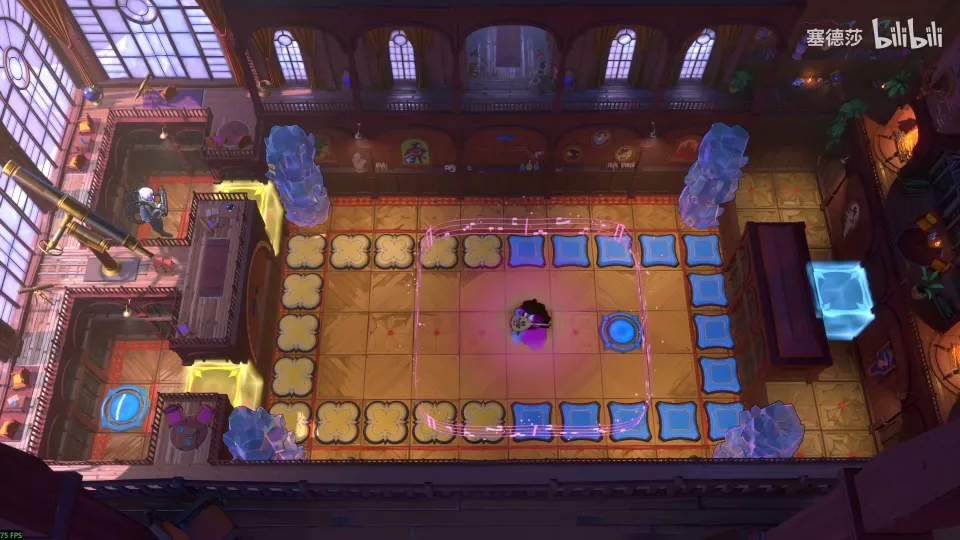
- Count: 5 + 5 + 3 buttons = 13 objects. (55:10)
- Knock the towers over in this order, keeping the structure at your right end. (55:56)
- The single stones land above and below you; align them on the wall to close the frame. (56:19)
- The Explorer is two high, so he moves two tiles; nudge him back, then press the buttons and return. (56:39)
Puzzle 51
Key idea: a big star puzzle. Build an on/off switch for the orange beam: the Explorer moves while it’s off and jumps the gap while it’s on. Only the plain stone at the top-left can block it, and it needs a four-high tower under it. (塞德莎 P28 57:51)
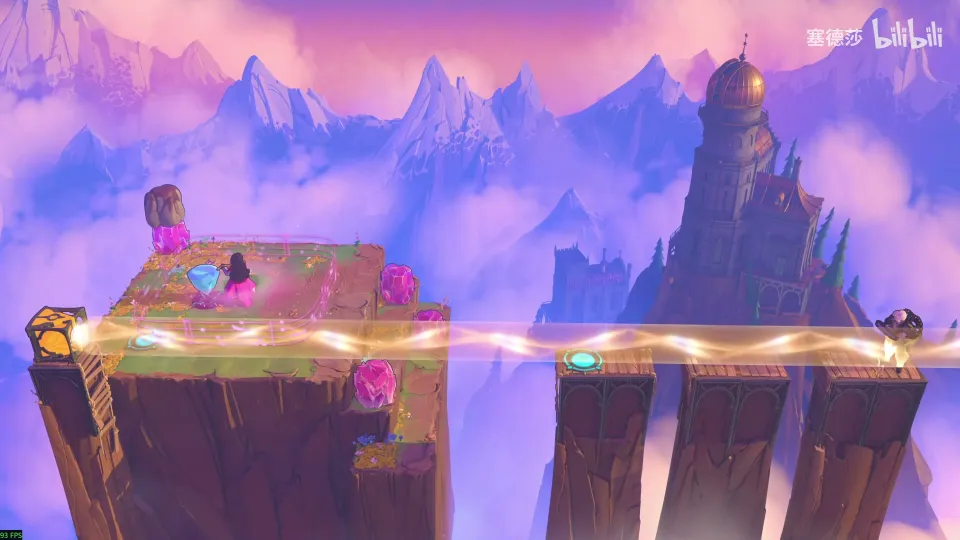
Getting there: on the area map, steer the upper crystal down and catch it at your far bottom-left, then two two-tile moves put it on the button. (57:19)
- The stone is already level with the beam and can’t go lower, so build a tower at the bottom bump. (58:38)
- The end state: three crystals and a stone stacked here, plus one crystal above so nothing falls. (59:15)
- Build it; when moving the last two in, both must hit at once. (60:28)
- Moving down shifts the top two tiles (beam on), moving up brings it back (beam off). Step and jump across. (61:19)
Puzzle 52
Protection and Support (防护与支撑)
Key idea: a Cleric route across different heights, using the goblins’ attacks for protection so he can stand on their heads and float. 塞德莎 just gives the route. (塞德莎 P30 1:31)
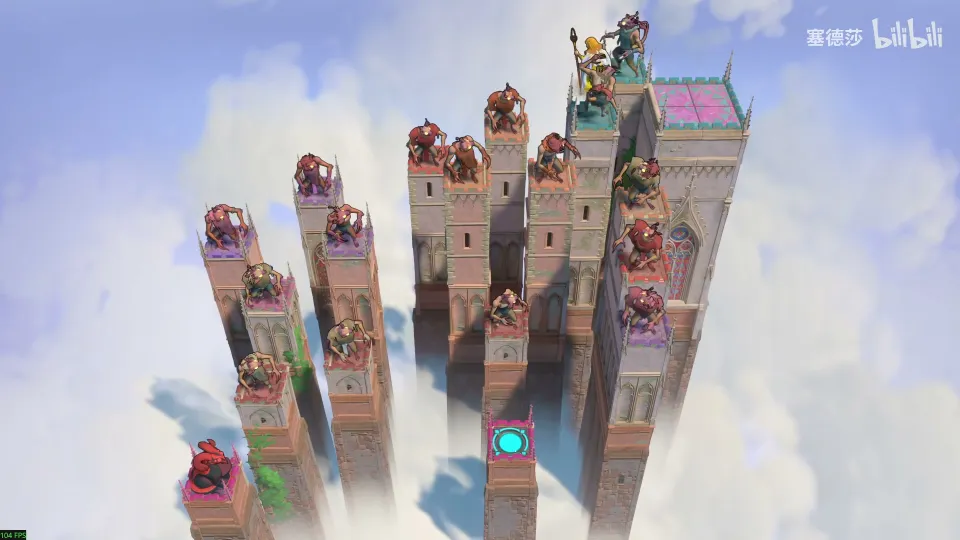
Getting there: back in Heroes and Depth, change into the Cleric costume. A Cleric can stand on a goblin’s head because he is protected, so line up the stone and two goblins as a path, with a gap between the goblins or they kill each other. (0:21)
- Start this way, drop left, then down, left, left, up, onto the head, drop beside it. (2:02)
- Left three times, down, left, onto the head, drop, onto the next head, drop, into the fire line. (2:13)
Puzzle 53
Key idea: reach the exit without stepping on the green button, which drops a stone and blocks it. Wedge the goblin here and let the Warrior push the Cleric over: both float past the button. (塞德莎 P30 2:39)
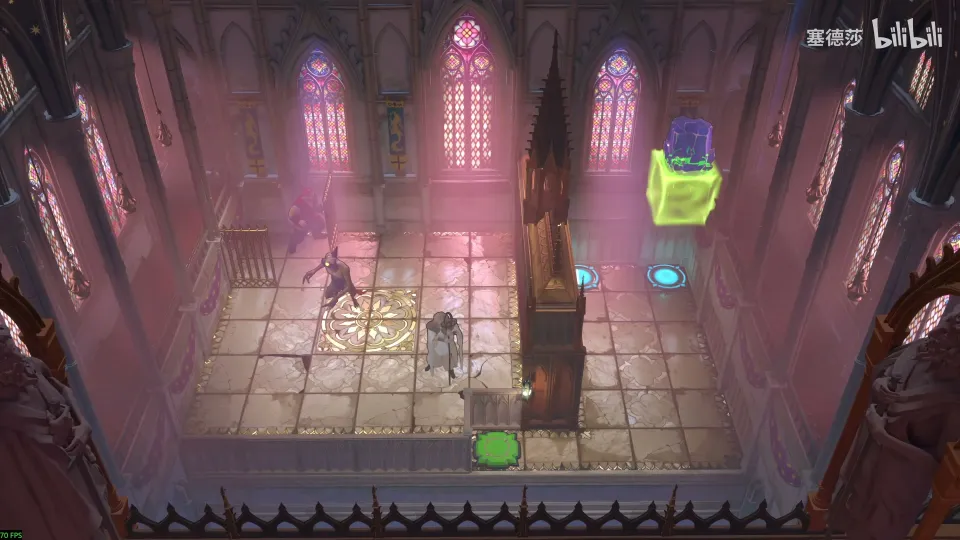
- Put the goblin in this spot. (2:48)
- Warrior pushes the Cleric; both float over the green button. (3:00)
Puzzle 54
Key idea: three stages over pits. Goblins can hold a stone on their heads; the last pit is two deep, so the order matters. (塞德莎 P30 3:26)
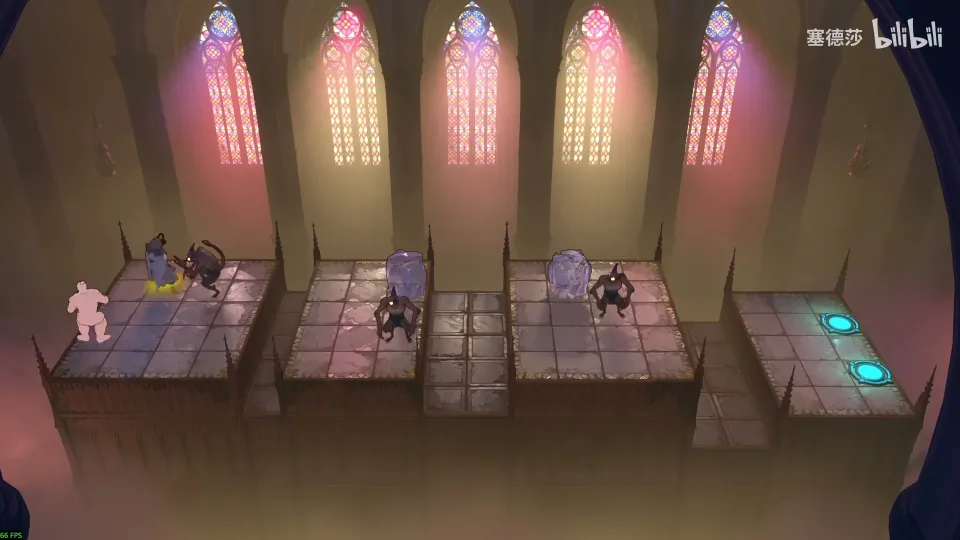
- Stage 1: push the goblin into the pit and cross. (3:26)
- Stage 2: goblin down first, then the stone on top of it. (3:38)
- Stage 3: the pit is two deep. If the goblin goes in first, the Cleric gets crushed. Push the stone down first, then the goblin onto it, and the Warrior pushes the Cleric across. (3:57)
Puzzle 55
Key idea: a big room about protection: the Warrior pushes the Cleric, or falls beside him, to stay protected. Over the dragon line, the Cleric rides on the Warrior’s head. (塞德莎 P30 5:18)
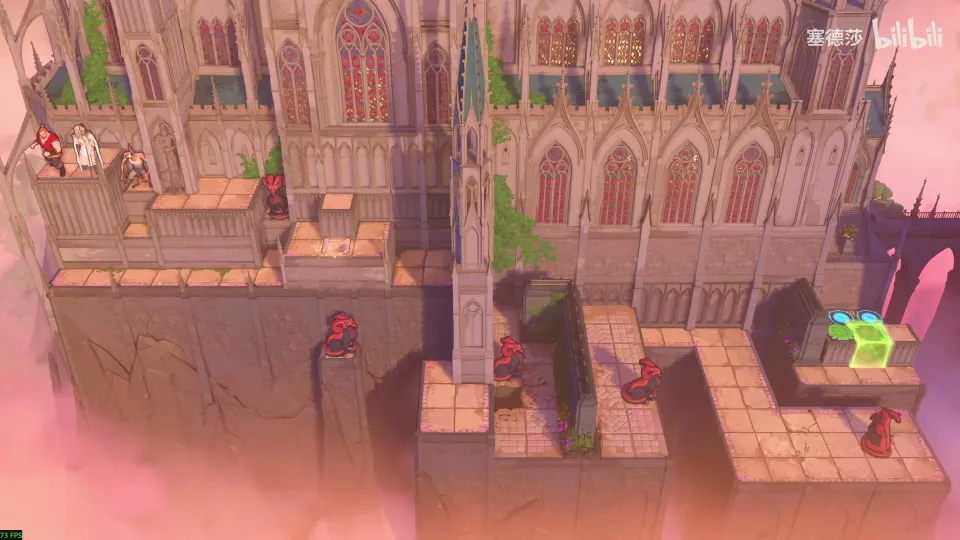
Getting there: the cage above has opened; it’s an elevator. (5:03)
- Walk the Cleric here, then let the Warrior drop down beside him: he’s protected and lands floating. (5:18)
- Pick up the map for a better view. Same trick again here. (5:38)
- The dragon’s fire blocks the walk. In front and behind don’t work, but on top does: put the Cleric on the Warrior’s head. (5:57)
- New effect: when both are protected the support between them vanishes, so the Warrior can walk out from under the Cleric. (6:37)
- To press the green button with the Cleric, put a dragon here; for the gap, aim the up-facing dragon into it. (7:41)
Puzzle 56
Key idea: drop the Cleric to the low exit by riding fire lines: a horizontal one beside the exit and a downward one in the four-tile pit. Shift the downward dragon one tile off-centre, or the Cleric hovers above the exit and can’t land. (塞德莎 P30 8:45)
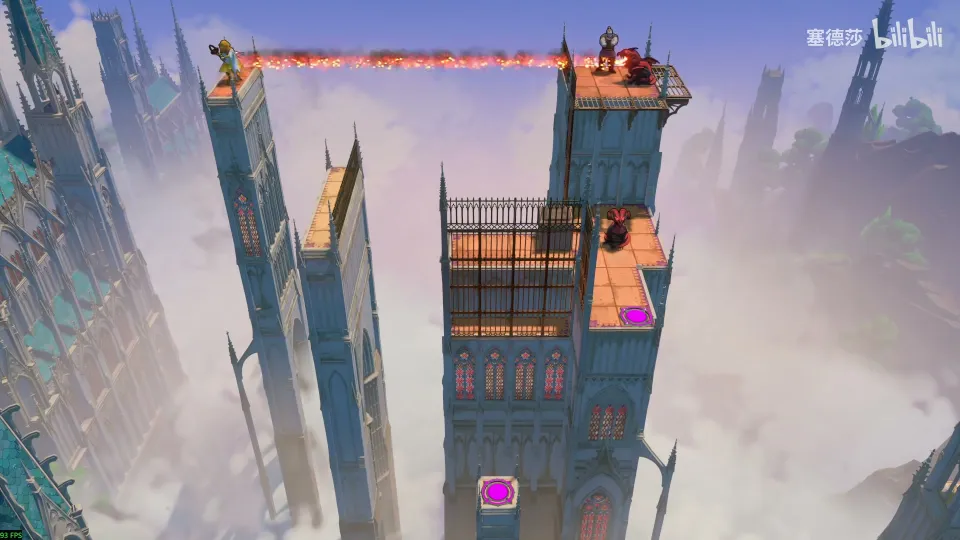
Getting there: the zone name, Protection and Support, appears on the way down. (8:34)
- Push the dragon one tile left first, then the Cleric floats into the fire and drops here. (8:45)
- The fence and the one-tile gap stop the other route. (9:19)
- Plan: a left-facing dragon by the exit, a down-facing one over the pit. (9:46)
- The exit is lower than the pit, so move the down-facing dragon one left or right. (10:33)
- Set it up and walk down. (11:24)
Puzzle 57
Key idea: the Warrior, not the Cleric, has to reach the high exit, because freeing the Warrior at the start knocks the Cleric down. Two Clerics and the goblins take turns protecting him, and one goblin has to be pulled to the right spot early. (塞德莎 P30 12:13)
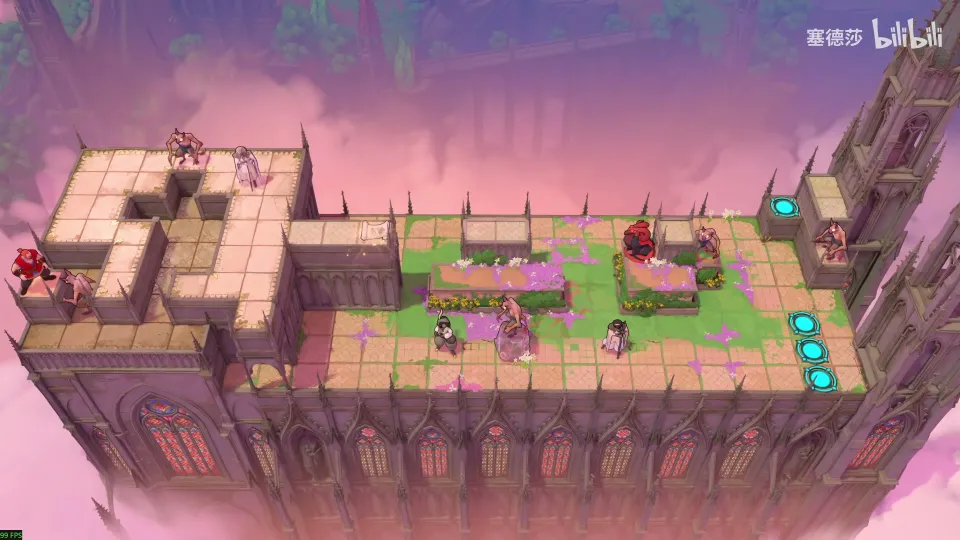
- Why it must be the Warrior. (13:07)
- A protected Cleric can ride on someone’s head without being crushed. (14:10)
- Pull this goblin into the row, catch with a Cleric, drop beside the goblin. Then the two Clerics leapfrog. (14:55)
- Trap: the obvious goblin spot leads to a dead end (two goblins collide). Pull it here instead. (16:27)
- Finish. (17:31)
Puzzle 58
Key idea: the Bard controls every creature in his range, so he can drive a “goblin car”: Bard on a goblin’s head, protected by the Cleric, and move the whole thing. (塞德莎 P30 18:05)
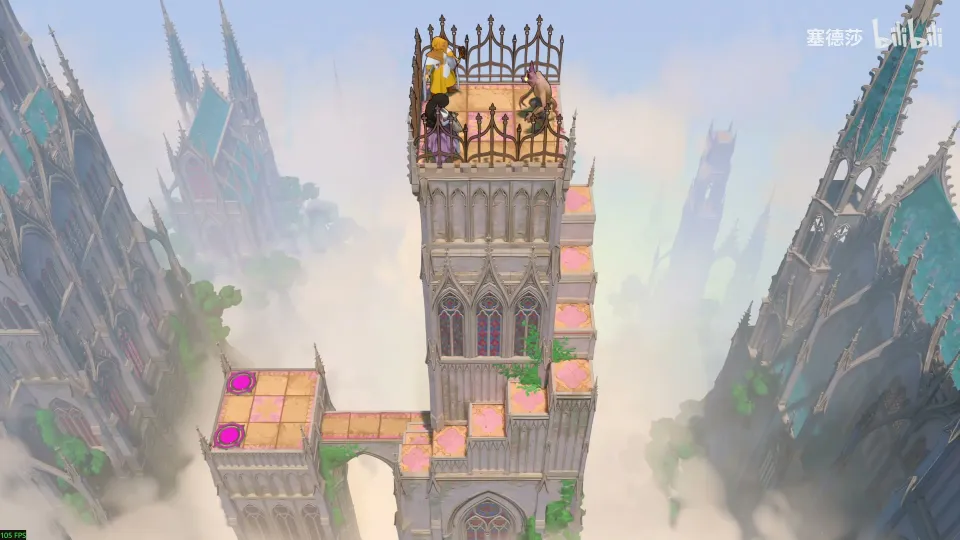
- Swap the Cleric and the Bard, so the Bard takes the hit. (18:16)
- Drop onto the goblin’s head at this angle: now you control all three. (18:35)
- Why the Bard moves only one tile here: while floating there is no support, so the stack rule doesn’t apply. (19:18)
- Drive down step by step. (19:51)
Puzzle 59
Key idea: a big star puzzle, another goblin car. To cross the gap the Bard must float above it while protected: hang the Cleric on the side. (塞德莎 P30 20:32)
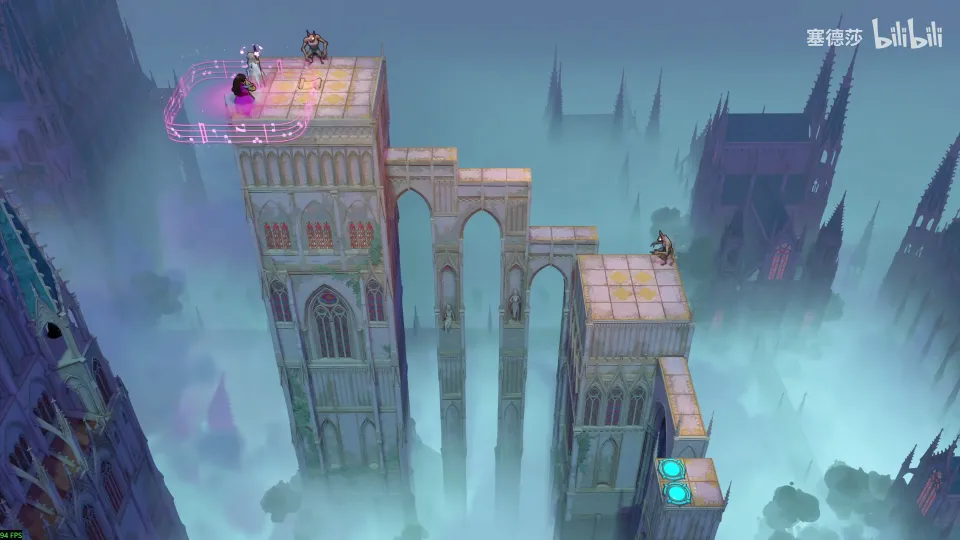
- Drop the goblin first. (20:40)
- Drop the Cleric so he hangs on the side, then drive right. (21:03)
- Second half: Cleric down first, pull the goblin up, then down, align on the wall, and drive over the pit. (21:32)
Puzzle 60
Key idea: the Warrior carries a goblin, a “burger” three tiles high, which makes the goblin level with the Cleric. Use it to carry the Cleric down to the exit two tiles up. (塞德莎 P30 22:44)
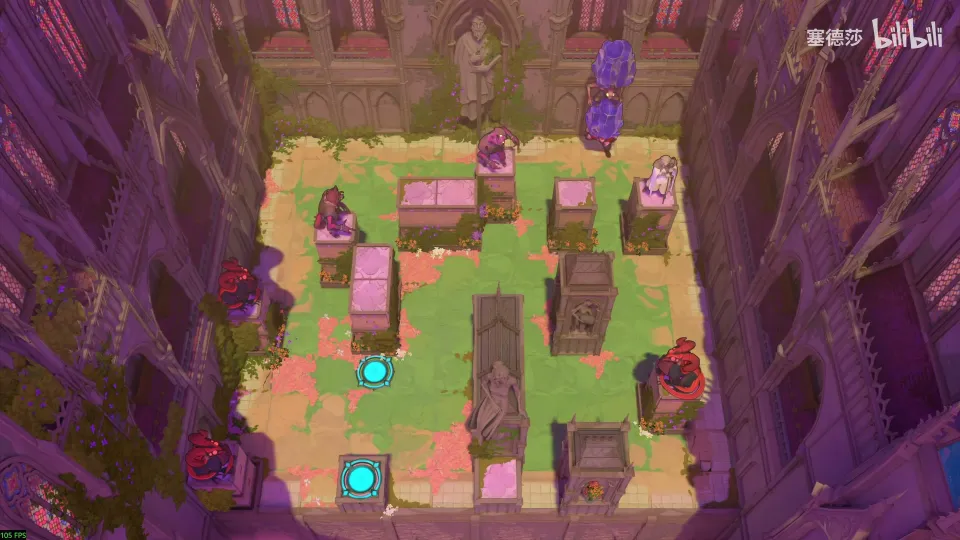
Getting there: walk round to the bottom-left. (22:28)
- Move the burger here and here to bring the Cleric down. (23:00)
- The left gap is too wide; come from the right. (23:12)
- The dragon keeps the Cleric at height three; kill it with the goblin on the Warrior’s head. (23:45)
Puzzle 61
Key idea: two Warriors each carry a goblin, making two three-high towers. Leapfrog them to keep the Cleric up high all the way to the exit. (塞德莎 P30 24:33)
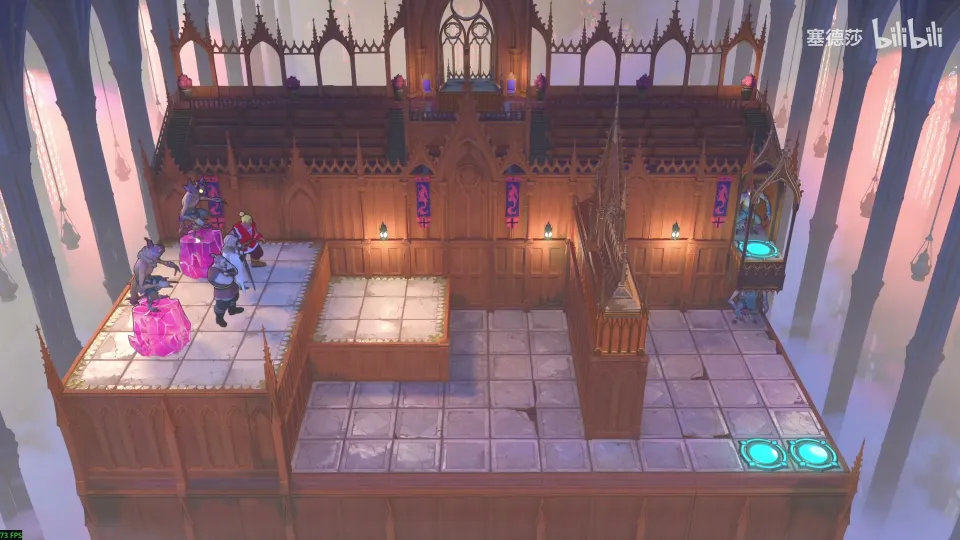
Getting there: press the yellow button to raise the middle goblin, then go up to the top right. (24:16)
- One Warrior goes down; the other puts a goblin on his head. Don’t push the second crystal straight down: put the Cleric under it. (25:14)
- Push the other tower over: two goblin towers. (25:46)
- The narrow middle has a stable formation; then repeat the shuffle right, turn and go up. (26:07)
Puzzle 62
Key idea: two heroes carry a dragon, and its fire keeps the Cleric floating up to the high platform on the left. At the end, let the two dragons kill each other as the Cleric steps on the exit. (塞德莎 P30 27:27)
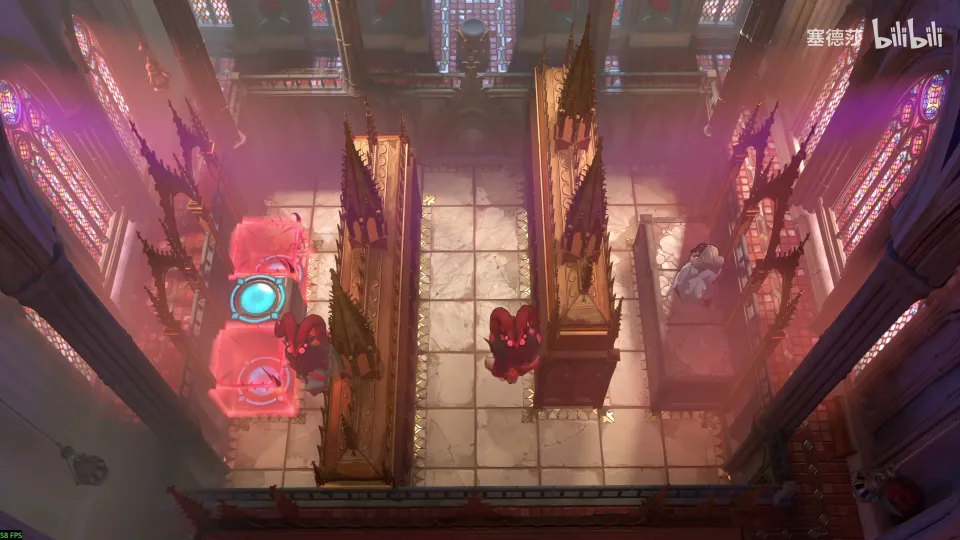
Getting there: put the last stone on the blue button to go left. (27:08)
- Breathe fire down here, then right; bring the Cleric over. (27:35)
- Catch him from behind, turn the dragon, and so on. (27:49)
- The monster gate: block with the Cleric, then step onto the exit just as the dragons face each other. (28:18)
Puzzle 63
Key idea: a Cleric hovering in a fire line sinks when the fire line sinks. Raise the dragon on a crystal, then push the structure down so the Cleric follows it to the exit. (塞德莎 P30 29:01)
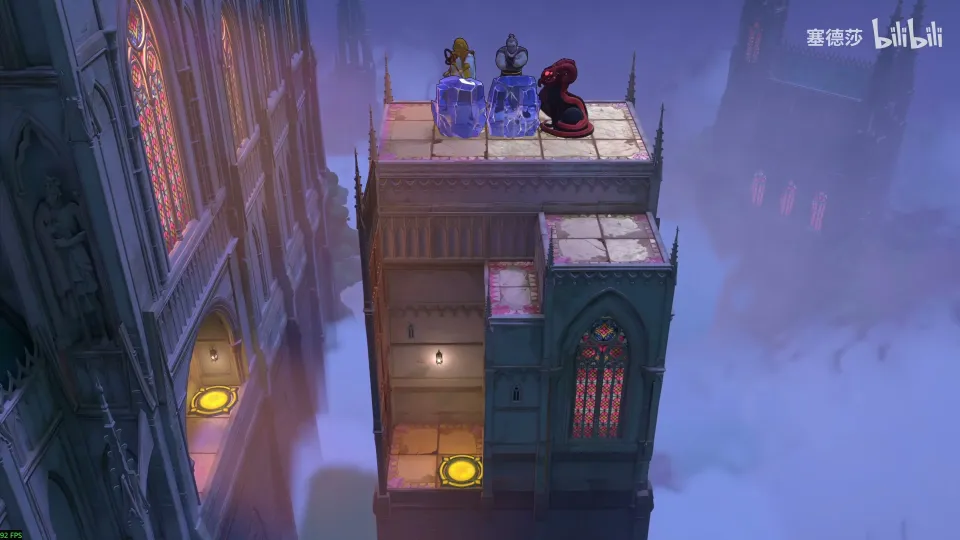
- The fire must run in this row to reach the exit. (29:21)
- Push a crystal down first so the dragon stands higher. (29:46)
- Push the stone here, Warrior on standby, Cleric up; push the structure down and the Cleric sinks with it. (30:17)
Puzzle 64
Key idea: the harder version. Two dragons (one via a mirror) hold the Cleric up; drop a crystal through a fire line to break it for one turn, and the Cleric sinks one step. Kill the lower dragon first, or the other fire line holds him. (塞德莎 P30 30:55)
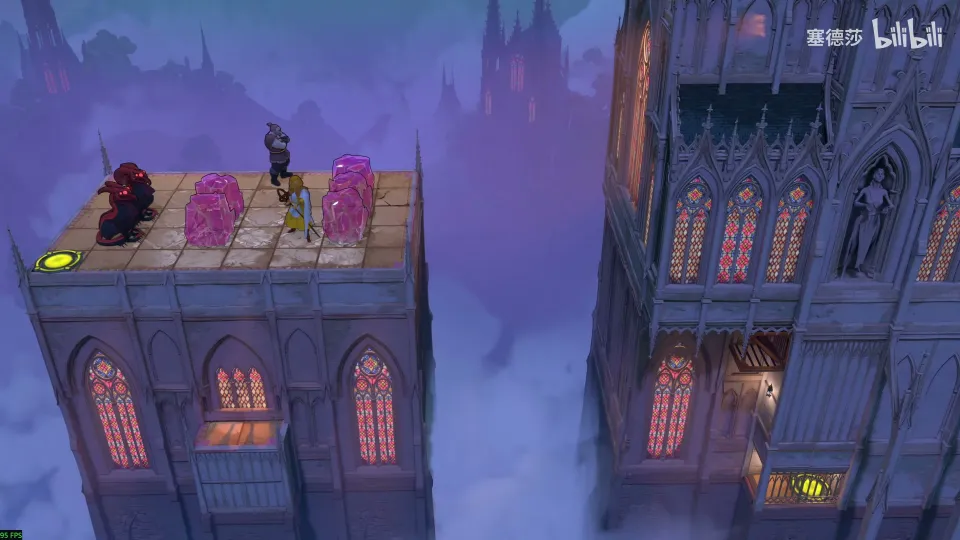
- The idea: blocking a fire for one turn makes the Cleric drop one tile. (31:12)
- Push two stones down first; place the lower dragon, then the upper. (32:42)
- With both lines on, nothing moves, so kill the lower dragon with a falling stone. (33:34)
- Drop the last two stones: one tile down each time. (33:44)
Puzzle 65
Key idea: a big star puzzle that drops you down a shaft, floor by floor, past walls of dragons firing along the rows and columns. On each floor find the gap in the fire or block it with the crystal tower, and split the tower on floor 3 so that on the last floor it can cover both directions at once. (塞德莎 P35 41:15)
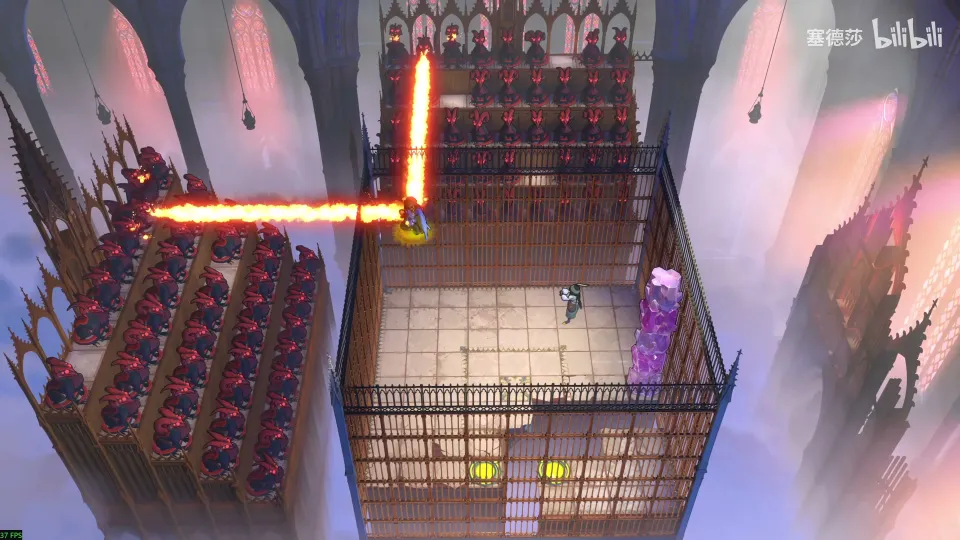
Getting there: this room needs the South part first: a skipping stone there must be unlocked. Push the stone aside on the north side so you can come up, then use the skipping stone to knock a lily pad down from here. It rides down the waterfall carrying the stone; wait below, and when it falls past it blocks the fire for a moment and you can drop in. 塞德莎 says this is the only way in. (40:15)
- Fire particles fill the screen and can make the game lag. On each floor look for the gap in each row and column, and drop there. (41:27)
- Where a column is open but the whole row is dragons, block it with the big pillar of crystals. (41:48)
- Floor 3 has a gap on the left; block the top. Floor 4: block here. (41:59)
- Floor 5 is fire on every side, which means a step was missed: on floor 3, block with the Cleric himself, splitting the tower into a part two high and a part three high. Then on the last floor both directions can be covered. (42:20)
- The Cleric has to finish at the bottom right, so wait here, block this side, then that side. (42:45)
Puzzle 66
Top of the World (世界之巅)
Key idea: a big star puzzle from the trailer, with fire at three heights. Two Clerics and the Trader form a “burger” and walk through it, always protected. (塞德莎 P30 34:19)
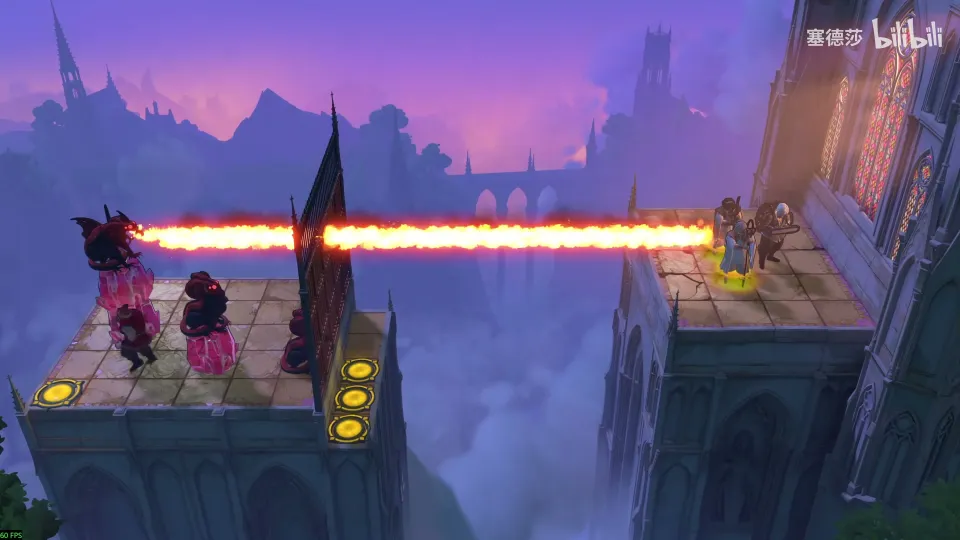
Getting there: an elevator opens here; this zone is Top of the World. (34:02)
- Build it bottom up: one Cleric down, the Trader in the middle, the third on top. (34:37)
- Walk: the front Cleric steps, the Trader follows, the back Cleric catches up, and repeat to the end. (35:01)
Overworld puzzle 3
Key idea: the Path of Heroes (英雄之路) leads straight up to the lock of Antipode High. Clear it by killing a dragon, turning a fire line with a mirror and dropping a stone onto a dragon from above. (塞德莎 P30 36:41)
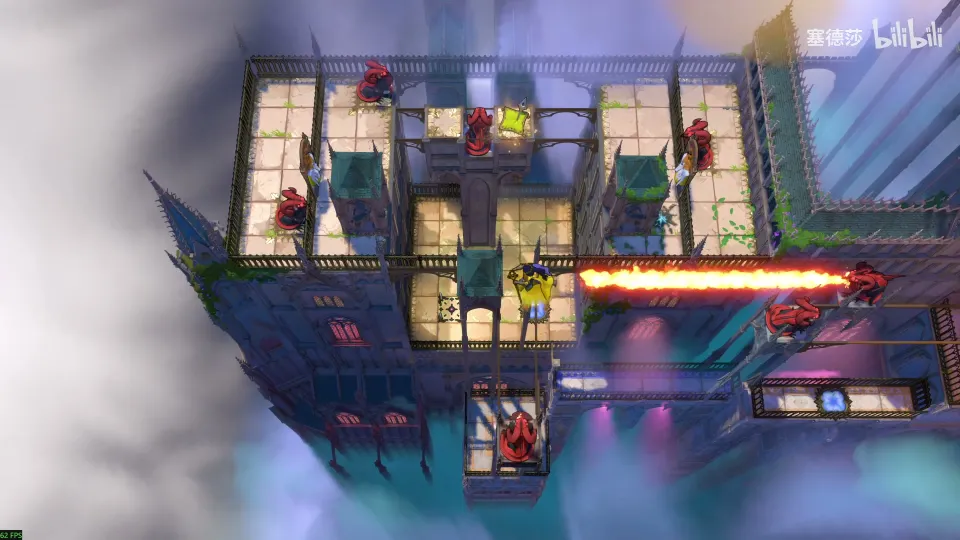
- A cage here needs a puzzle from the South part, and the big star below it needs a lily pad and skipping stone from there too; 塞德莎 comes back for it in part 35 (puzzle 65 here). (35:47)
- The right-facing dragon spoils the drop, so kill it: fetch the dragon on the left and make the two breathe at each other. (37:11)
- Use the up-facing mirror to lift the fire line. (37:46)
- Move the monsters, clear the stone, teleport back up and go round the railing. (38:17)
- The dragon below (from the lower world) now blocks the drop: kill it with a falling stone. (39:42)
- Climb to Antipode High: the sign opens once you have enough big star puzzles. (40:11)
The third-stage counterpart is Low Heroes.