Spoilers: this page covers the second stage, after the first ending (the Endgame in the Antipode). It sticks to puzzle solutions and leaves out the story, but the way up and the new hub give away late-game content. If you haven’t finished the Endgame yet, see the Antipode walkthrough first.
The second stage starts on Crossroads High, a new hub floating above the Crossroads at the start of Antipode High. You get there by riding a purple beam into the sky, and Steam’s hidden Ascend achievement marks the climb (see the achievement list). This page shows how to set up that beam with the four red signs and solves all 8 puzzles on Crossroads High: four tutorial rooms, then four gate rooms that open the High parts of each world.
Name: the English version labels the hub Crossroads High. 塞德莎’s Chinese version shows it as 交汇之地:高处.
How to use this page: we found no English video of this part, so puzzle numbers follow 塞德莎’s narrated walkthrough. Each heading has the key idea and a link to the moment the room starts; every step links to the exact second.
Rules that matter here
- Height. The new rooms add a third dimension. A stone is one level tall. A hero can step up one level, so two stacked stones (or a stone on a ledge) reach a platform two levels up. You can always drop down, but you can’t climb back without something to stand on, so a hero who has to finish high must never drop too far.
- Edges are walkable. The rims around a room’s floor count as tiles. You can walk along them to get round a stone you can’t push past.
- Heroes can carry each other. A hero can stand on another hero’s back. The one below crouches but keeps every ability (the same pushes, the same strength), and the one on top is one level higher.
- The room map (Tab). Some 3D rooms have a map piece. Pick it up and press Tab for a side, top or angled view that shows heights more clearly.
- Old rules still apply. The Thief pulls, the Trader’s mirrors reflect, the Sailor skips stones, lily pads drift, and the purple beam carries you to its far end.
How to get up there
Everything starts with the red signs. They sit around the Crossroads and in the worlds, they are locked until you complete the Endgame, and the overworld map paints every puzzle connected to them bright red. 塞德莎 does them in the order South, West, North, East. (0:00 · the red marks on the map, 0:20)
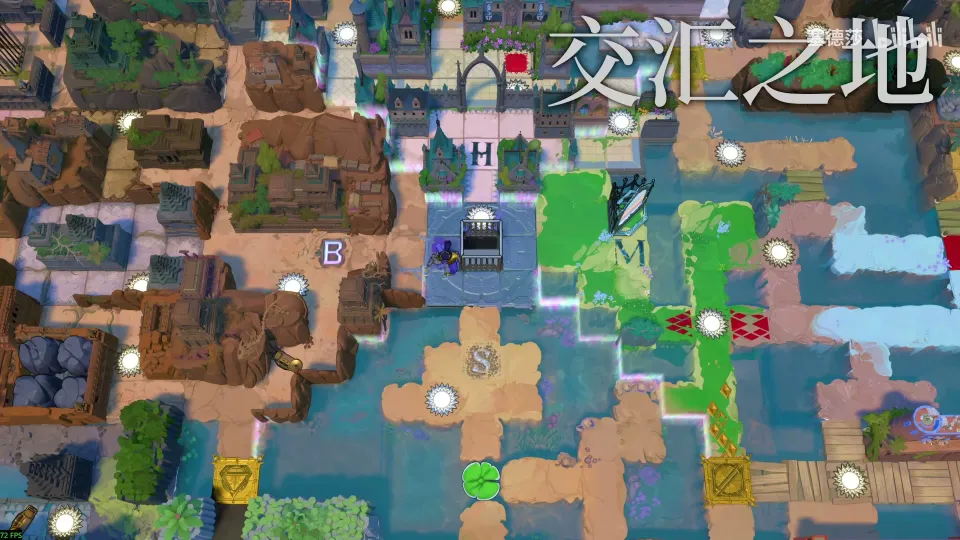
- South: the lily pad. In the south part of the Crossroads, touch the red sign; it opens because the Endgame is done. Then skip the lily pad into the water current. The route is long: skip the pad right and down, bring a stone over to the right of the pad and push it down, skip the pad left and down, then walk all the way round and send it left into the current. Follow 0:30–1:27 for the exact pushes. The pad drifts east; you need it in step 4. (0:30)
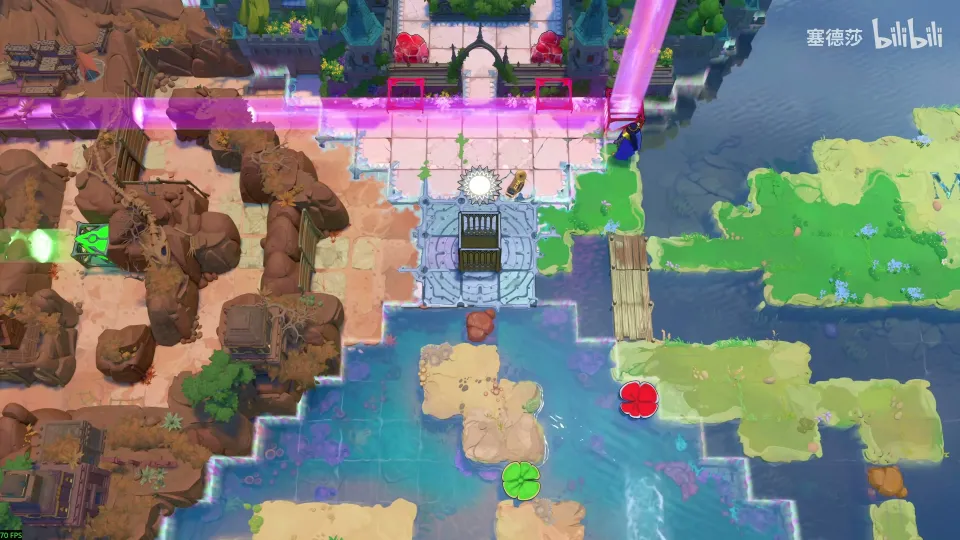
- West: the purple beam. West of the Crossroads, enter the red-floored area through the green beam and unlock the sign, which switches on the purple beam below. Ride the purple beam’s far end to get in (you can’t push from outside), push the purple emitter to the top and cut the beam. With the lights off, use the green beam to walk through walls and move the emitter to the topmost spot. That is the only place it can aim where it needs to: there is a gem in one spot, stones everywhere else, and a laser firing left on the other side. (1:27 · 1:46 · 2:18)
- North: three red stones. In Heroes 3: Bard & Druid, unlock the red sign and a door opens. Reset the room, carry the red stone out and push it down through the new door. Push it all the way to the start of the Hearty Heroes of Hauling, where three buttons wait, and bring three red stones onto them one by one (塞德莎 fetches the others after resetting rooms on the way, see 3:00). With all three pressed, the two red blocks at the north edge of the Crossroads open and the purple beam runs along the top row. It doesn’t reach the goal yet. (2:29 · 3:17)
- East: the vertical mirror. The red sign in the Mirror Isles unlocks something new: a mirror that reflects straight up into the sky. Push it back towards the Crossroads; the small red arrows on the map show the way. At one spot you can only get the mirror up with the help of the lily pad from step 1. Push it into the purple beam’s path near the top-right of the Crossroads, and the beam turns towards the sky. (3:38 · 4:14 · 4:24)
- Ascend. Step into the upward beam and ride it to its far end. You land on Crossroads High. (4:34)
Puzzle 1
Key idea (tutorial, stacking): you need two stones on top of each other, or a stone next to a higher ledge, to climb two levels to the exit. (塞德莎 4:56)
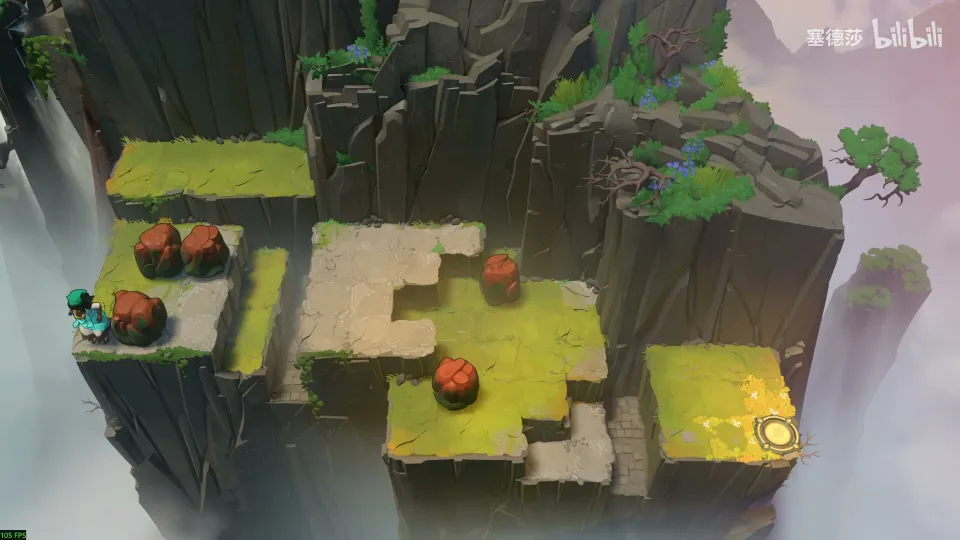
- One stone sits against the edge. Push it down first, then move every stone right along the bottom edge. (5:07)
- On the next step, push both stones across, otherwise you are one level short. Go down here to get the stone out. (5:18)
- Push it into the marked spot so it makes a two-level step, and climb to the exit. (5:27)
Puzzle 2
Key idea (tutorial, edges): push one stone down a staircase of terraces without letting it stick against a wall, and when a gap is two tiles wide, walk along the rim to get round it. (塞德莎 5:38)
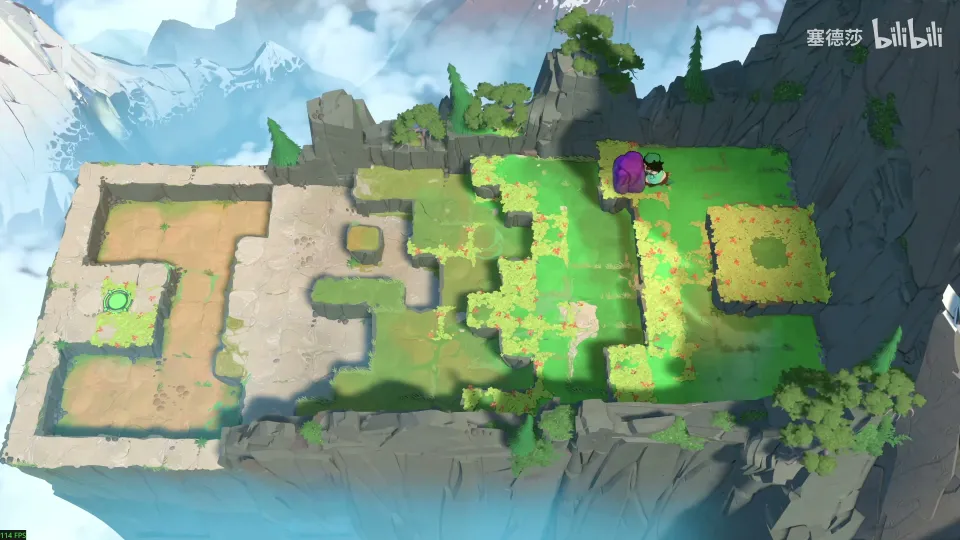
- Look for push spots where the stone won’t get stuck at an edge. The first drop can be pushed anywhere. (5:38)
- The second drop goes from the side, where the ledge sticks out; the third and fourth from the spots 塞德莎 shows, so you can drop in behind the stone and push it out. (5:46)
- The last gap is two tiles wide, so a straight push won’t do. The rim is walkable: push the stone into place, walk round along the edge and push it from the other side. (6:09)
Puzzle 3
Key idea (tutorial, carrying): one hero has to reach an exit two levels up, and there aren’t enough stones. Let one hero stand on the other’s back. (塞德莎 6:21)
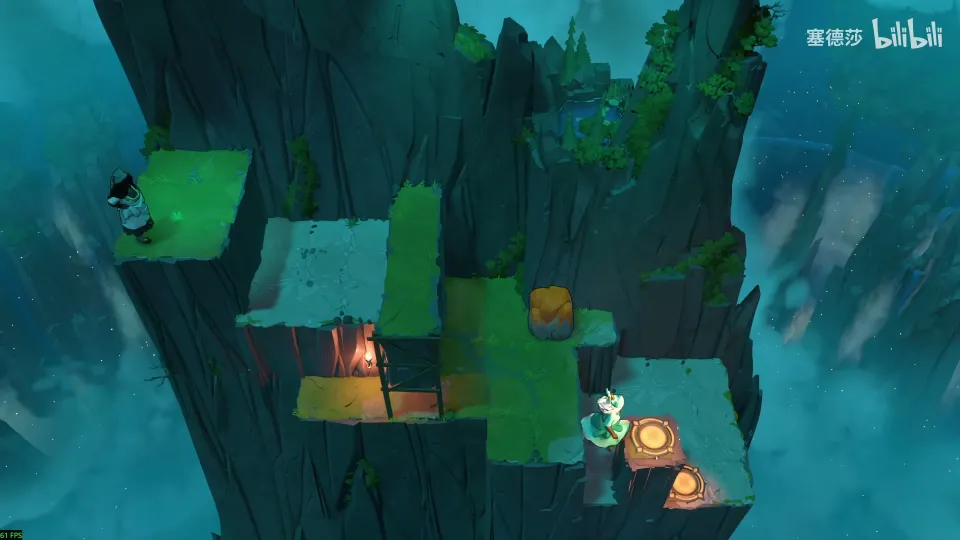
- If both heroes go down, you can’t build a two-level step: the stone you need gets stuck where you can’t push it. (6:34)
- Walk one hero onto the other. The one below crouches but keeps all its abilities. (6:46)
- Use the carry to get the Sailor across, then repeat it to climb onto the platform behind the stone and push the stone out. (7:08)
- Push the stone to the marked spot. You are still one level short, so the other hero stands in as the missing step. (7:30)
Puzzle 4
Key idea (tutorial, carrying a stone): the bottom-left exit needs the stone as a step, but pushed straight down it sticks at the edge. Let a hero carry the stone so it stays free to push. (塞德莎 7:46)
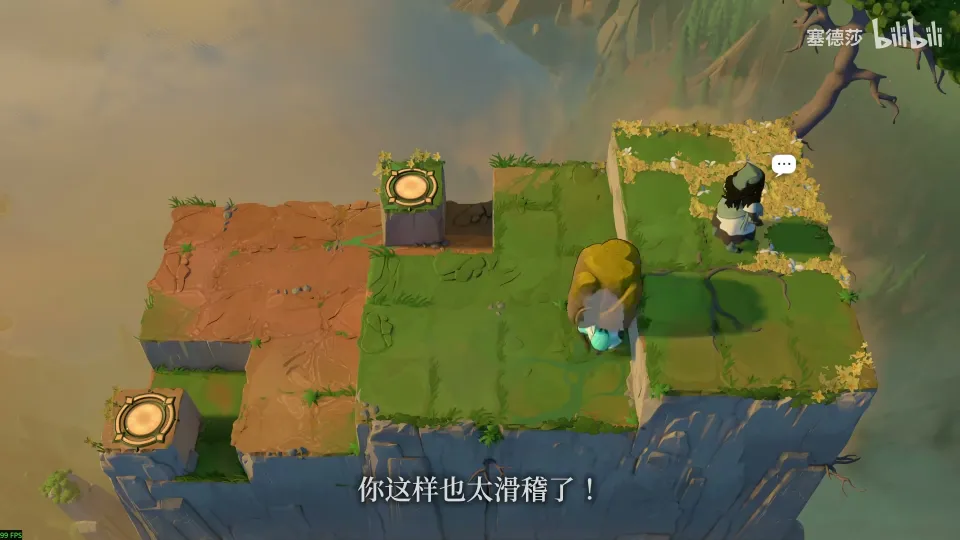
- Have one hero carry the stone on its back. You don’t need to walk it anywhere; it only has to be free. Then push it across. (7:58)
- Use the stone as the step for the first hero. The second hero gets into the notch, takes the stone out again and pushes it to the other exit. (8:08)
With the four tutorials done the hub opens on all sides, and you can pick up its map piece. (8:20)
Puzzle 5
Key idea (North gate, Thief + Wizard): the Thief starts high, and nothing in the room can lift a hero, so the Thief must cross to the right without dropping a level. Move the crystals into the columns the Thief needs. (塞德莎 8:48)
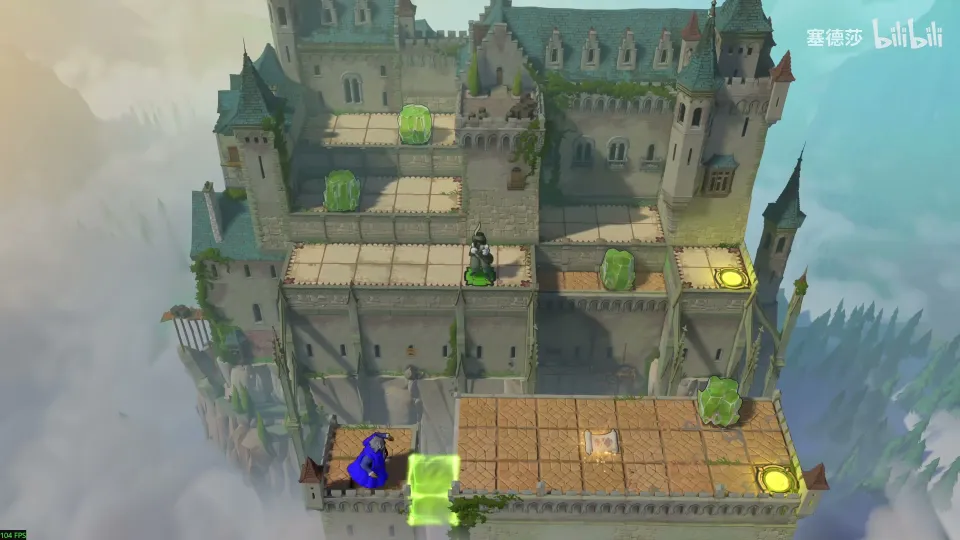
- With the Thief, pull the crystal over and walk down, dragging the stone along. Do the same with the next one and hold the button down. (8:48)
- The button opens the green energy block, so the Wizard can come over and take the map piece. Press Tab here for a side view of the heights. (9:01)
- Move one crystal into the leftmost column so the Thief can come up, then bring a crystal into the rightmost column. The Thief crosses at the same height and reaches the exit. (10:03)
Puzzle 6
Key idea (East gate, two Traders): the upper Trader and the upper exit are both higher than the lower Trader, so the upper Trader must stay high all the way. The lower Trader uses the mirror and carries the upper one. (塞德莎 10:28)
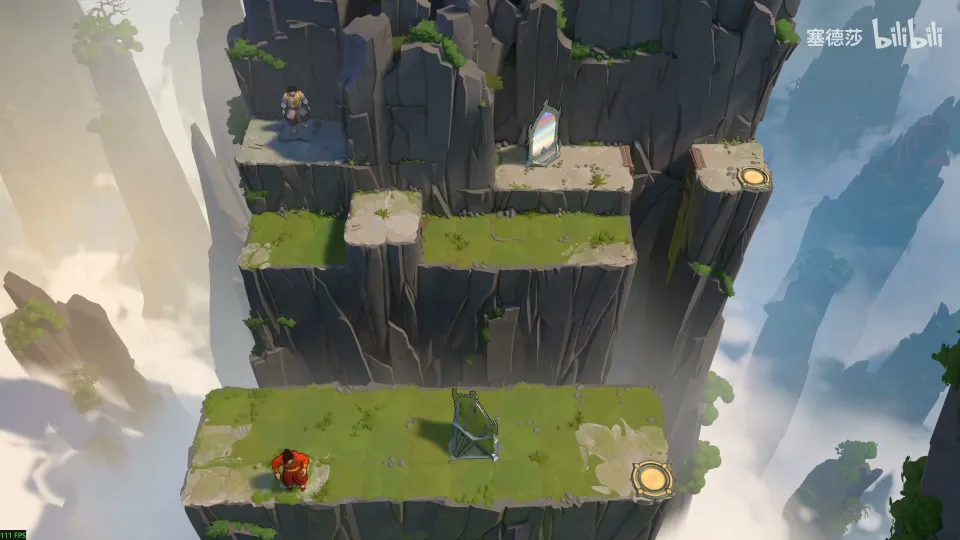
- Reflect the lower Trader up first, to catch the upper one and stop it falling to the bottom. (10:55)
- Bring the upper Trader over, then use the mirror again to reflect across. Carry the upper Trader on your back to the next spot. (11:08)
- The last gap only works with the mirror, and the nearest one is right here. Gain as much height as you can by carrying the other Trader on your back, so the reflection lands at the level you need. Then send the remaining Trader back. (11:17)
Puzzle 7
Key idea (South gate, five stones): the upper Sailor has to reach the exit while staying fairly high, and can only come down one level at a time. Five ordinary skipping stones and a lily pad build the missing steps. (塞德莎 11:44)
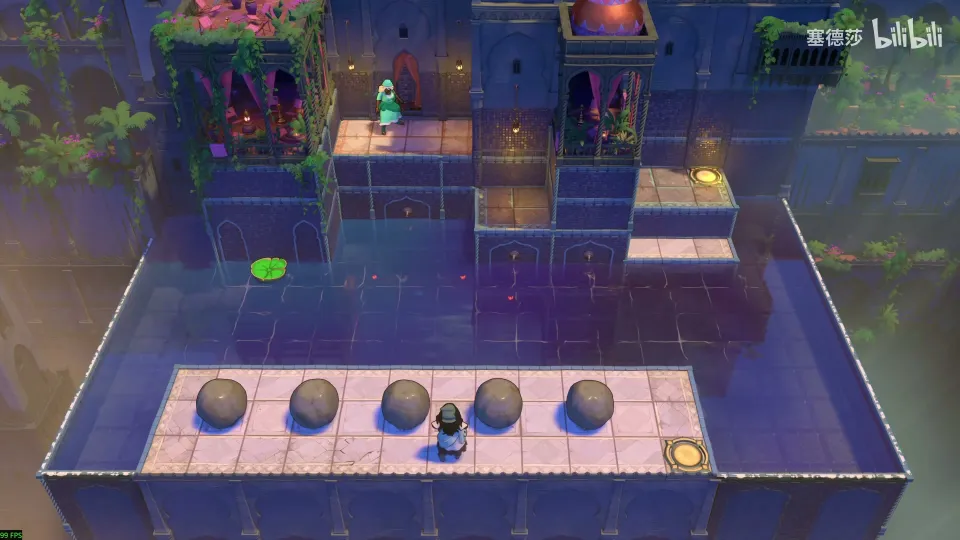
- First get the upper Sailor to the platform one level lower, below-right of it. (11:55)
- There is no trick here, just pushing: a stone works as a step, and you can push two at once. Push until the upper Sailor can drop onto that spot; the video shows the order. (12:04)
- The lily pad helps next, but it sits one level too low. Skip a stone onto the pad first, then set the pad moving. (12:15)
- The last staircase is one step short. Push the last stone onto it, then walk up to the exit. (12:26)
Puzzle 8
Key idea (West gate, Explorer + beams): 塞德莎 calls this the hardest of the four gate rooms. The upper Explorer must reach the top-right exit without ever dropping to the bottom floor, because nothing can lift a hero back up. Use the tall stone tower to aim the purple beam, and ride its far end up. (塞德莎 12:38)
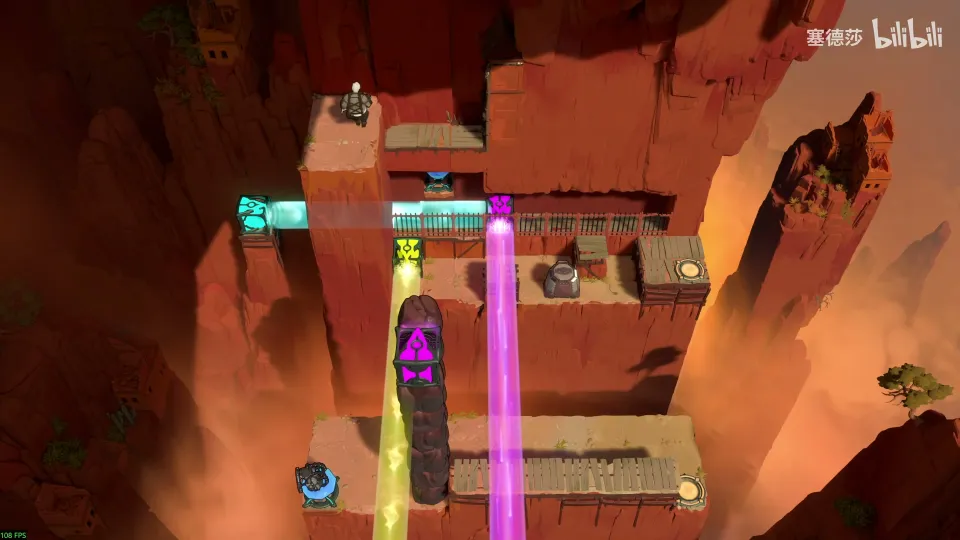
- Pick up the gem and activate the emitter with it. (12:48)
- The plan: get the upper Explorer to the cyan beam at the top, then use the cyan beam to push the downward purple beam a little right; later the Explorer rides its far end into the upper half. (13:33)
- Knock one stone off the tower to uncover the upward purple beam. It is a little too high, so lower the whole tower by one and ride the beam’s far end. (13:44)
- Back down, lower the tower by three so the beam ends at the gem; the gem works as the beam’s end and puts you on top. (14:03)
- Push the beam to the only spot that works (you can’t stand below the innermost one), lower the tower once more to ride back, and lower it again to reach the last block and jump across with the far end. (14:13)
- The final step down would carry you away along the beam. Have the lower Explorer take the gem, and the way is clear. (14:32)
Where the four High parts start
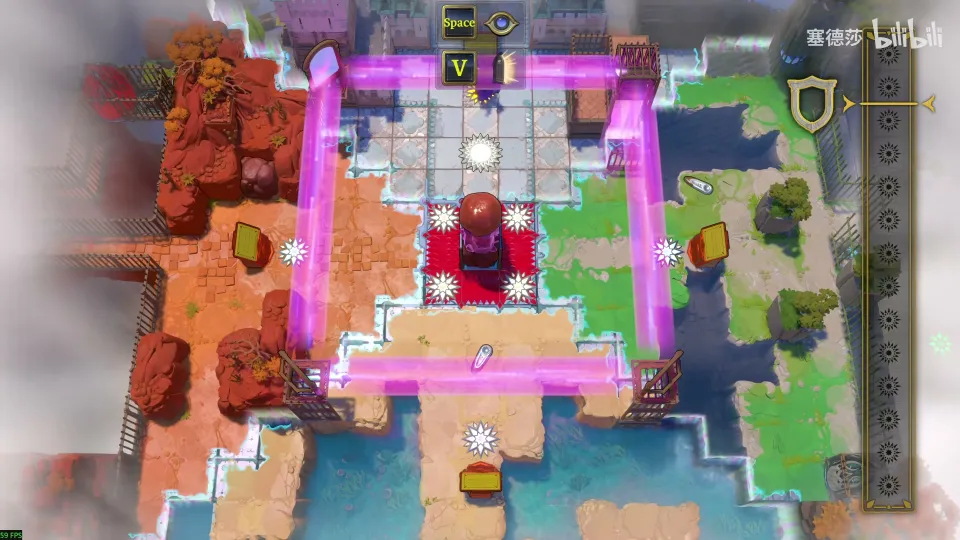
With all four gate rooms solved, each side of the hub opens onto one world’s High part, and a sign on each side counts its puzzles. 塞德莎 reads the signs as below; the second number is how many you need to solve. (14:59 · 15:18)
| Side | High part (Steam achievement) | Sign (as read in the video) | Guide |
|---|---|---|---|
| North | High Heroes | 14 stars, 12 needed | High Heroes solutions |
| East | High Mirrors | 7 stars, 6 needed | High Mirrors solutions |
| South | High Skipping Stones | 7 stars, 6 needed | High Skipping Stones solutions |
| West | High Beamcasters | 12 stars, 10 needed | High Beamcasters solutions |
The North and West have more rooms because their worlds have more mechanics to combine with height. Antipode High also has rooms that mix several worlds with 3D. 塞德莎 continues in the order North, East, South, West. (15:40 · 16:10)
The second stage ends at the star in Antipode High: see Endgame High.