Spoilers: this page covers the third stage of Order of the Sinking Star, after the second ending. It sticks to puzzle solutions, but the zone names and layouts give away third-stage content. If you haven’t gone down yet, see how to descend first.
Low Beamcasters is our name for the Beamcasters part of Antipode Low, the lowest layer, which opens after the second ending (see how to descend and the Antipode Low hub). It is the Low counterpart of Vault of the Beamcasters and High Beamcasters: gems, coloured beams, the Rod and the cart, now mixed with heroes, goblins, dragons, Sailors and Traders. This page solves the 68 puzzles and 19 overworld puzzles 塞德莎 plays in the west in his parts 53–57.
Where it is: from Crossroads Low, head west. 塞德莎 labels the map tiles N1W1 and N2W1 (Monsters Passing Through), N2W2 and N3W2 (Opening Monster Gates), W2 (Rod Pushes Gems), N1W2 (Transform and Shatter), N1W3 (Crystal Carts), N1W4 and W3 (Beam Miscellany), W4 (Endpoint Falling), S1W3 and S2W3 (Gems in the Way), S1W4, S2W4 and S1W5 (Beam Computation), S1W2 (Gem Beam), S2W1, S1W1 and S3W1 (Turning Beams on Water Lilies) and S3W2, S4W2 and S4W1 (Endpoint Leap).
How to use this page: there was no English solution video for these rooms when we wrote it, so the numbers follow 塞德莎’s narrated walkthrough, counted straight through his parts 53 to 57 in the order he plays them. Each heading has the key idea and a link to the moment the room starts; the numbered steps link to the second where he explains that move. Short walks on the area map between rooms are folded into a Getting there line. Some rooms are a chain of small chambers behind one entrance; those count as one puzzle with parts. Antipode Low has no single Beamcasters sign: its rooms count towards crossover signs on Crossroads Low (see how to descend).
Zones at a glance (Chinese names as shown in 塞德莎’s game, narration or part titles; all English names are our translations and unconfirmed):
| Zone (塞德莎’s Chinese name) | English name | Puzzles | 塞德莎 part |
|---|---|---|---|
| 怪物穿行 | Monsters Passing Through | 1–4, overworld puzzles 1–2 | P53 |
| 开启界门 (from his part title; no name card shown) | Opening Monster Gates | 5–12, overworld puzzles 3–4 | P53 |
| 短杖推宝石 (from his part title) | Rod Pushes Gems | 13 | P54 |
| 变形与粉碎 | Transform and Shatter | 14–20, overworld puzzles 5–6 | P54 |
| 水晶推车 | Crystal Carts | 21–23, overworld puzzle 7 | P55 |
| 光束杂项 (from his part title) | Beam Miscellany | 24–31, overworld puzzles 8–9 | P55 |
| 端点坠落 | Endpoint Falling | 32–35 | P55 |
| 宝石挡道 | Gems in the Way | 36–40, overworld puzzle 10 | P56 |
| 光束演算 | Beam Computation | 41–45, overworld puzzle 11 | P56 |
| 宝石光束 (named in his narration) | Gem Beam | 46–47, overworld puzzle 12 | P57 |
| 睡莲上的旋转光束 | Turning Beams on Water Lilies | 48–50, overworld puzzles 13–14 | P57 |
| 端点飞跃 | Endpoint Leap | 51–68, overworld puzzles 15–19 | P57 |
The 怪物穿行 name card appears after puzzle 4, when 塞德莎 says that zone is done. Puzzles 5 and 6 each have their own theme (the blue beam through roots, the red beam that opens every door) before the monster gate rooms begin; we keep them under 开启界门 because his part title names only those two zones. His P55 title gives 光束杂项 two map tiles: puzzles 24–28 are on one, and after a trip back he plays the purple beam rooms 29–31 on the other. The 端点坠落 name card appears on the way to puzzle 33; puzzle 32 is already one of its purple endpoint rooms, so we put it there. In P57 no new name card appears after 端点飞跃; his part title gives that zone three map tiles, and he walks on down and then right through them, so we keep puzzles 57–68 there.
Rules that matter here
- Green beams see through walls. A hero or monster standing in green light sees through walls, so a Druid in green light can turn a goblin on the other side of a wall into a crystal (P53 1:16). Attacks are still blocked: a goblin stuck inside a wall can’t hit out of it, and a dragon in green light sees you through a wall but its fire stops at the wall, so it doesn’t breathe (P53 3:55). That lets one monster kill another without being killed back (P53 7:59).
- The blue beam passes plant roots. A plant’s floating roots are hollow, and their edge works like a fence. In a blue beam you pass through it, as through the fences in Dragons, Squeezed (P53 10:56). Only puzzle 5 and overworld puzzle 3 use this.
- Red opens every door. A red beam opens energy doors of any colour, not just red ones; earlier rooms deliberately never showed this (P53 13:29).
- Monster gates flip per block. A monster gate (the current Chinese text calls it 界门) depends on whether its block holds a monster. A gate that is closed with no monster opens when one arrives, and one that is open with no monster closes when one arrives (P53 15:50). A gate that rises can lift whatever stands on it.
- Carts turn goblins. Goblins react to a passing cart and turn to face it, which also turns an emitter on a goblin’s head (P53 26:24).
- Gems can push emitters. A gem you push moves an emitter in its way. Most players tried this in the demo’s first West tutorial, but here it is needed for real (P54 0:37).
- Shatter, then blast. Yellow alone shatters a stone into rubble; yellow plus multicoloured can’t (P54 23:31). Rubble touched by yellow plus multicoloured blasts every stone in the same block and nothing outside it (P54 20:55); emitters of any colour, mirrors and skipping stones break too (P54 25:29). Rubble that sinks is still there under the water (P54 19:06), it falls like the flat objects from earlier stages (P54 27:35), and a crystal on top of it can set the blast off (P54 28:53).
- Multicoloured stretches orange. In multicoloured light an orange jump covers three tiles instead of two, so a skipping stone the Thief pulls through it lands clear of him and skims across the water (P55 8:46). Where one multicoloured and two orange beams cross, the jump is 3² = 9 tiles (P56 26:27).
- The Rod keeps momentum. Shoving a skimming skipping stone with the Rod doesn’t stop it; it keeps sliding the same way (P55 17:39). Shoving yourself with the Rod doesn’t take what is on your head with you (P55 23:07).
- Double endpoints. A purple beam with an endpoint at both ends makes you (or a crystal) bounce between them forever, until something takes one end (P55 27:06, P55 27:34).
- Crystal heroes don’t count. A teammate turned into a crystal counts neither as a death nor as a hero who has to reach an exit (P55 15:49).
- Copying gems. A mirror can’t reflect a gem, but it can reflect an Explorer carrying one, which copies the gem. Clones whose gems differ (one carrying, one not) can’t merge (P56 9:33, P56 9:45).
- Crystal = 1, stone = 0. In the Beam Computation rooms, an orange beam tests a block: a crystal lets light through and teleports on, a plain stone blocks it and drops. The rooms chain these tests into a register, OR, XOR and a binary adder (P56 13:02, P56 20:32, P56 24:05, P56 33:08).
- The gem beam. 塞德莎 says the white beam is called the gem beam: it powers activators as a gem would, and some spots can only be powered that way (P57 0:43, P57 3:08).
- Lily pads turn what they carry. The current flows clockwise, and each turn of it turns a lily pad and everything on it 90 degrees clockwise, emitters included (P57 7:29, P57 10:12).
- Hovering at an endpoint. Push a crystal skipping stone out and light a purple beam at once: the stone keeps its momentum and teleports to the endpoint over and over, hovering there like a solid block until the beam goes off and it sinks (P57 15:59, P57 16:43). It is really still skimming towards the emitter, so it can knock lily pads (P57 23:42).
- Coprime loops. In a wrap-around pocket world of 23×24, two stones skimming round it are bound to meet eventually (P57 46:09).
Puzzle 1
Monsters Passing Through (怪物穿行)
Key idea: use the difference between seeing with and without a green beam. Get the goblin into the wall, then let the Druid in green light turn it into a crystal through the wall. (塞德莎 P53 0:20)
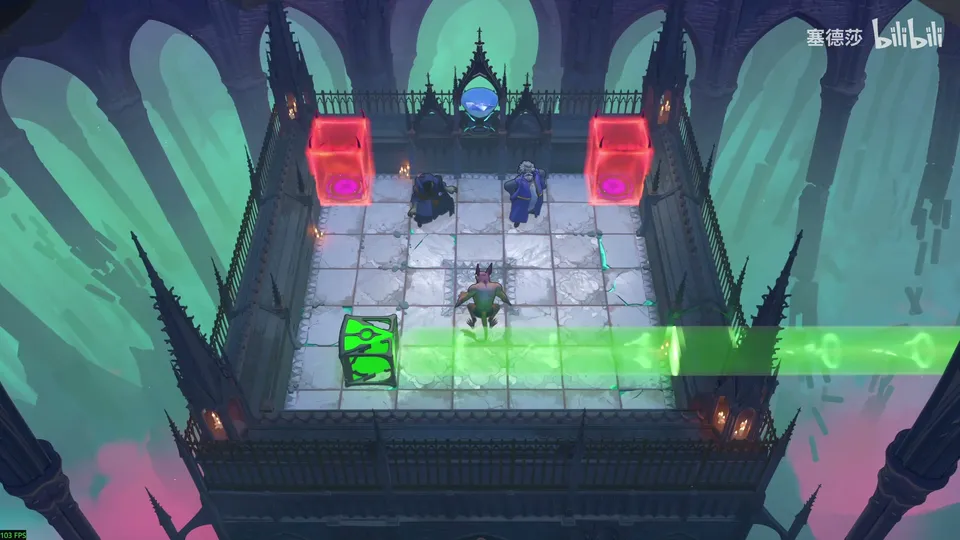
Getting there: at the start of the West there are two ways on, left and up; go up first. This part clears everything up there. (0:12)
- Move the goblin into the wall first; outside the wall there is no way to turn it into a crystal in this room. (0:43 · 0:58)
- Walking straight over gets you killed. Move the green emitter up one tile so the Druid can stand here. (1:04)
- The goblin in the wall can’t attack upwards, but in green light you see through, so turn it into a crystal. (1:16)
- Oddly, the crystal doesn’t stay in the wall: the monster just vanishes, and you can walk on down. 塞德莎 isn’t sure it is intended, but thinks so. (1:24 · 1:45)
Puzzle 2
Key idea: the same trick, with the Warrior instead of the Wizard. The Warrior can only push the goblin into the wall one way, and after that the Druid can’t get in, so put the Druid in the wall first. (塞德莎 P53 1:55)
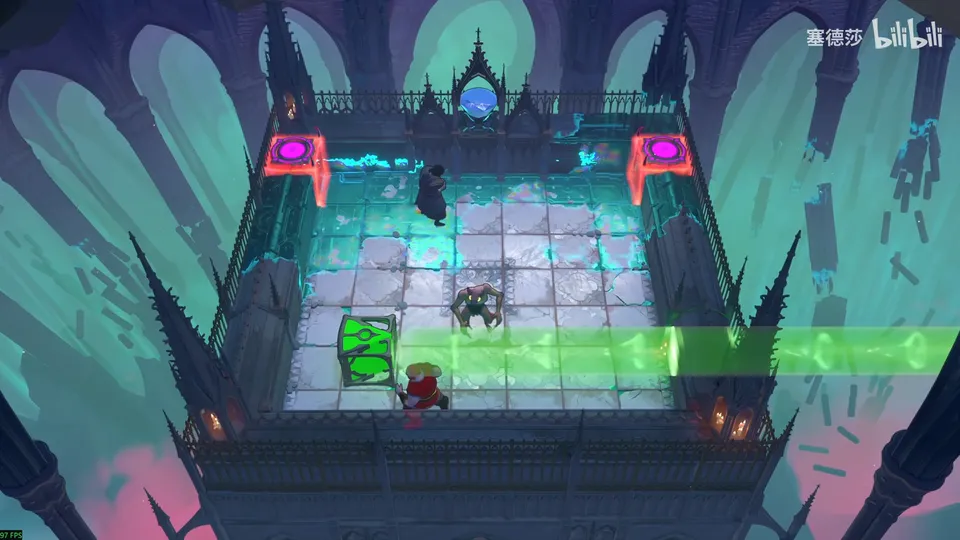
- Pushed by the Warrior, the goblin can only go in this way, and then the Druid can’t get into the wall. (2:11)
- So change the order: send the Druid into the wall first, a little higher up, or the goblin kills him when you push it in. (2:25 · 2:34)
- Push the goblin into the wall, move the Druid already in the wall down, and turn the goblin into a crystal; it merges into the wall. (2:42)
- Bring the Druid out from the top bit by bit. (2:54)
Overworld puzzle 1
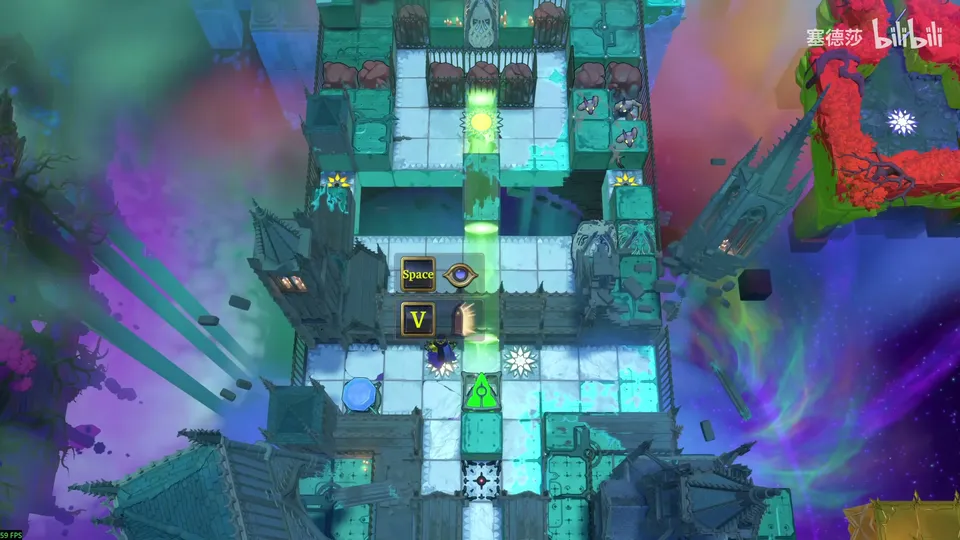
Key idea: the big structure seems to lead right, but there is a cage in the wall there, so go left. Swap the places of the gem and the emitter, using the notch below. (塞德莎 P53 3:06)
Puzzle 3
Key idea: a dragon and a goblin, and both have to die. A dragon in green light sees through walls, but its fire is still blocked by them. There is one special tile: one of the three wall tiles in this column. A dragon in that wall tile can still breathe out, because there is no wall to its right, and monsters outside can’t reach it. (塞德莎 P53 3:24)
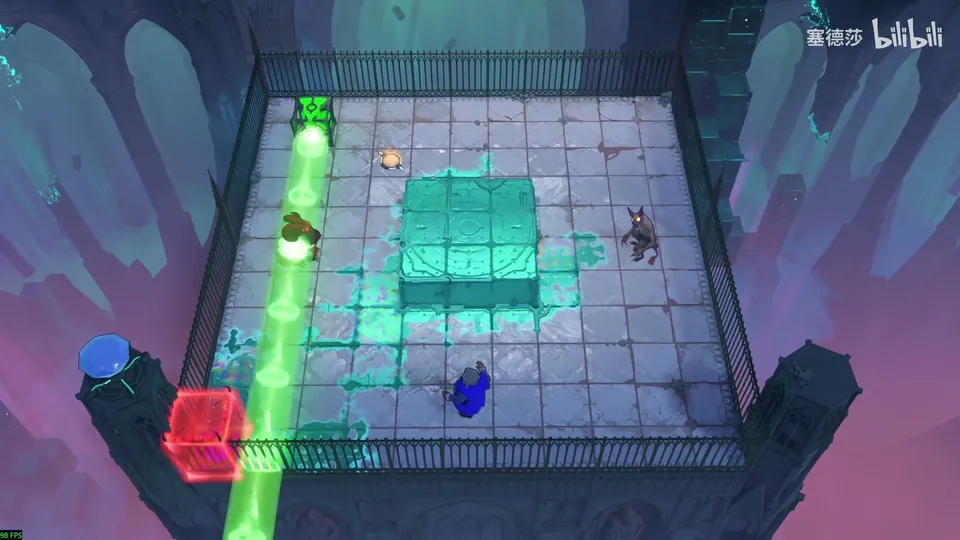
- First, the rule, which he shows by turning the emitter: the dragon in green light sees you through the wall but doesn’t breathe, because its fire would hit the wall. (3:36 · 3:55)
- Pointing the beam right and putting it behind the dragon doesn’t help either; its fire still can’t cross the wall. (4:09)
- So the goblin has to stand right next to the dragon, on a tile where they can reach each other. Put the dragon here, in the special wall tile; then, with no green light, put the goblin on the floor beside it; then give both green light. (4:38 · 5:18 · 5:43)
- Play it: move the goblin away and push the green emitter here. (6:01)
- Come in from here and go left: with green light you see no wall on the left, so you can swap the dragon to here. (6:07)
- Take the green light away and move the goblin one tile to the dragon’s right. (6:21)
- Turn the green beam to point right, through both of them: both can now see each other and kill each other. (6:28)
The catch is that only this one wall tile works; 塞德莎 warns that it’s easy to assume any wall tile will do. (6:40)
Overworld puzzle 2
Key idea: pushing straight to the right lets the goblin on the upper left kill the one on the right too early, and then you can’t get in. Cut the beam first. (塞德莎 P53 6:50)
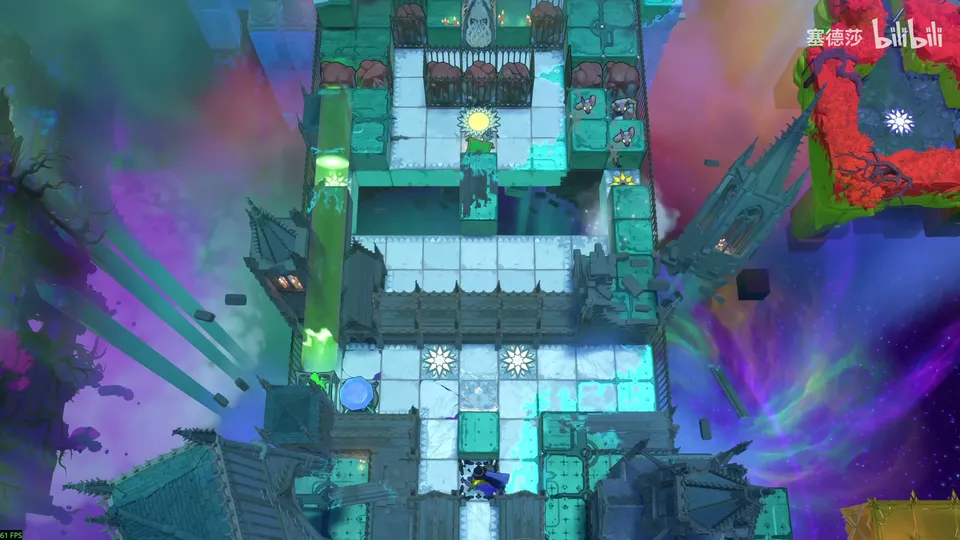
Puzzle 4
Key idea: it looks like you should get the goblins out from the bottom right and the top and put three together at the bottom left. You can’t: the bottom-left goblin is stuck in a railing corner, and the other two can’t be pushed into the tiles beside it. Kill one goblin first, then put the last two together. To kill one alone, have one goblin in the wall and one outside, and give one of them green light. (塞德莎 P53 7:11)
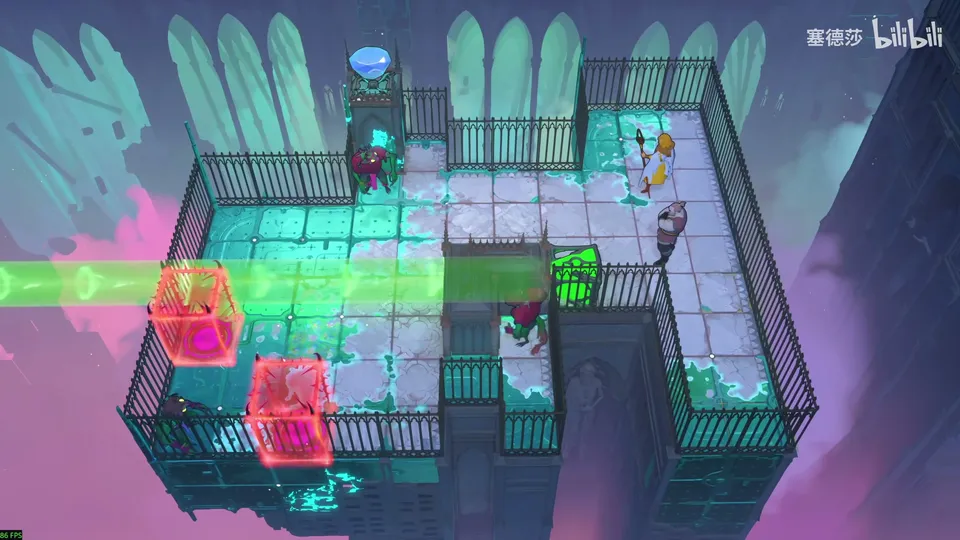
- Why not three at once: the bottom-left goblin is stuck in the railing corner, and you can’t push another goblin into this tile or this one while it is there. (7:23)
- The plan: the goblin outside the wall, in green light, sees through and kills the one inside, which can’t hit back through the wall. It works the other way round too, with the green light on the one inside. (7:59 · 8:16)
- The bottom goblin can’t be pushed out, but it can be pushed in. Take the green emitter out and put it here, stand the Cleric here, and let the Warrior push the goblin up into the wall. You’re safe: the moment it enters the wall, the wall blocks it. (8:36)
- The top-left one: shine green here, or you can’t push it at all. Put the Cleric here to protect you, go in and push down, but bring the Cleric back first or he is hit once it comes down. (8:59)
- Bring it out step by step: push it down one more from here, then push this one right to here, the tile planned above. (9:17)
- Push the upper green emitter down so it lights this goblin; it kills the one in the wall. (9:30)
- Last, send it to the bottom left to meet the other goblin, going through the wall from this side and pushing left. (9:38 · 9:47)
塞德莎’s summary: once you see that a wall lets you kill one goblin alone, the room is easy. On the way back, the name card shows this zone was 怪物穿行, and it is done. (9:54 · 10:08)
Puzzle 5
Opening Monster Gates (开启界门)
Key idea: turn two plants into crystals and push them onto the buttons at the bottom left. The new detail: the edge of a plant’s floating roots works like a fence, so in a blue beam you walk through it. (塞德莎 P53 10:14)
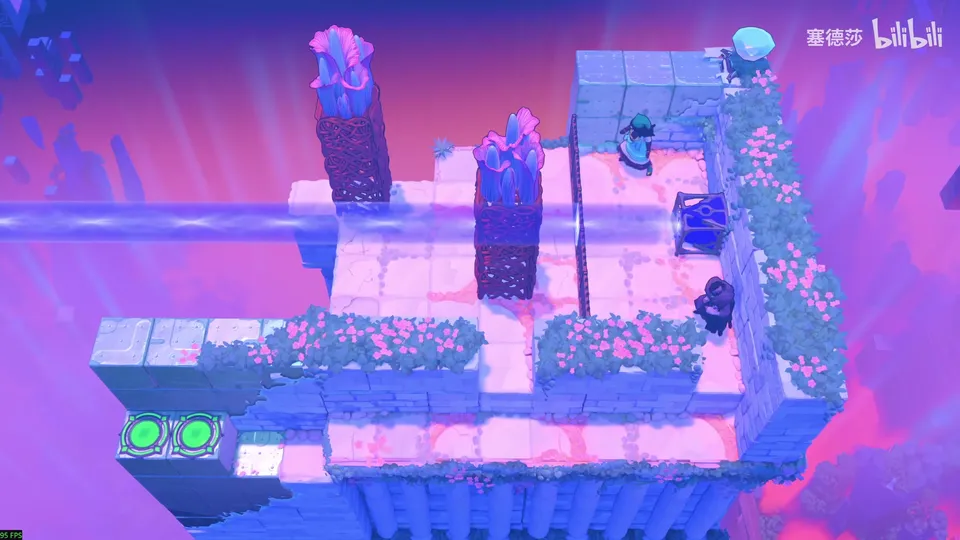
Getting there: from the middle of the area map go up. The room is below this; turn it into a crystal, come out, take off the Druid outfit and push this away. (10:03 · 10:20)
- Send the Druid over to turn the first plant into a crystal: he walks straight through instead. The plant’s floating root is hollow, and its edge counts as a fence wall, so the blue beam takes you through it. (10:42 · 10:56)
- Come in this way and turn it into a crystal from the side. (11:16 · 11:22)
- The second plant would drop if you crystallised it directly, and you couldn’t push the crystal out. Push the blue emitter up, let the Sailor pass through, then crystallise it from the side. (11:26)
- Push both crystals down first; if you go down first you can’t get back up. (11:44)
- The Sailor can’t push both crystals left at once. Turn the upper crystal back into a plant: its roots surround the lower crystal, so you can use the blue beam to pass through the roots and push the lower crystal across first. (11:56 · 12:11)
- Then the Druid turns the plant into a crystal, push it left, and the room is done. (12:23)
塞德莎 notes this is the only room built on the trick; the area map uses it once more. (12:32)
Overworld puzzle 3
Key idea: the root in the middle has to end up one tile up instead of dropping straight down. Use the blue beam to pass through the roots on either side. (塞德莎 P53 12:44)
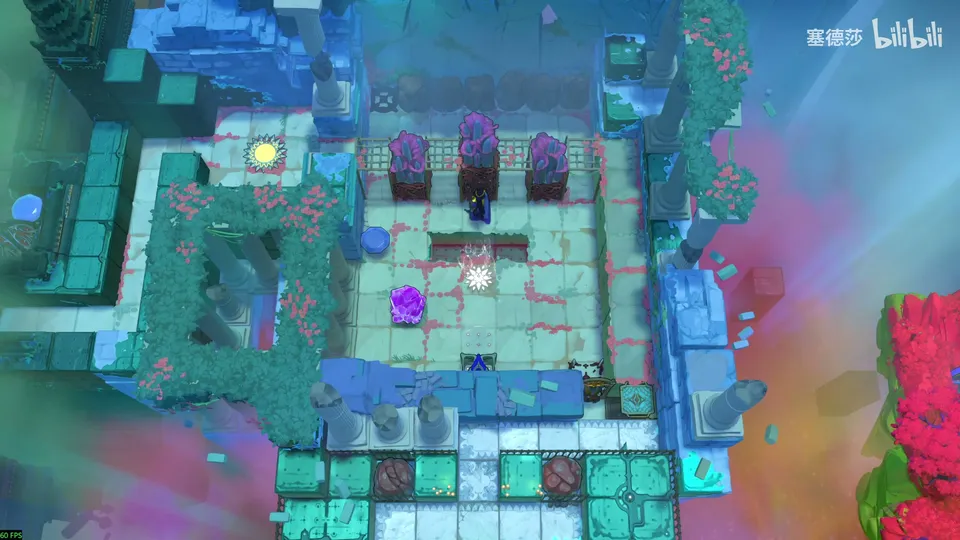
- Put the blue emitter at the root on the left or right, pass through and push the crystal up. (12:50)
- Then go through to the middle and push this crystal in through the root. (12:59)
- As the Druid, turn the plant into a crystal: it stacks on top at this level, the right height. (13:04)
Puzzle 6
Key idea: a hidden rule shown for the first time: a red beam opens energy doors of every colour, not only red ones. Red can open the seven doors on the right, but not the yellow one on the far left; that one only opens with the yellow button above. (塞德莎 P53 13:16)
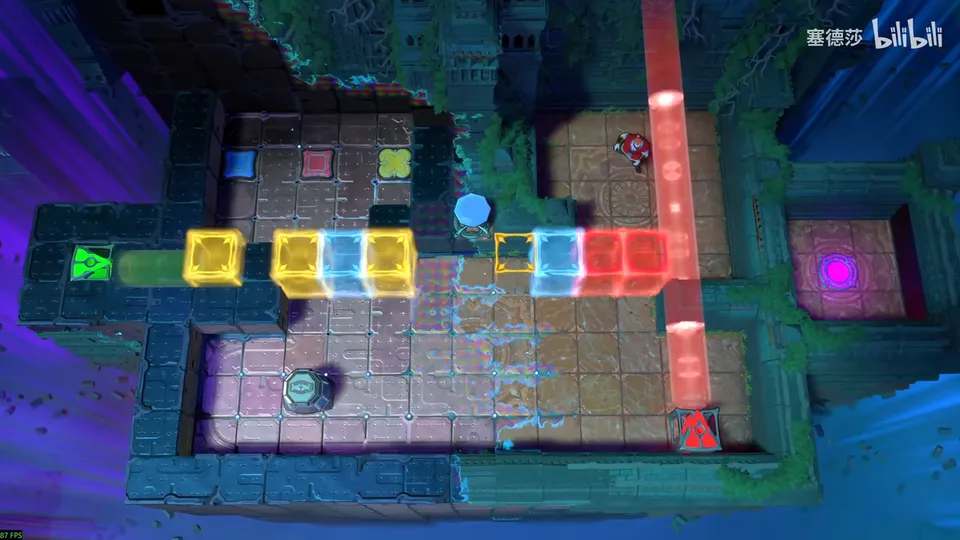
- Red opens any energy door. (13:29)
- With red you can open at most the seven doors on the right; the far-left yellow one needs the yellow button above. (13:52 · 14:00)
- Open the blue door first. The thing that presses the button is this cart: push it in. (14:04)
- Pressing the yellow button lets the green beam through to the middle. But this yellow door started closed, so the button opens it the wrong way round: touch that door again while it is pressed, so all the yellow doors are in step. (14:13 · 14:22)
- While the button holds the yellow doors, cross the wall to the right, and the room is done. (14:32)
Overworld puzzle 4
Key idea: behind the door you just opened is a crystal cart. The two yellow doors have to be in step: you hold the button yourself and let the crystal cart open the outer yellow door from a distance. (塞德莎 P53 14:47)
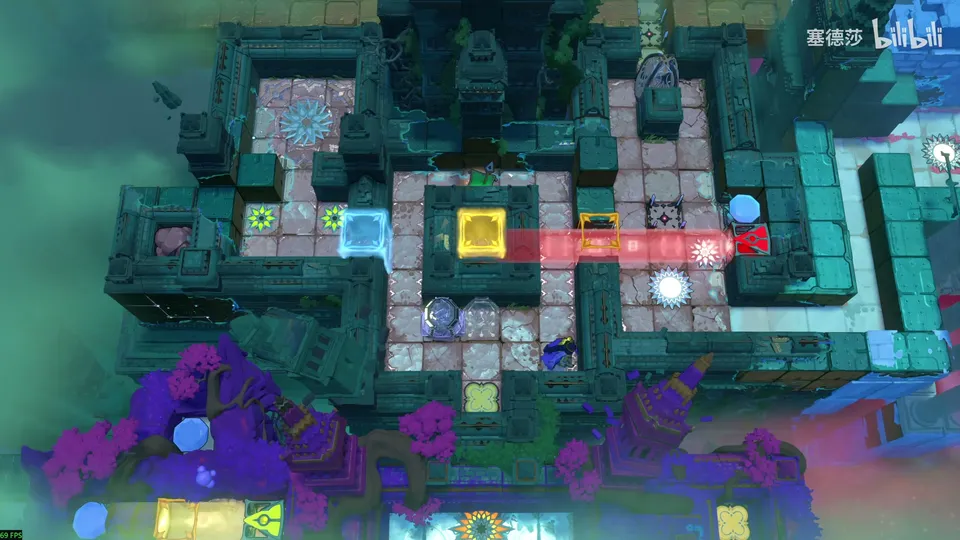
- Push the crystal cart outside. (15:12)
- Hold the button and wait for the cart to open the door, then let the cart come back in before you let go, because the door closes again when you release it. (15:18)
- Now let the cart hold the button, go and open the blue door, and enter the top-left area. (15:28)
Puzzle 7
Key idea: the next rooms are about monster gates. A monster gate in this block flips whenever a monster enters or leaves the block, and a rising gate lifts what is on it. Use that to climb level by level to the exit, pressing the button in between. (塞德莎 P53 15:36)
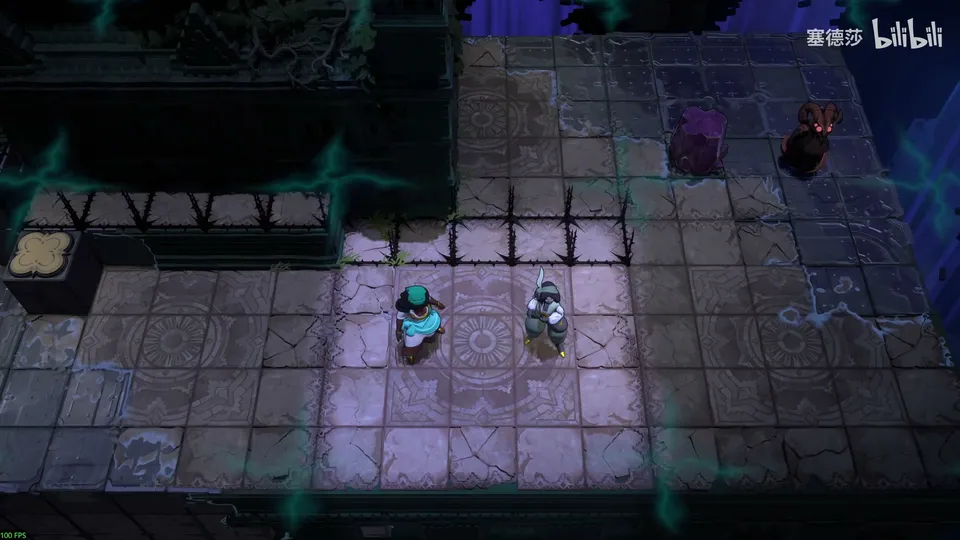
- The rule, as the old North tutorial sign put it: with a monster nearby, that is in the same block, the monster gates switch state. (15:43 · 16:10)
- Move the crystal to this spot first, because you’ll push it across later, then push it to here. (16:47)
- To make the gates appear and lift you, bring the dragon into this row and let the Thief pull it left. The moment it settles in this block, everything is on the second level, and you can push the crystal to here. (16:56)
- The crystal still has to come down. The Sailor can carry things, people included: stand the Sailor here, send the Thief down first, leave the dragon there, and come over to pull this. Now you can reach the exit. (17:19)
- The Sailor is down now and has to get back onto the platform, so the dragon has to leave this block again. Bring the Thief round this way (he has to go round, or the dragon burns him), come up behind it and pull the dragon onto the Sailor’s head as a hat. (17:41 · 17:58)
- The hat helps: whenever the Sailor enters a block, the dragon he carries raises the gates there, so walk him left and he rises all the way to the exit. (18:11)
Puzzle 8
Key idea: you have to get the red beam from the top right all the way to the far left. This pit can only be filled one way, and either way a monster ends up here, which brings up both gates; the only thing that closes that door again is the red beam. (塞德莎 P53 18:37)
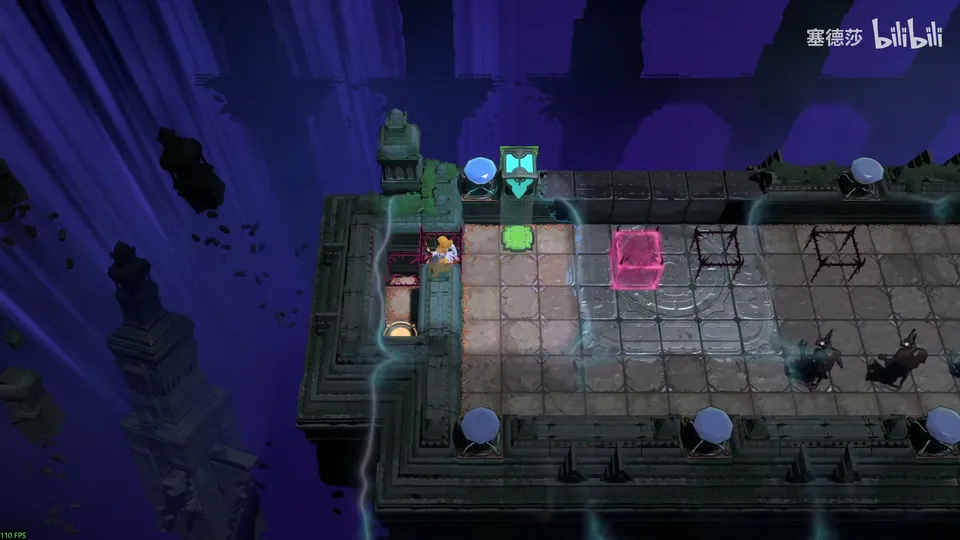
- Why: whether you make the lower gate appear or fill the pit with a goblin, a monster ends up here, both gates appear, and this door with them. Only the red beam from the top right closes it again. (19:04 · 19:26)
- First you need to push: put on a cyan emitter as a hat, pointing down. Its drawback: without cyan light you are crushed, so never walk into a block that has no gem. (19:41 · 19:49)
- At the start, push a monster over and open this; from now on this block must always hold a monster, because you have no way left to change its gate. (20:02)
- The next block has no gem, so you can’t go in. Change it from outside with a goblin: push one over from this side. (20:24 · 20:33)
- The door goes wrong, so close it first, push left; it opens again, close it again, push left again. This goblin takes the red light, so it switches the energy door on the left. The way is clear, and the goblin inside can’t move. (20:42 · 20:51)
- Bring this last goblin over: the door here opens, so close it. (21:06)
- You can’t go in yourself: gravity would open the gate below and drop you. Throw the goblin in and walk across its head. (21:12 · 21:20)
The goblin wasn’t crushed because it passed through cyan light on the way, which lets it carry far more than its usual one object. (21:28)
Puzzle 9
Key idea (big star puzzle): a 3×3 world of blocks. You have to reach the block in the middle of the screen: first bring it a gem (it is one short), then switch its monster gate from inside with a remote fuse of dragon fire. (塞德莎 P53 21:44)
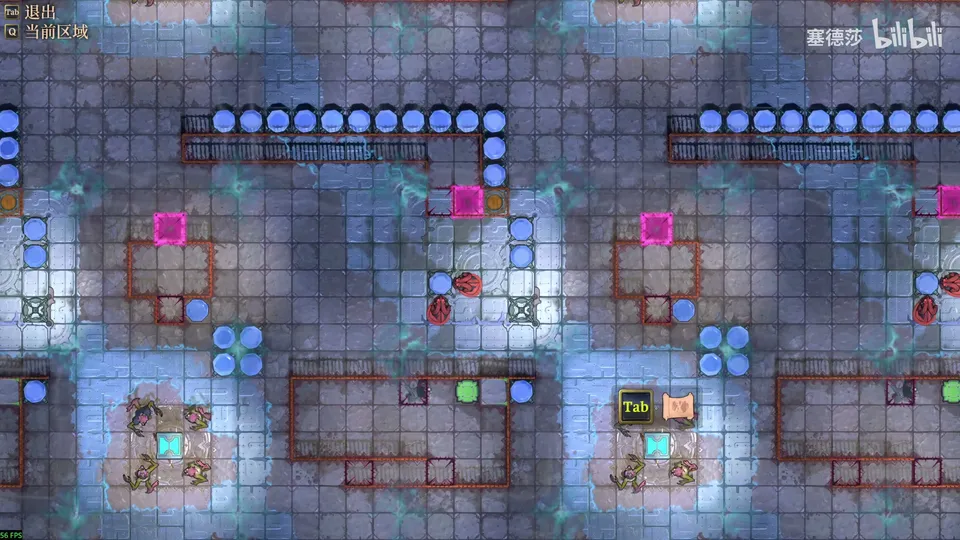
- Wearing the cyan hat, get out first. The only way: move this monster up, then left, then push right from here; the energy block on the right appears and crushes it, all the doors close and you are out. (21:48 · 21:57)
- Switch to the top-down view. The goal is the block in the middle of the screen, to your left, with two problems: it is one gem short, so it kills you on entry, and you need to change the monster gate in front of the exit. (22:17 · 22:26)
- The gem: only this one can be pushed, and you have to get in from this side, so push a monster over first. Now you can enter, but a monster gate appears below. (22:46)
- Change that gate from inside: put one goblin in, then another, so they kill each other while you’re inside; then you can push the gem out from within. (22:57 · 23:10)
- Push the gem onto this socket: from here left, then left again. It lights the instant it lands, and you’re fine. (23:28)
- The exit: from inside, something has to make a monster in the block below disappear, a kind of fuse. Push the upward-facing dragon to here; the last move will be pushing it left from here. (23:36 · 24:01)
- Put a monster in this block at the start, so a gate here is up (the lower one appears, the upper one disappears). When that monster is burned, the gate disappears, which opens the line for a dragon in the gate’s row. (24:27 · 24:42)
- Put the dragon here: right now the gate blocks it, but once the goblin below dies it burns through the gate and kills the goblin on the left. (24:50 · 25:01)
- Last piece: a goblin here, so this block holds a monster. When the right dragon burns it at the end, the energy door closes, and since you are inside you can walk into the exit. (25:16 · 25:24)
- Run it: push left, the lower goblin dies, and the right dragon burns the goblin in the exit’s block. (25:43)
Puzzle 10
Key idea: carts affect goblins. A goblin turns to face a cart, and turning it also turns the green emitter on its head. Set two carts going on either side and the goblin swings left and right on its own, lighting a path through each wall in turn. (塞德莎 P53 26:08)
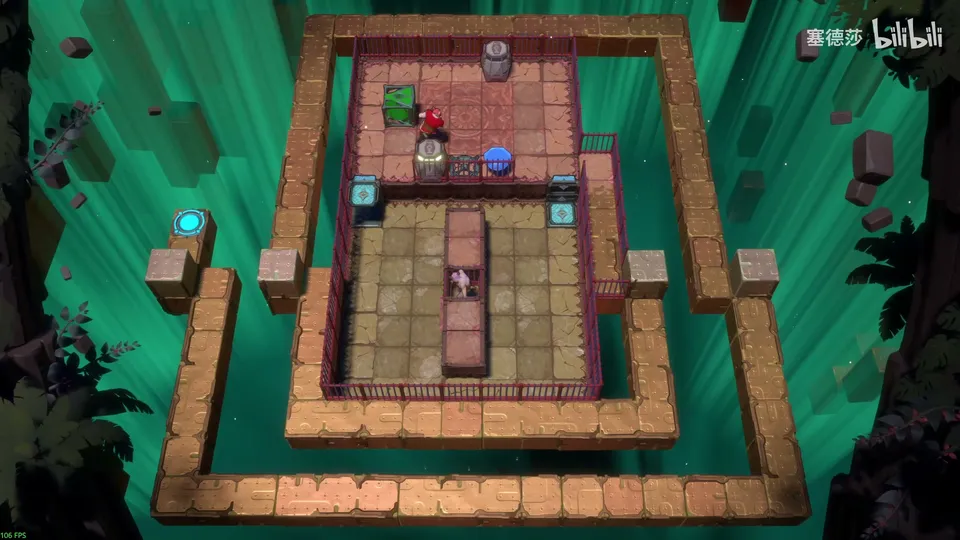
Getting there: further up there is one more small area; this is its first room. (26:05)
- The detail: if you lure the goblin from the right and a cart comes from the left, it turns round. (26:24 · 26:40)
- First get the green emitter onto its head: push both carts down, put them side by side, synchronise them and adjust a little, then push the emitter right from here onto its head. (27:00 · 27:14)
- Put one cart on the left and one on the right, slightly staggered so they aren’t too close. (27:21 · 27:32)
- Now it turns left and right automatically: wait for the green beam to point right to pass the right wall, and left for the left wall. The rest is walking. (27:43 · 27:54)
Puzzle 11
Key idea: a small 3×3 sliding puzzle. Get three in a row, then pave the water with the six stones and push the whole thing across. (塞德莎 P53 28:14)
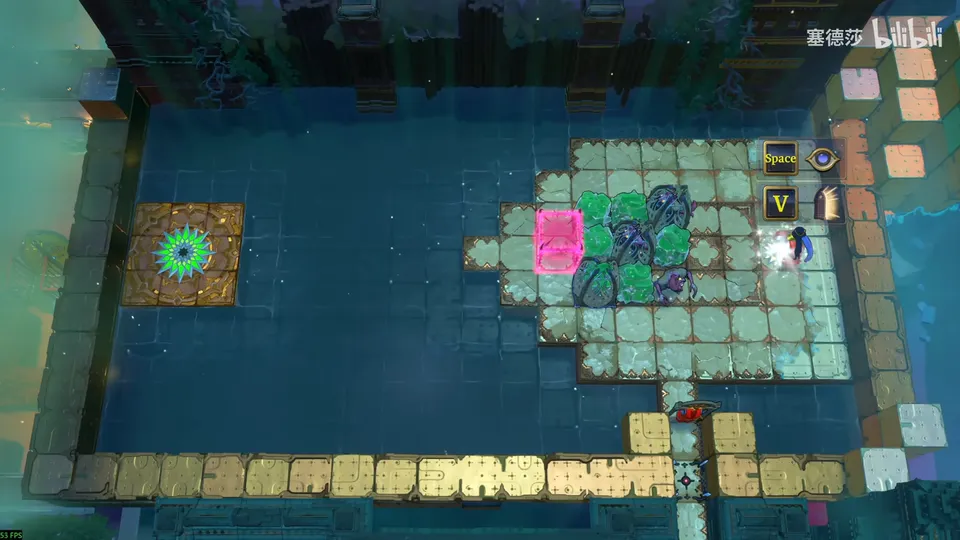
- Push this right, this right, then this up; push this whole section right, this right, use the crystal to push it down, and push this right: three in a row. (28:25)
- Pave the water with the six stones and push the whole section across. (28:36)
Puzzle 12
Key idea (big star puzzle): pure timing. Dragons ride a ring of lily pads like conveyor-belt sushi. Get past their fire, take the torc, and turn the orange beam left: every lily pad that passes through it makes its dragon jump into the water. 塞德莎 calls it more funny than hard. (塞德莎 P53 28:49)
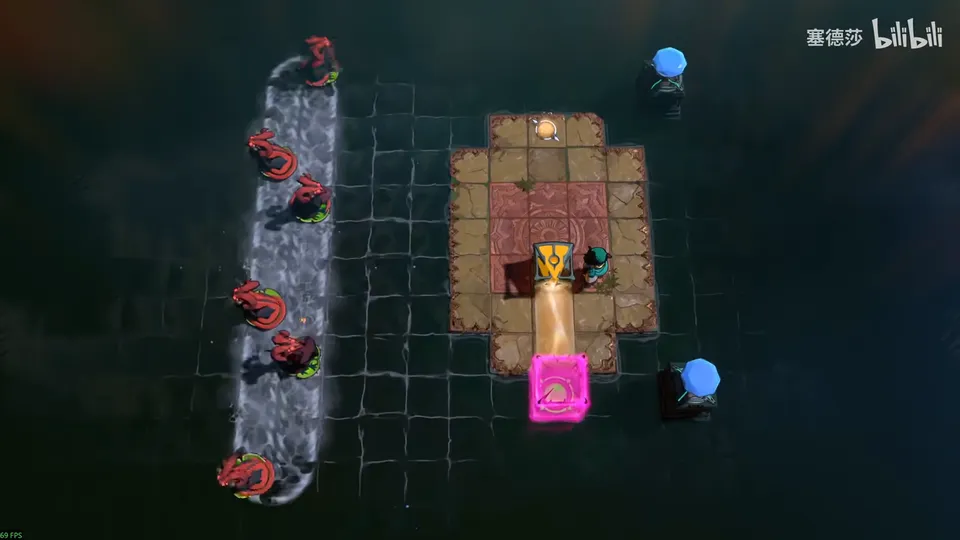
Getting there: the exit of puzzle 11 leads straight in. (28:43)
- He suggests holding Ctrl on the way down. (28:56)
- In here, push the orange emitter up, and teleport across while the dragon is in the middle so it can’t burn you. (29:06)
- Come down, push up again and teleport up in the same way while the dragon is in the middle. (29:16)
- Wait here, time it, go up and take the torc, then come back down. (29:26)
- Turn the orange beam to fire left. Each dragon on a lily pad that crosses it jumps and lands in the water; time it and watch them all go. (29:36 · 29:50)
That ends 塞德莎’s part 53: everything north of the West’s first junction is done, and he heads on west, where the path splits three ways. (30:06 · 30:27)
Puzzle 13
Rod Pushes Gems (短杖推宝石)
Key idea: one big open room of 3×3 blocks with eleven gems, built around the Rod. Collect them all, then put four into the activators at the check. 塞德莎 calls it a pure reward room that unlocks nothing. (塞德莎 P54 0:10)
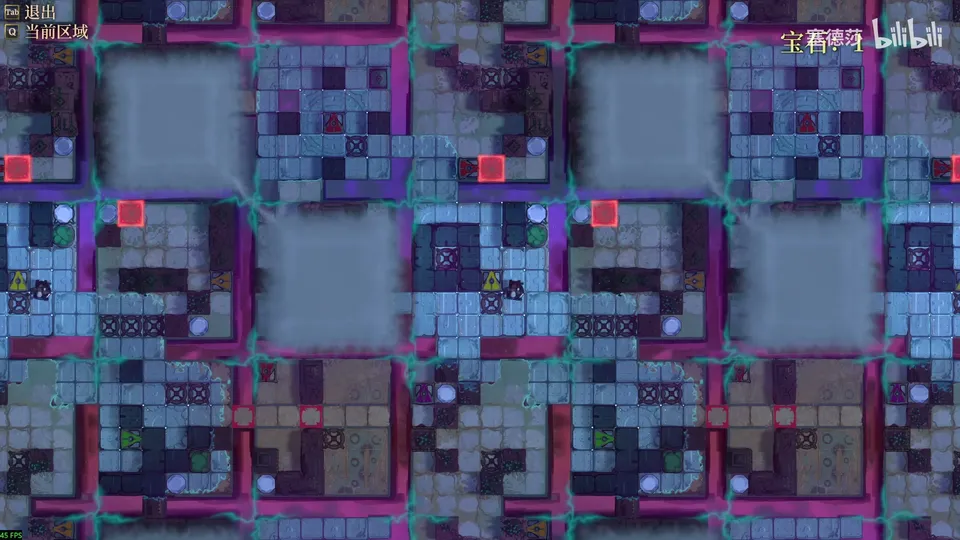
- Take the gem to open the red door; inside you get the Rod. Pushing the red emitter left falls one tile short, so use a gem to push the emitter, then take the gem back and open the red door. (0:18 · 0:28 · 0:58)
- Take the map: it is 3×3 blocks. Open up all the sections. (1:03 · 1:09)
- The orange beam gem: once you take it you’re stuck (up drops you, the other sides are walls). So as you jump in, facing the gem, push it up first. (1:27 · 1:43)
- The bottom-left gem in the same room needs an endpoint inside. Push the gem on the activator down, then left, to knock that gem aside. The orange emitter on the right is in the way; push it off boldly, it has no use anywhere (it can only go right or down, and falls). Then jump in and out with the purple beam. (1:53 · 2:16 · 2:38)
- The room on the right: the yellow emitter is in the wrong place, so push it down and two tiles right to break this stone. An activator is inside the wall: push a gem in to reach it (he says the smoother order is gem first, then activator). Break the stone and take the gem; then push the now useless yellow emitter into the wall to get your pushed-in gem back. (2:47 · 3:02 · 3:25)
- Down here: jump in with the purple beam and push to get the gem. To get out, the upper end is blocked, so push the purple emitter down one more to make an endpoint. (3:35 · 3:49)
- On the right, the green beam: you can get in but not out. Go in, push the green emitter left, then from above push it down one; now you can go in and out. Push this stone away. The green beam can’t reach the gem on the right (there’s a railing), so switch it off. (4:00 · 4:18 · 4:29)
- The top-left blue beam: you need it on to pass the railing, but its activator is inside. Above the activator’s gem slot is a column of six walls ending here: from here push a gem left, then down, to switch the blue beam on and pass through. (4:47 · 5:13)
- To get out again, push the blue emitter into the block on the right and leave a gem in that block; take these two, push this one right to the end, and the blue beam lights in the right-hand block so you can pass back. Then push it away. (5:26 · 5:42)
- This room’s gem: open the red door with the right-firing red beam. It’s in the way, so push it right one first; nothing else in the row blocks it. But the orange beam it releases would box you in, so you can’t switch it on here: push three gems down to the activator right above, plus one you placed inside earlier, to switch it on from a distance. With the door open you can later push a gem up from below. Push the red emitter away and take the gem. (6:10 · 6:41 · 6:57 · 7:11)
- Top left: a strange red emitter has to be pushed all the way to that room, but it has walls one tile away on every side, so you can’t turn round there. Bring the orange beam in the row above over to the left and jump in: you then face down and can push the red emitter out. The same orange beam also jumps you up to the gem the green beam seemed to reach. (7:23 · 7:43 · 8:02)
- A gem blocks that orange beam, and taking it traps you. Use the open red door: push another gem down from above, cut this side, take these, then push the gem back up from below; it powers the beam from underneath with nothing in the way. (8:14 · 8:24 · 8:34)
- Take the top-left gem. To come back, use the purple beam in this column; the first red emitter blocks it, and it’s useless now, so push it off. Jump in with orange, out with purple, and switch the purple off. (8:44 · 8:48 · 9:02)
- Jump down with orange and push out the red emitter. To take this gem, push two more gems down to block the orange beam, then take them back. (9:11 · 9:19)
- Push the red emitter round: from here left, down using the three-tile wall into the row below, round from the left and right all the way to here. Switch on the three gems. (9:31 · 9:47)
- The orange beam now locks you in: push this gem up, swap in another to block it, go up and take the last gems, then push the orange emitter away. All eleven gems are yours. (9:49 · 10:07 · 10:12)
- Take the elevator at the top left down to the check: four activators that you fill by shoving gems in, the bottom-left one being very awkward. 塞德莎 shows his sequence, including a slip he corrects; watch it. (10:17 · 10:34 · 11:24)
- Take the extra gems back out (he compares it to turning a Rubik’s cube), put the rest in the activators outside, and the door opens. (11:37 · 11:44 · 12:04)
Puzzle 14
Transform and Shatter (变形与粉碎)
Key idea: blasting with yellow plus multicoloured light, in a chain of four chambers behind one entrance. In each, shatter a stone with yellow first, then blast the rubble with yellow plus multicoloured; the last chamber breaks the pattern. (塞德莎 P54 12:24)
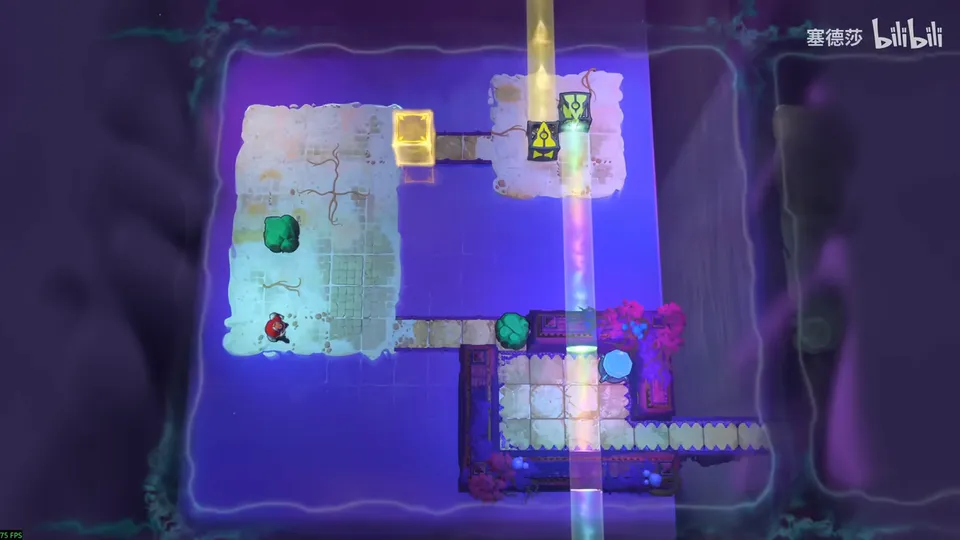
Getting there: from the big room go north. (12:17)
- Chamber 1: the yellow door opens from a button hidden under the stone; move it and go in. Take all the emitters out. (12:34 · 12:43)
- You need something to hold the stone so yellow can break it: the energy door. Let the multicoloured emitter hold the door down, put yellow here and the stone shatters; then blast it with yellow plus multicoloured. (12:47 · 12:59)
- The map shows four chambers in a row, all much alike: blast the stone in each. (13:16)
- Chamber 2: take the emitters out. The door is set one tile in, so even after shattering the stone here you couldn’t put emitters above and below it; shatter it one tile away instead. The button is exactly where yellow can sit to press it, so prop it with multicoloured here, shatter the stone on this tile, take multicoloured out, shine it above the rubble and blast from below with yellow. (13:28 · 13:46 · 14:01)
- Chamber 3: the door is set even further in, so use the door itself: its tile has room for emitters above and below. Push the stone onto the door, shatter it, then put yellow and multicoloured in place and blast. (14:15 · 14:28)
- Chamber 4: the door and button are both in awkward places, and none of the earlier tricks work. The 4×4 platform on the right sits one tile lower than before, so the exit below is only three tiles away, and you have exactly three objects. Push the stone over and push everything from this column into the water to pave the way; no blasting needed. (14:45 · 15:05 · 15:18)
Puzzle 15
Key idea: blast away the plain stone blocking the top right. You can’t do it with your own body at the bottom left (the bridge breaks behind you), and you can’t shatter the stone up top, so let the two crystal skipping stones shatter it from a distance. (塞德莎 P54 16:07)
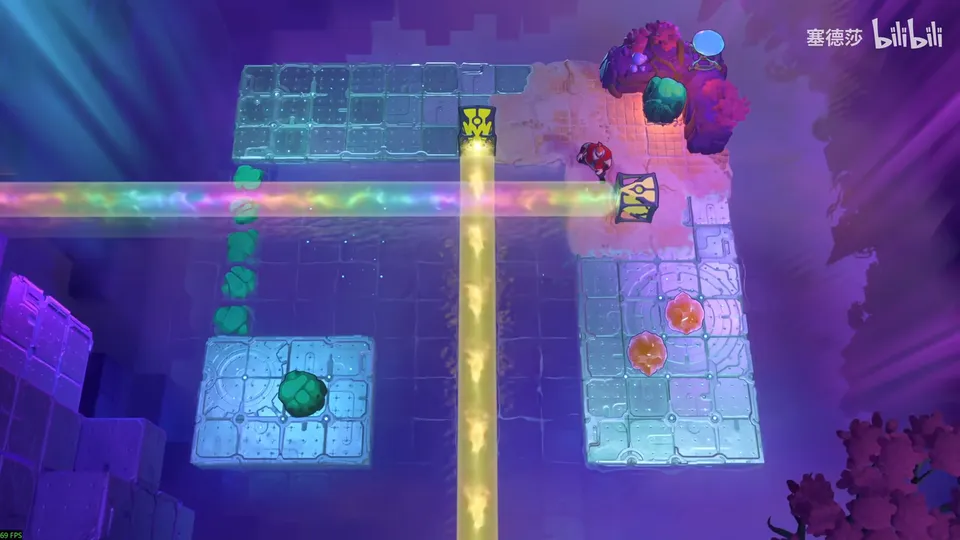
Getting there: after the name card, push this stone up and blast it to reach the next room. (15:48 · 15:54)
- Why not the easy ways: blasting at the bottom left with your body breaks the bridge and you can’t get back; and you can’t shatter the stone up there. (16:17 · 16:28)
- Put the stone at the corner, not just on the edge. From one side only, the first crystal skipping stone stays sunk beside it after shattering it, and the second one gets stopped by it before it reaches the rubble; at a corner you can come from two directions. (16:44 · 16:52)
- You can strike from the right or from above; he pushes the crystal skipping stone from here and squeezes it down, which shatters the stone. (17:15 · 17:21)
- Then blast it with the stone, and the way is open. (17:28)
Puzzle 16
Key idea: shatter the stone while it floats in the orange beam, then blast the rubble that sinks under the water. The rubble seems to vanish, but it is still on the bottom. (塞德莎 P54 17:56)
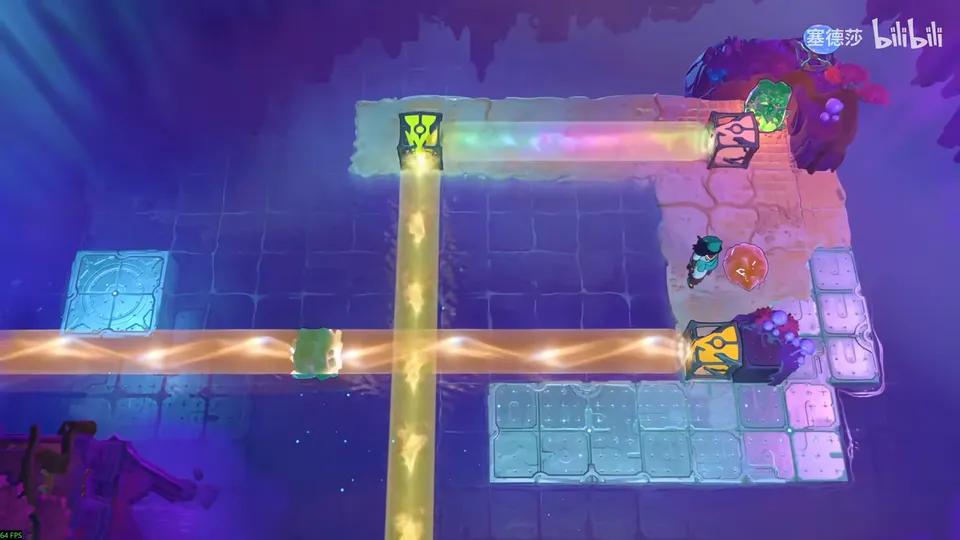
Getting there: come up here and unlock a crystal skipping stone, then blast all the skipping stones. (17:40)
- 塞德莎 first mentions an unintended solution using the orange and yellow emitters near the Sailor that breaks the exit block directly; he expects it to be patched. (18:00)
- The intended way: get the stone back first. Use a tile of the other parity to get behind it, adjust your parity here, and push it right to here. (18:26 · 18:32)
- Pushing the orange emitter away now would drop the stone, so shatter it while it floats: put yellow here and push right to shatter it. (18:41 · 18:52)
- The rubble has sunk to the bottom under that tile and still counts. (19:04)
- Send the crystal skipping stone to that tile: push it up, block it with any emitter so it goes into the water, nudge it, then push it down from here so it sinks onto the rubble. (19:24 · 19:31 · 19:48)
- Push yellow in, then orange, then multicoloured: it blasts. (19:53)
Overworld puzzle 5
Key idea: yellow can’t break this mirror. Press the button on the right so an energy block crushes it, then blast on the left. (塞德莎 P54 20:09)
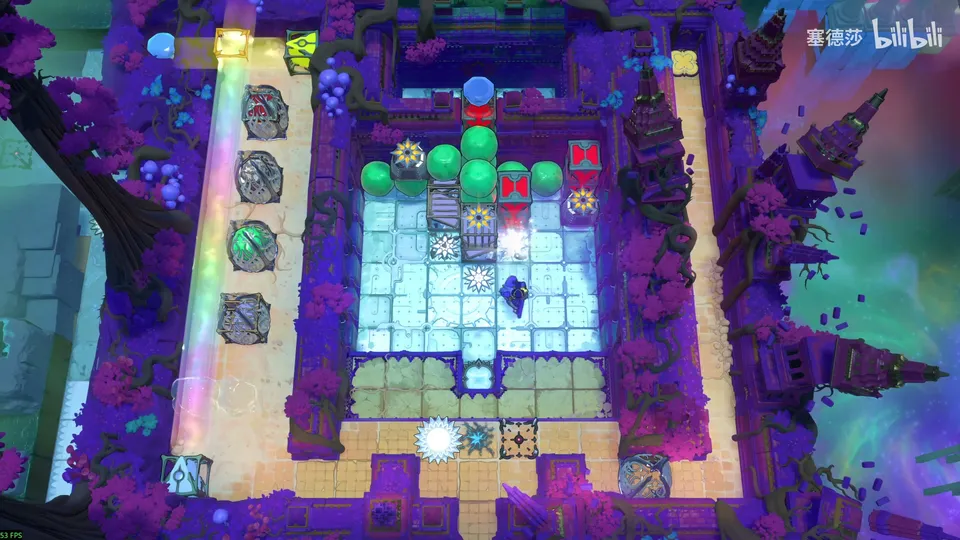
- Go right and press the button so the energy block breaks the mirror, then blast on the left; all the mirrors break. (20:15 · 20:22)
Puzzle 17
Key idea: blasting only reaches its own block. There is rubble at the top already; blasting it now would destroy every stone and you couldn’t finish, yet the two stones in the way can’t be passed otherwise. So keep one stone outside the block. (塞德莎 P54 20:35)
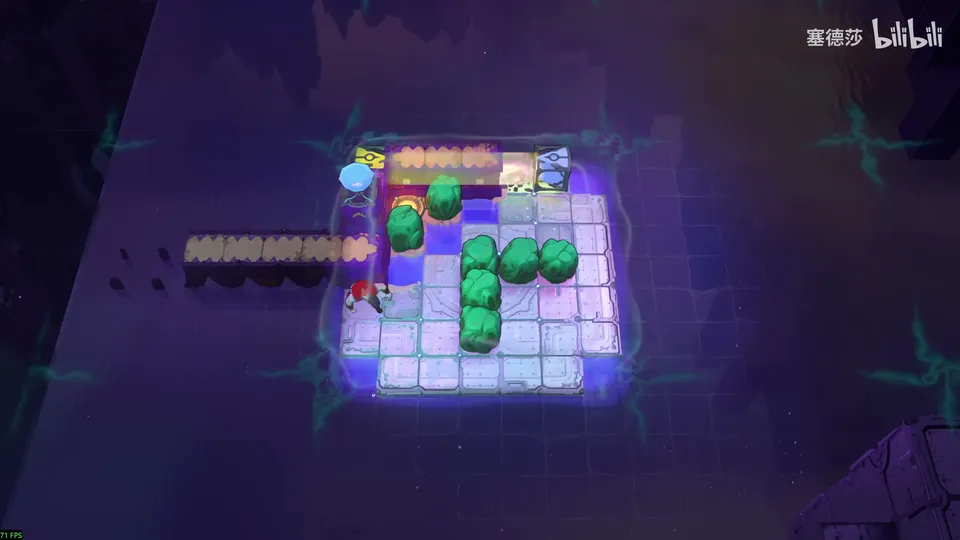
- Fill the four stones into a 2×2 square and leave one stone up here, outside the block. (21:02)
- Blast, then fetch that stone back. (21:10)
Puzzle 18
Key idea: three blocks side by side. The stone on the right can only be blasted with rubble brought in from the left, and the only thing that can carry rubble there is the lily pad in this block. You can’t shatter a stone on the lily pad directly, so blast it from a distance as the lily pad drifts into the block next door, then blast again on the right. (塞德莎 P54 21:41)
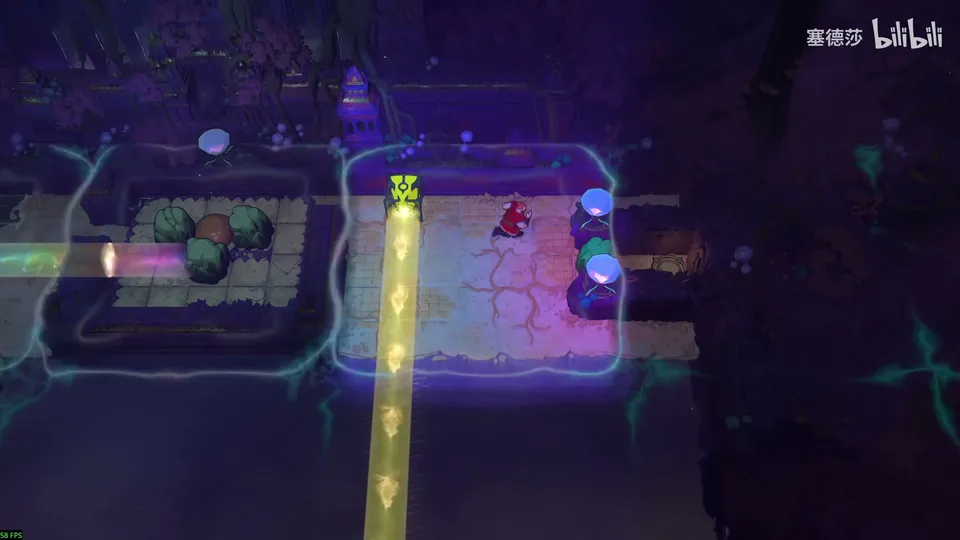
Getting there: a skipping stone flies up here for blasting. You can push the cart down: go to the very bottom and come up here into the room. (21:20 · 21:29)
- In this block you can blast only at the two spots against the wall, and no stone can be moved from the middle to the right-hand middle, neither along the top row nor on the lily pad. So yellow can’t shatter a stone here. (21:56 · 22:14)
- The rubble has to come from the left, on this block’s lily pad. There’s no yellow in this block, so no stone can be shattered on the pad directly. (22:28 · 22:38)
- In the next block you can bring in yellow from the right and shatter a stone, but not one on the lily pad. So blast it from a distance when the lily pad drifts into this block, then blast once more on the right. (22:53 · 23:03)
- Set it up: push a stone and a skipping stone over and put the stone on the lily pad. (23:16)
- Shatter a stone here in advance. Move multicoloured out of the way first: yellow plus multicoloured can’t shatter, it has to be yellow alone. Then put multicoloured here for the blast later. (23:22 · 23:31)
- Put a stone on the water here too, or you can’t push the emitter into this water row at the end. (23:39)
- Run it: start the lily pad, blast here, hurry over, push this into the water, push this right quickly, then touch the leaf and it blasts. (23:54)
Puzzle 19
Key idea: it looks like blasting four stones, but that can’t work: you would land in the middle of three orange beams, and your next jump would be 2³ = 8 tiles, into the water or onto the land on the left. Blast an emitter instead, by crushing it with an energy block. (塞德莎 P54 24:28)
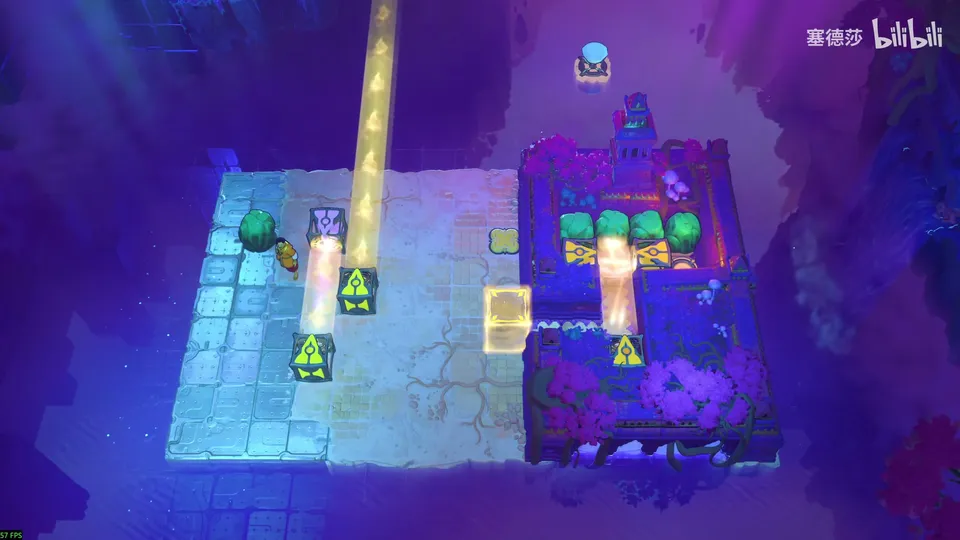
Getting there: 塞德莎 calls this the last room before the big star. (24:19)
- Bring this stone over to hold the button, put the emitter here, then let go: the energy block breaks it. (25:04)
- Then, on the shore, move multicoloured and yellow over and blast. (25:10)
Overworld puzzle 6
Key idea: blasting breaks emitters of any colour in the block, as long as there is rubble. Blast every emitter here; only a gem is left, and above it is a 2×5 block you can push aside. (塞德莎 P54 25:25)
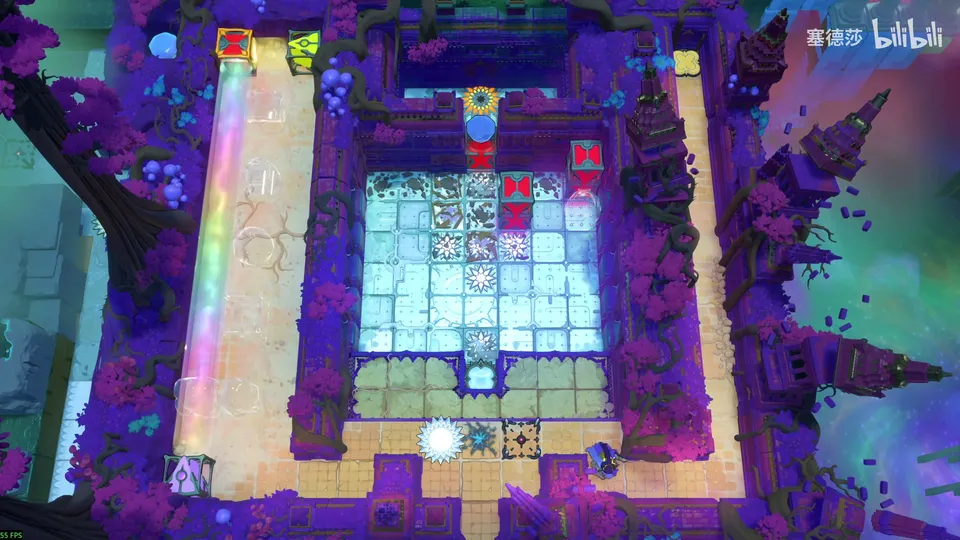
- Blast all the emitters here. (25:29 · 25:41)
- Push the gem away; the 2×5 block above can be pushed aside like this, though it’s hard to see from this angle. (25:48 · 25:54)
Puzzle 20
Key idea: a tower of five small stages, each a different way to get rubble and yellow plus multicoloured together. 塞德莎 doesn’t call it a big star here, but he called puzzle 19 the last room before the big star, and the big star panel slides in when this one is done. (塞德莎 P54 26:00)
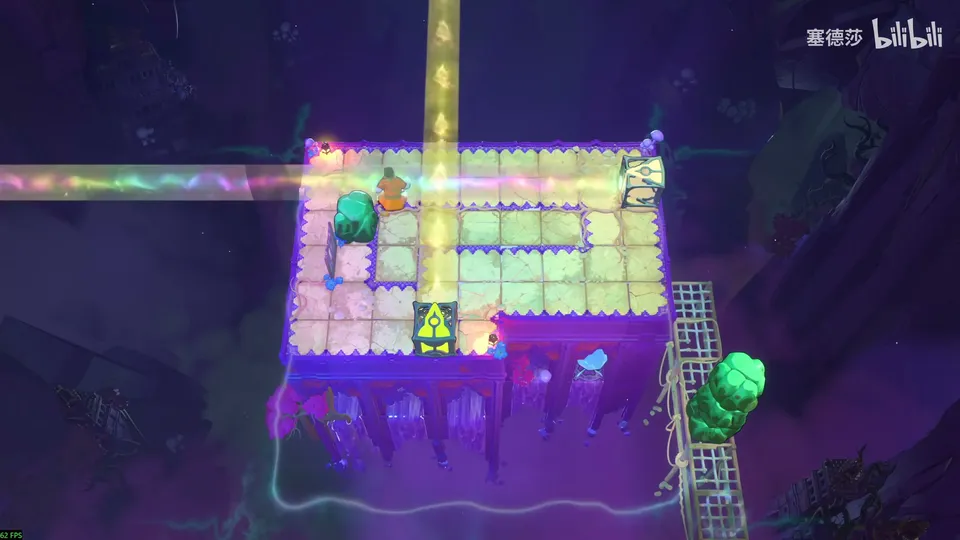
- Stage 1: use the barrier to shatter the stone first, then blast; the blocked path opens. (26:04)
- Stage 2: clear the stone again. The mirror below reflects a crystal onto a button, and once pressed it never lifts, so it works once. Put multicoloured here and watch where the upper object falls: it passes this tile on its way down. Shatter the stone at that tile, stand here and press X to drop it; for an instant you are in multicoloured, yellow and rubble at once, and it blasts. (26:14 · 26:25 · 26:36)
- Stage 3: pressing the button opens the green door above and something falls. There is no barrier below to shatter a stone against, so put the rubble right on the green energy block; it falls, so push yellow into this column and multicoloured into this one, and it blasts. Rubble interacts like the flat objects from earlier. (26:52 · 27:12 · 27:24)
- Stage 4: a purple energy door that drops rubble when opened. Move the stone here, put yellow above it and shatter it. On its way down the rubble passes multicoloured’s row, so put multicoloured here and yellow here too. Stand on the rubble and press the mirror: you fall with it, touching it, and the blast goes off when you pass yellow plus multicoloured. (27:46 · 28:05 · 28:20)
- Stage 5: a cyan beam lets you push stones here. You can’t set off this blast with your body, but the crystal above can trigger yellow plus multicoloured. Push the three-tile-high stone under the door to catch the rubble, shatter the stone up here, and press X to drop the rubble onto it. (28:37 · 28:51 · 29:05)
- Put a crystal stone on top of the rubble to trigger it, push the emitter down and carry on pushing down from here so yellow and multicoloured cross here. Push the stack down and it blasts on the way. (29:23 · 29:33 · 29:39)
That ends 塞德莎’s part 54. His next part starts from the cage that opened on the left. (29:56)
Overworld puzzle 7
Crystal Carts (水晶推车)
Key idea: never drop to the platform below, and get the crystal cart onto the button by reflecting it with the mirror. You can redirect it as it goes. (塞德莎 P55 0:18)
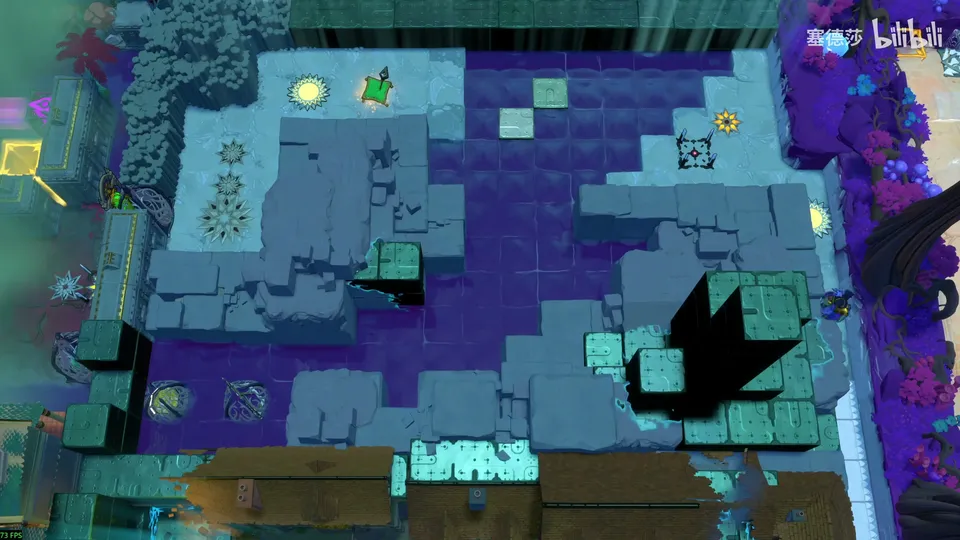
Getting there: this part starts from the passage up here, past the cage that opened on the left. (0:07)
- Wait for the cart to come left and push it to the right of the mirror: it pushes the mirror, and you can redirect it on the way. His route: down here, right here, down here, right here, then a last mirror flip. (0:34 · 0:45)
- Bring the bottom-left cart over the same way: up (mirror, mirror), right, up in this notch, right, up, right, up. Now you can walk from here to here. (1:14 · 1:24 · 1:35)
- Mirror it as it comes back, then go up; that leaves the mirror unbroken, though breaking it also works. (1:46)
Puzzle 21
Key idea: the crystal cart has to reach the yellow button on the right. On the orange beam it creeps right and pushes off the gem, which ruins it, so overtake it on the way: use the exit platform in the middle to change your parity and get in front. (塞德莎 P55 2:01)
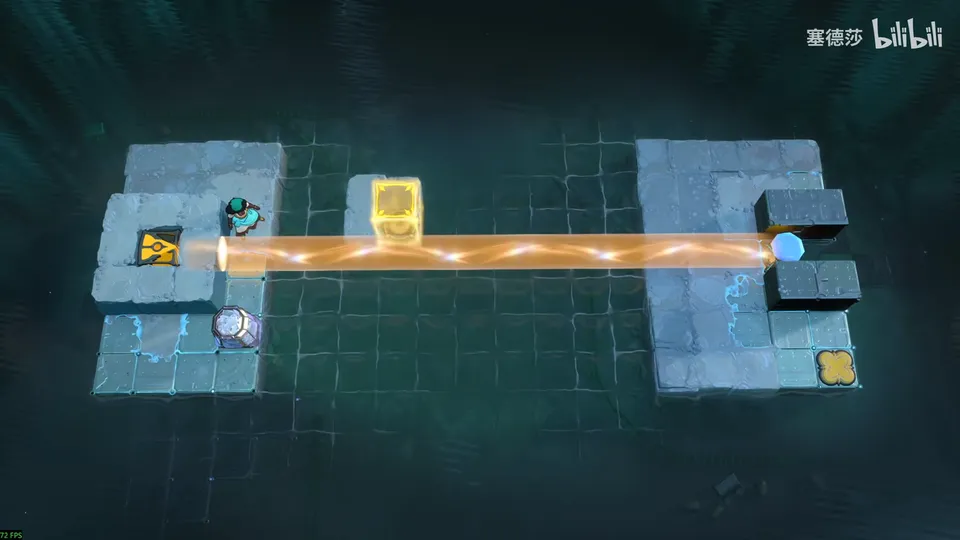
- Push it over and follow right behind it. (2:42)
- Here, cut across quickly and go right five times. (2:46)
- Push it down here, push down once more here, then go left and wait for the energy door to open. He wonders whether one moment later you’d be crushed. (2:49 · 2:59)
Puzzle 22
Key idea: at the end the Cleric has to cross the big gap on the right without dropping a level. Build a moving bridge on the orange beam from three carts side by side: each turn they all jump two tiles, and the Cleric keeps stepping onto the front end. (塞德莎 P55 3:05)
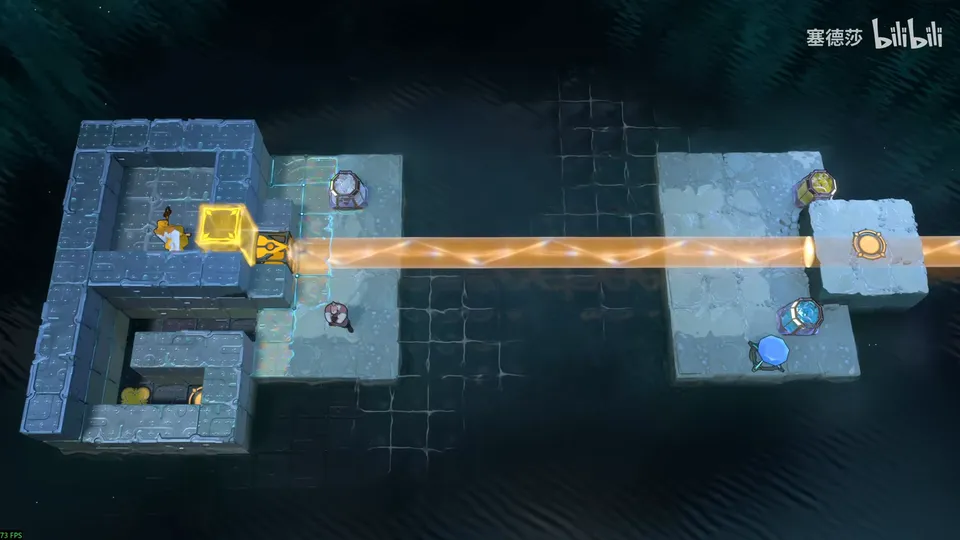
- The goal is to press the button here, after which you can’t come back, and get the Cleric over without losing height. (3:06 · 3:14)
- How the bridge works: three carts in a row jump together. The Cleric stands on the front end; after each jump he steps to the new front end before the next jump, and so on to the right. (3:36 · 3:56)
- Parity: two carts must be on tiles 1, 3, 5 … 15 (these two, or the one on the left), and the third on a tile of the other parity. Then they must be synchronised. (4:14 · 4:28)
- On the right, push the two carts onto the same parity, then squeeze them by hand until they move in step. (4:40 · 4:52)
- Go over on the other parity, where nothing clashes, push this one up and synchronise it on the right in the same way; he has to wait for it and nudge it once. (5:00 · 5:10)
- Go back and press the button, come down, wait for the three carts, step onto the far right, jump, step to the far right again, and repeat until you’re across. (5:42)
Puzzle 23
Key idea (big star puzzle): the Cleric walks here and then uses the dragon above to get down to the exit. Pressing the button now drops the dragon onto the orange beam one tile too low, so the Cleric couldn’t get onto the lower high platform. Keep a cart under the dragon at all times, as in puzzle 22. (塞德莎 P55 6:04)
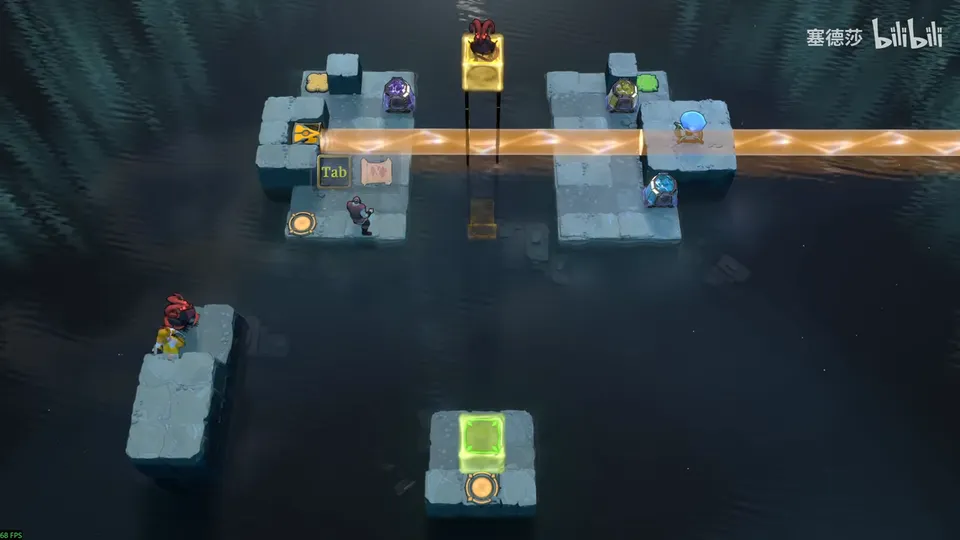
- The tiles under the dragon’s spot that share its parity on the orange beam are 2, 4, 6, 8 and 10. With the three carts on three of them, say 5, 7, 9, they jump to 3, 5, 7 and then 1, 3, 5, and that tile always has a cart. (6:43 · 6:55)
- Send all the carts up; one ends up the wrong way round and needs a squeeze to synchronise. (7:24 · 7:39)
- Jump over on the other parity on the left; the dragon stays high. Go right, press the green button, and the Cleric gets through. (7:51 · 7:58)
Puzzle 24
Beam Miscellany (光束杂项)
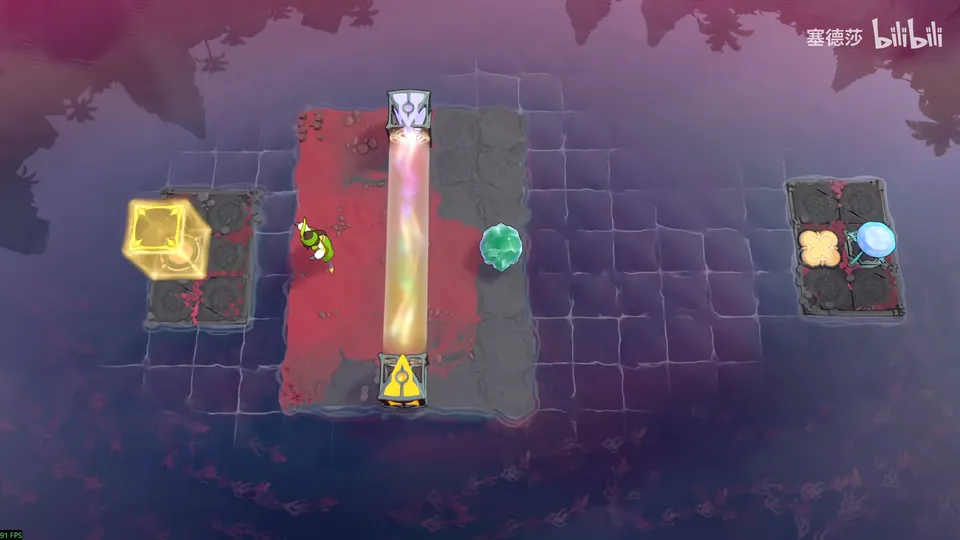
Key idea: the Thief pulls a skipping stone so it skims across the water. A first-stage story scene called that nearly impossible; here multicoloured stretches the orange jump to three tiles, so the stone lands clear of the Thief. With a normal two-tile jump he would land on the tile the stone is falling into and couldn’t even pull it. (塞德莎 P55 8:19)
Getting there: go on along the area map. (8:12)
- Set it up: push the orange emitter left and pull it back from here. Pull the stone left into the middle column, pull multicoloured here and pull orange back over. (9:09 · 9:24 · 9:37)
- Pull right from here: the Thief steps one tile right, the stone goes straight into the water and slides right onto the button. (9:44)
- To jump across, drag things left: entering now would drop you in the water, so pull orange right, multicoloured left one, orange back, and jump in. (9:54 · 10:02)
Puzzle 25
Key idea: the same idea with two orange beams, which makes the shuffling harder. (塞德莎 P55 10:10)
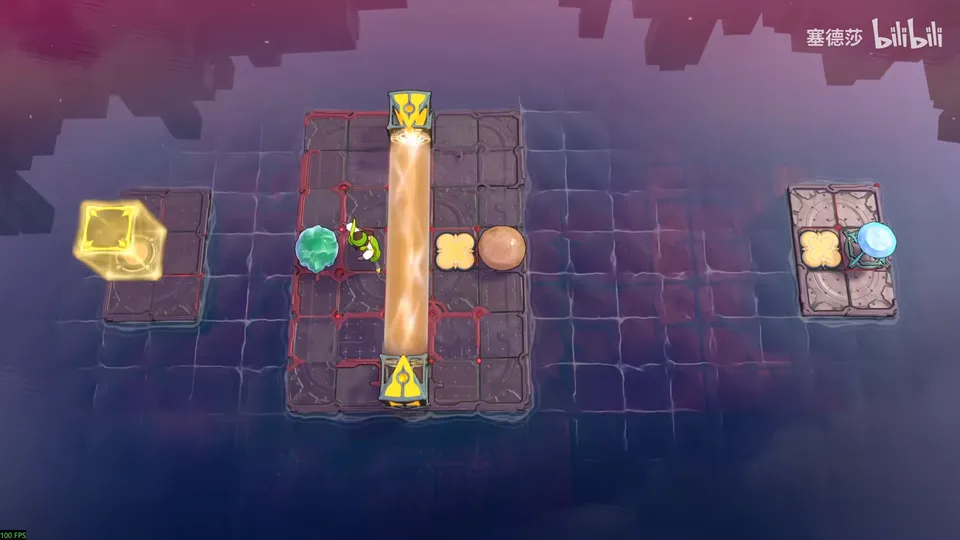
- First pull the orange emitter away, or you can’t even jump over. Pull the stone slightly off the line, up or down, and into the second column from the right. (10:18 · 10:24)
- Come over and drag both orange emitters here behind it, then move the stone to the middle. (10:30 · 10:33)
- Move the plain stone to the middle to block the light, first to the left, then turn all the light to the left so you can drag both emitters to the right from the right side; the stone has to come over too, or you’d be stuck on the left. (10:37 · 10:48)
- Pull the stone away, and the skipping stone can be pulled to the right. (10:57)
- To jump over, block the two beams on the right with this stone again, pull the stone to the far left, pull both emitters over, then pull the stone onto the button. (11:06 · 11:12)
Puzzle 26
Key idea: two skims in one room. First land a skipping stone on the shore three tiles away to hold a button; then skim another and, as the Druid, catch it on the water before it sinks. (塞德莎 P55 11:25)
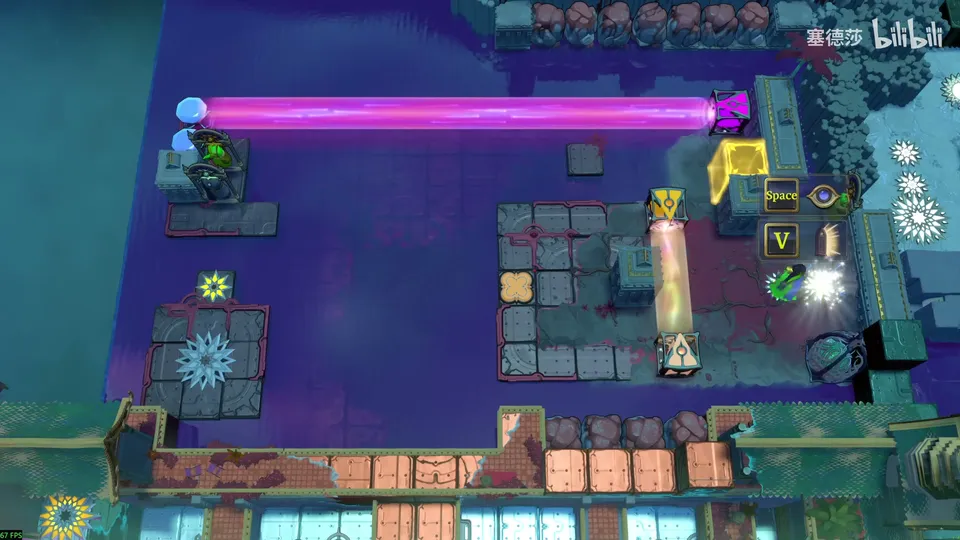
Getting there: a skipping stone unlocks on the area map. (11:25)
- The yellow button needs the skipping stone to land on the shore first, so use multicoloured plus orange to land it three tiles away. Pull orange a little left, pull the stone to here, pull orange back, then (he corrects himself) orange to this side, multicoloured over, orange back. (11:36 · 11:50 · 12:01)
- Pull left from here and it lands on the shore. Now you can go up and pull the purple emitter down. (12:10 · 12:15)
- The top left has the Druid outfit, which makes the rest a speed run: pull a stone left along this row so it skims, run to the top left at once, turn it into a plant to pin it on the water, then into a crystal so it sinks into place. (12:21 · 12:36)
- The stone starts here; put multicoloured here and orange here, and pull left: it starts skimming. (12:45 · 12:56)
- There is an empty tile on the purple beam’s path above, a shortcut: pull left, go quickly, wait a moment here before going right (or you pull the stone back), jump onto the small platform and go straight down. It also works without the platform, but only just. (13:05 · 13:13 · 13:23)
Puzzle 27
Key idea: throw a stone along this row, and before it lands on the button, build a wall in these three columns with the other three skipping stones to stop the three dragons. A clone pad gives you three Druids, and a Druid can at last turn another Druid into a crystal. (塞德莎 P55 13:33)
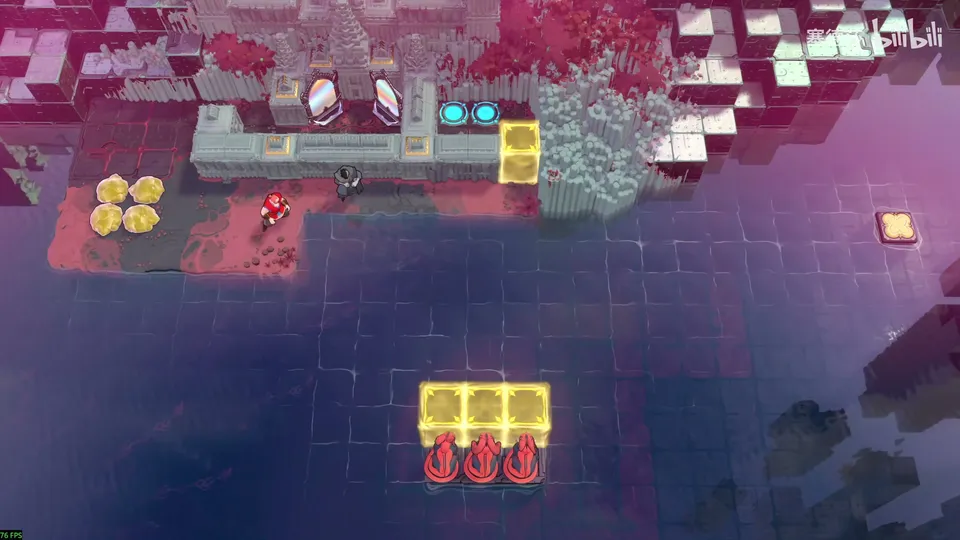
- The plan: one stone thrown along this row, three skipping stones lined up in these three columns as a shield against the dragons. (13:36 · 13:46)
- Use the clone to make three Druids, line them up, move the stones (one goes to the edge) and drag these to the right; let the three wait here. (13:54 · 14:08 · 14:23)
- The rest is execution. Pushing right in one go makes the last one fall out of step. The steadiest way he found: hold Ctrl, push one right, wait until the stone has drifted slightly right, then tap right three times, quickly, rather than holding it. (14:32 · 14:46 · 15:04)
- To finish you would normally merge the three Druids back into one. He shows another way: a crystal teammate counts neither as dead nor as a hero who must exit, so turn the Warrior and one Druid into crystals and walk the other two out. (15:38 · 15:46 · 15:59)
- He also mentions an unintended but very reliable way: clone Druids or Warriors over and over, turn them into crystals and drop them in the water as the wall. (16:13)
Puzzle 28
Key idea: the target is the pink-purple button at the top right: a skipping stone has to skim right along the water row one above the wall over the Sailor. A shove from the Rod doesn’t stop a skimming stone, so build a two-tile wall to stretch the top wall, skim it right below, and shove it up at the right moment. 塞德莎 doesn’t call this a big star, but the big star panel appears when it’s done. (塞德莎 P55 16:33)
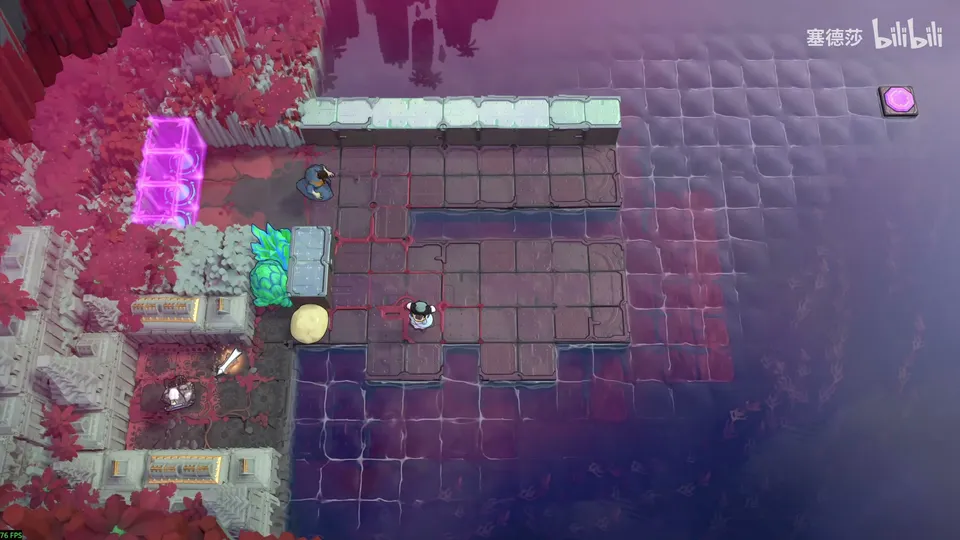
- Turn this into a crystal (optional here). To get the skipping stone out, push it left, then push it back. (16:36 · 16:46)
- Let the Druid turn this into a crystal, then push everything else out. (16:50 · 16:57)
- The old trick, from a big series of rooms in the south-west crossover of the first stage: a skimming stone shoved by the Rod keeps sliding the same way. (17:23 · 17:39)
- Put the two crystals together and let the Druid turn them into a plant: that is the extra wall. (18:10)
- The Explorer waits here; push the stone right, time it, and shove it up with the Rod. (18:18 · 18:25)
Puzzle 29
Key idea: a room that wraps on every side. It looks like you should teleport onto the platform in the water with a purple endpoint, but you can’t make an endpoint near it. The water gap is five tiles either way, and apart from teammates there are exactly five objects: the emitter, a stone and three goblins. Turn the goblins into crystals and pave the gap. (塞德莎 P55 19:13)
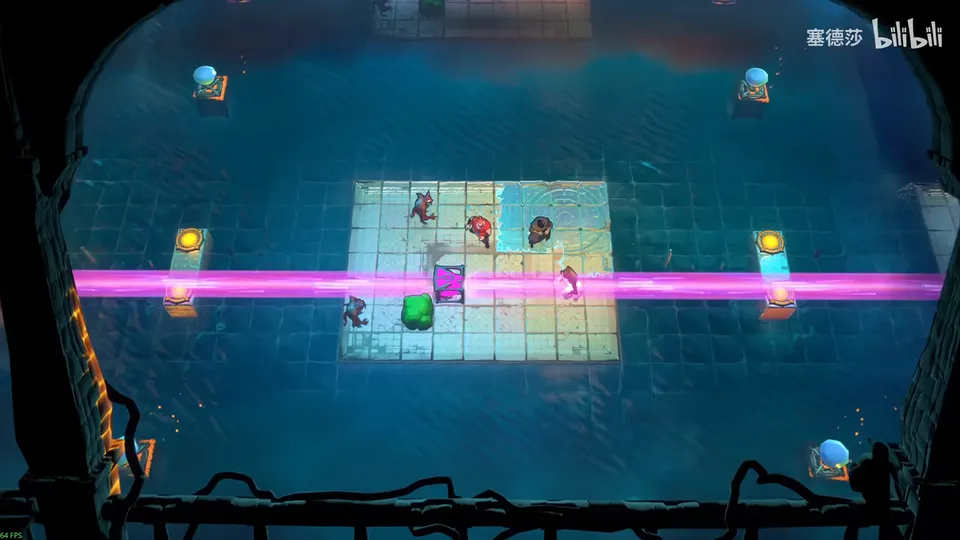
Getting there: this part of the zone is done; teleport back and go down here, to the purple beam rooms. A teleporter here leads back to the start. Push the gem away, send the purple emitter up, and go right into this room. (18:37 · 18:52 · 19:04)
- The count: five tiles of water from either side, and five objects besides your team. (19:39 · 19:49)
- The bottom-left goblin: bring it to the end of the purple beam, stand the Druid here and face right; it turns into a crystal. (20:10)
- Next: with the purple emitter here you could put the stone here, but you can turn it into a crystal by moving left right here. (20:26)
- Next: put the stone on its right to make an endpoint, then do the same. (20:37)
- Push the emitters along: from here it won’t move, so put a stone here first; push left (pushing right causes trouble). (20:46 · 21:03)
- Push the remaining three crystals into the water and walk over. (21:08)
Overworld puzzle 8
Key idea: the cage above has opened, but the room on the left is hard to reach. The whole area map wraps left to right, so a beam placed here runs round the map and ends at your own back, which makes your back an endpoint. (塞德莎 P55 21:24)
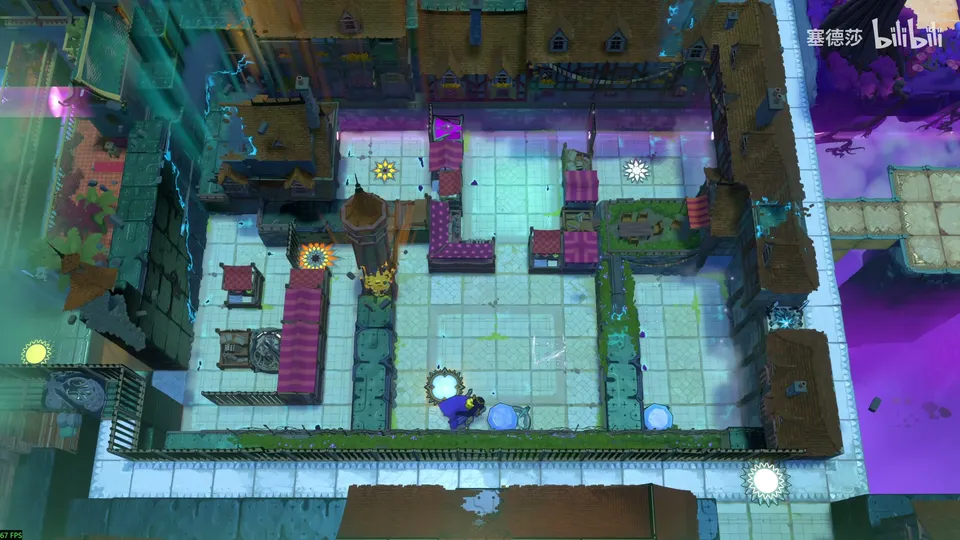
- Put the emitter here: the beam goes all the way round the map to your back, so your back is the endpoint, and you teleport across. (21:34 · 21:44)
Puzzle 30
Key idea: it looks frightening, but it’s just a maze through crossing purple beams. (塞德莎 P55 21:49)
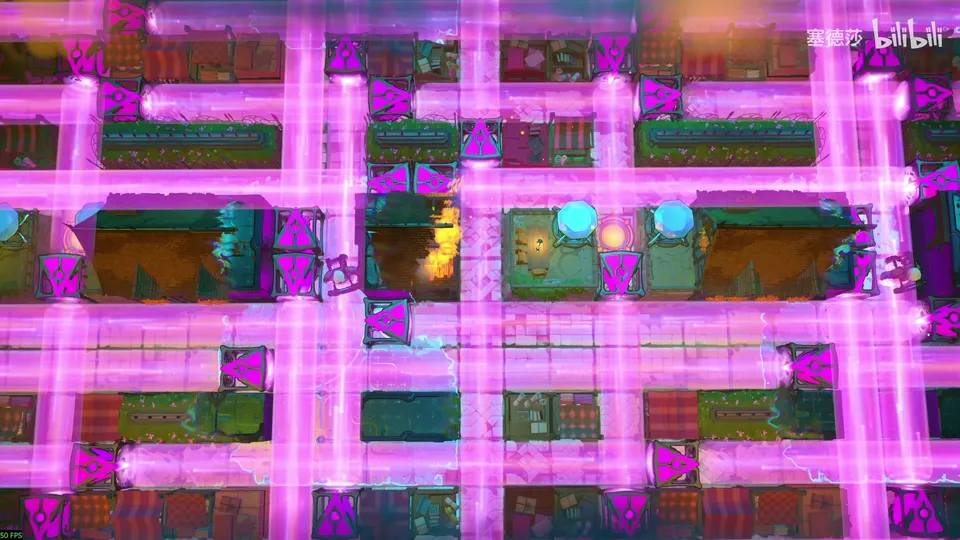
- The route: down, right, up, left, down, then left, down, left, down, right, down. (21:55)
Overworld puzzle 9
Key idea: use the cart unlocked on the left as an endpoint to reach the big star at the bottom left. Most rows don’t work: either a wall is in the way, or you get stuck at the endpoint because every way out sideways is wall. Only the top row lets you move up after the jump. (塞德莎 P55 22:17)
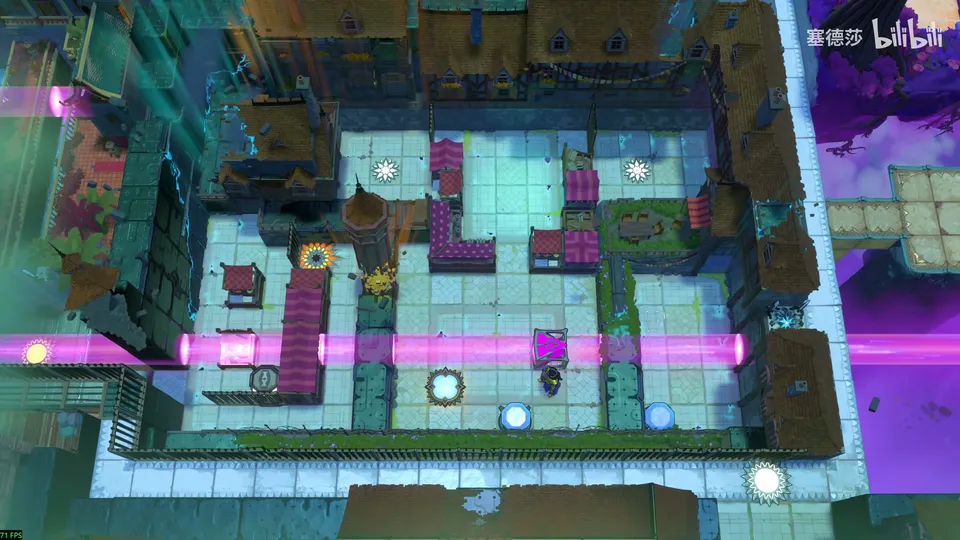
Getting there: come back and reset to the start, because the beam from overworld puzzle 8 now traps you. (22:11)
- The cart can be an endpoint, but in the lower rows you’d stick at the endpoint with walls on both sides. (22:24 · 22:35)
- Use the top row: jump across, move up and out, go right, wait for the cart to block the light, and you reach the big star room. (22:41 · 22:48)
Puzzle 31
Key idea (big star puzzle): a small 5×5 room that wraps on every side. Shove yourself with the Rod: being shoved doesn’t take what is on your head along, so you can leave the exit marker on your head behind on the cart. (塞德莎 P55 22:58)
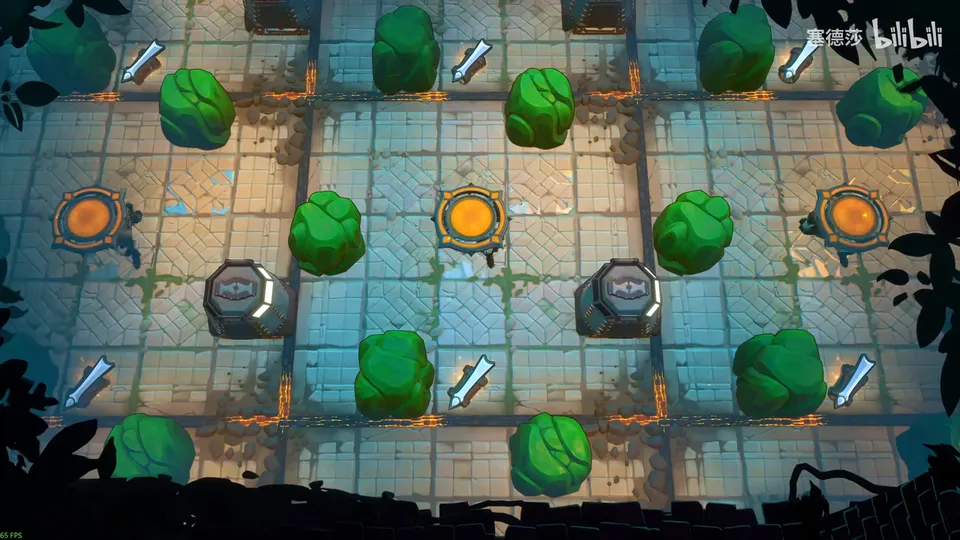
- You can set up a left–right or an up–down wrap. He recommends up–down: the Explorer can’t turn on the spot, so left–right causes trouble. (23:18 · 23:27)
- Set it up like this; while the cart is away, get facing the right way. (23:35 · 23:37)
- When the cart is right behind you, shove: the exit ends up on top of the cart. Push the cart once more and the room is done. (23:42 · 23:46)
Puzzle 32
Endpoint Falling (端点坠落)
Key idea: height matters here. You need something to hold the button on the platform under the Trader’s feet (the crystal, the only thing a purple endpoint will carry up) and also one person sent up there. Anyone sent up falls straight back to the left, so something must block that end first. (塞德莎 P55 24:05)
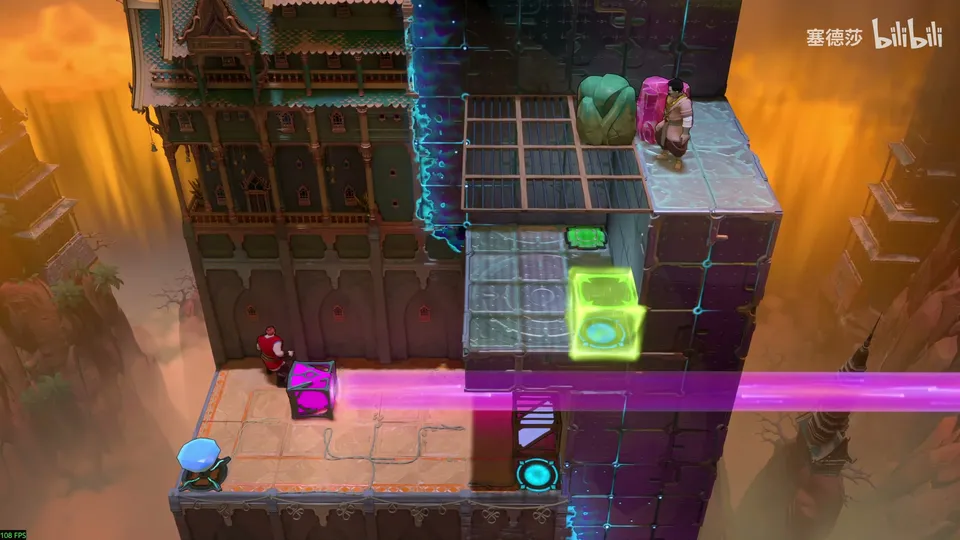
Getting there: wait for the cart to block the light and walk on; this area is about purple beams too. (23:54 · 24:01)
- The plain stone is for blocking the light. (24:32)
- A person who arrives up there drops and teleports straight back to the left: that’s the main problem. Block this tile, with a crystal or the Warrior himself, and send the Trader up first. (24:39 · 24:56)
- Then the crystal, the same way: something has to sit at the endpoint, but not the Trader and not the Warrior, who has to push it from behind to send it right. (25:03 · 25:13)
- Sending the crystal first doesn’t work well: as things stand you can only push it so that the endpoint is left empty. So redo it: make an endpoint like this, send the crystal down, and send the Trader up as before. (25:35 · 25:55 · 26:05)
- Now the crystal: use the end nearest the mirror and let the emitter itself be the endpoint. The crystal stays there; move the mirror away, the crystal drops onto the button, and you’re through. (26:19 · 26:26 · 26:34)
Puzzle 33
Key idea: with an endpoint at each end, a purple beam bounces you back and forth for ever. Let a crystal bounce instead, and step onto the left end while the crystal is on the right; the crystal becomes the other end and stops you being teleported. (塞德莎 P55 27:00)
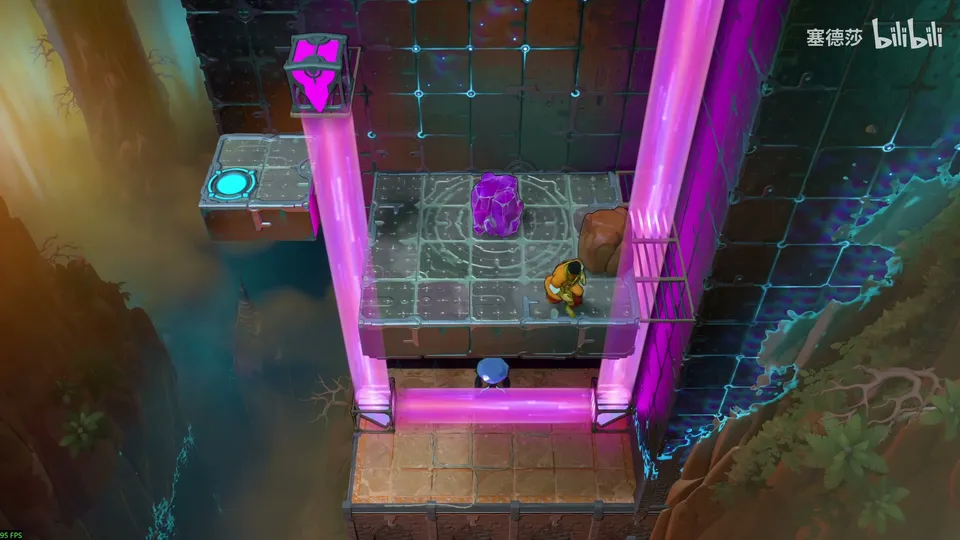
Getting there: a cart unlocks. As it nears the purple beam, step left, so you fall and land just to the cart’s left. The name card here reads 端点坠落. (26:46 · 26:56)
- Block the right side so it becomes an endpoint. (27:02)
- Go down and you bounce between the two endpoints, back and forth. (27:06)
- Put the crystal here so it bounces left and right instead; from below, time it so you go left while the crystal is on the right. (27:16 · 27:24)
The room is there to teach this double endpoint, which the next rooms reuse. (27:32)
Puzzle 34
Key idea: use the bouncing-crystal structure from puzzle 33 to reach each upper platform in turn: wait for the crystal to be on the far side, then go up. (塞德莎 P55 27:52)
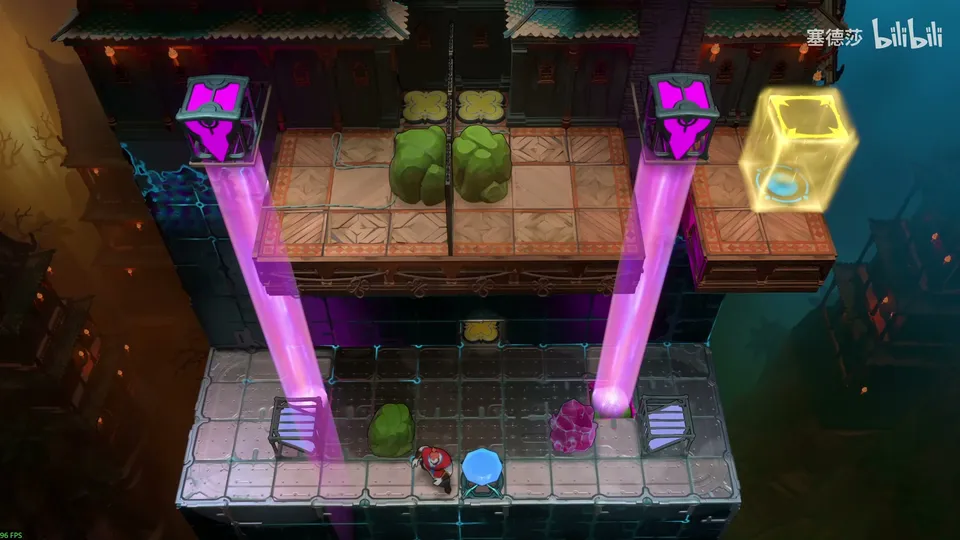
Getting there: same as before: as the cart nears the purple beam, teleport. (27:43)
- There’s an unintended way: build a structure to reach the top-left platform, take it apart, build another for the top-right platform, and push any spare object, a mirror for example, onto the button. (27:54)
- The intended way: push this stone onto the button, point this mirror here and send the crystal here; it now bounces back and forth. (28:12 · 28:20)
- To reach the left platform, wait for the crystal to be on the right and go up; move this stone over. (28:29 · 28:34)
- To reach the right platform, wait for the crystal to be on the left and go up. Finally wait for the crystal to vanish and walk across. (28:37 · 28:43)
Puzzle 35
Key idea (big star puzzle): the same structure again, and this time the bouncing endpoint is the Explorer himself, so the Trader can stand at either end. (塞德莎 P55 29:08)
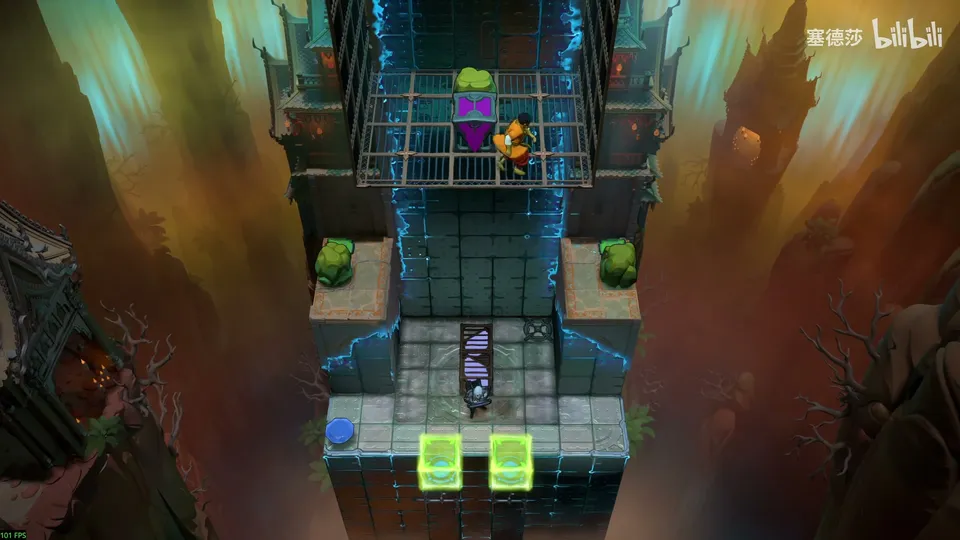
Getting there: unlock the cage, push the cart out to the far left, and as it is about to block the beam, step left. The cart becomes the endpoint, there’s a wall in front, so you stay put and can go up to the big star room. (28:49 · 28:58)
- Put the emitter here and the stone here (or the other way round), then come down and put the mirror here. (29:14 · 29:23)
- Let the Explorer take the gem and put it here. (29:25)
- Who bounces? The weak Explorer: let him go back and forth here. (29:31 · 29:38)
- The Trader times it to go left, comes over to push this, then goes right; no timing needed for that one, just stand here and he always ends up on the right. (29:45 · 29:52)
- Taking the structure apart: the Explorer can’t get down. Send the Trader in first, then let the Explorer out and take the gem. (29:55 · 30:00)
That clears the zone and ends 塞德莎’s part 55. He continues next time from the passage to the left and the one going down from here. (30:17 · 30:34)
Puzzle 36
Gems in the Way (宝石挡道)
Key idea: at last the weak Explorer has a job: picking up gems to clear a way for the Thief. Don’t take them all, though: nine gems sit on buttons, and you have to leave the right ones so the Thief can still get out. (塞德莎 P56 0:15)
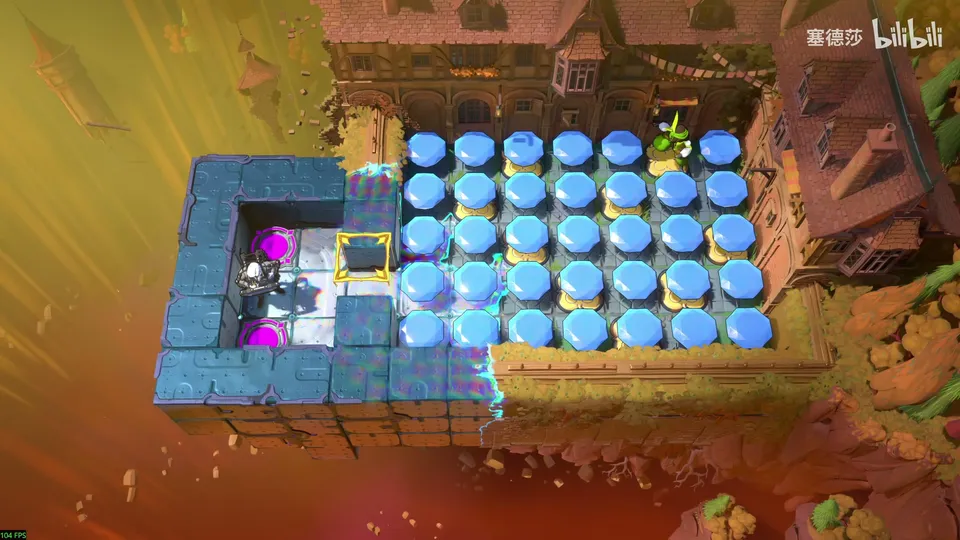
Getting there: this part heads south-west of the West. Start here. (0:09)
- An unintended trick most players found here: if the Explorer stands on a gem, overlapping it, the Thief’s pull takes the person rather than the gem, so the Explorer can help the Thief let go. 塞德莎 only heard of it from a viewer and doesn’t use it. (0:42 · 0:56)
- His way: take the gems you don’t need here; leave the two on the right; take these; leave one here; take this one. (1:33 · 1:39)
- Open this side, because you come out here later; leave one gem here and take the rest, and take everything here too. (1:46 · 1:54)
- The pulls: left once, then down, right and pull this over, down, right and pull this, then up and left. Done. (2:03 · 2:08)
- It isn’t the only answer. His rule of thumb: leave gems on buttons alone where you can, move as little as possible, and come out by pulling the leftmost gem of the second row; any other row drags other gems along. (2:11 · 2:28 · 2:41)
Puzzle 37
Key idea: an easy one: with the Cleric protecting him, the Explorer takes every gem he can reach at each moment. (塞德莎 P56 3:01)
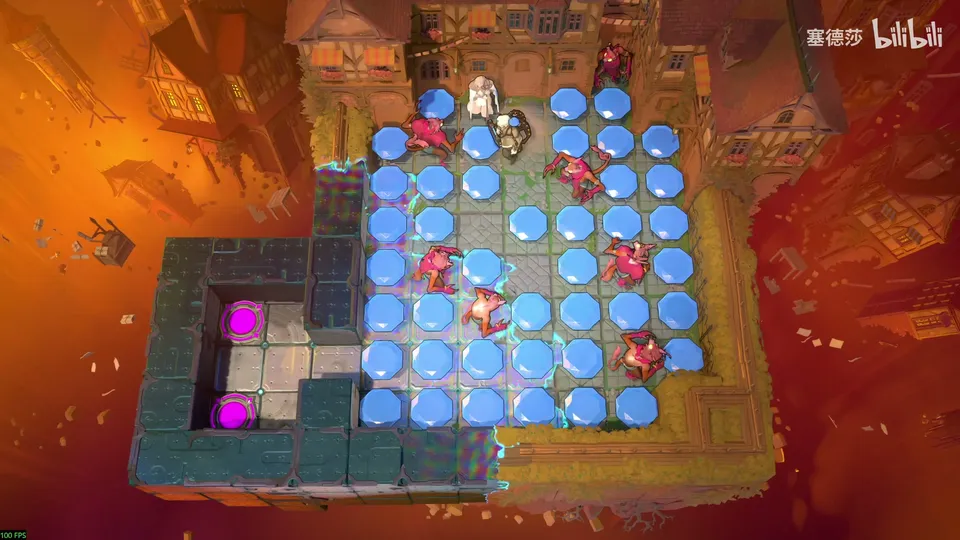
- Come over here and take this one, and this; this one isn’t needed. Then this one; come down and take this. Now you’re stuck, so go back. (3:14 · 3:24)
- Cut back from here, come round, protect here and take this one. (3:33 · 3:36)
- The right side is empty now, so come round this way and take this one, then this; protect again lower down and take this one. The path opens. (3:43 · 3:50 · 3:59)
Puzzle 38
Key idea: like puzzle 36: the Trader has to carry the Explorer to the bottom left, then take the elevator and walk over. Take the right gems and keep the rest, so you can drag a group to the bottom left and then rearrange what’s left into a path across the top. (塞德莎 P56 4:24)
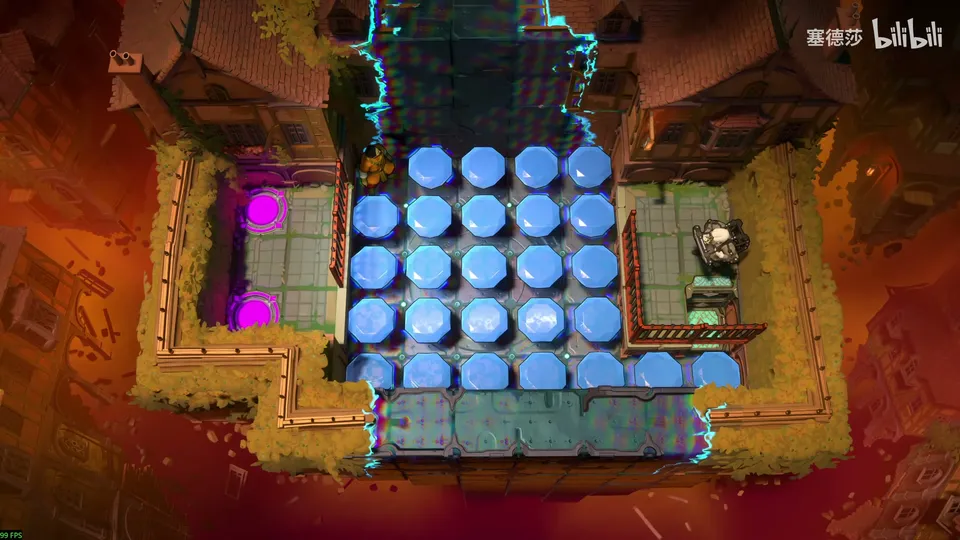
Getting there: once the cage opens, go left and up from here, pushing gems out of the way. The name card reads 宝石挡道. (4:07 · 4:18)
- His way: take these gems here, all of them. (4:53 · 5:08)
- Stand the Trader here and carry the Explorer over to here. (5:14)
- Push the gem inside one forward and push this one up, and you’re done. He notes it isn’t the only answer. (5:20 · 5:31)
Puzzle 39
Key idea: the Druid has to reach the high platform and walk a path of gems to the exit above. Only the Bard can turn the dragon (walk in and pull left, or push in), and only the Cleric can block the fire lower down. That makes three paths that must not cross, the Bard’s, the Cleric’s and the gem path on top, exactly like the Number Link pencil puzzle. (塞德莎 P56 5:42)
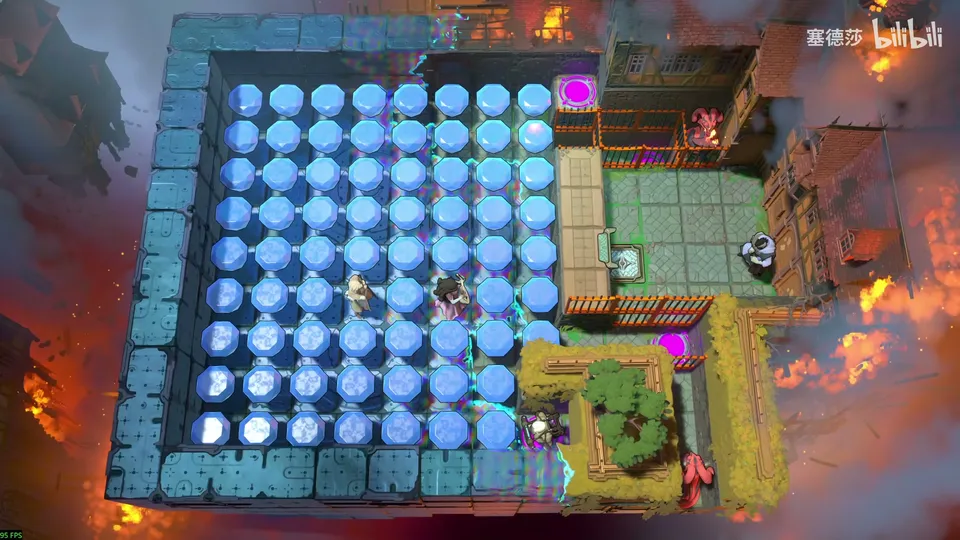
- The dragon: only the Bard can deal with it, by walking in and pulling left to turn its head left (or pushing it in to face right). So the Bard has to get up there. The fire lower down needs the Cleric standing here, so the Cleric has to go down. (5:57 · 6:15)
- Three routes, for the Bard, the Cleric and the Druid’s gem path, and a careless one cuts off another. The Bard goes round underneath, the Cleric comes round this side and the path goes through the middle. (6:21 · 6:41 · 6:52)
- He draws it out: the Bard’s route, the Cleric’s, then the Druid’s path on the platform, made of gems you must not take; take all the others. (7:00 · 7:19)
- Take this one, this one and so on, as drawn. (7:47 · 8:02)
- Send the Bard first and turn the dragon; then the Cleric comes, and the Druid can come over. Standing on a tile where the Explorer and a gem overlap is fine. (8:10 · 8:15 · 8:24)
- Walk along the path to the exit. (8:27)
Overworld puzzle 10
Key idea: push a gem to the left, then push two gems out of the way so the white beam shines through to the right. It pays off later, in overworld puzzle 12. (塞德莎 P56 8:39)
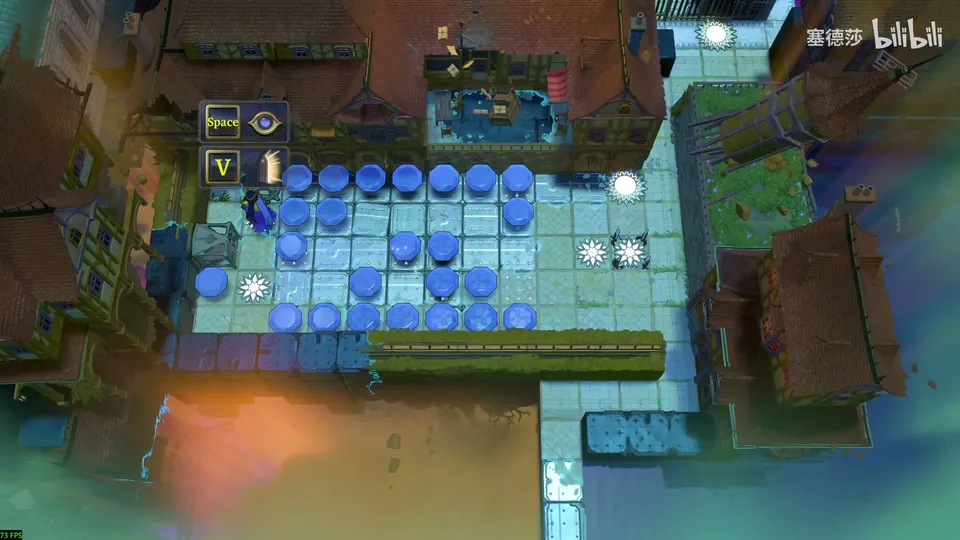
- Push this gem to the left. (8:40)
- Push these two gems aside: the white beam now reaches the right. Then carry on down to the next room. (8:44 · 8:48)
Puzzle 40
Key idea: you need three things to pave the way, but there is only one gem, and the mirror can neither reflect upwards nor be turned. Copy the gem: a mirror can’t reflect a gem, but it can reflect an Explorer carrying one, which splits the gem in two. (塞德莎 P56 8:58)
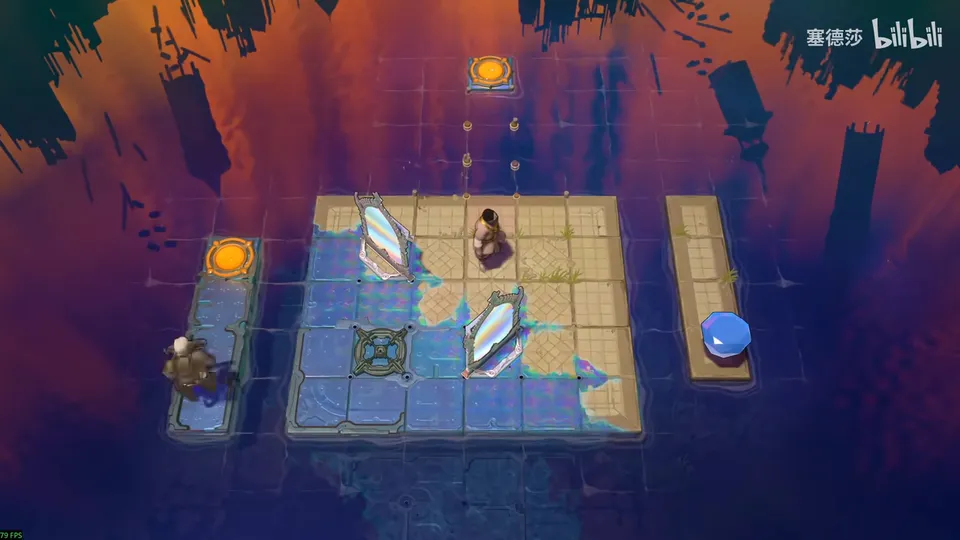
- Three objects are needed for the path; the mirror can’t send anything up and can’t be turned. (9:07)
- The loophole: mirror the Explorer while he carries the gem, and the gem is copied. (9:21 · 9:33)
- A detail: if one clone has put his gem on an activator and the other still carries one, they can’t merge; they keep flashing to show their gems differ. (9:45)
- Copy once more for a third gem, drop this one down, then the last one here, and the room is done. (10:06 · 10:16 · 10:25)
- Merge the Explorers again, three into two, two into one. Watch out: the Explorer can’t walk across up there, the Trader has to, or he falls through. (10:31 · 10:45)
Puzzle 41
Beam Computation (光束演算)
Key idea: the first of four “computer” rooms. Each round a cart presses a button and the machine tests one block in the top row: a crystal (call it 1) teleports through the orange beam onto a button, a plain stone (0) blocks the light and drops. The result of each test is sent to the next column below. This one copies its input, like a register, so set the top row to the pattern the bottom needs. (塞德莎 P56 11:28)
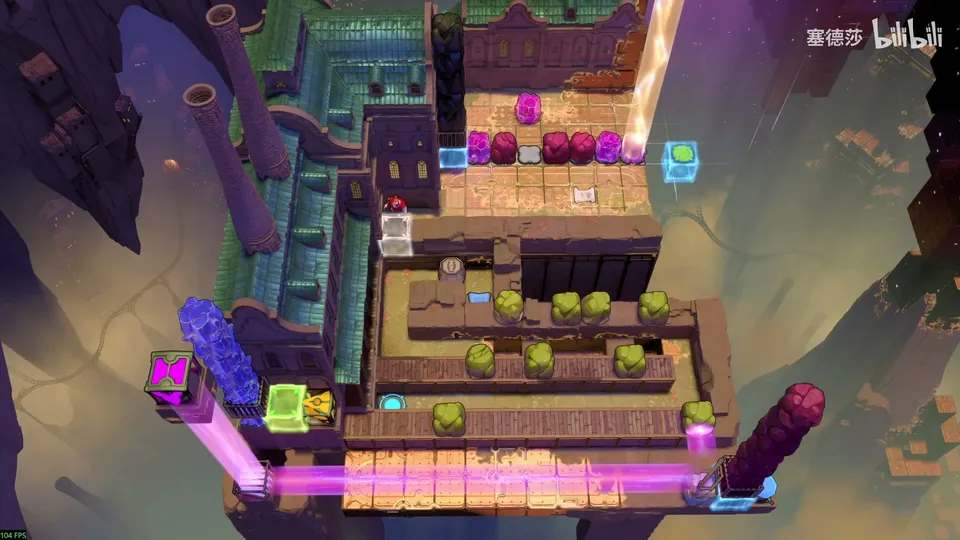
Getting there: after puzzle 40 the cage on the right opens; that way comes in his next part. Push this stone up, touch the teleporter, teleport back to the top left and take the narrow path. (10:58 · 11:12 · 11:20)
- The grey door needs every grey button in the row below pressed; leave them as they are. Push the cart in so it keeps pressing the blue button. (11:47)
- Each press moves four energy blocks: the one by the top-right button disappears, the top one squeezes a stone out from left to right, the bottom-left one pulls back and pushes out a crystal, and the bottom-right one pushes out a stone. (12:12 · 12:24 · 12:42)
- The test: in the orange beam, a crystal teleports onto the button and the green door vanishes; a plain stone blocks the light, so it just drops and the button stays up. Crystal = 1, stone = 0. (13:02 · 13:26 · 13:39)
- On a 1 the door opens, the orange beam hits the crystal below, the piston pushes it two tiles into the purple beam’s column and it teleports to the endpoint. The mirror below moves one tile left each round, so the results land in seven columns in turn. (13:56 · 14:26 · 14:41)
- The bottom row is the target: counted from the right it needs 1 0 1 1 0 1 0, so left to right 0 1 0 1 1 0 1. Since the machine just copies, put plain stones in the 1st, 3rd and 6th places of the top row from the left and crystals in the rest. (15:38 · 16:01 · 17:06)
- Go down and let it run; he speeds it up. (17:28)
The name card reads 光束演算; 塞德莎 says these are computer parts. (17:41)
Puzzle 42
Key idea: the same machine with two inputs, a top row and a bottom row, and it computes OR. One crystal in a column gives one orange beam, two crystals give two; either way the result lands in the purple beam (1), and only two plain stones give nothing (0). (塞德莎 P56 18:02)
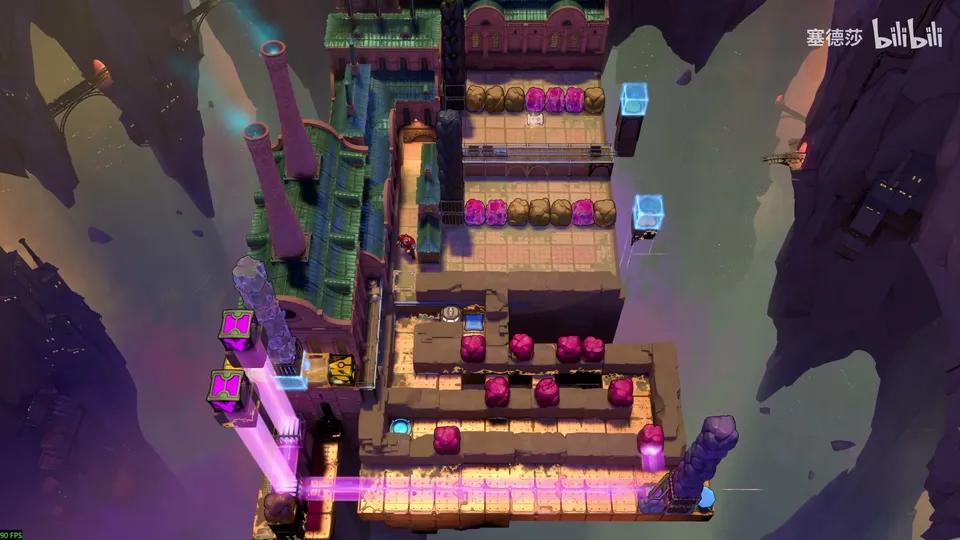
Getting there: puzzle 41 unlocked two beams, multicoloured on the right and orange on the left; with both you can jump over to here. (17:50)
- A green and a yellow button decide whether this tile gets no orange beam, one, or two crossing beams. (18:21)
- Both stones: no beam, the block drops, result 0. One crystal: one beam, it jumps into the first purple beam, result 1. Two crystals: two beams, it jumps four tiles, also into purple, result 1. (19:45 · 20:00 · 20:15)
- The target from left to right is 1 0 1 0 1 1 0. So the 2nd, 4th and 7th columns from the left need a stone in both rows (six of the eight stones), and the other four columns need at least one crystal. (20:55 · 21:03 · 21:18)
- The space above is tight. This column mustn’t be two stones: push this up, this up, and rub it to take one out. This column needs two stones, so put them here. (21:34 · 21:50)
- Below, the second column from the left also needs two stones: swap by pushing this out, this out and left. (21:59 · 22:13)
- Check: from the right, the 1st, 4th and 6th columns are double stones and every other column has a crystal. Go down and let it run. (22:21 · 22:33)
Puzzle 43
Key idea: two inputs again, and this time the machine computes XOR. Two crystals make two beams and a four-tile jump, but there is no purple beam to catch it this time, so it falls (0). (塞德莎 P56 23:03)
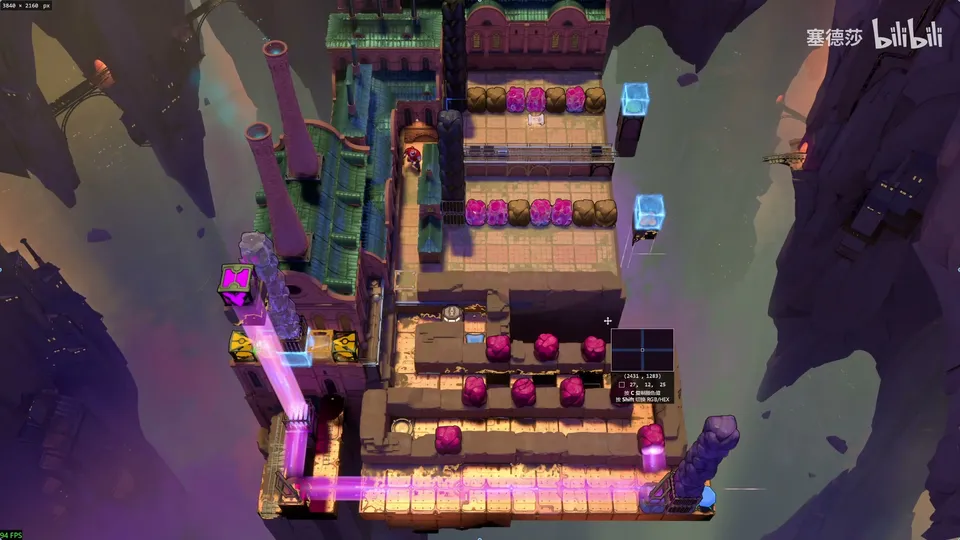
Getting there: change the beams over as he does and jump to this tile. (22:48 · 23:00)
- Both stones: no beam, 0. One crystal: one beam, it lands and teleports, 1. Two crystals: a four-tile jump into the pit, 0. That is exclusive or. (23:25 · 23:37 · 23:52)
- The target is 0 1 0 1 0 1 0. Each of the three 1 columns takes one crystal and one stone. There are seven crystals and seven stones, so the four 0 columns split two and two: two columns of two stones, two columns of two crystals. (24:14 · 24:20 · 24:38)
- Fix the top: this pair needs one crystal and one stone, not two crystals; take these apart. (25:09 · 25:22)
- Check column by column; swap this column with the first one, and it’s right. The lower rows need no change. (25:26 · 25:42 · 25:52)
- Let it run. (26:00)
Puzzle 44
Key idea: the last computer is a binary adder with carry. Its two inputs are two 7-digit binary numbers (crystal = 1, stone = 0), and their sum must come out as 10100001. You have eight crystals and six stones to use. (塞德莎 P56 26:36)
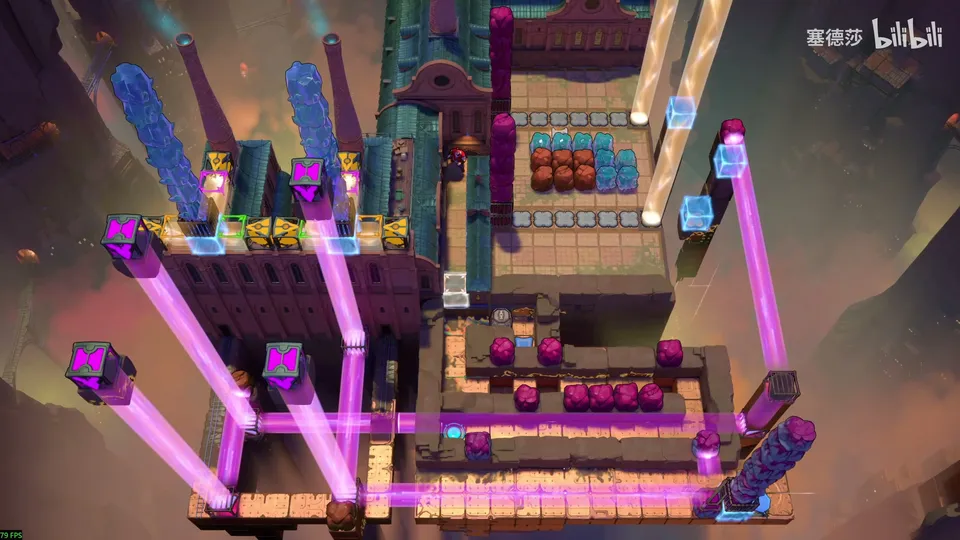
Getting there: stack all three beams, one multicoloured and two orange: where they cross you jump 3² = 9 tiles, straight down to this room. (26:21 · 26:27)
- Each column has two parts: the right one gives result 1, which is the output, and the left one gives result 2, which goes to the purple button above. Besides inputs 1 and 2 there is input 3: whether that purple button is pressed. (26:56 · 27:13 · 28:06)
- With input 3 off: 0 and 0 give 0, 0; one crystal gives result 1 = 1, result 2 = 0; two crystals give 0, 1. (28:38 · 29:10 · 29:37)
- With input 3 on: 0 and 0 give 1, 0; one crystal gives 0, 1; two crystals give 1, 1. (30:19 · 30:44 · 31:04)
- Read as binary addition, result 1 is the sum digit and result 2 is the carry, which feeds input 3 of the next column: a standard binary adder with carry. (31:35 · 32:10 · 33:08)
- The task: two 7-digit numbers that add up to the 8-digit 10100001, using all eight crystals (ones) and six stones (zeros). (33:31 · 34:06)
- Working from the right, he finds two answers: 1111101 + 0100100 and 1011111 + 1000010. In any column you may swap the two digits between the rows. (34:35 · 36:40 · 37:42)
- Build the first: push this stone up, push these up, two crystals and a stone up here, one more crystal; then the two crystals here and here and the stones here and here. Start it; it’s right. (38:01 · 38:21 · 38:36 · 38:53)
- He then builds the second answer as well, which also works. (39:02 · 39:23 · 40:01)
塞德莎 thinks stopping at four of these rooms was wise, since the idea is a high bar for most players. (40:16)
Overworld puzzle 11
Key idea: use the cart and two stones to hold the three blue buttons. With all three pressed, the orange beam on the left drops for an instant and lets the multicoloured beam through, and in multicoloured light the purple beams carry you on towards the big star. (塞德莎 P56 40:28)
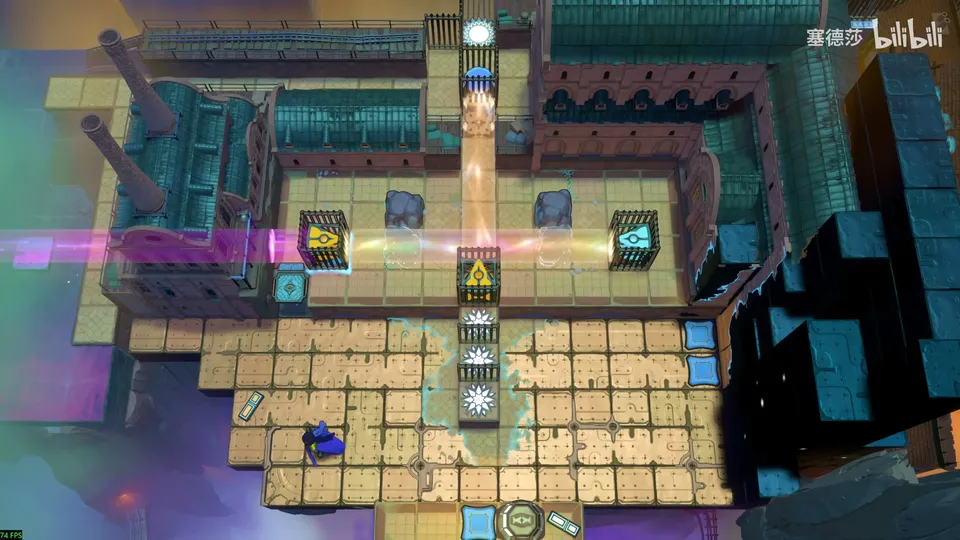
- Push the cart here so it presses the blue button. Push one stone here, and take the other the long way round underneath to push it in from this side. (40:28 · 40:37 · 40:42)
- Push it again and then up from here. With both down, the left orange beam drops for a moment and the multicoloured beam reaches the left. (40:48 · 40:59)
- Teleport to the left end, wait for the multicoloured beam, and ride the purple beams in multicoloured light from end to end, jumping left once, until you land on top of the big star room. (41:11)
Puzzle 45
Key idea (big star puzzle): route a very long purple beam so that the Explorer on the right, in multicoloured and purple light, lands on the exit on the left. 塞德莎 just gives the finished layout; nobody, he says, will want to count the tiles here. (塞德莎 P56 41:31)
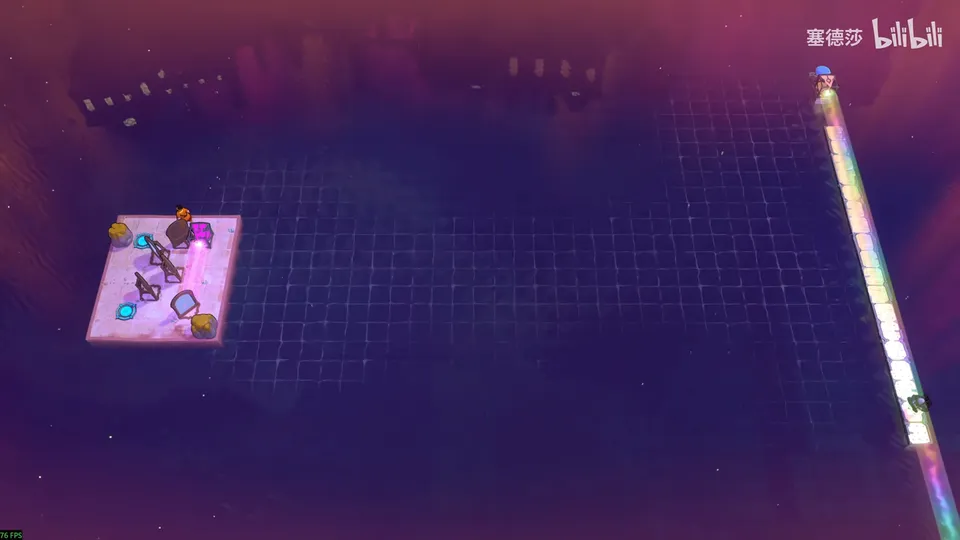
- Push the two stones to here and here. (41:54)
- Push the upper-right mirror here, the lower-left one here, the upper-left one back here. Never push this emitter down: that blows it up. (42:00 · 42:11)
- Push the mirror facing up-left to here, nudge the emitter a little left, and finally push the mirror facing up-right to here. (42:18 · 42:23 · 42:30)
- The length is now exactly right: the Explorer lands on the stone you pushed down and is at the endpoint in one go. Push the purple emitter away and the room is done. (42:33 · 42:42)
That ends 塞德莎’s part 56. Further up is 三者齐上阵, an area he played in the East in part 50, so the map has looped round; he teleports back to the Crossroads and goes south next. (42:51 · 43:08)
Puzzle 46
Gem Beam (宝石光束)
Key idea: land on the exit below using the two orange beams; the parity works out from this starting tile. The beams need the four activators in each of two blocks powered, which the white beam, reflected by a mirror, does for you. (塞德莎 P57 0:53)
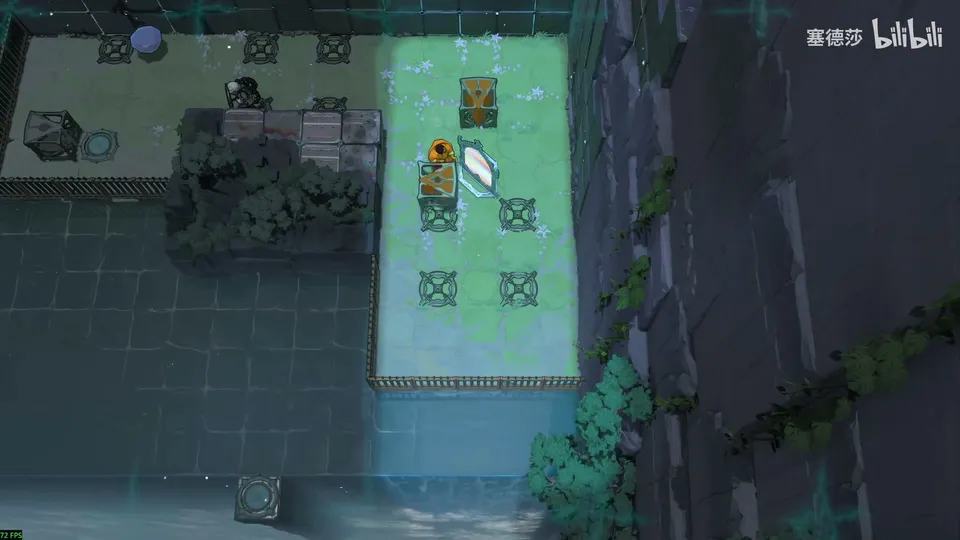
Getting there: from the Crossroads go down. A warning from 塞德莎: a mistake with his recording save meant he had already cleared everything below, so all the area-map unlocks are already open in his video and he describes the original state aloud. The name of this area is 宝石光束, the name of the white beam. The gem here is still locked, so go into this room. (0:12 · 0:18 · 0:43 · 0:50)
- You can only reach the exit with these two orange beams, this vertical one and the one starting about here. Check the parity: jumping two at a time, start from this tile, jump left twice and down twice and you’re on the exit. (0:58 · 1:21)
- Power the four activators in each of the two blocks: a mirror reflection plus the white beam, the so-called gem beam, covers them all. (1:35 · 1:43)
- Leave someone standing here, so a mirror image can switch the beam back and forth from here; go up by the beam. (1:56 · 2:08)
- Up there you can’t mirror. Switch to the Explorer, who can, go up, and you’re through. (2:14 · 2:19)
Overworld puzzle 12
Key idea: puzzle 46 opens a cage and a gem. If you come here without having cleared Gems in the Way, putting the gem in to power the purple beam fails: the gem blocks the beam and a cage below stops you. This is a progress gate: the white beam you let through in overworld puzzle 10 powers it without a gem. (塞德莎 P57 2:32)
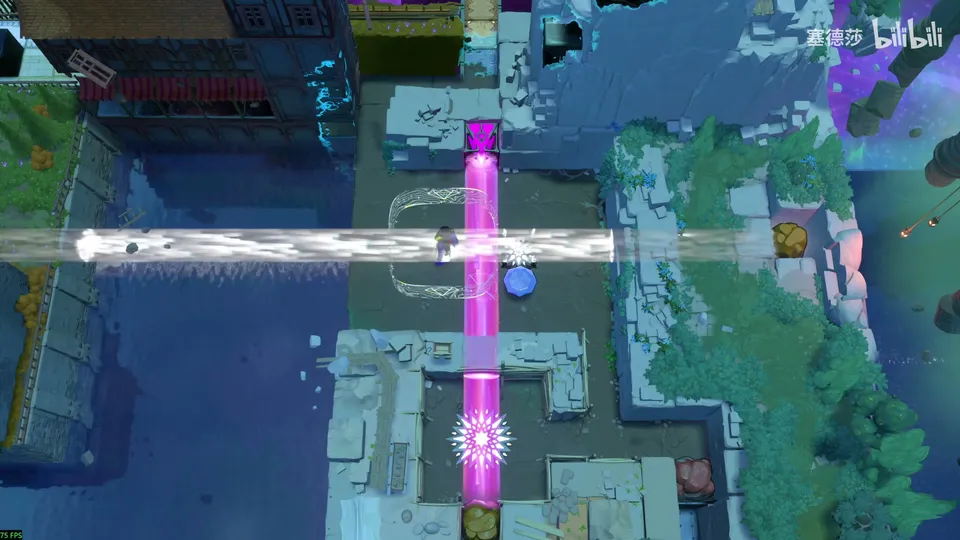
- Placing the unlocked gem here to light the purple beam doesn’t work: the gem blocks it, and the cage below blocks the way down. (2:38 · 2:49)
- You have to finish Gems in the Way first and switch on its white beam, aimed this way; it powers this spot without a gem, so the gem is useless. (2:58 · 3:08)
- Just move the gem that blocks the beam, let the white beam through, power the purple beam with your own body and drop down. Many players got stuck here, he says. (3:16 · 3:24 · 3:35)
Puzzle 47
Key idea: power the gem activator at the top right to light a purple beam, whose endpoint above is the top half of the white emitter. The room has no usable gem, so carry the white beam itself there, block by block, keeping it lit all the way with two crystals and the torc. (塞德莎 P57 3:39)
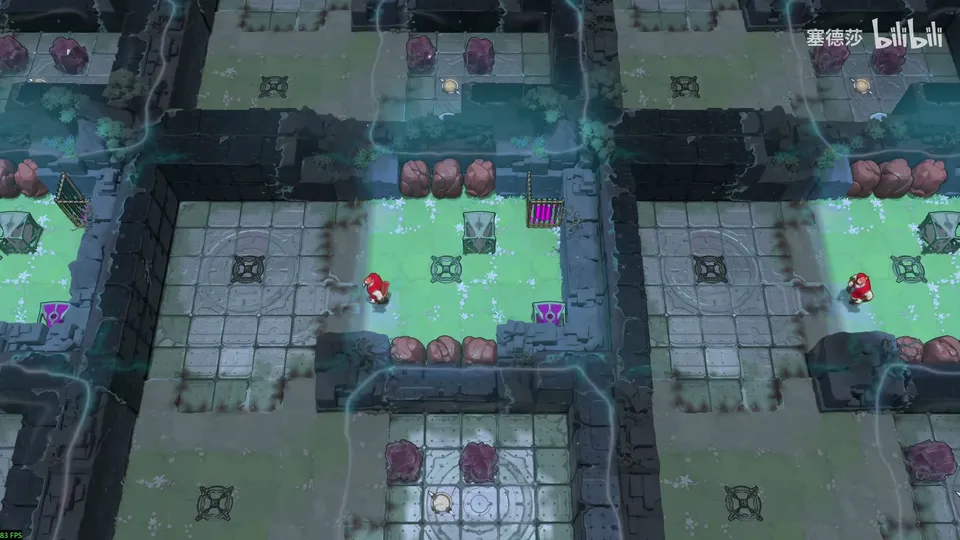
- The goal: switch on the activator at the top right, then the purple beam, with the white emitter’s top half as its endpoint above, and jump across. (3:41 · 3:53)
- There is a gem in a cage, which is as good as none. Push the white emitter over and pick up the torc. (4:07 · 4:14 · 4:21)
- Move the white beam up step by step with the two crystals: put a crystal here, then push this left all the way; since this block is powered, the white beam stays on. (4:32 · 4:35 · 4:42)
- To send it up, turn the emitter to face up. The room wraps, so you can put a crystal behind it to keep its block powered: shift the whole thing up one, put a crystal here, turn it up, then send the other one up. (4:56 · 5:05 · 5:12)
- The same to the right: move this over (this part is done with), keep this one powered, put the crystal a little left, push the emitter up one more, turn it right with a crystal behind it, and push it right. (5:33 · 5:42 · 5:48)
- Take this back, then push the whole structure up one tile and put another crystal behind it. (6:07 · 6:15 · 6:27)
- Take this out and prop it here: the emitter is squeezed into the purple beam’s endpoint, and you jump to the exit with the purple beam. (6:40 · 6:44)
Afterwards a cage opens; push this stone down to open the shortcut back from Gems in the Way. (6:55)
Puzzle 48
Turning Beams on Water Lilies (睡莲上的旋转光束)
Key idea: a lily pad turns with the current, and everything on it turns too. The current turns clockwise, so the pad turns clockwise: the green emitter needs 270 degrees and the red one 180. (塞德莎 P57 7:16)
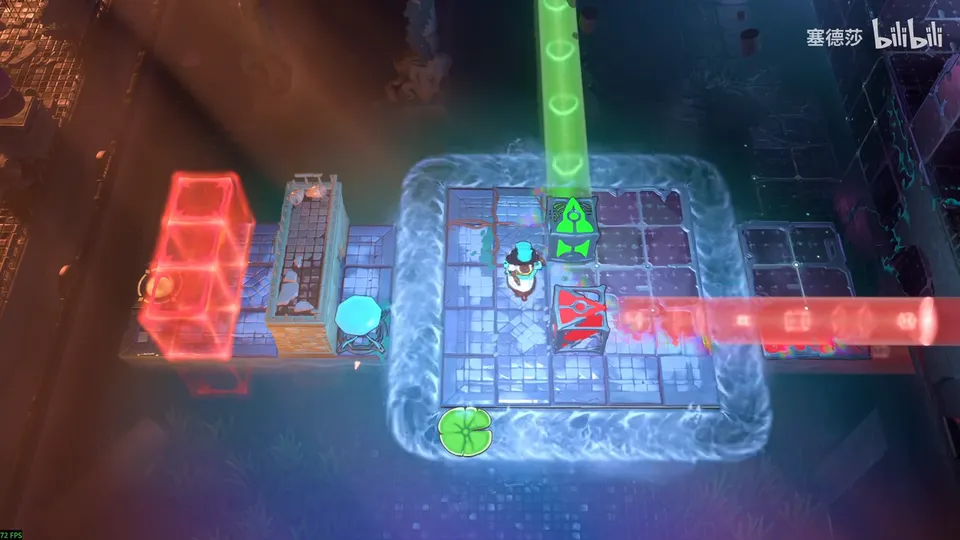
Getting there: two ways on, right and down; go right first, and wait for the lily pad to come over. Up top the beams are still locked, so this room is the only one open. (7:09 · 7:16)
- Put the red emitter on the left lily pad and wait on the right. When it arrives, push it off to the right (he slows it down): it has turned 180 degrees. (7:53 · 8:04)
- The green one needs 270: push it on from below, wait for it to come round to this spot, then push it off to the right. Both now face left. (8:08 · 8:14)
- Wait for the pad, slip through from here and open the door. (8:20 · 8:23)
Overworld puzzle 13
Key idea: the emitter on the left unlocks facing left. Put it on the lily pad and take it off after half a turn. (塞德莎 P57 8:29)
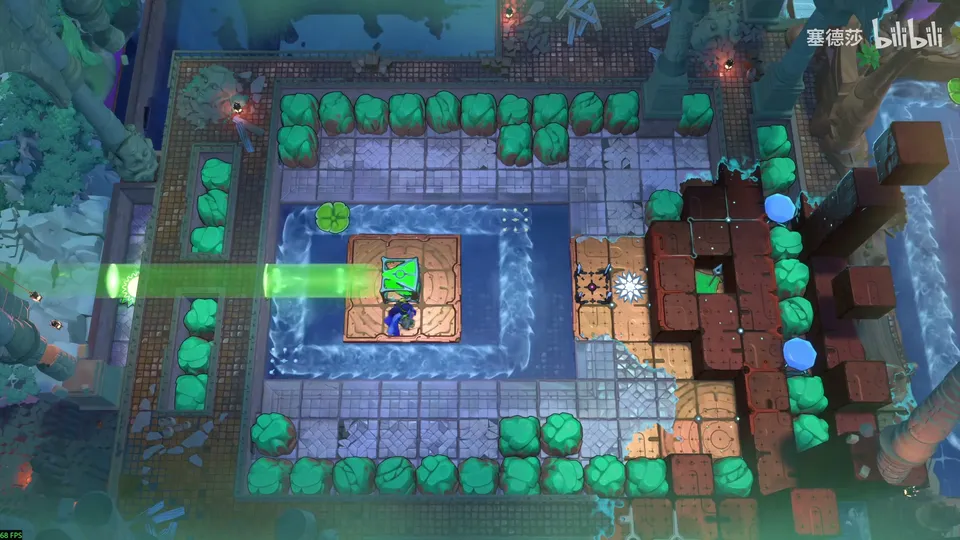
- Push it onto the lily pad from here (or from below) and push it off once it has turned 180 degrees. (8:38 · 8:44)
- Slowed down: push it down one, step onto the pad, walk ahead of it and come up in front, then push it over. Back to the middle. (8:46 · 8:53)
Overworld puzzle 14
Key idea: the green beam now has to turn 90 or 270 degrees, to face up or down, but from here the pad can only turn it 180. Take a stone out of the corner of the wall and push the emitter onto the pad from the side. (塞德莎 P57 9:04)
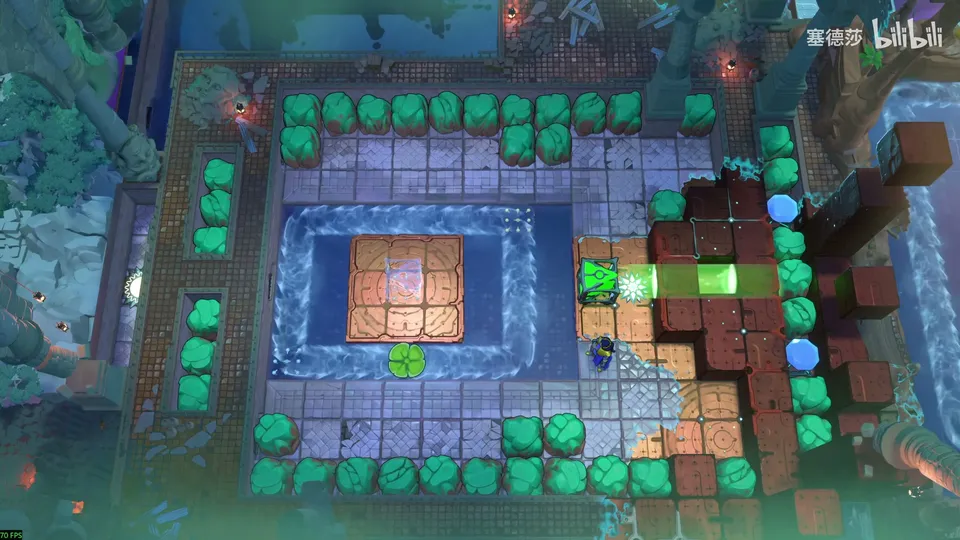
- Take the stone out of this wall corner, lay it here and push the emitter on from the side; then it turns 90 or 270. (9:17 · 9:24)
- Push it to here, wait here and push it down: now it faces up. Wait for the pad again and push it up. (9:28 · 9:29 · 9:34)
- Slowed down, push twice, go behind it and go up from here; there is a room up here. (9:38 · 9:44)
Puzzle 49
Key idea: the room tempts you to put the green emitter on a lily pad, since it already faces up as the target needs. But it turns 90 degrees as it enters the current and again at the corner. The current is pure obstruction here: keep everything off it. (塞德莎 P57 9:50)
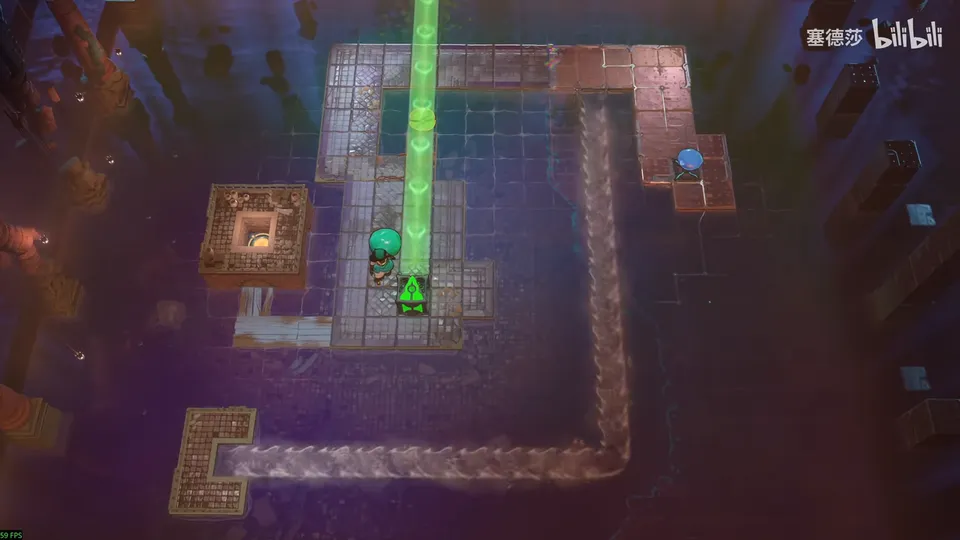
- Why the obvious way fails: the target is a green beam into the lower endpoint, facing up. Pushed onto the current it turns 90 on entry and 90 more at the corner. (9:54 · 10:12)
- His route avoids the current throughout: switch this on facing up, quickly push this over, and fire down before it reaches the current. (10:40 · 10:45)
- Fetch the stone, wait for it to come down, and before it reaches the current fire left; then wait here to be carried up. (10:51 · 10:57)
The key, he says, is realising you can’t go onto the current, or at least can’t turn while on it. Further up you’re back at the west side of the Crossroads. (11:03 · 11:12)
Puzzle 50
Key idea: the weak Explorer above has to push first one stone, then three. That takes one cyan beam on him first, then two crossing on him. The current turns the beams the right way on its own; what matters is the timing between the two lily pads, which have to be 15 tiles apart. (塞德莎 P57 11:50)
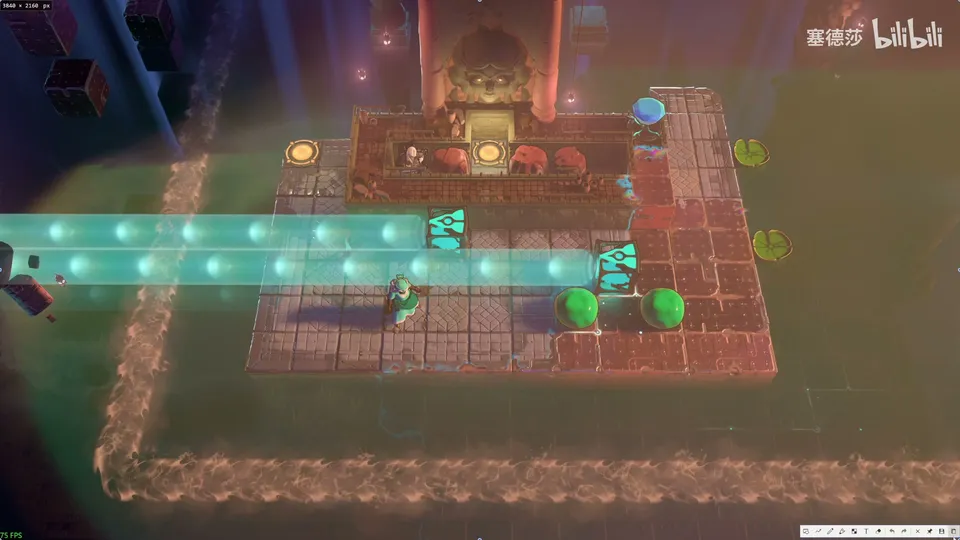
Getting there: turn the emitter to face down: push it in from here, wait for half a turn and push it off, then push it on again, up, and leave it here. Now you can go down. (11:19 · 11:28 · 11:39)
- The goal: one cyan beam on the Explorer to push one stone, then two crossing beams to push three. One beam comes up from here, the other from the left in the same row. (11:58 · 12:11)
- The direction is already right: the emitter starts facing left, turns 90 clockwise on the current to face up, and right again at the corner. (12:30 · 12:36)
- The timing: count from this tile, 15 tiles between the two pads. Launch the lower pad first, and when it has drifted to here, launch the upper one; it is then at the tile below this stone. (12:48 · 13:04 · 13:30)
- Push both emitters up and get two stones ready. Launch the lower one, and when it nears this spot launch the upper. (14:08 · 14:18 · 14:22)
- At the first cyan beam push right once; wait here, and when they cross, both beams are on the Explorer and he can push more. (14:29 · 14:33)
After this you can push through here, where Flat Objects Shuffle in the South is. Nothing new: reset, ride the left beam back to the Crossroads and go down. The name card for this area reads 睡莲上的旋转光束. (14:45 · 14:54 · 15:04)
Puzzle 51
Endpoint Leap (端点飞跃)
Key idea: a new interaction. Push a crystal skipping stone out and immediately light a purple beam: the stone keeps its upward momentum and teleports to the endpoint again and again, hovering there in place (“biu biu biu”). Release the beam and it sinks. While it hovers, treat it as a solid block. (塞德莎 P57 15:11)
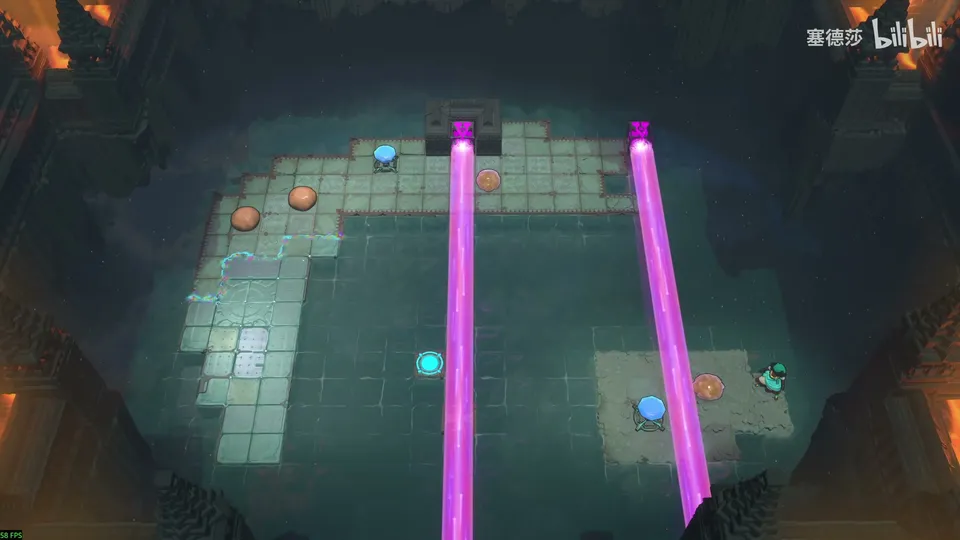
Getting there: a new area; at first only this room is open. (15:09)
- The only way up is to get the skipping stone to the purple endpoint, and a floor tile is in the way. So push the stone out and immediately light the purple beam. (15:32 · 15:44)
- Push it out, go left and down and push this up: it teleports to the endpoint and keeps doing so, stuck in place by its upward momentum. Let the beam go and it sinks. (15:51 · 15:59 · 16:08)
- To use it, there must be an endpoint below: put one here and build the same structure. Push out, light the purple beam, and it hovers here like a fixed block. (16:23 · 16:33 · 16:43)
- Pushing from above, the instinctive move, releases the purple beam, and the stone stops on the sunken crystal stone. Push from left to right instead: the hovering stone acts as a wall and it stays. (16:47 · 17:00 · 17:05)
- Release the purple beam so it sinks, then teleport to the endpoint. Pushed the other way, you couldn’t reach the exit, because the purple beam blocks the reverse direction. (17:09 · 17:16)
Overworld puzzle 15
Key idea: puzzle 51 unlocks a gem, a crystal skipping stone and the purple beam on the left. Make the stone hover on the left and use the purple beam to go left. (塞德莎 P57 17:24)
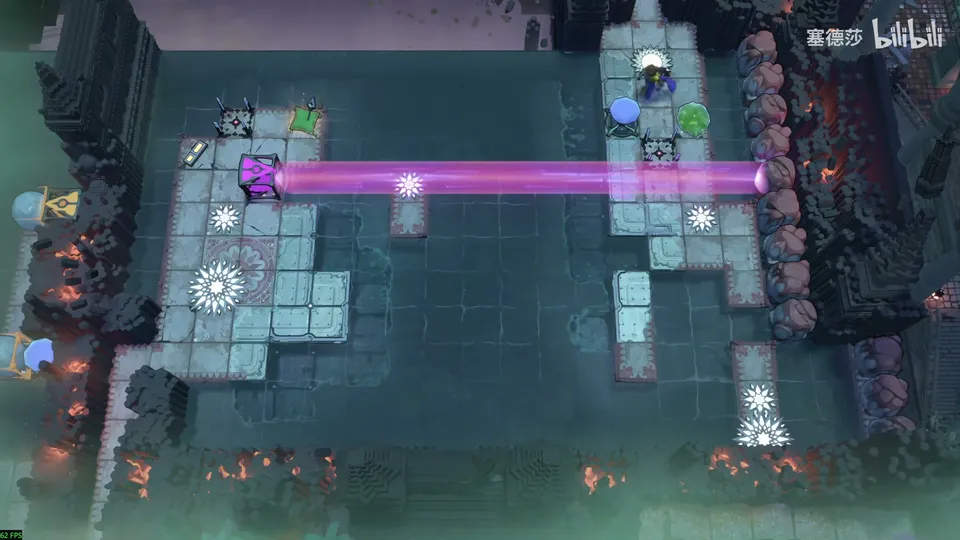
- Reset, switch it off and take the skipping stone out; put the gem here as before, push left and light it at once: it hovers on the left. Let go, and you can cross with the purple beam. The name card reads 端点飞跃. (17:38 · 17:45 · 17:55)
Puzzle 52
Key idea: two dragons block the way. Push both here: the gem blocks one, and a crystal skipping stone hovering beside the gem blocks the other. (塞德莎 P57 18:02)
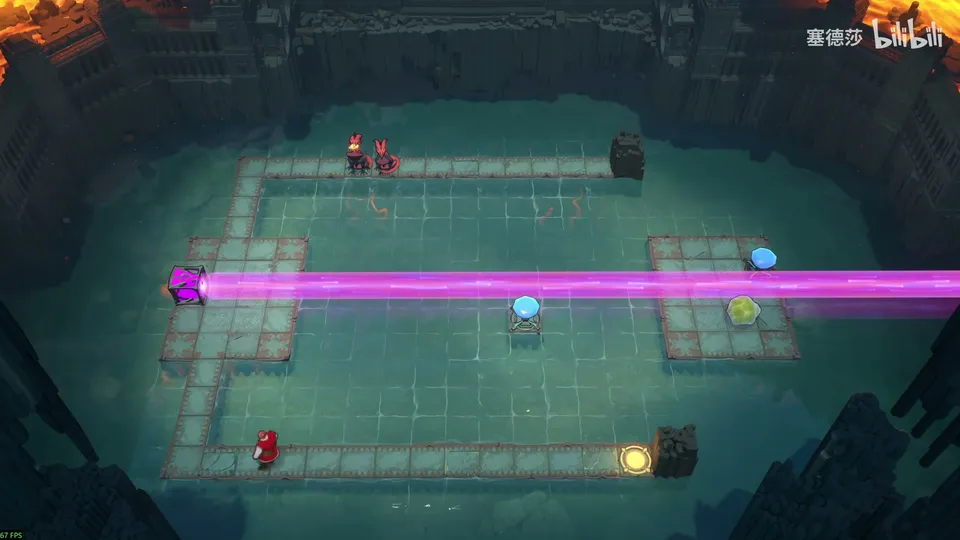
- Push both dragons to here; one is now blocked by the gem. (18:05)
- For the other, use the trick just learned: the crystal skipping stone on the right hovering beside the gem. (18:15)
- Go up and take the gem back; it stays at the edge, which is fine. (You could get the skipping stone back to the middle, but there’s no need.) Move this stone down. (18:24 · 18:36 · 18:43)
- A speed move: push right, then go straight up and fire the purple beam down. It hovers, and you walk past. (18:46 · 18:53)
Puzzle 53
Key idea (big star puzzle): the same idea: a hovering skipping stone blocks three dragons, one after another. (塞德莎 P57 19:11)
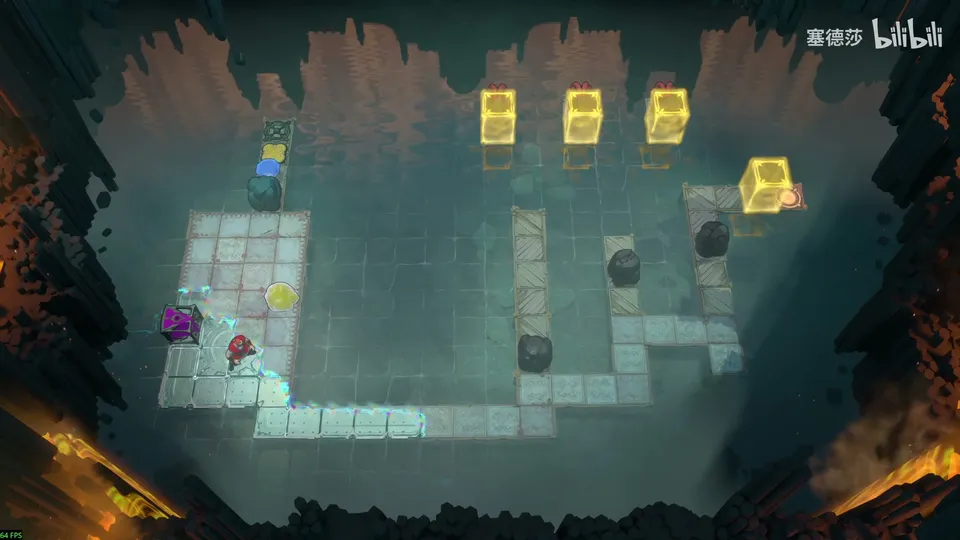
Getting there: puzzle 52 unlocks a single room on the right and this big star room; do the big star first. (19:02)
- Line the three black stones up horizontally, set up the hover in this row and put the purple emitter here. (19:21 · 19:27)
- Push right, then switch on the gem above. Everything is ready. (19:32)
- Get past the first dragon and push this stone away: the skipping stone jumps to the second; push again and it jumps to the third. (19:41 · 19:46)
Overworld puzzle 16
Key idea: reaching the single room in the middle seems to need the area map or its teleporters. Push the purple activator here so it is its own endpoint; the tile in front is a pond, so you can fill it with a skipping stone. (塞德莎 P57 19:55)
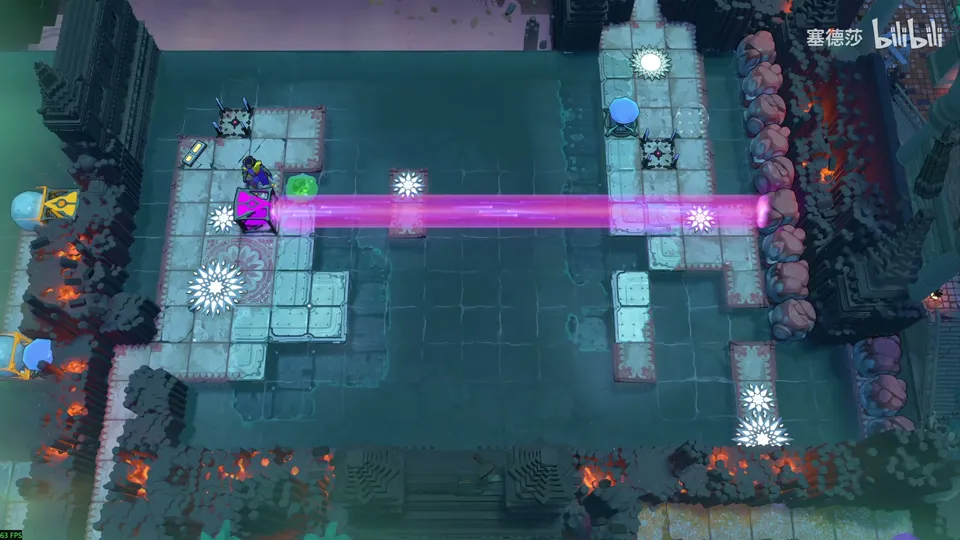
- Push the purple activator here, so it is the endpoint; the tile in front is a pond. Drop the green skipping stone from up there into this water, then push it into the pond to fill the way. (20:14 · 20:25)
- So, once down, use the teleporter to get back up, reset the skipping stone and switch off. (20:32 · 20:40)
- Speed move: push left and light the purple beam at once; it hovers; let go, teleport back down and push it into the water. (20:46 · 20:54)
Puzzle 54
Key idea: the room is plainly built for the hover trick: block four dragons, two on the left and two on the right, with two hovering stones at once. (塞德莎 P57 21:05)
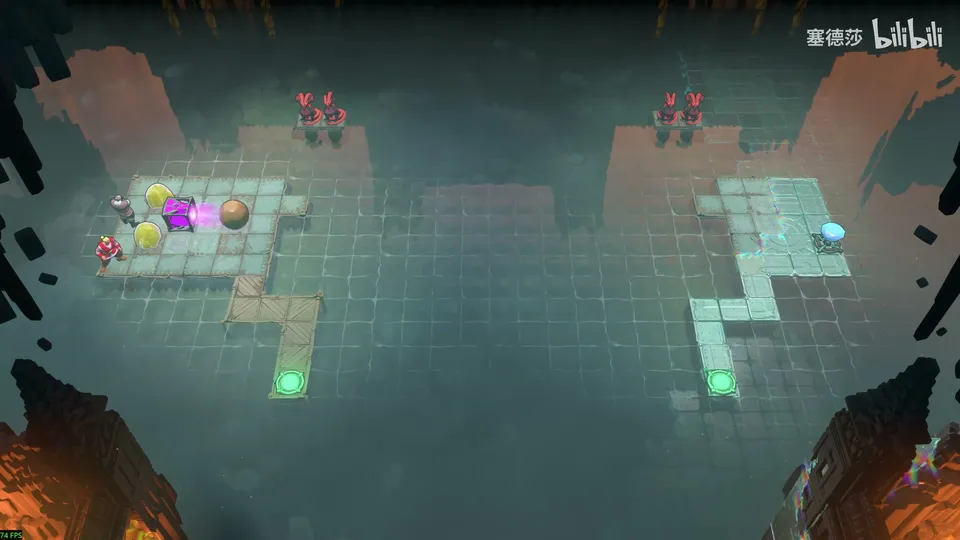
Getting there: come down here into the room. (21:01)
- Prepare: push this stone over, send the Warrior to the right and push a skipping stone over. (21:19 · 21:23)
- The stone has to reach the jutting tile here first, so push the light-blocking skipping stone down one, then push one over. (21:33 · 21:40)
- Fit the crystal skipping stone in here, with the light-blocking one behind it; on this side, the crystal one here and the emitter itself over here. You can switch the gem off to be safe. (21:45 · 21:54 · 21:58)
- Launch both skipping stones, the left one pushed right and the right one pushed left, and switch the gem on at once: both start hovering and block both ways. (22:07 · 22:16 · 22:23)
Overworld puzzle 17
Key idea: puzzle 54 opens the two rooms at the bottom right. To get there, make a stone hover on the right. (塞德莎 P57 22:33)
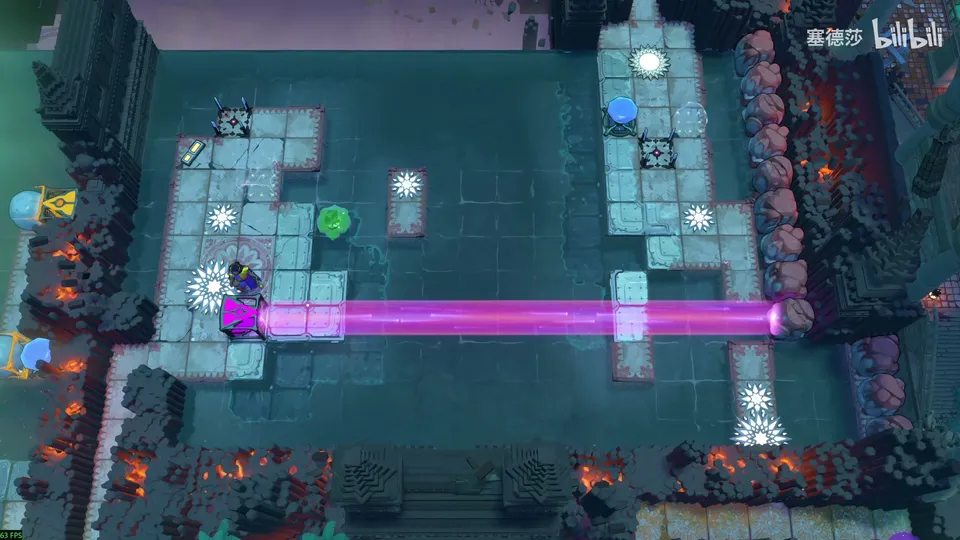
- Point the purple beam here; you need a hover here, on the right. Jump across with this purple beam first, then reset the stones. (22:44 · 22:49)
- Take this one over, come back, and shuffle the crystal skipping stone to here. (22:57 · 23:03)
- Speed move: push it right and immediately push the purple emitter down. It hovers; push it off so it sinks, and go across into the room. (23:07 · 23:16)
Puzzle 55
Key idea: another use of the hover. The hovering stone isn’t frozen: it is really skimming towards the purple emitter all the time, so it can knock a lily pad. Use it as a fixed point that turns your lily pad from left to down. (塞德莎 P57 23:23)
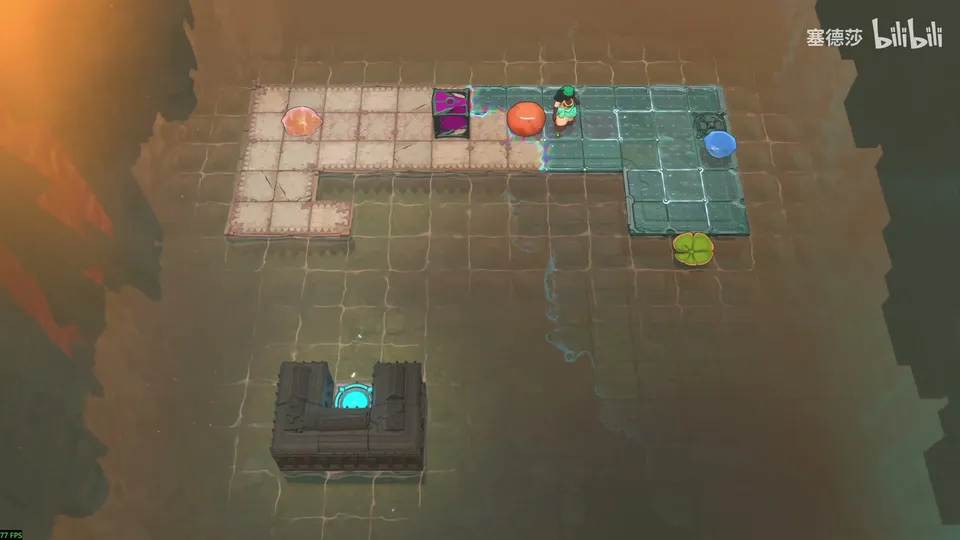
- Why it works: the hovering stone is trying to skim towards the purple emitter, so it is still skimming and can push lily pads. (23:32 · 23:42 · 23:53)
- Here the pad has to drift left with you on it and then turn down halfway; that’s the only way. Put the purple emitter here and get skipping stones ready on the right. (24:07 · 24:19)
- Put the plain skipping stone to the right of the pad and fit this one in here. (24:27 · 24:33)
- Push this left and switch on: it hovers, still drifting left, so it can knock the pad down. Get on the pad; as it passes the hovering stone it turns down, and you’re through. (24:36 · 24:50 · 24:54)
Puzzle 56
Key idea (big star puzzle): the same idea. Ride a lily pad left; a wall in the water stops it. A hovering stone on the lower pad keeps drifting left, bumps your pad and sends it up, right to the exit. (塞德莎 P57 25:05)
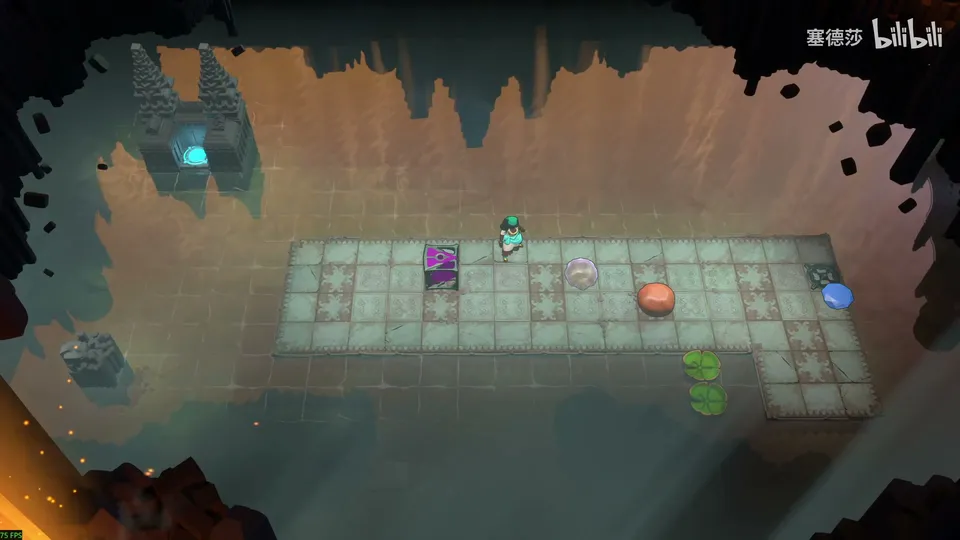
- The plan: step onto this pad and drift left until the wall in the water stops it; the lower pad, with a hover on it, keeps drifting left and knocks your pad up to the exit. (25:17 · 25:27)
- Put the purple emitter on the lower pad and the crystal skipping stone here. (25:38 · 25:43)
- The distance is too short, so launch the pad first; when the gap is about right, push left and switch on at once. It hovers; hurry onto your pad and wait. (25:52 · 25:57)
- Your pad gets stopped here and theirs keeps coming; there is a short delay, then the push upwards, and you’re through. (26:04 · 26:09)
Puzzle 57
Key idea: a plain purple beam room, no hovering. Ride purple to the right, push a stone onto the button and come back. The way back strands you at the endpoint, so let a light-blocking stone drift over on the lily pad to become a new right-hand endpoint on the shore, and jump out from there. (塞德莎 P57 26:43)
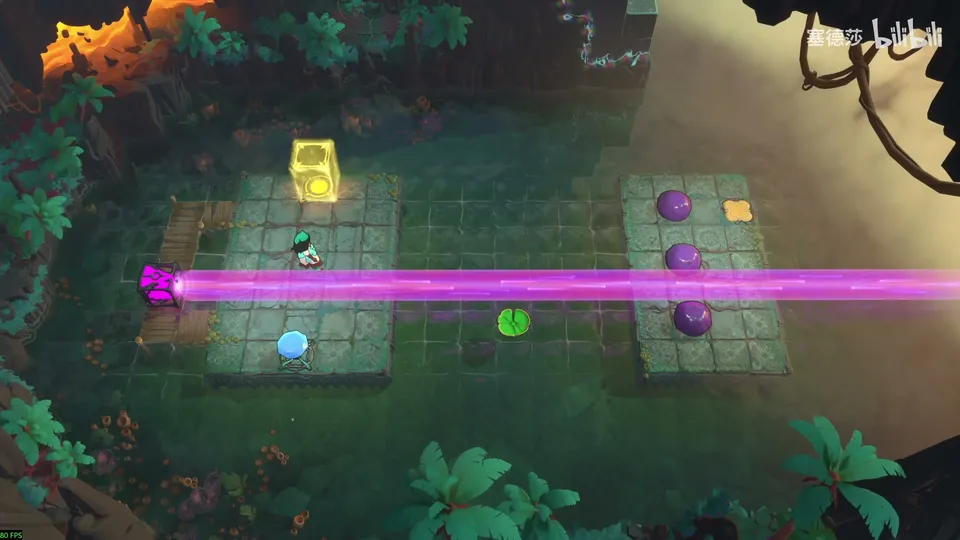
Getting there: the big stars here are done; go on down. Several directions open up, left and right; this side first. (26:19 · 26:27 · 26:34)
- The goal: go right by the purple beam, push a stone onto the button and come back. (26:55)
- Coming back from this spot seems easy, but you can’t get out of it: you’d have to step off vertically, and that’s blocked. The similar spot here has the same problem, and you can’t lay stones beside it. (27:06 · 27:21 · 27:30)
- The other idea: after you jump back, a light-blocking stone drifts over on the lily pad and becomes the new endpoint at the right end, which is on the shore, so you can jump right again and get out. (27:36 · 27:49)
- Do it: the emitter here, jump across, take the stone out and put it on the button. (28:03 · 28:08)
- Push it left to the left shore, then up, and hurry over; wait for the lily pad to arrive here, jump right, and you’re out. (28:12 · 28:18)
Puzzle 58
Key idea (big star puzzle): get a skipping stone onto the land here and push it up. It has to be the crystal one, by purple endpoint teleport to the gem on the right. Pushed along this row, it has only three tiles before the purple beam must appear, too little time to uncover it by hand. So let the plain skipping stone uncover it: pushed into the endpoint it sinks, and the moment it sinks the beam is exposed. (塞德莎 P57 28:31)
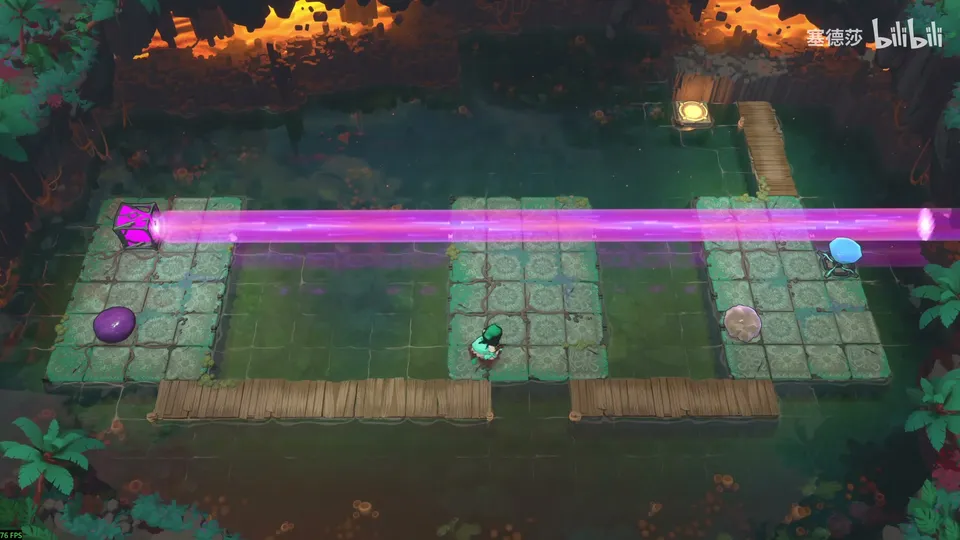
- The goal: bring a skipping stone, plain or crystal, to the inland here and push it up. The plain one can’t get here, so it has to be the crystal one. (28:36 · 28:47)
- Pushing it right over the water won’t do, so use purple endpoint teleport: the gem here is an endpoint. If a purple beam appears right after you push along this row, it teleports to the gem. (28:54 · 29:03)
- The problem: only three tiles, very little time. Build this structure with the plain skipping stone on the left. (29:18 · 29:31 · 29:35)
- Pushing the stone and then running to push this away is just too slow. Instead push the emitter to the shore; then push the plain skipping stone left from the right, it reaches the endpoint and sinks, and the instant it sinks the purple beam is exposed. (29:39 · 29:51 · 30:01)
- So: push this stone left, time it, and just before it sinks push this one right. Take it out and push it up. (30:11 · 30:17 · 30:25)
Overworld puzzle 18
Key idea: this unlocks the two rooms at the bottom right and the purple beam on the left. With no orange beam there, the only way down is an endpoint teleport, with a plain stone as the endpoint and a landing tile with floor beside it. (塞德莎 P57 30:36)
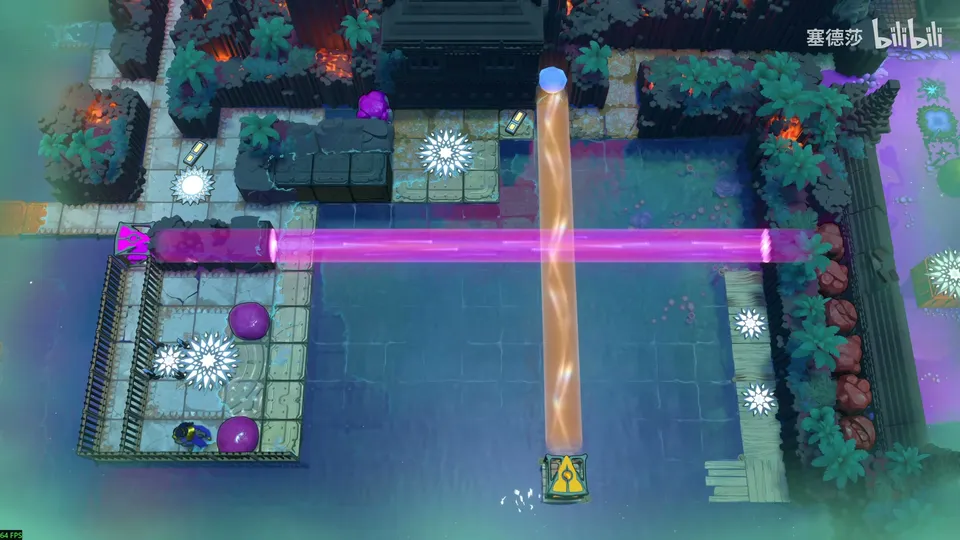
- The bottom row is best: jump across there, and the floor beside it lets you walk down. (30:55 · 31:02)
Puzzle 59
Key idea: drop three crystal stones into the water in the middle, one per button. A skimming stone stops only when it touches a purple beam and can’t move on, that is, when the beam’s far endpoint is blocked. There are four skipping stones for three buttons; the fourth is that blocker. (塞德莎 P57 31:14)
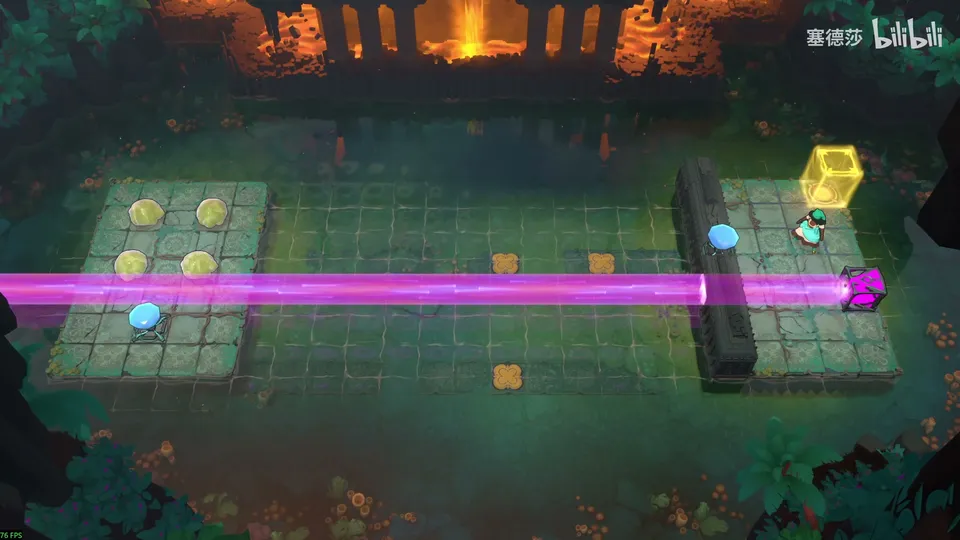
- To stop a skimming stone, let it touch the purple beam with its far end blocked, so it can’t move. (31:24 · 31:35)
- Four skipping stones, three buttons: the fourth blocks the endpoint. Skim it over, teleport it straight back and push the purple emitter up: it arrives as the endpoint. (31:48 · 31:55 · 32:01)
- Setup: don’t let the purple beam shine over yet, or you can’t push right. Push the purple emitter to the gem and get the endpoint ready. (32:11 · 32:20)
- Speed moves from here (he corrects which row): push right, hurry over and push the emitter up; time it. Holding Ctrl leaves plenty of time. (32:32 · 32:40 · 32:54)
- Order matters: drop the second stone before the first, or the second can’t get past. He shows the mistake first. Holding Ctrl, push the second, and stop it here. (33:11 · 33:16 · 33:32)
- The lower one is the same: push the endpoint down into the bottom row, push the emitter over, push right and come straight over; there’s time to spare. (33:44 · 33:50)
Puzzle 60
Key idea: something has to block the purple beam at the right moments, or you can’t get in from the start at the top. Let the cart push the skipping stones for you; at the end the yellow and blue buttons have to be held together. (塞德莎 P57 34:07)
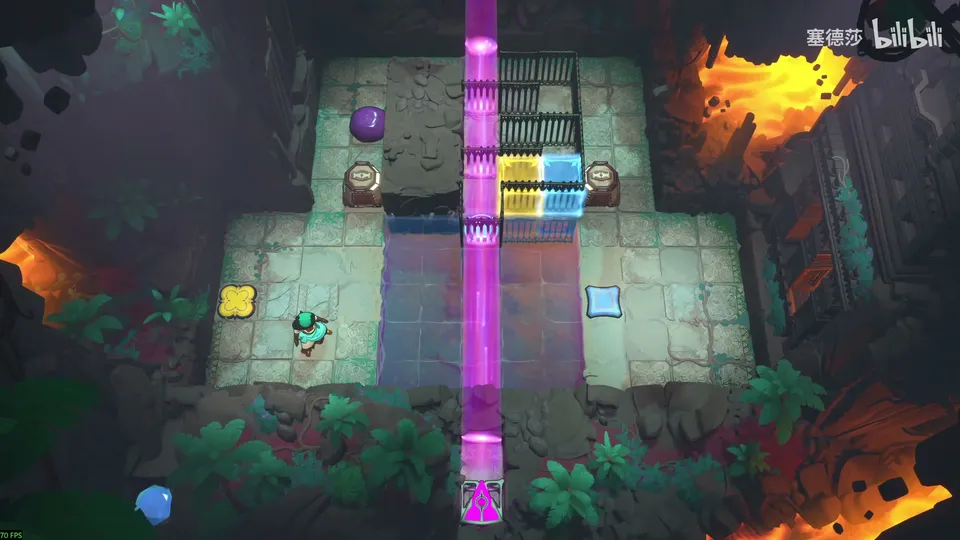
- Use this structure: the cart pushes the skipping stones, blocking the beam now and then. (34:21 · 34:23 · 34:30)
- Adjust the timing so the two upper buttons are held at the same moment. (34:41 · 34:53)
- When the purple beam vanishes, step down one; once both buttons are held, hurry over. (35:04 · 35:09)
Puzzle 61
Key idea: a rare thing in this game, a pure time limit. 塞德莎 shows two runs: a slow one that walks everywhere and uses every element in the room, including the spare skipping stones, which buy time; and a fast one for quick hands. (塞德莎 P57 36:27)
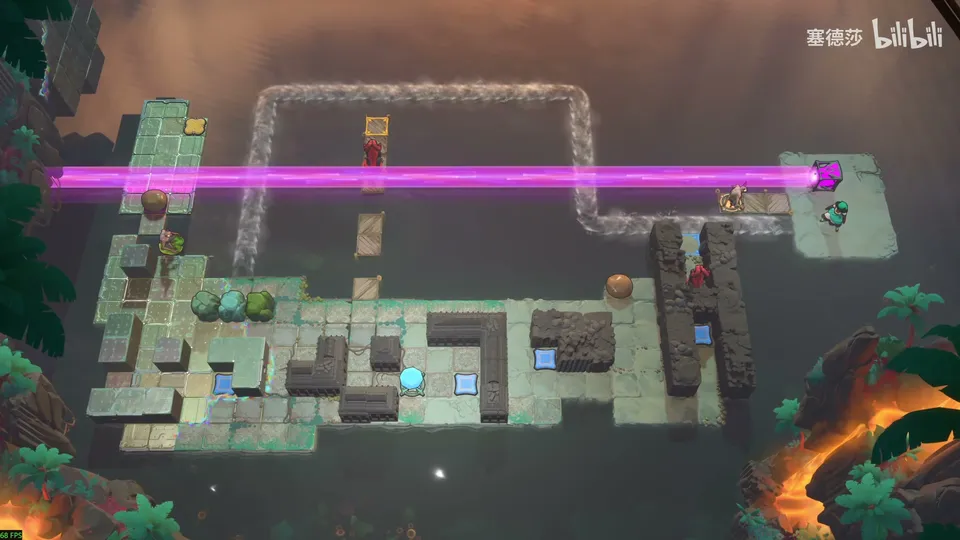
Getting there: after puzzles 59 and 60 the orange beam below is freed. Reset and go up: reach the orange beam’s column by endpoint teleport, with a skimming stone as the endpoint. In this row, first block the light with another stone so you can push the front one away, push the skipping stone out, release the blocker at once and jump at the right moment onto the orange beam. (35:17 · 35:34 · 35:56 · 36:04)
- The slow run: start here. Push this away and wait, or the goblin claws you. Push the stone to the middle (that leaves more slack). He slips twice and restarts. (37:04 · 37:25 · 37:31)
- Push this down to here, go in and push the gem up like this; then go back and press the button, or you run out of time. (37:52 · 37:56 · 38:01)
- Wait for the goblin to pass, then carry on pushing: this one down, this one over, round again, the gem over and in here. (38:12 · 38:15 · 38:20)
- Hurry right and use the spare skipping stone to knock the leaf left; that buys a lot of time. (38:24 · 38:36)
- Push this stone in, push this one right all the way, go round and push once more, then hurry back to press the yellow button. (38:40 · 38:49 · 38:55)
- Last, push this stone down two, left, and round up onto the button; stand on the last button and hold it. Push the gem onto the activator and teleport out by the purple beam. (39:08 · 39:14 · 39:24)
- The fast run, at normal speed, just quicker: once the goblin moves, push this onto the button, bring this over, push the gem up, push this down and round, push this over, rush back to the button just in time, then carry on; no stalling needed. (40:11 · 40:20 · 40:35)
Overworld puzzle 19
Key idea: a race on the area map. The teleporter up top is locked, so ride the skipping stone towards the light at the top right: it is very slow once pushed, so you can run ahead and catch it. (塞德莎 P57 41:10)
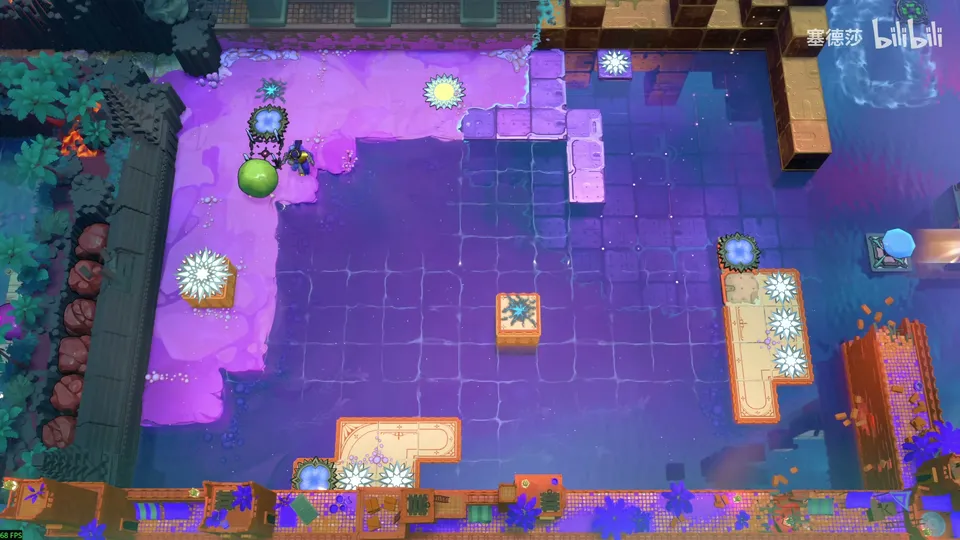
- The area to the right is locked at first; the skipping stone isn’t, but the teleporter above is. (41:10 · 41:17)
- Push the skipping stone out; it moves very slowly, so run over, then push up into the room. (41:26 · 41:37)
Puzzle 62
Key idea: the Bard builds a bridge of skipping stones skimming across the water. The Warrior rides it to the bottom right, pushes a stone back, then pushes it into the framed pit and reaches the exit. The map wraps left and right, so stones skimming off one side come back on the other. (塞德莎 P57 41:42)
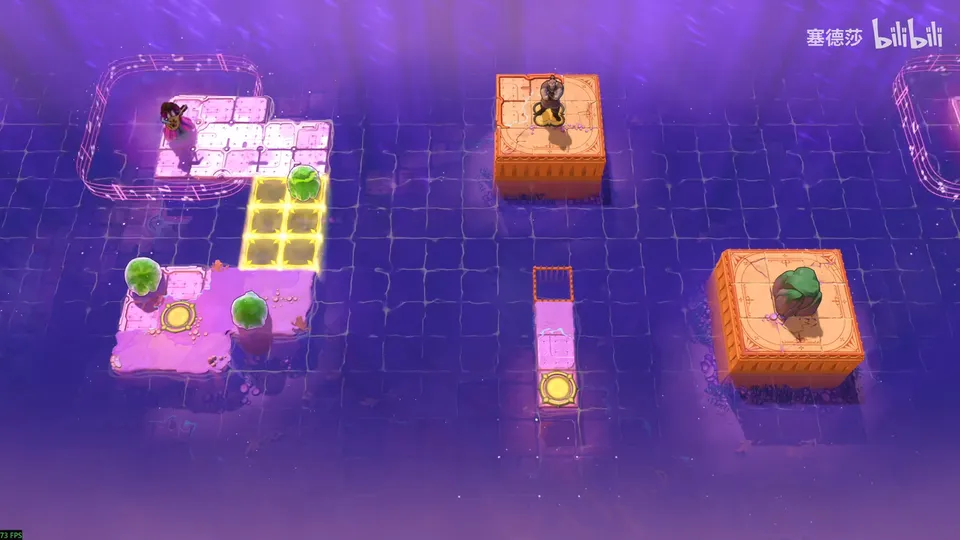
- Send this stone skimming right; the map wraps, so it’s fine. Throw this one out from here, this one upwards, and the rest out to the left. (42:07 · 42:12 · 42:18)
- Get all the stones in step on one side. He has to fix a couple: bring these back and send the lot to the right again, then wait here until three stones are in step. (42:27 · 42:38 · 42:49)
- The Bard pushes them all left at once; that’s the setup. Let go: the stones float left (right works too). (42:53 · 42:57)
- Put the Warrior on the bridge. Time it and push the stone up; go up yourself and push it onto here. (43:03 · 43:11 · 43:15)
- Wait for the loop to come round again, time it and push up; wait another lap, push it into the pit and wait one more round. (43:20 · 43:23 · 43:32)
Puzzle 63
Key idea: here you get the Rod. As in puzzle 62, build a platform of skimming skipping stones, this time 2×2, carry the stone across on it and drop it in front of the exit. 塞德莎 says this room should come before puzzle 62 in the intended order. (塞德莎 P57 44:24)
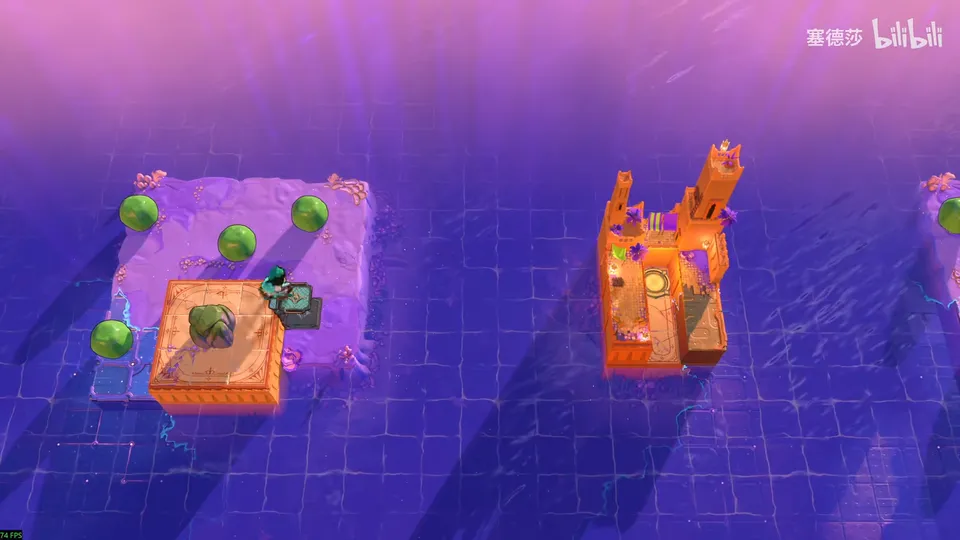
Getting there: puzzle 62 unlocks a teleporter to the high platform in the middle. Ride the skipping stone down here, run for the teleporter, then catch the skipping stone to reach these rooms. (43:40 · 43:54 · 44:06)
- Push left from here, come round to the right and shove it here with the Rod. (45:00 · 45:05)
- The second from this side; keep them in step, flush with each other. (45:08 · 45:12)
- Another one here, rubbed one tile over to make the square; another here. (45:17 · 45:21 · 45:25)
- The last: wait for the timing and push left (he’s late and adjusts), then push down: the 2×2 is done. (45:29 · 45:40)
- Round and round: knock the stone off, get on, push it down at the right moment, loop round once more and come down. (45:48 · 45:50 · 45:56)
Puzzle 64
Key idea: the Chinese text here is garbled; it should give this pocket world’s size as 23×24. Two sizes one apart share no factor, so two stones skimming round it will always meet in the end. You don’t need to count tiles or time anything. (塞德莎 P57 46:01)
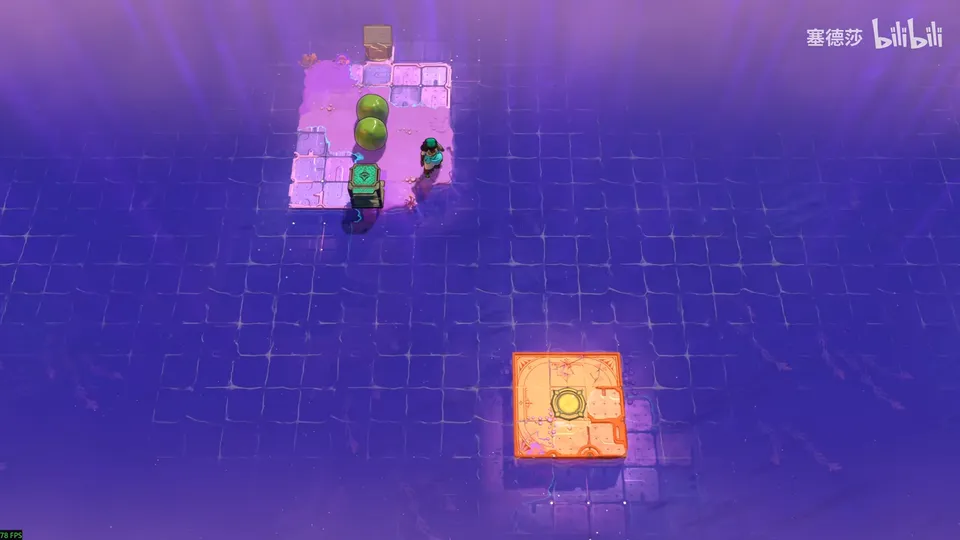
- What 23×24 tells you: the sides differ by one, so they are coprime, and the stones are bound to meet. (46:09 · 46:19)
- Push this stone out from here and this one down; then push a vertical one, right, and once more to reach the exit. (46:34 · 46:43 · 46:49)
- Get on and fast-forward holding Ctrl until they’re about to meet; slow down, one tile to go, they join, and you walk across. (47:00 · 47:09 · 47:13)
Puzzle 65
Key idea: the first room of this tutorial series, by the intended order (塞德莎 played puzzles 63–64 before these three by mistake). Make a short bridge of skimming stones for the Explorer. (塞德莎 P57 48:07)
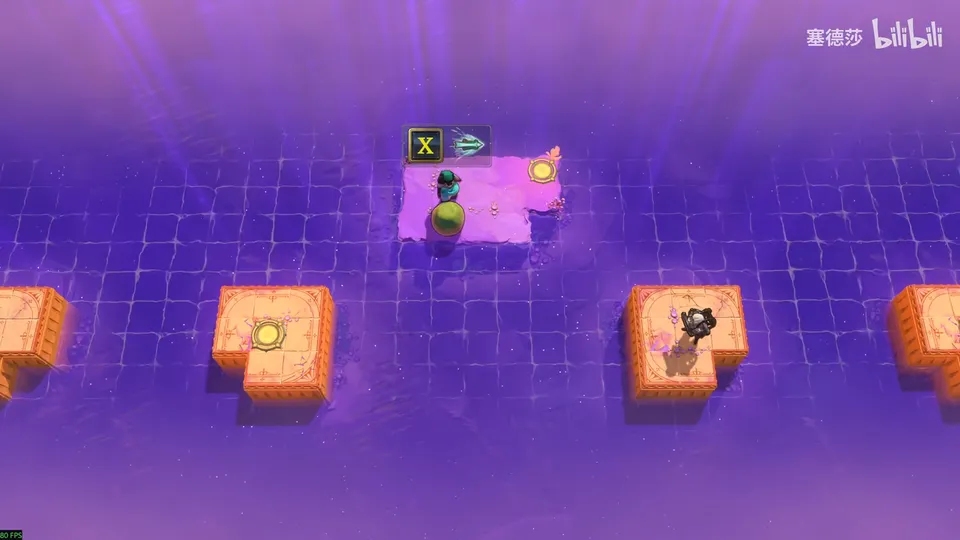
Getting there: back on the area map, head for the platform on the right: reset the skipping stone, push it right and get straight on, go down here and then up. (47:26 · 47:48 · 47:54)
- Push out from here, push down, push once more; let the Explorer step on and ride down. (48:25 · 48:33 · 48:36)
Puzzle 66
Key idea: the same, with two vertical skipping stones, and the Explorer crosses on the Sailor’s head. (塞德莎 P57 48:41)
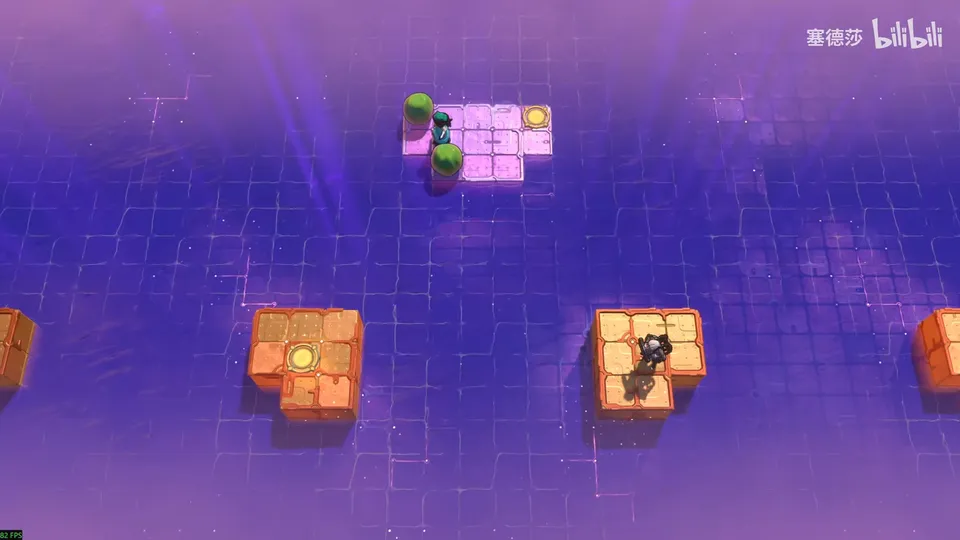
- Push this down and this up, kick this one left with the Rod, push up from here, then push down from the right. (48:49 · 48:54 · 48:58)
- The Explorer comes up this way, walks on the Sailor’s head and steps across to the left. (49:04 · 49:06)
Puzzle 67
Key idea: pave a vertical line of four with the skimming structure, keeping four stones in step. (塞德莎 P57 49:16)
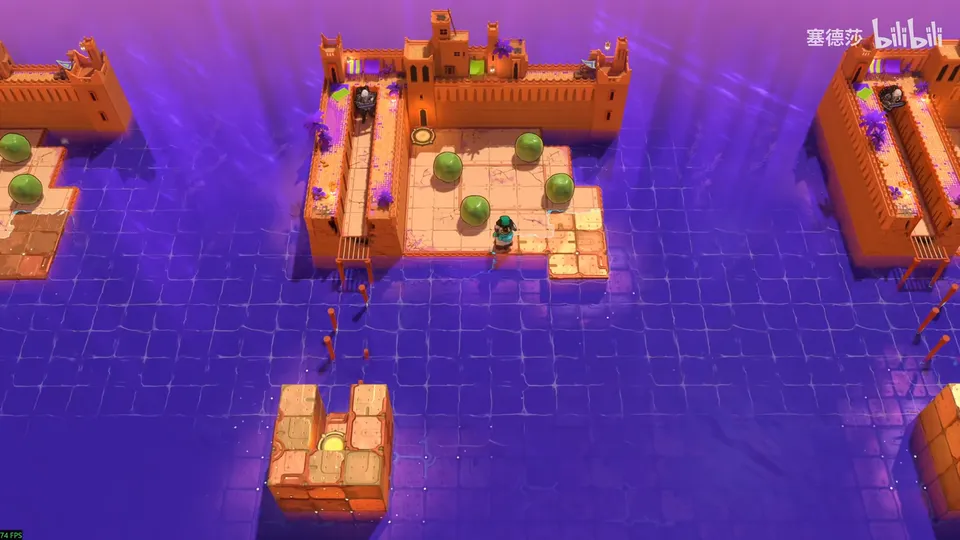
- Push right here, swing down, and wait until the four stones are in step. (49:26 · 49:31)
- Push down once more and launch the next in step; he’s late and waits a lap. (49:37 · 49:44)
- Push down, then push right with this stone (late again), and push once more so the Explorer can come up. (49:48 · 49:52 · 49:59)
- One is still missing below: push once more here, and it’s done. (50:05 · 50:08)
塞德莎 explains the order: puzzles 65–67 come first, then 63–64, which unlock the big star; he played them the other way because 63–64 can be entered straight away. (50:30 · 50:40)
Puzzle 68
Key idea (big star puzzle): unlike the others: it opens with an irreversible move. Set one skipping stone circling the lily pad’s loop, then launch a beam skipping stone that turns 90 degrees clockwise on every tile, so its beam sweeps round and lets you jump up and down between levels. (塞德莎 P57 51:04)
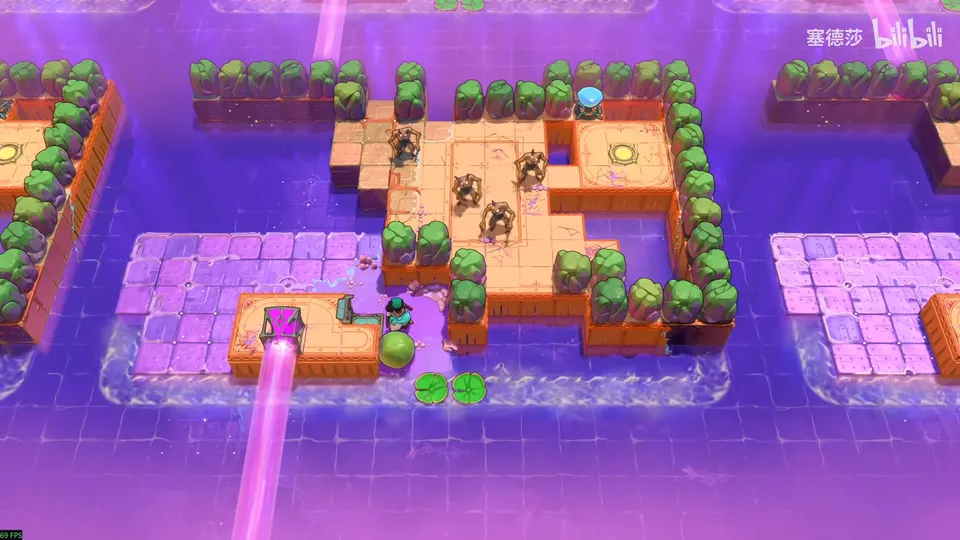
Getting there: push the skipping stone you got out from here, teleport twice and go up to the big star room. (50:53 · 50:56)
- First, quickly push the skipping stone to the tile in front of the lily pad and push it out just as it turns: it starts circling here. (51:09 · 51:16)
- To get up, push the beam skipping stone out from the farthest tile: it turns 90 degrees clockwise per tile and spins round as it goes, so you can jump up from here. (51:25 · 51:31 · 51:36)
- Push this stone away; a downward beam now appears here, so jump down and push this stone right. (51:38 · 51:40 · 51:49)
- Jump up from here, and remember to push the earlier stone to the far right, or you can’t go down here later. Push all the stones away and go up. (51:51 · 51:52 · 52:00)
That ends 塞德莎’s part 57: most of the purple beam rooms down here are done. His next part goes left from here, to the area at the upper left and the one below. (52:09 · 52:25)
The series is still being updated; the rest of the West will be added when 塞德莎’s next parts are out. Back to the Antipode Low hub.